Configure nFactor for applications with different login site requirements including step-up authentication
Usually, a Citrix Gateway allows access to multiple applications. Depending on the security requirements, they can have different authentication mechanism. Some applications might only need a single factor like a common intranet. Other applications like; SAP or HR tools with more critical data must have at least a multifactor authentication. However, the most users access only intranet, so multi-factor for all applications is not the right choice.
This topic describes how to change login mechanism dynamically based on the needs of the user who wants to access the application. Also, describe the steps to set up authentication.
Prerequisites
Before you configure the Citrix Gateway, review the following prerequisites.
- Citrix ADC Advanced license edition.
- NetScaler feature release version is 11.1 and later.
- LDAP server.
- RADIUS server.
- Public IP address.
In the configuration example, you use two applications with the following authentication requirements.
- Web application green
- Requirement - user name + LDAP password
- Web application red
- Requirement - user name + LDAP password + RADIUS pin
Note
Next to LDAP and RADIUS, you can use other authentication methods like, user certificates, TACACS, or SAML is possible.
Basic setup
-
Add none addressable load balancing virtual servers and services for both web applications.
-
Load balancing virtual servers

-
Services

-
-
Add basic none addressable authentication, authorization, and auditing virtual server for logon. No need of more configuration at this moment.

- Add Content Switching virtual server of type SSL with public IP. On this IP address, you need DNS records for each application that you want to access and for authentication, authorization, and auditing virtual server as well. In this example, you use the following DNS names:
- green.lab.local - Application Green
- red.lab.local -> Application Red
- aaa.lab.local -> authentication, authorization, and auditing virtual server

- Bind an SSL certificate with matching CN or SAN for all DNS records.
-
Add content switch policies to the virtual server. One for each application, which must match the individual host name. This is how the Citrix ADC determines which application the user wants to access. In addition, add another policy for authentication, authorization, and auditing with expression “true”.

-
Ensure the authentication, authorization, and auditing policy has the highest priority. Otherwise, it would not be possible to access the applications.
-
Add content switch actions for each policy pointing on the matching virtual server. In this example on each load balancing virtual server and one authentication virtual server.
Authentication level configuration
After completing the basic virtual servers and content switching setup, you enable the authentication and doing the strong or weak definition for your applications.
-
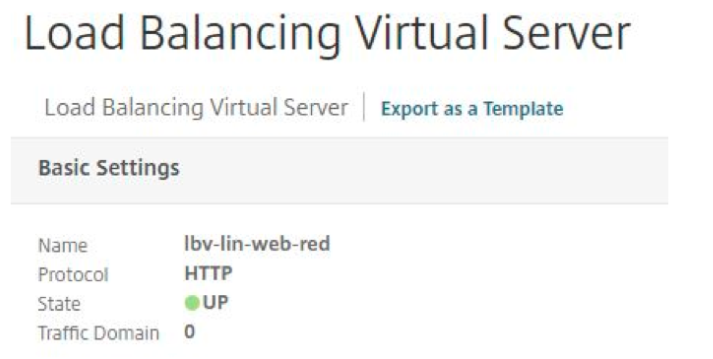
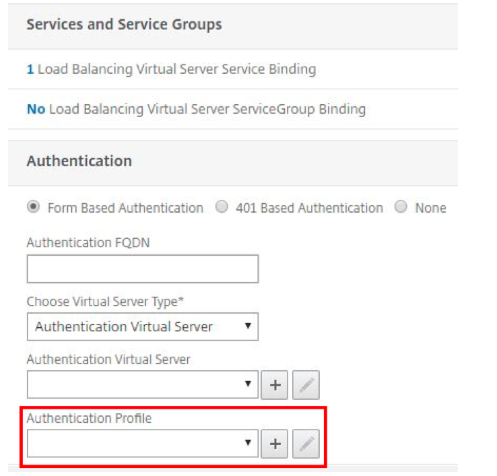
Navigate to Load Balancing Virtual Server for application Red and enable “Form Based Authentication”. And add an authentication profile.
-
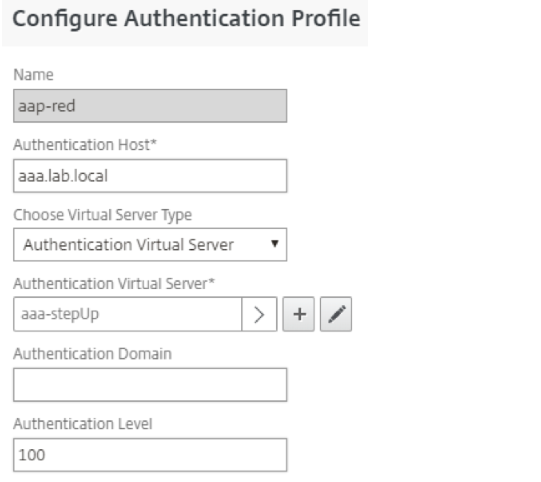
Enter the defined authentication, authorization, and auditing virtual server host name for redirection when a user wants to access the application, and has no existing session.
-
Choose authentication virtual server as type and bind authentication, authorization, and auditing virtual server.
-
Define an authentication level to configure whether an application is stronger or weaker than another. A session at the given level of 100 can access virtual servers with a lower level without reauthenticating. On the other hand, this session is forced to authenticate once again if the user tries to access a virtual server with a higher level.
-
Repeat step 1–4 with application Green.
-
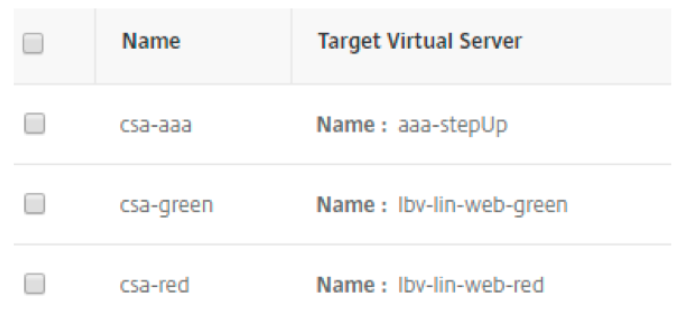
Navigate to Security > AAA - Application Traffic > Authentication Profiles to add Authentication Profile.
One profile for each application, both pointing on the authentication, authorization, and auditing virtual server host name. In the example, application Red is stronger (Level 100) than application Green (Level 90). Means a user with an existing session for Red can access Green without reauthentication. The other way around a user who accessed Green at first must reauthenticate for application Red.
nFactor configuration for multifactor authentication
-
Navigate to Security > AAA - Application Traffic > Login Schema > Profiles to add three login schemas and to achieve the needed Citrix ADC logon page.
- Schema for normal LDAP authentication
- Select SingleAuth XML to present the two fields. One for user name and the second for LDAP password.
- Ensure to save user name at index 1 and password at index 2. This is important for doing LDAP reauth, when a user is accessing application Red after application Green.
-
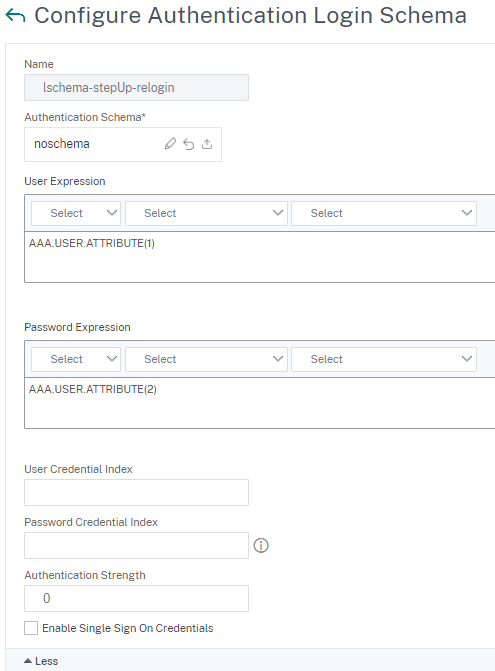
Schema for LDAP reauthentication
- Select “noschema” because the user does not see the process of LDAP reauthentication.
-
Populate User and Password expression with the attribute fields that you defined in the first schema.
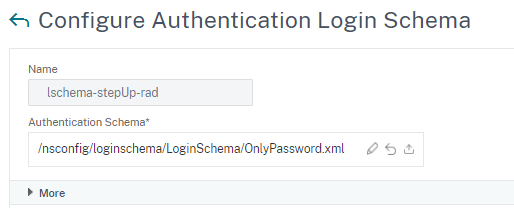
- Schema for RADIUS authentication
-
Select “OnlyPassword XML” to present only one field for RADIUS pin. User name is not necessary due to first LDAP login.
-
- Schema for normal LDAP authentication
-
The next step is to add all needed Authentication Policies to control the behavior of our login mechanism. Navigate to Security > AAA - Application Traffic > Policies > Authentication > Policy.
-
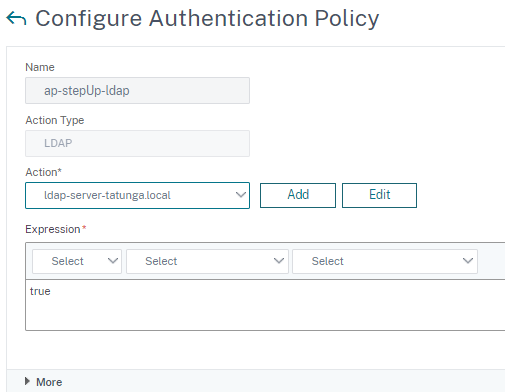
Add default LDAP policy with required LDAP server.
-
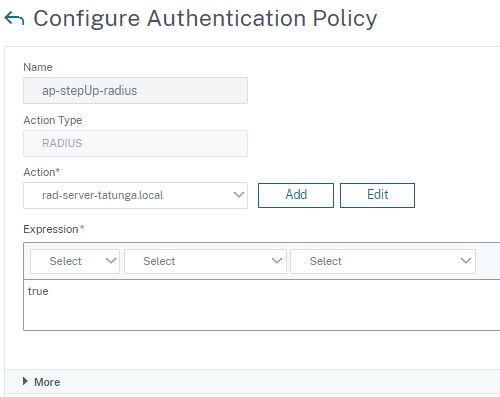
Add default RADIUS policy with required RADIUS server.
-
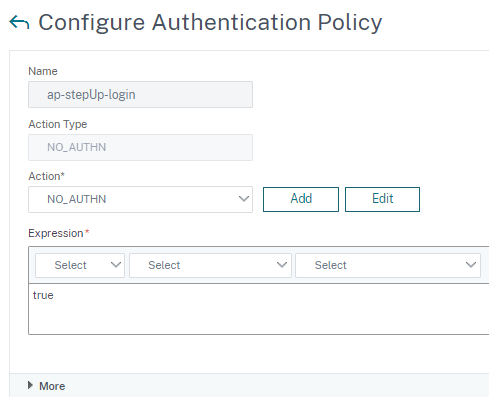
Add a third authentication policy with action type “NO_AUTH” and expression “true”. This policy will have no effect than bridging to the next factor.
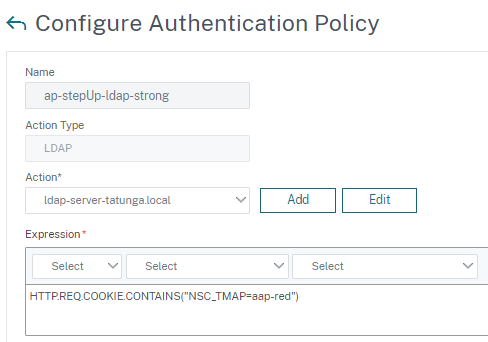
- Fourth policy evaluates whether a user wants to access the stronger application Red or not. This is important to do a multifactor authentication for Red.
- Select “LDAP” as action type and choose your LDAP server.
-
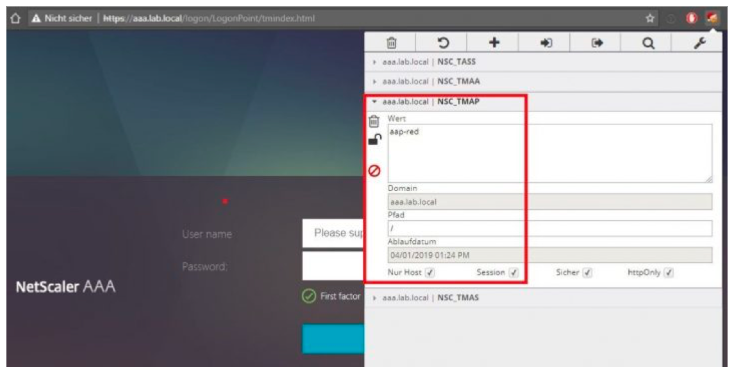
The expression evaluates whether it is application Red by checking the cookie NSC_TMAP. The user issues this cookie by accessing the Citrix ADC logon site and contains the name of the authentication profile bound to the accessed load balancing virtual server.
-
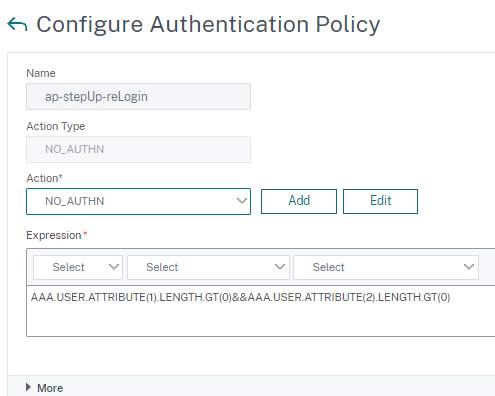
Last policy checks whether the user has saved credentials from a first weaker login. This is important for automatic LDAP relogin when a user at first accessed the weaker application and now wants to start the stronger one.
-
-
You add some policy labels for binding all the preceding Authentication Policies and Login Schemas. Navigate to Security > AAA - Application Traffic > Policies > Authentication > PolicyLabel.
-
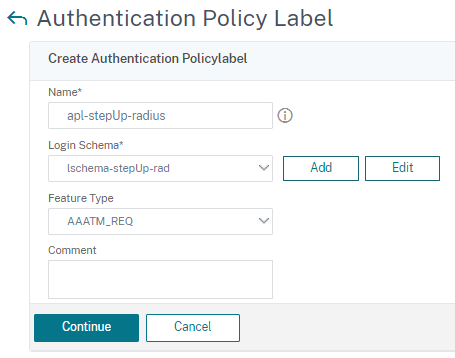
At first, start with the label for RADIUS authentication.
-
Give an appropriate name for the label, and select the earlier schema for RADIUS and click Continue.
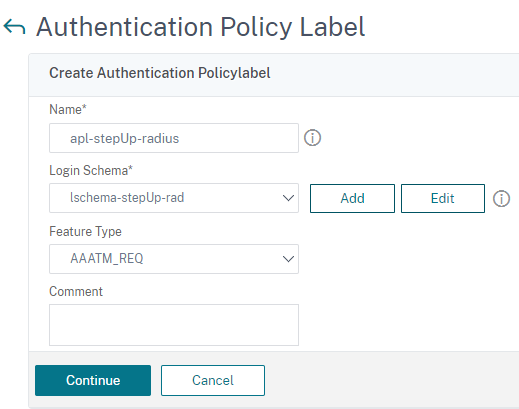
-
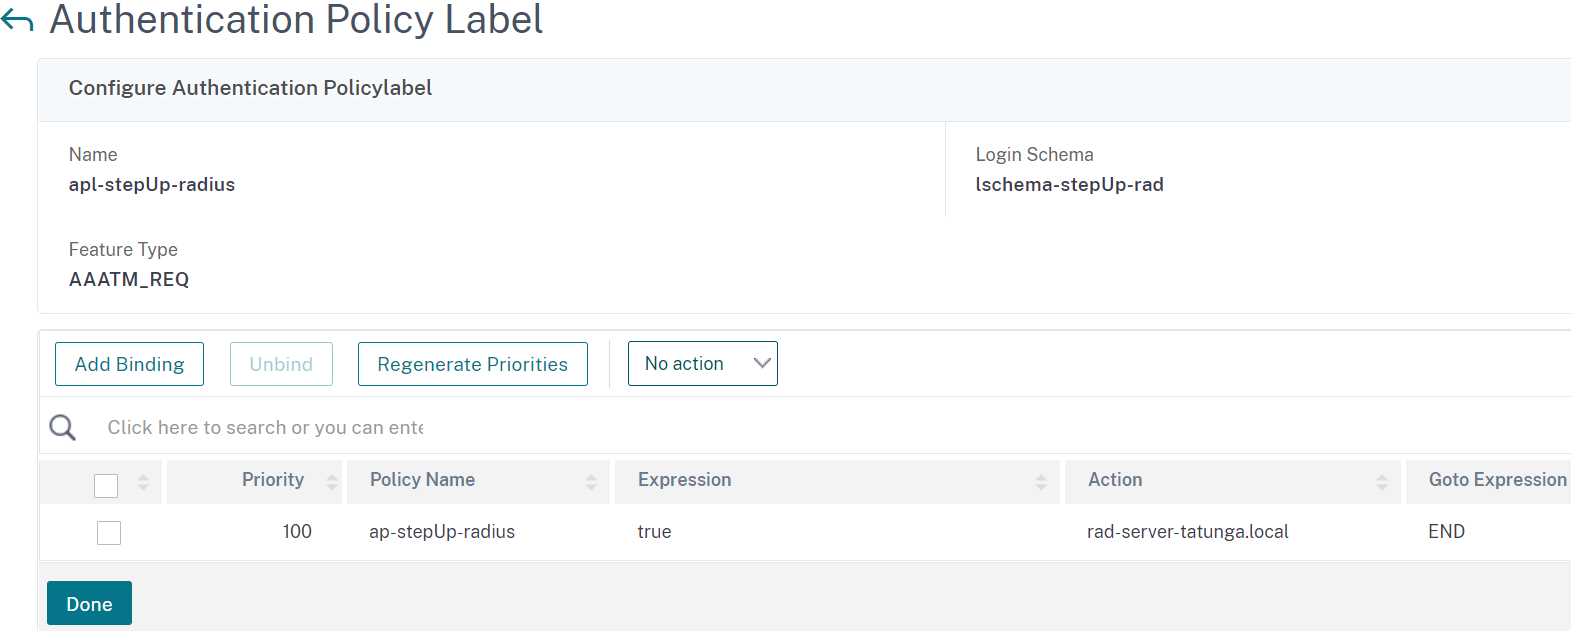
Last step for this label is to bind the default RADIUS authentication policy.
-
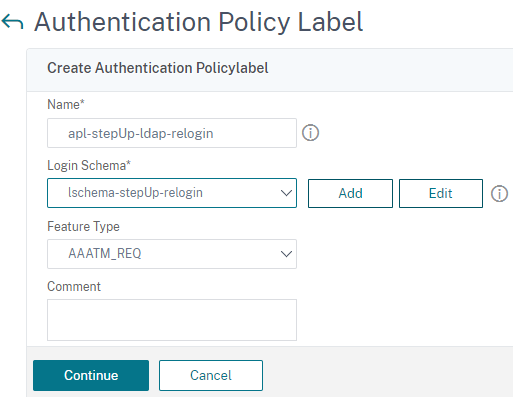
- The second label does the LDAP relogin.
-
Add the label and bind the relogin schema.
-
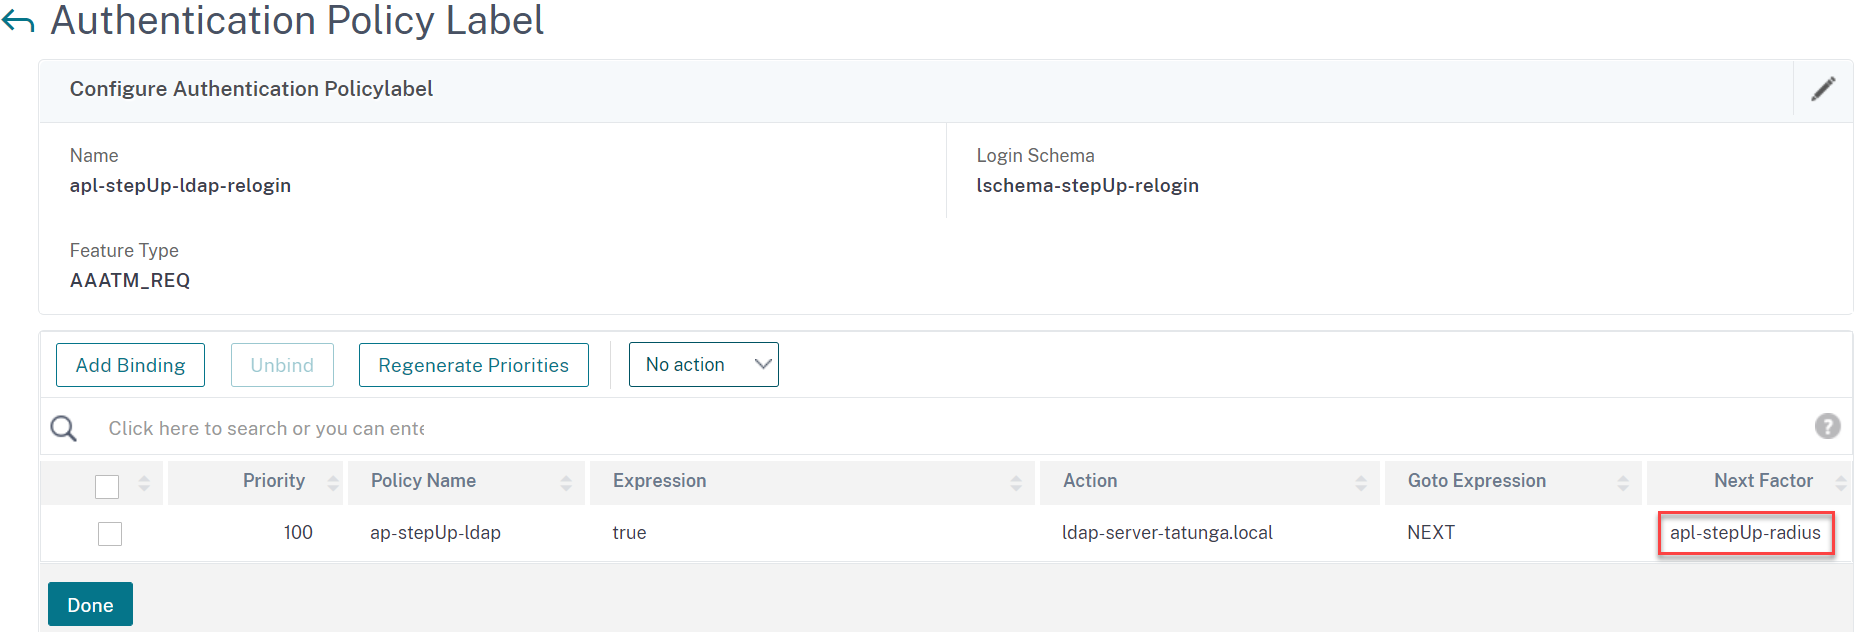
Bind the LDAP authentication policy and set the RADIUS Policy Label as next factor.
-
- Add the last label for first LDAP authentication.
-
Select the appropriate schema and click Continue.
-
Bind the first policy for strong authentication and set Goto Expression to “End”. Select the RADIUS policy label as next factor.
-
Second policy is for weak Green authentication without RADIUS.
-
Ensure the priority of the binding.
-
-
Configure authentication, authentication, and auditing. Navigate to Security > AAA - Application Traffic > Virtual Servers.
-
Open the previously added virtual server and set the favored Portal Theme.

-
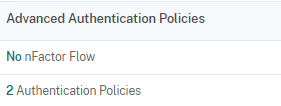
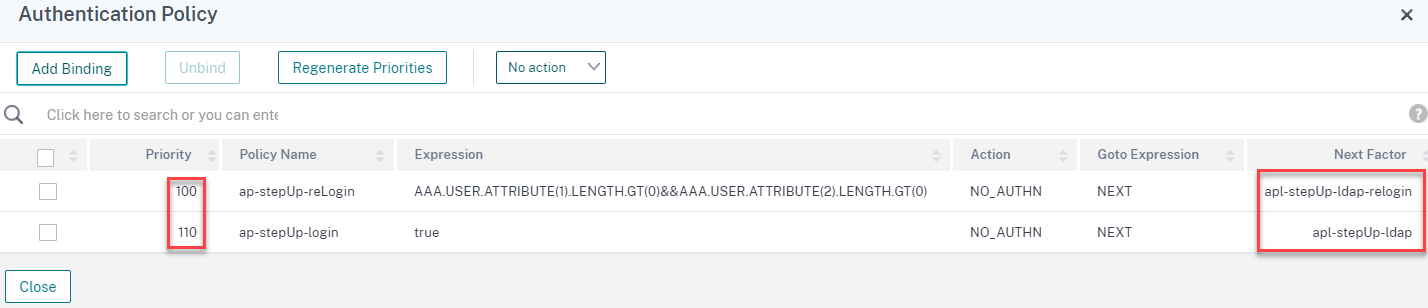
Bind the last two remaining authentication policies directly at the virtual server.
- Bind relogin policy with “NO_AUTH” and LDAP relogin policy label as next factor. This is for doing the automatic LDAP reauth with an existing session.
- Set second policy to bridge directly to next factor LDAP when no session is existed before.
-
As always, set the right priorities.
-
-
Note
The step-up can also be created through the nFactor Visualizer available in Citrix ADC version 13.0 and later.
Multifactor authentication configuration through nFactor Visualizer
- Navigate to Security > AAA-Application Traffic > nFactor Visualizer > nFactor Flow and click Add.
-
Click + sign to add the nFactor Flow.
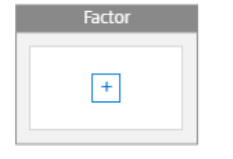
-
Enter the first factor name and click Create.
-
No Schema is needed for the first factor. Click Add Policy to add NO_AUTH policy as shown in step 2 of the multifactor authentication configuration.
-
Click blue + to add second authentication.
-
Choose authentication policy created and click Add.
-
Click green + to add a next factor.
-
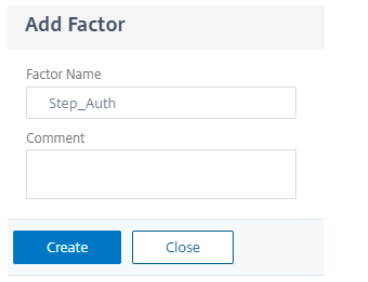
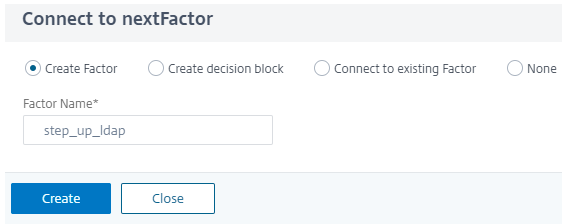
To add next authentication factor, select Create Factor enter the Factor Name and click Create.
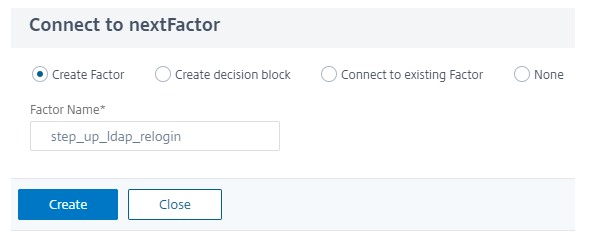
-
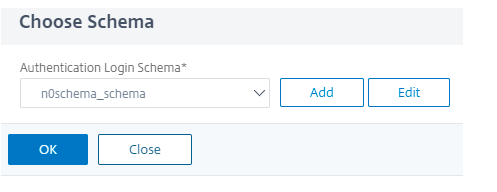
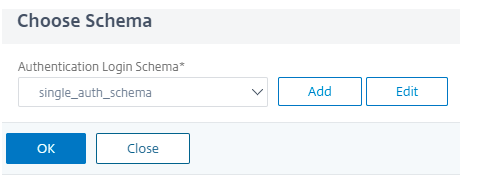
To add a schema, click Add Schema.
-
Choose the created schema in (multifactor authentication configuration), and click OK.
-
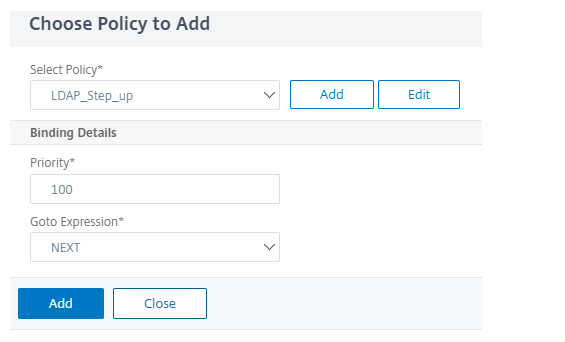
Click Add Policy and choose the authentication policy.
-
Click green + to add another factor for RADIUS authentication.
-
Create another factor by following step 8.
-
Click Add Schema and choose schema for the password only from the list.

-
Click Add Policy to choose RADIUS authentication and click Add.
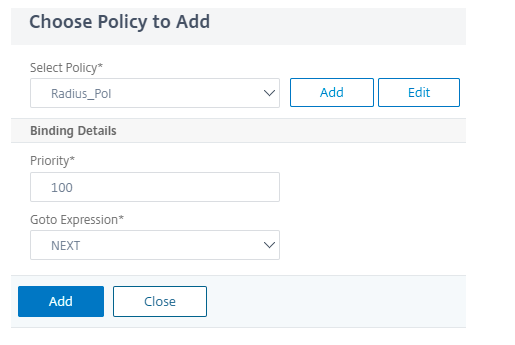
-
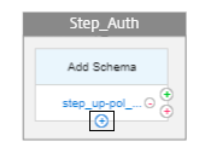
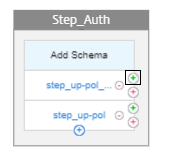
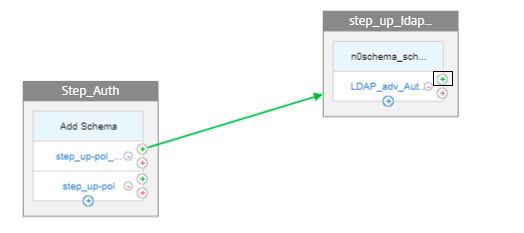
Click green + in first factor, next to step_up-pol.
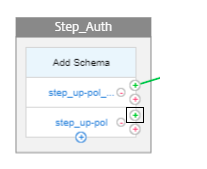
-
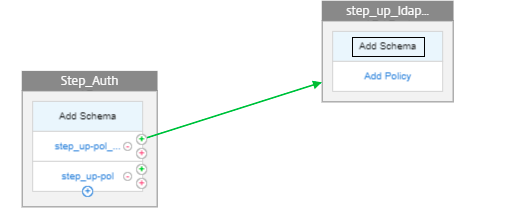
Create another factor by following step 8.
-
Click Add Schema and choose the schema.
-
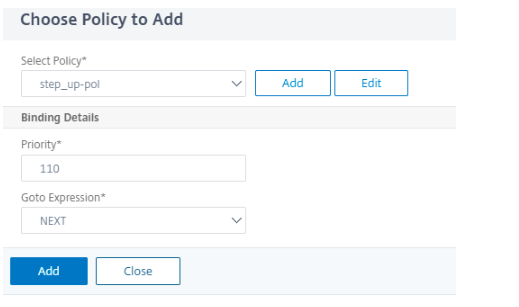
Click Add Policy to choose authentication policy.
-
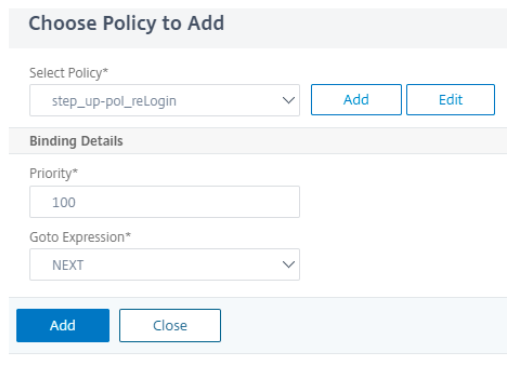
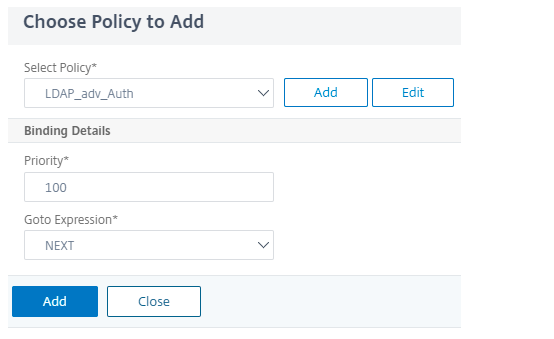
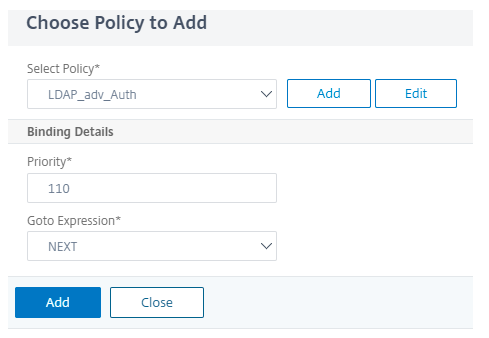
Click blue + to add another authentication policy for LDAP authentication.

-
Choose LDAP authentication policy and click Add.
-
Click green + next to LDAP_Step_up to add the RADIUS authentication.
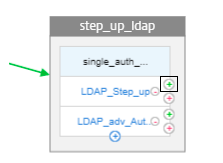
-
As the RADIUS authentication is already present, select Connect to existing Factor, and select step_up-radius from the list.
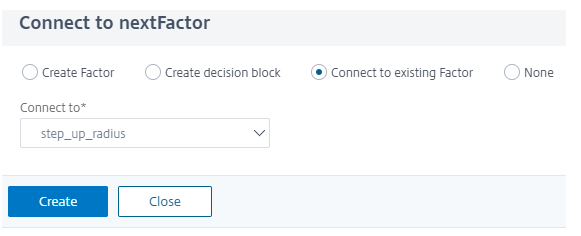
-
Click Done to save the configuration.
-
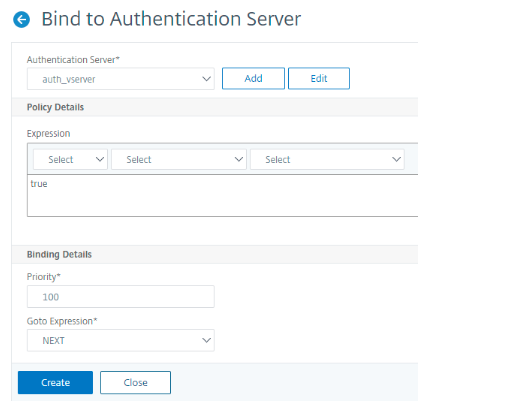
To bind the created nFactor Flow to an authentication, authorization, and auditing virtual server, click Bind to Authentication Server and click Create.
Note
Bind and unbind the nFactor flow through the option given in nFactor Flow under Show Bindings only.
Unbind the nFactor Flow
-
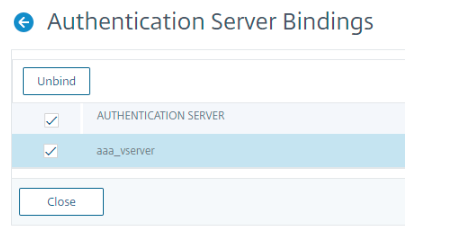
Select the nFactor flow and click Show Bindings.
-
Select the authentication virtual server and click Unbind.
Result
The following steps help you to access the application Red as first.
-
Redirecting to authentication, authorization, and auditing virtual server login page with a first factor as LDAP, after you access “red.lab.local”.
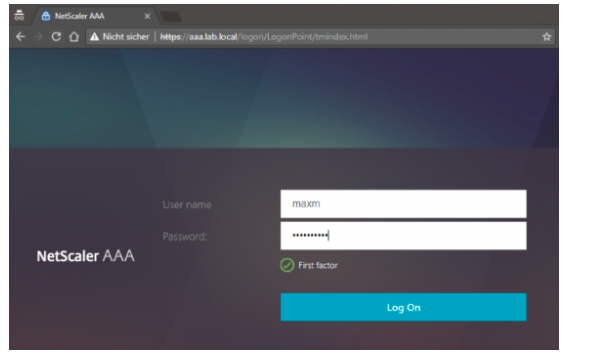
-
nFactor evaluates that user wants to access application Red and displays second factor RADIUS.
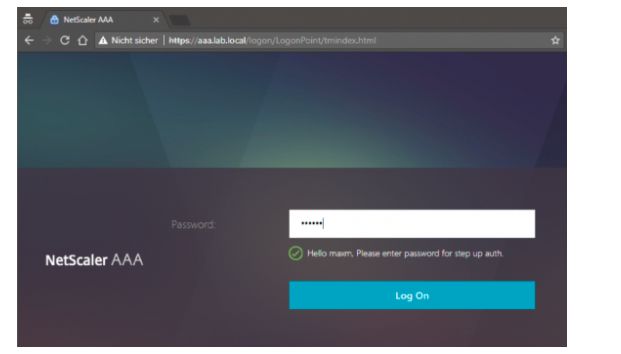
-
Citrix ADC grants access to application Red.
-
Access the application Green as next. Citrix ADC grants immediate access because the session of stronger application Red.
The following steps help you to access the application Green as first.
-
Redirecting to authentication, authorization, and auditing virtual server login page after you access “green.lab.local”.
-
nFactor evaluates application Green and grants access without the second factor.
-
Access the application Red as next. Higher authentication level requires relogin and nFactor does LDAP relogin automatically with saved credentials from the first login at application Green. You enter only the RADIUS credential.
-
Citrix ADC grants access to the application Red.