Create vGPU enabled VMs
This section provides step-by-step instructions on how to create a virtual GPU or GPU pass-through enabled VM.
Note:
If you are using the Intel GPU Pass-through feature, first see the section Enabling Intel GPU Pass-through for more configuration, and then complete the following steps.
-
Create a VM using XenCenter. Select the host on the Resources pane and then select New VM on the VM menu.
-
Follow the instructions on the New VM configuration and select the Installation Media, Home Server, and CPU & Memory.
-
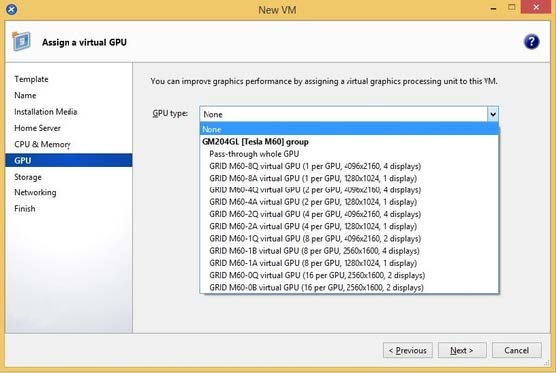
GPU-enabled servers display a GPU configuration page:
-
Click Add. From the GPU Type list, select either Pass-through whole GPU, or a virtual GPU type.
Unavailable virtual GPU types are grayed-out.
If you want to assign multiple vGPUs to your VM, ensure that you select a vGPU type that supports multiple vGPU. Repeat this step to add more vGPUs of the same type.
-
Click Next to configure Storage and then Networking.
-
After you complete your configuration, click Create Now.
Install the XenServer VM Tools
Without the optimized networking and storage drivers provided by the XenServer VM Tools (formerly Citrix VM Tools), remote graphics applications running on NVIDIA vGPU do not deliver maximum performance.
-
If your VM is a Windows VM, you must install the XenServer VM Tools for Windows on your VM. For more information, see Install XenServer VM Tools for Windows.
-
If your VM is a Linux VM, you can install the Citrix VM Tools for Linux on your VM. For more information, see Install Citrix VM Tools for Linux.
Install the in-guest drivers
When viewing the VM console in XenCenter, the VM typically boots to the desktop in VGA mode with 800 x 600 resolution. The standard Windows screen resolution controls can be used to increase the resolution to other standard resolutions. (Control Panel > Display > Screen Resolution)
Note:
When using GPU pass-through or MxGPU, we recommend that you install the in-guest drivers through RDP or VNC over the network. That is, not through XenCenter.
To ensure that you always have the latest security and functional fixes, ensure that you always take the latest updates to your in-guest drivers.
Install the NVIDIA drivers
To enable vGPU operation (as for a physical NVIDIA GPU), install NVIDIA drivers into the VM.
The following section provides an overview of the procedure. For detailed instructions, see the NVIDIA User Guides.
-
Start the VM. In the Resources pane, right-click on the VM, and click Start.
During this start process, Citrix Hypervisor dynamically allocates a vGPU to the VM.
-
Follow the Windows operating system installation screens.
-
After the operating system installation completes, restart the VM.
-
Install the appropriate driver for the GPU inside the guest. The following example shows the specific case for in guest installation of the NVIDIA GRID drivers.
-
Copy the 32-bit or 64-bit NVIDIA Windows driver package to the VM, open the zip file, and run setup.exe.
-
Follow the installer steps to install the driver.
-
After the driver installation has completed, you might be prompted to reboot the VM. Select Restart Now to restart the VM immediately, alternatively, exit the installer package, and restart the VM when ready. When the VM starts, it boots to a Windows desktop.
-
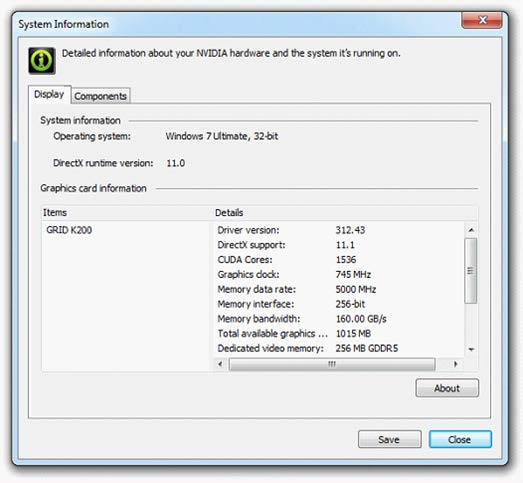
To verify that the NVIDIA driver is running, right-click on the desktop and select NVIDIA Control Panel.
-
In the NVIDIA Control Panel, select System Information. This interface shows the GPU Type in use by the VM, its features, and the NVIDIA driver version in use:
Note:
Depending on the NVIDIA graphics card used, you might need an NVIDIA subscription or a license. For more information, see the NVIDIA product information.
The VM is now ready to run the full range of DirectX and OpenGL graphics applications supported by the GPU.
Install the AMD drivers
To enable GPU operation, install AMD drivers into the VM.
-
Start the VM. In the Resources pane, right-click on the VM, and click Start.
During this boot process, Citrix Hypervisor dynamically allocates a GPU to the VM.
-
Follow the Windows operating system installation screens.
-
After the operating system installation completes, restart the VM.
-
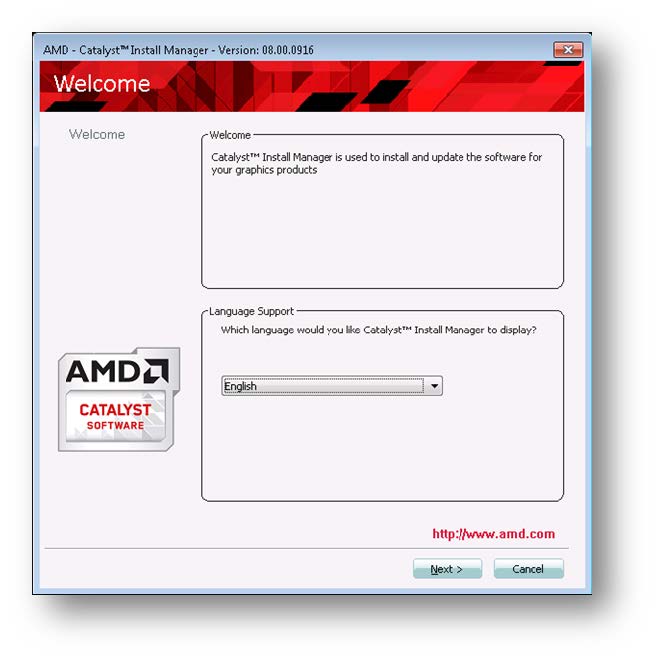
Copy the 32-bit or 64-bit AMD Windows drivers (AMD Catalyst Install Manager) to the VM.
-
Run the AMD Catalyst Install Manager; select your Destination Folder, and then click Install.
-
Follow the installer steps to install the driver.
-
To complete the installation, restart your VM.
-
After the VM restarts, check that graphics are working correctly. Open the Windows Device Manager, expand Display adapters, and ensure that the AMD Graphics Adapter does not have any warning symbols.
Install the Intel drivers
To enable GPU operation, install Intel drivers into the VM.
-
Start the VM. In the Resources pane, right-click on the VM, and click Start.
During this boot process, Citrix Hypervisor dynamically allocates a GPU to the VM.
-
Follow the Windows operating system installation screens.
-
After the operating system installation completes, reboot the VM.
-
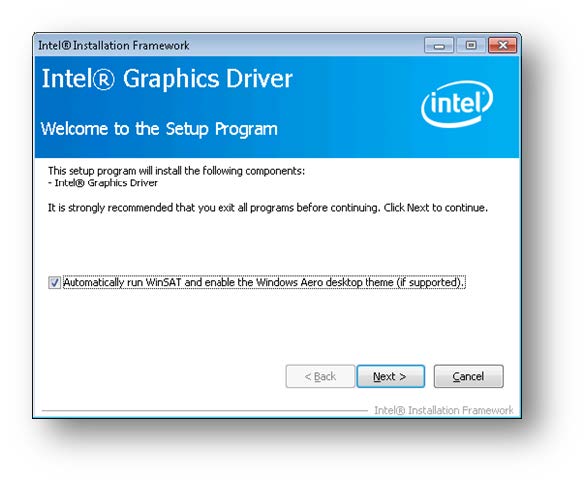
Copy the 32-bit or 64-bit Intel Windows driver (Intel Graphics Driver) to the VM.
-
Run the Intel Graphics Driver setup program
-
Select Automatically run WinSAT, and then click Next.
-
To accept the License Agreement, click Yes, and on the Readme File Information screen, click Next.
-
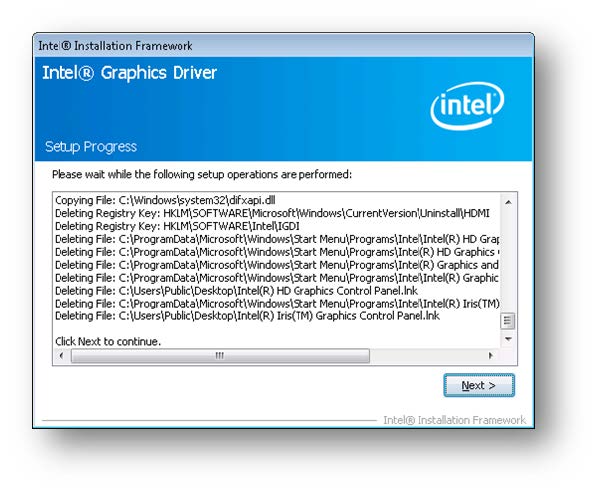
Wait until the setup operations complete. When you are prompted, click Next.
-
To complete the installation, you are prompted to restart the VM. Select Yes, I want to restart this computer now, and click Finish.
-
After the VM restarts, check that graphics are working correctly. Open the Windows Device Manager, expand Display adapters, and ensure that the Intel Graphics Adapter does not have any warning symbols.
Note:
You can obtain the latest drivers from the Intel website.