Citrix SD-WAN Center on Azure Marketplace using solution template
Citrix SD-WAN Center is now available in the Azure Marketplace. You can deploy Citrix SD-WAN Center as a Virtual Machine (VM) in Azure Cloud using solution template.
Before installing the Citrix SD-WAN Center virtual machine (VM) on the Microsoft Azure, gather the necessary information as described in System requirements and installation.
Ensure that you have access to Microsoft Azure.
To deploy Citrix SD-WAN Center VPX on Microsoft Azure:
- In Microsoft Azure, navigate to Home > Marketplace. Search and select the Citrix SD-WAN Center.
- Click Create on the Citrix SD-WAN Center page. The Create Citrix SD-WAN Center page appears.
-
In the Basics section, select the subscription type, resource group, and location. Click OK.
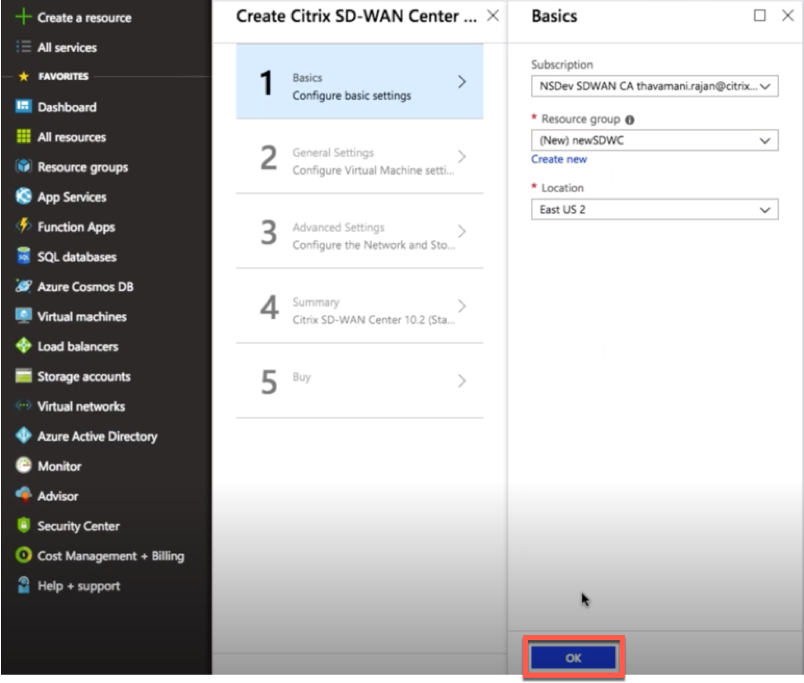
NOTE:
A resource group is a container that holds related resources for an Azure solution. The resource group can include all the resources for the solution, or only those resources that you want to manage as a group. You can decide how you want to allocate resources to resource groups based on your deployment.
-
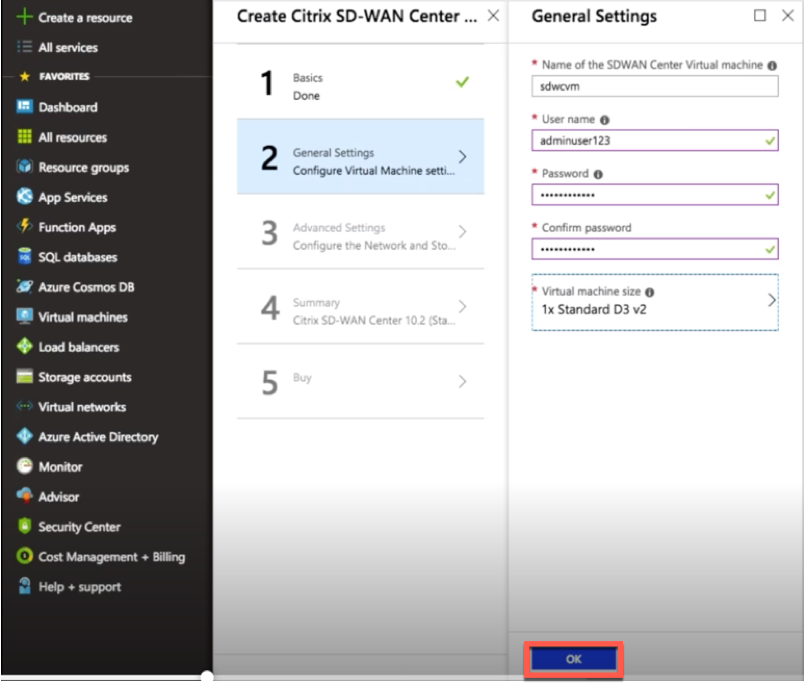
In the General Settings section, enter the name and credentials that provide admin level access or privileges for the Citrix SD-WAN Center virtual machine.
Credentials that are provided in this step 4, would also be used to set the password for Admin user login account (default admin account password can be modified with this password credential). Click OK.
NOTE:
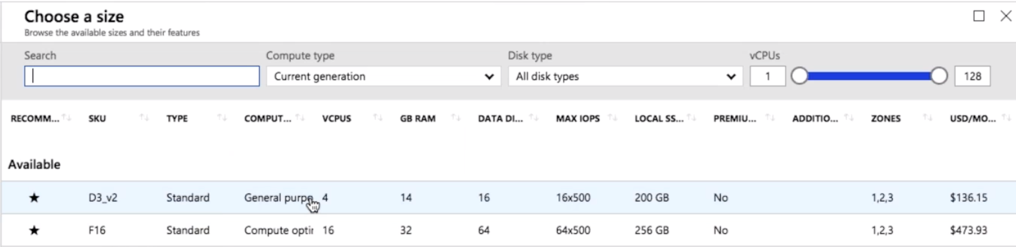
Currently there are two sizes instance types are available – Standard_D3_v2 and Standard_F16. D3_v2 instance can be used to monitor network that has up to 64 sites. The F16 instance is useful to monitor network that has up to 128 sites. You can also search and choose an available virtual machine size.
-
In the Advanced settings section, configure the Network and Storage account setting for the Citrix SD-WAN Center VPX based on the number of sites to be monitored.

Select virtual network from the available list or you can create a new virtual network by giving a Name and Address Space.
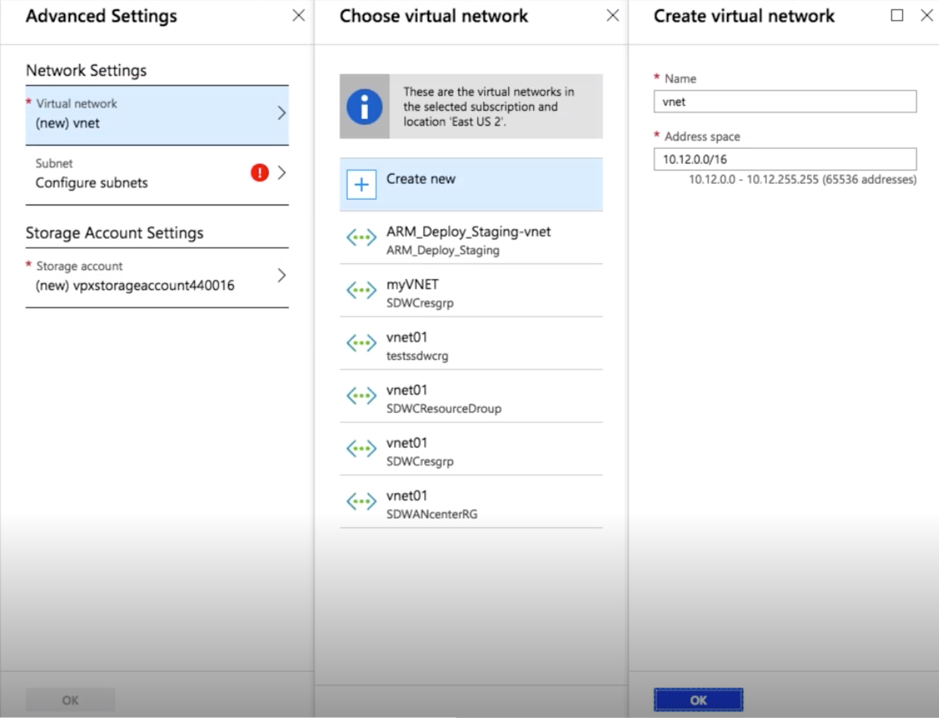
Select Subnet from the drop-down list. Create a Storage Account and click OK.
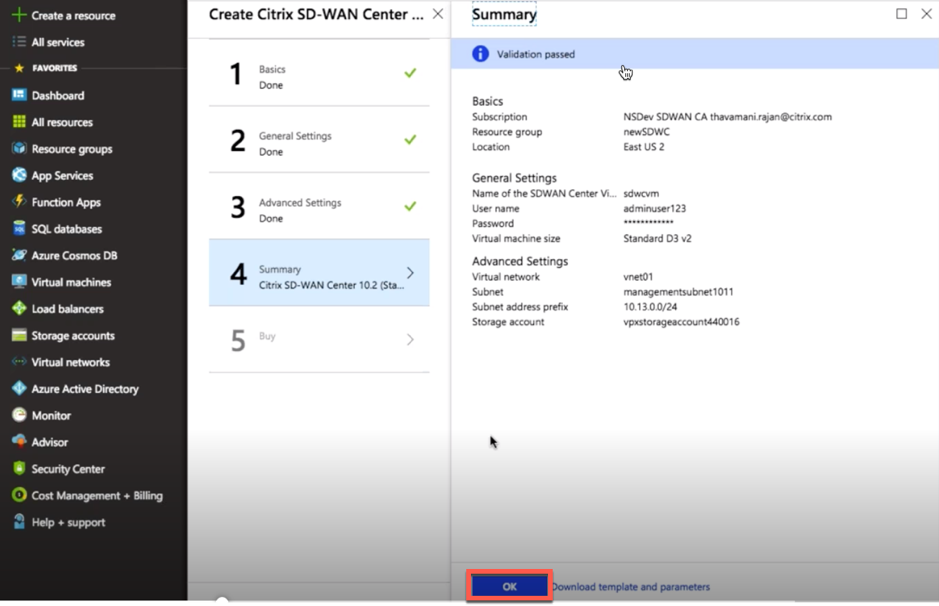
-
The configuration that you provided in previous steps is validated and applied. If you have configured correctly, the validation passed message appears. Click OK.
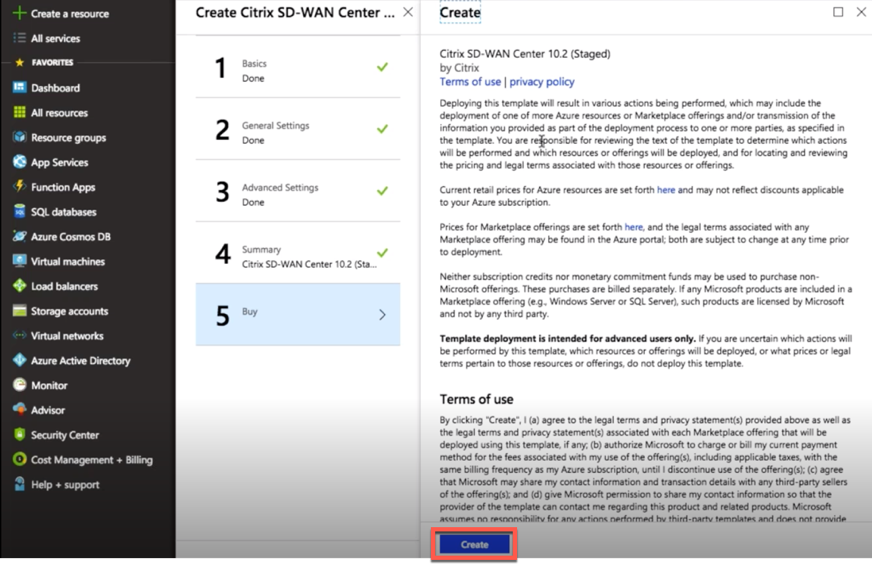
-
After successful deployment, Create page appears. Read the Terms of use and Privacy policy carefully and click Create.
Wait for the VM provisioning to get complete and then login with the IP that is been assigned to that VM (by checking the networking section and use the admin credentials (that was set in step 4) and follow the general SD-WAN Center deployment guidelines.
Add data disk
This section describes how to attach a new managed data disk to a Virtual Machine (VM) by using the Azure portal. The VM size determines how many data disks you can attach.
In the Azure portal, from the menu on the left, select Virtual machines and select a virtual machine from the list.
Perform the following actions to add additional data disk in Azure SD-WAN Center:
- Shut down the VM.
-
From the VM dashboard, select Disks under Settings section.
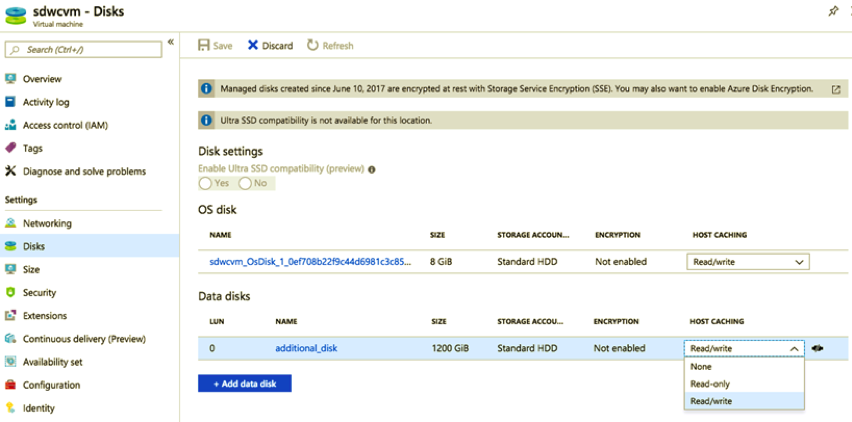
-
Click + Add data disk and create a new data disk with read and write permission.
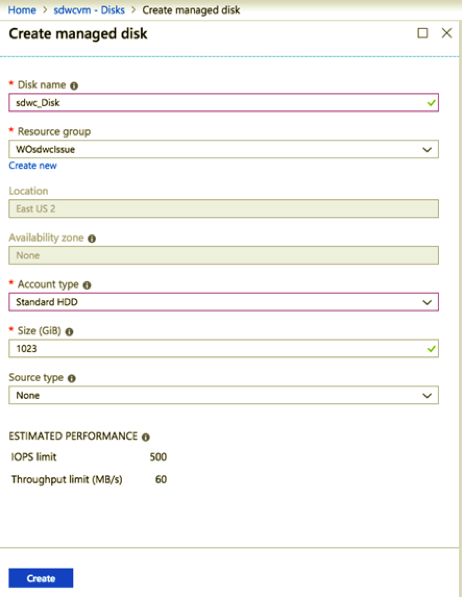
Attach a disk by filling the following mandatory details:
- Disk name – Provide a name for SD-WAN Center data disk.
- Resource group – Select a resource group from the drop-down list.
- Account type – Select an account type from the drop-down list.
- Size (GIB) – Provide a size in gibibyte.
- Storage type - Select a source type from the drop-down list.
- Once you are done, Click OK.
To turn on the VM refer the Switch the active storage to new data storage topic.