Install and configure SD-WAN Orchestrator for On-premises on ESXi Server
Install the VMware vSphere client
Following are the basic instructions for downloading and installing the VMware vSphere client that you use to create and deploy the Citrix SD-WAN Orchestrator for On-premises Virtual Machine (VM).
To download and install the VMware vSphere Client, do the following:
-
Open a browser and navigate to the ESXi server that hosts your vSphere Client and Citrix SD-WAN Orchestrator for On-premises virtual machine instance. The VMware ESXi Welcome page appears.
-
Click the Download vSphere Client link to download the vSphere Client installation file.
-
Install the vSphere Client.
Run the vSphere Client installer file that you downloaded, and accept each of the default options when prompted.
-
After the installation completes, start the vSphere Client program.
The VMware vSphere Client login page appears, prompting you for the ESXi server login credentials.
-
Enter the ESXi server login credentials:
- IP address/Name: Enter the IP Address or Fully Qualified Domain Name (FQDN) for the ESXi server that hosts your Citrix SD-WAN Orchestrator for On-premises virtual machine instance.
- User name: Enter the server administrator account name. The default is root.
- Password: Enter the password associated with this administrator account.
-
Click Login. The vSphere Client main page appears.
Creating the Citrix SD-WAN Orchestrator for On-premises virtual machine using the OVF template
After installing the VMware vSphere client, create the Citrix SD-WAN Orchestrator for On-premises virtual machine.
-
If you have not already done so, download the Citrix SD-WAN Orchestrator for On-premises OVF template file (.ova file) to the local PC.
For more information, see System requirements and installation.
-
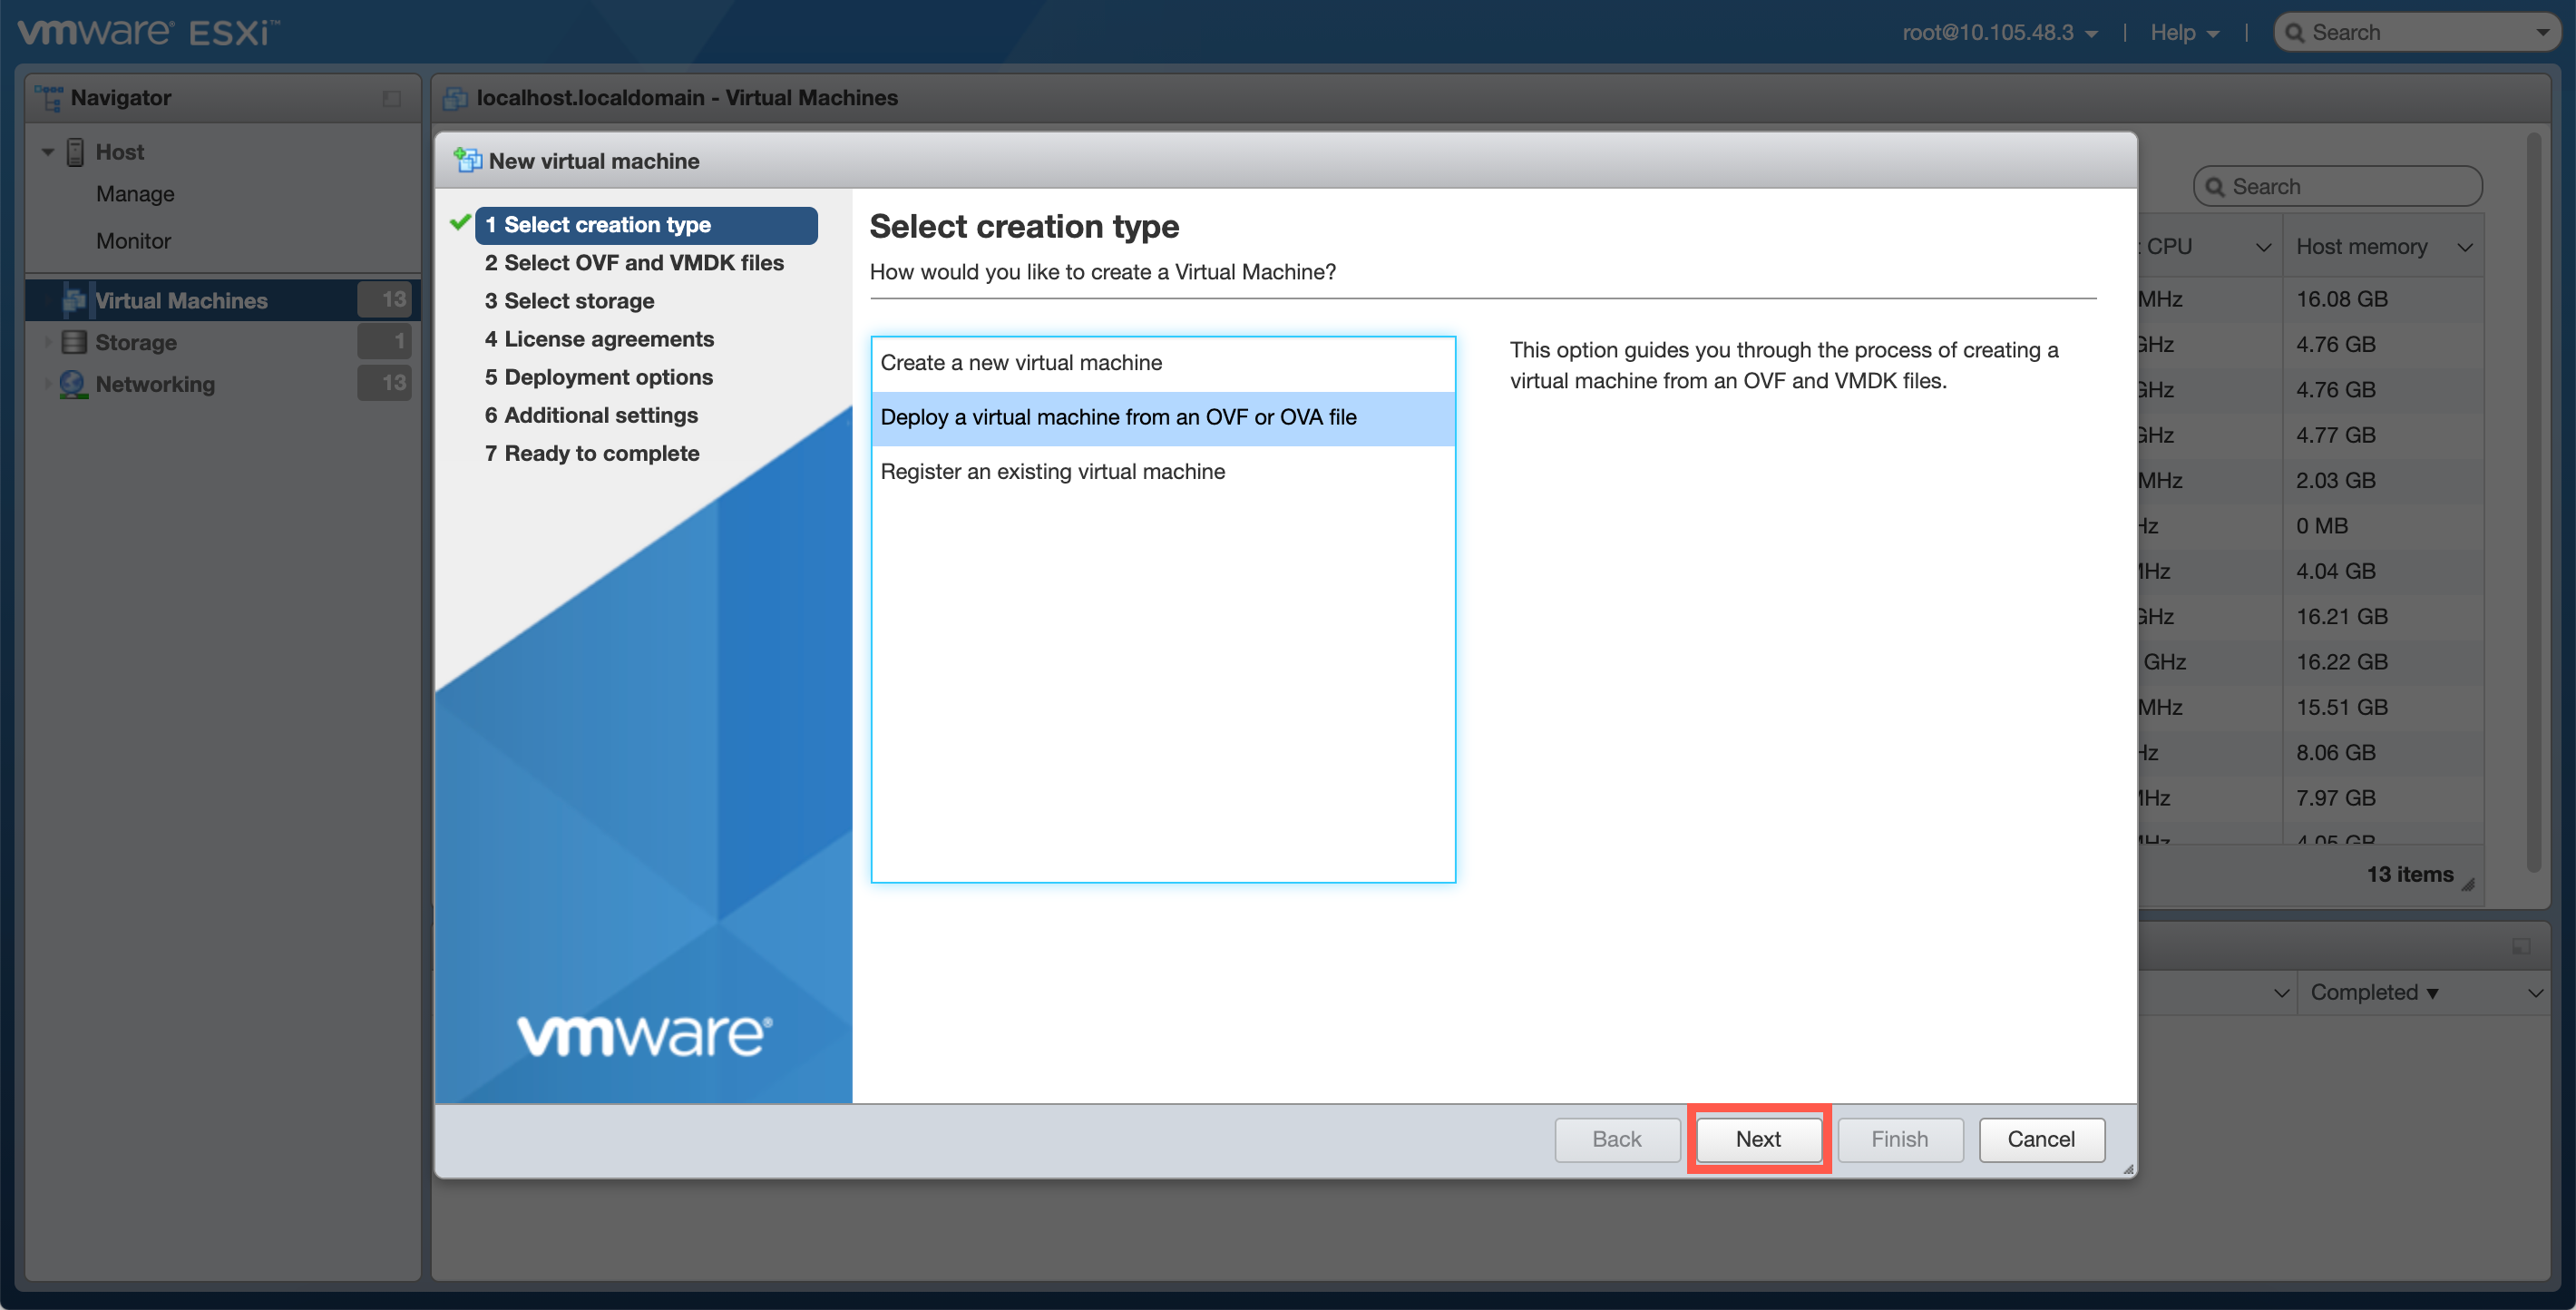
In the vSphere Client, click Create/Register VM, and then select Deploy a virtual machine from an OVF or OVA file from the list. Click Next.
-
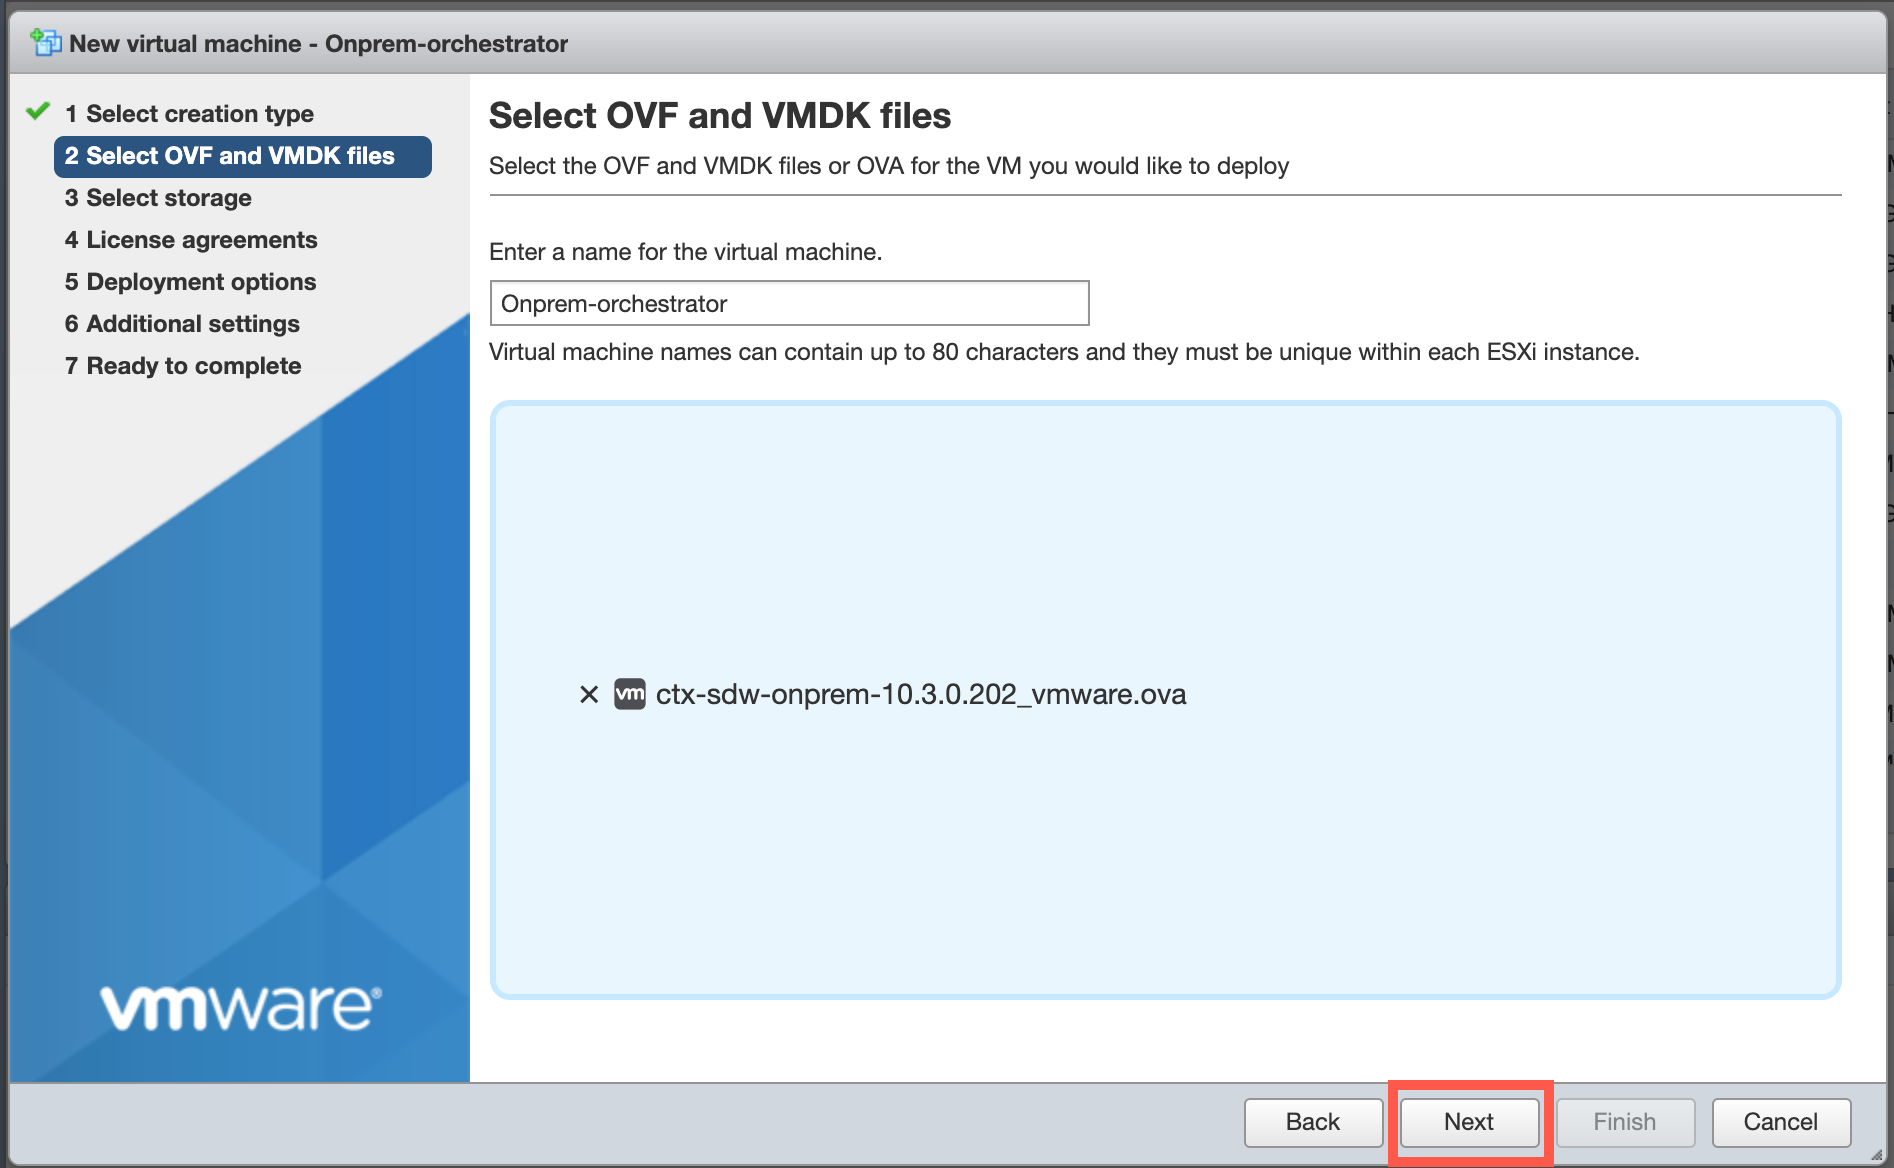
Enter a unique name for the new virtual machine.
-
Click inside the box and select the Citrix SD-WAN Orchestrator for On-premises OVF template (.ova file) that you want to install or you can drag the file inside the box.
-
Click Next.
-
Click Next.
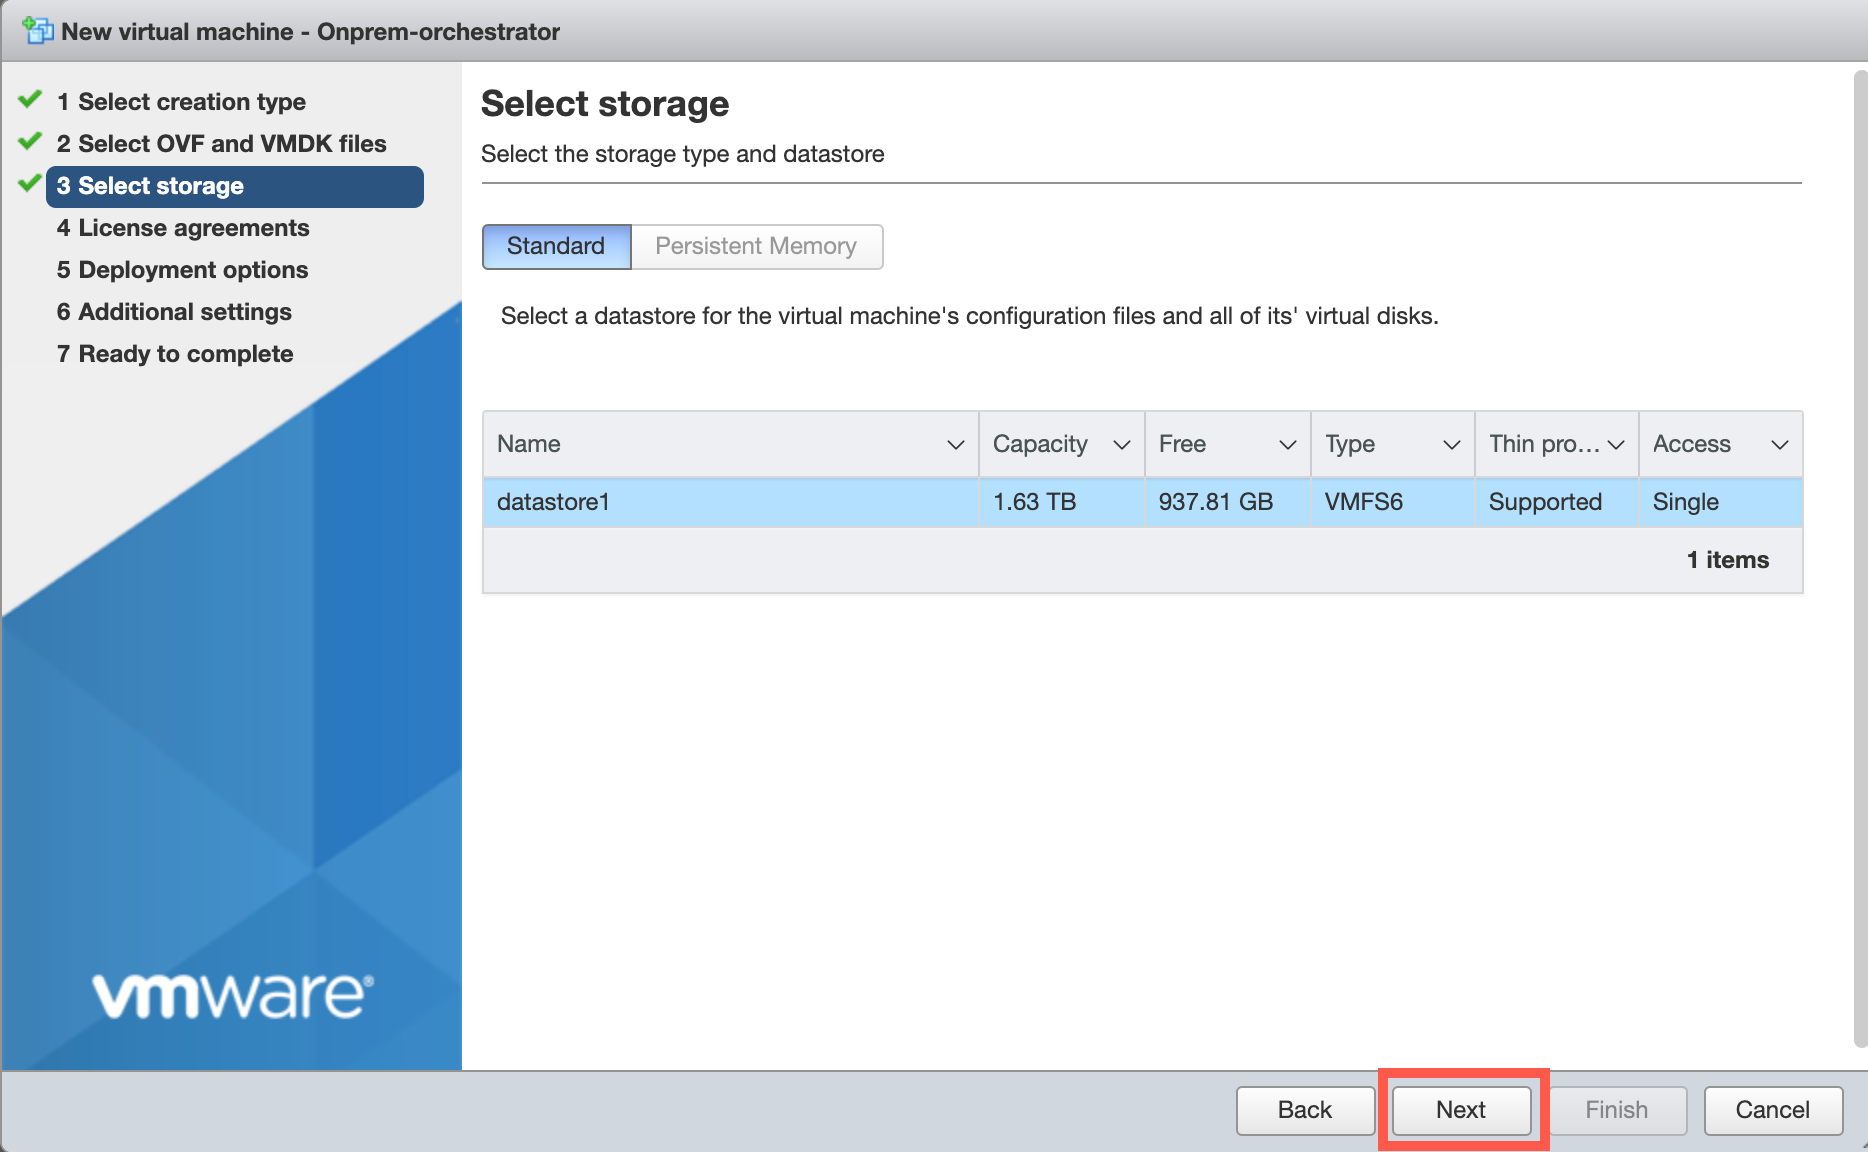
The Storage page appears.
-
Accept the default storage resource by clicking Next.
-
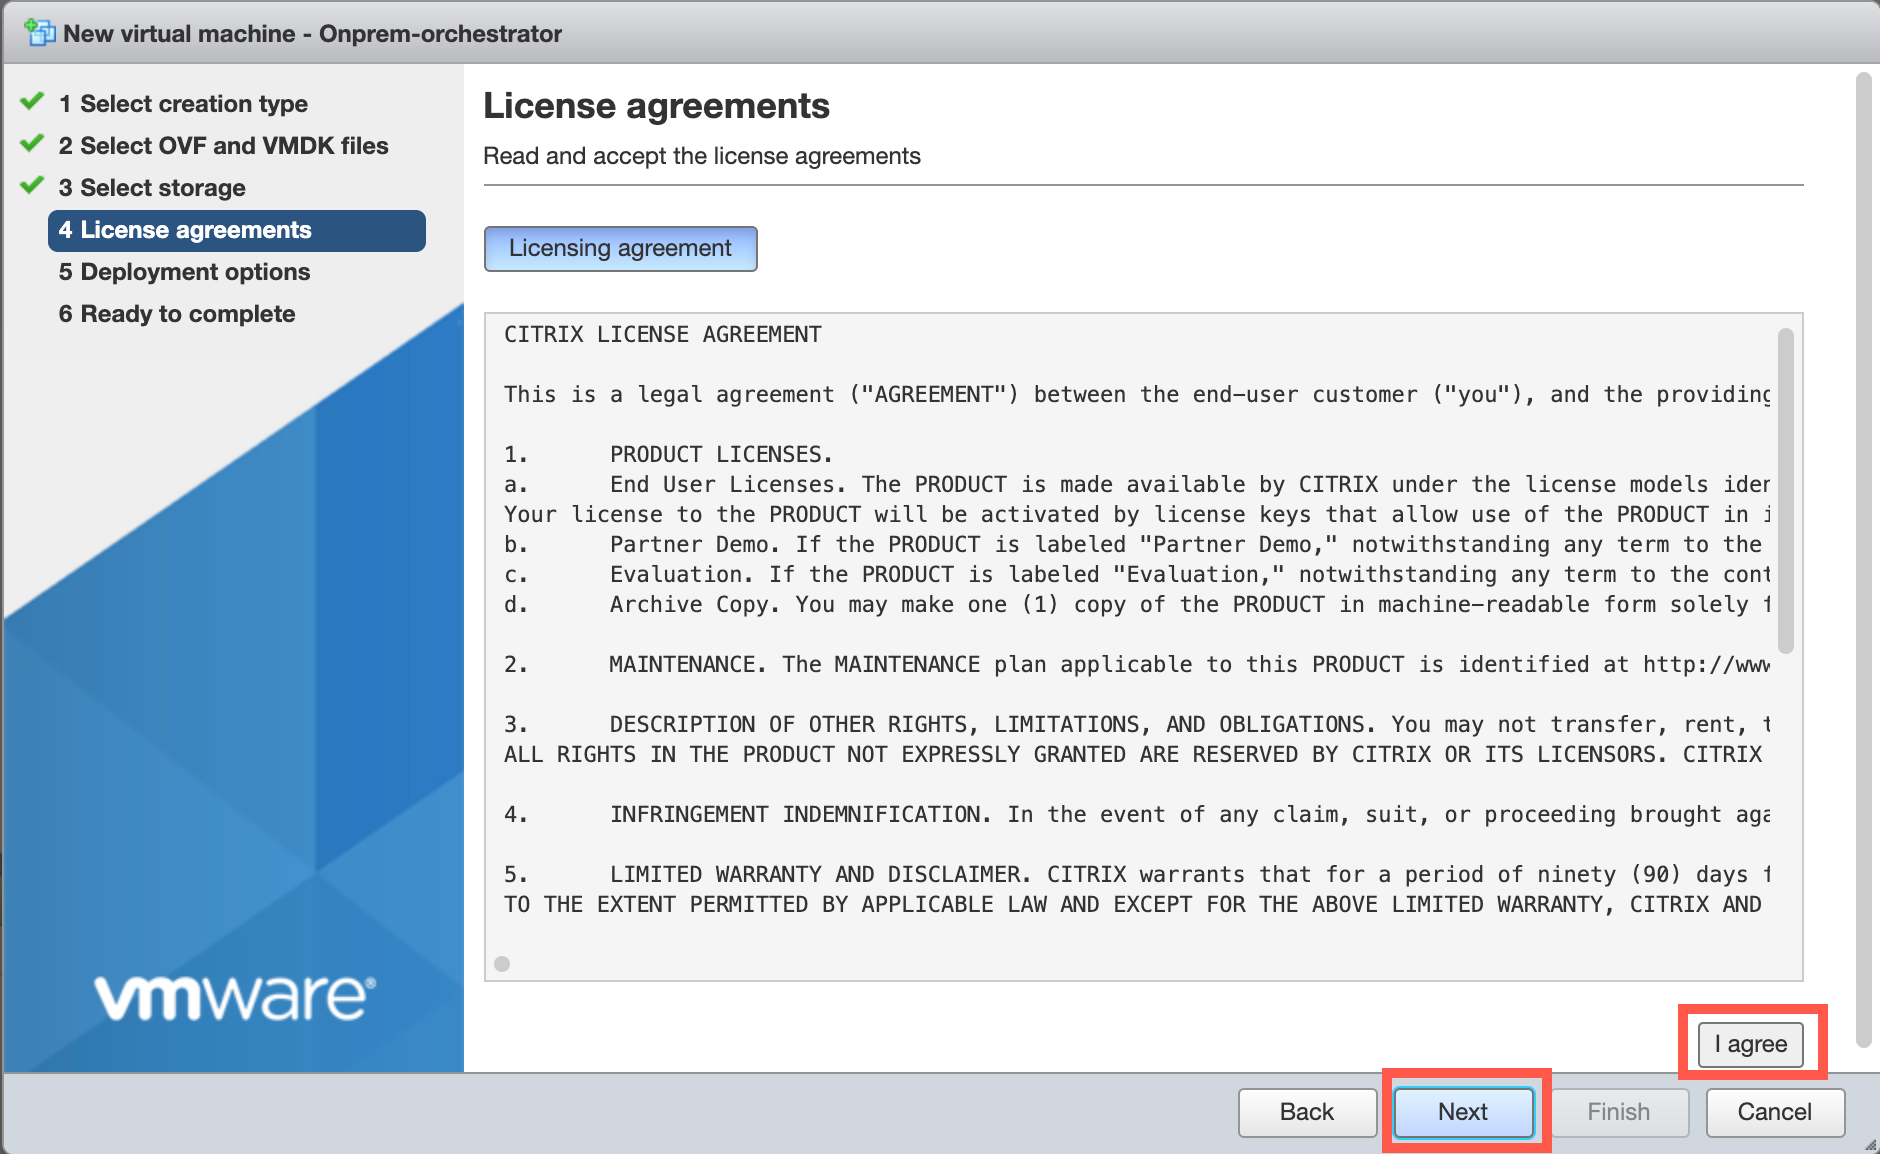
On the EULA page, click I Agree, and click Next.
-
On the Deployment option page, select the VM Network from the drop-down list and accept the default settings for other fields. Click Next.

-
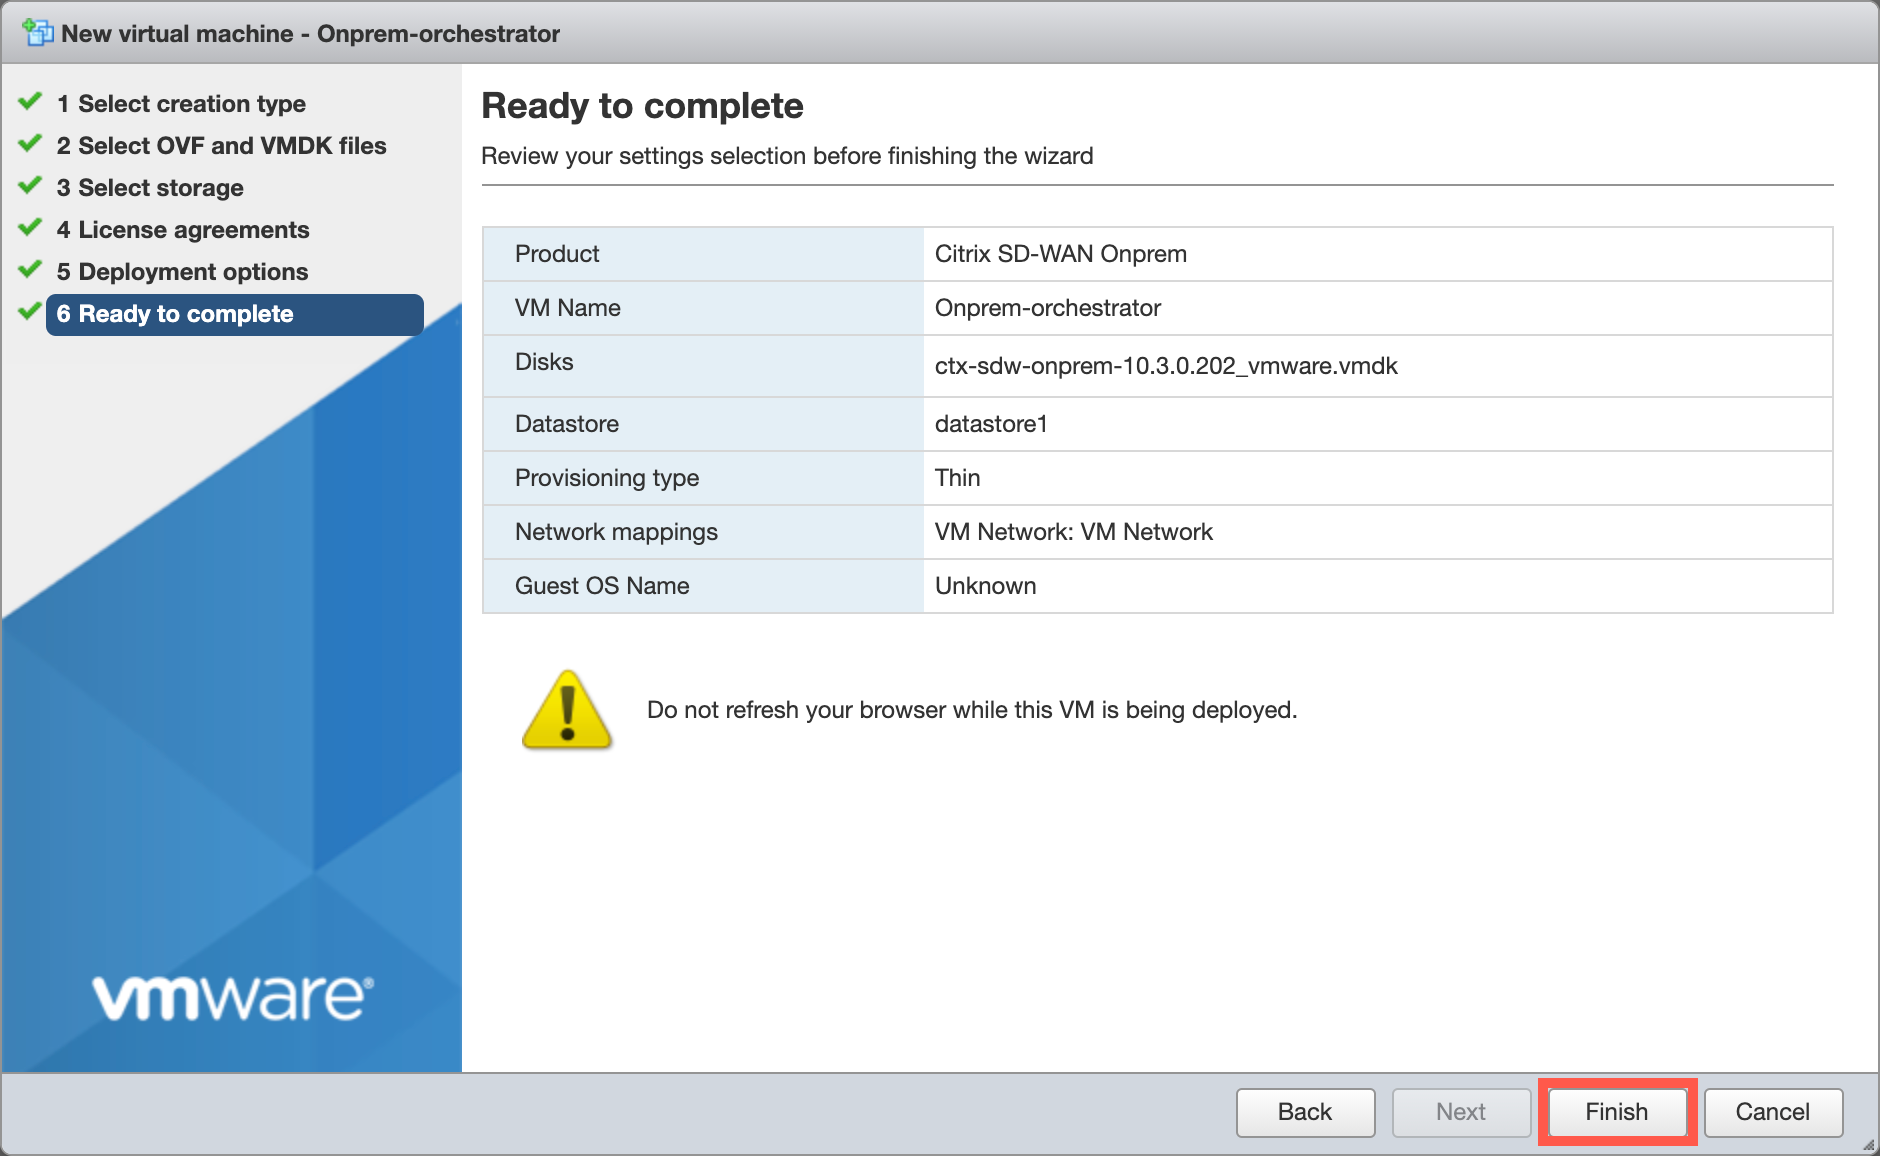
On the Ready to Complete page, click Finish to create the virtual machine.
Note
Decompressing the disk image onto the server can take several minutes.
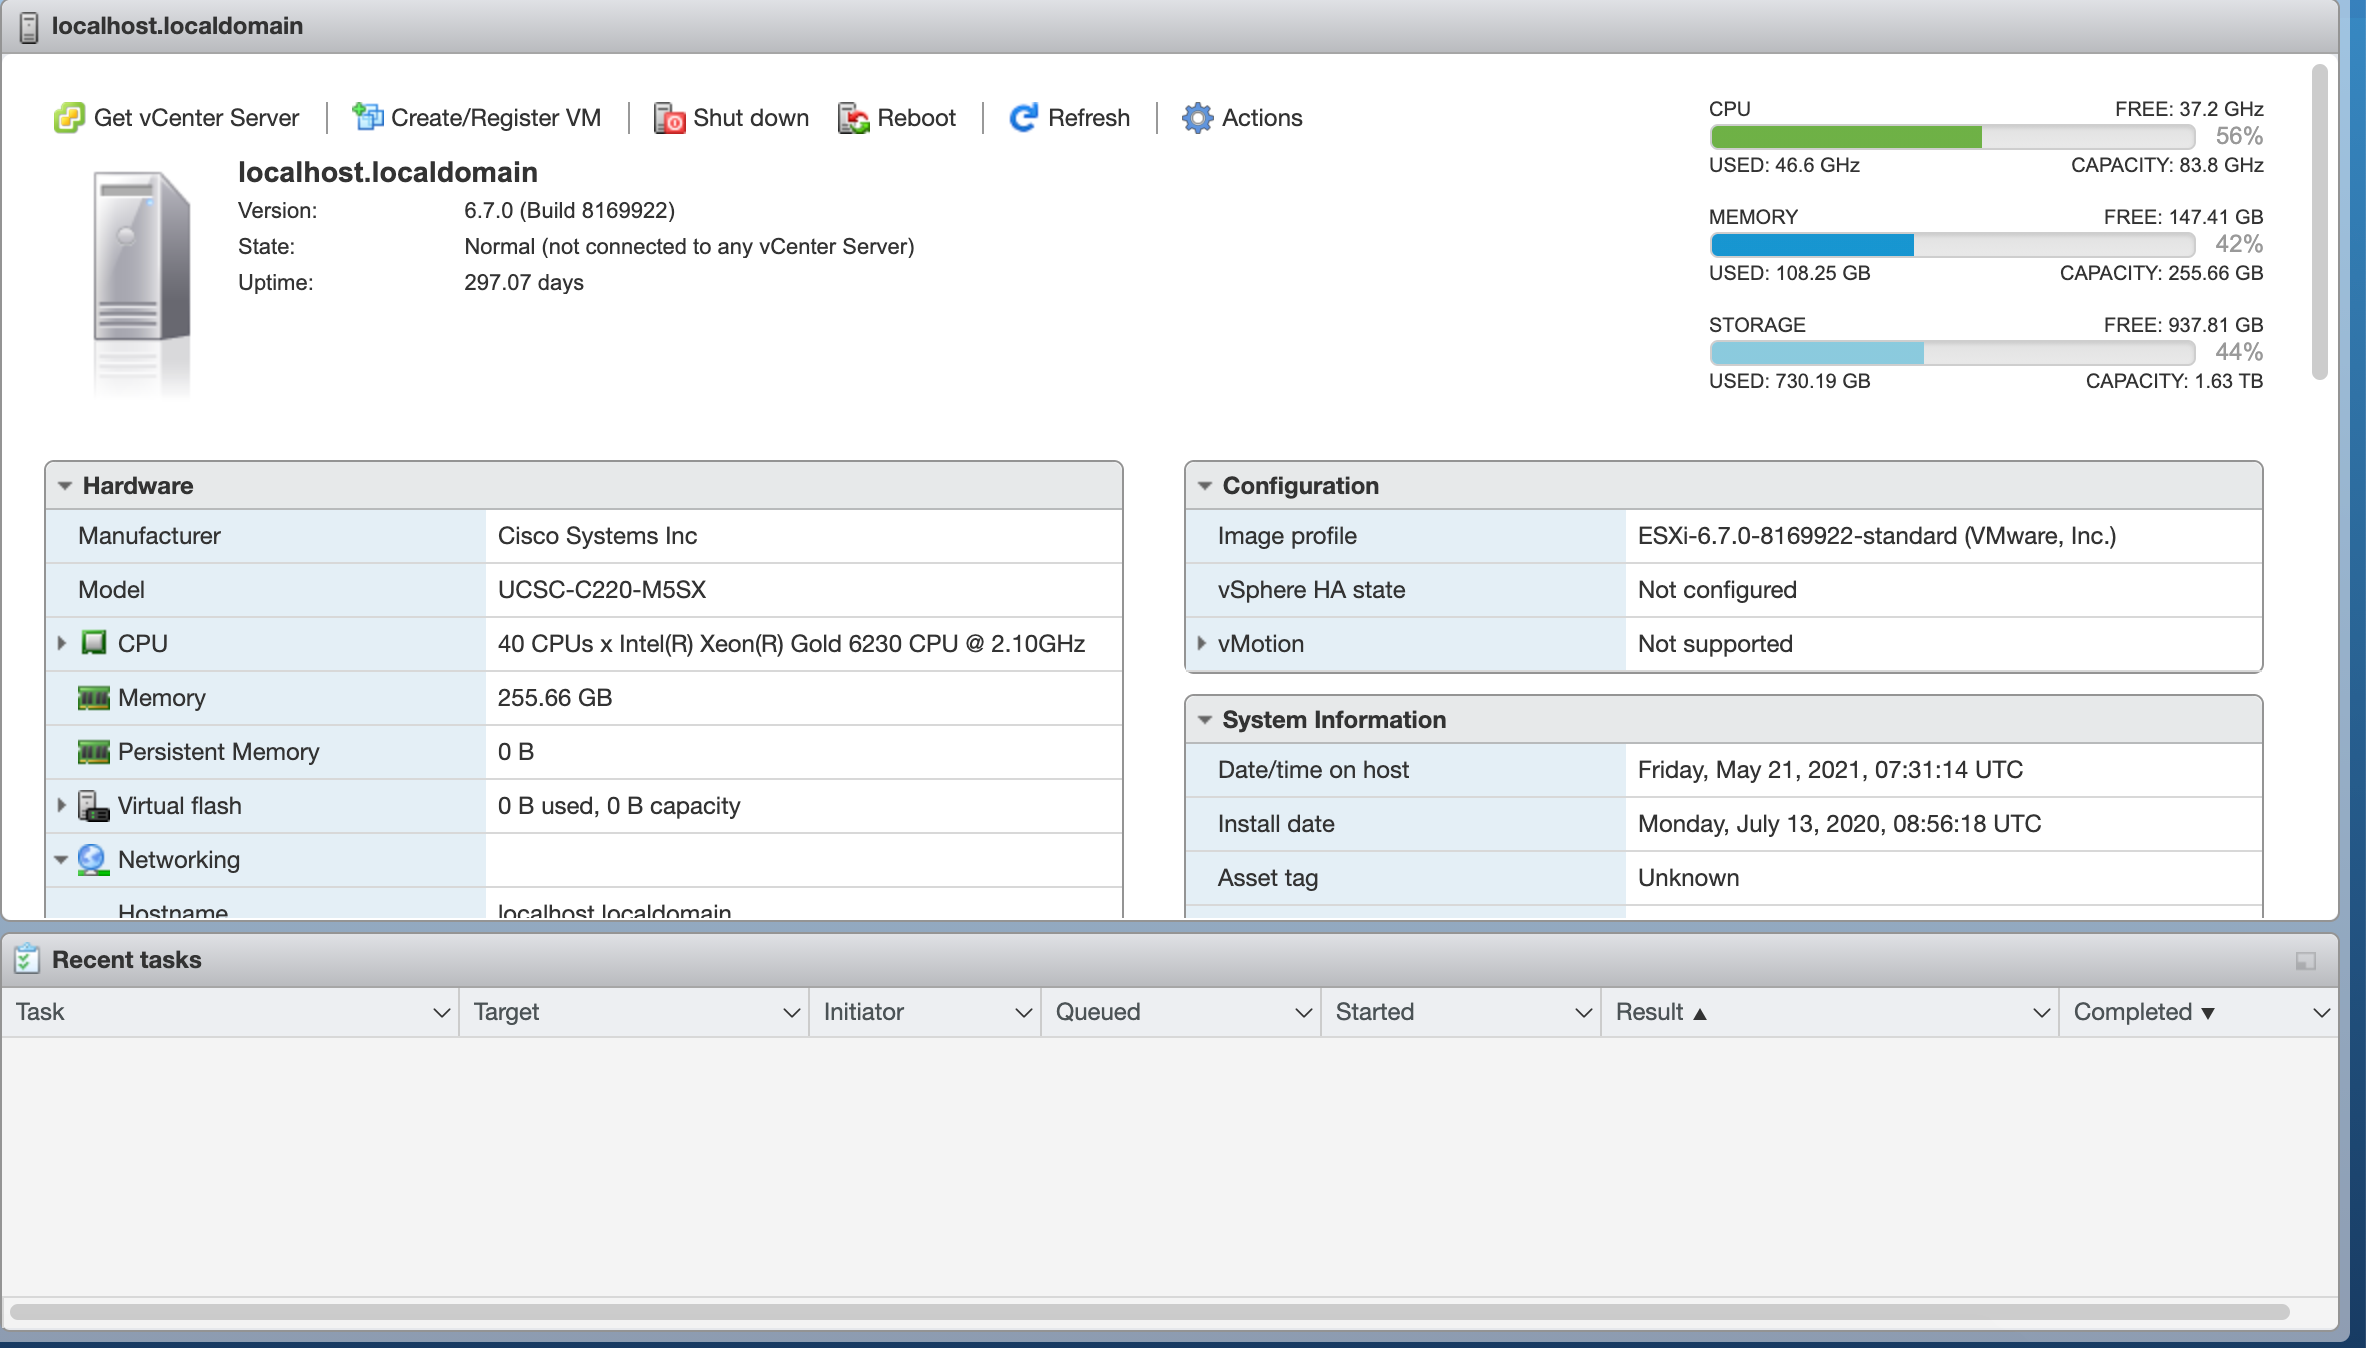
View and record the management IP address on the ESXi server
The management IP address is the IP address of the Citrix SD-WAN Orchestrator for On-premises virtual machine, use this IP address to log into the Citrix SD-WAN Orchestrator for On-premises Web UI.
To display the management IP address, do the following:
-
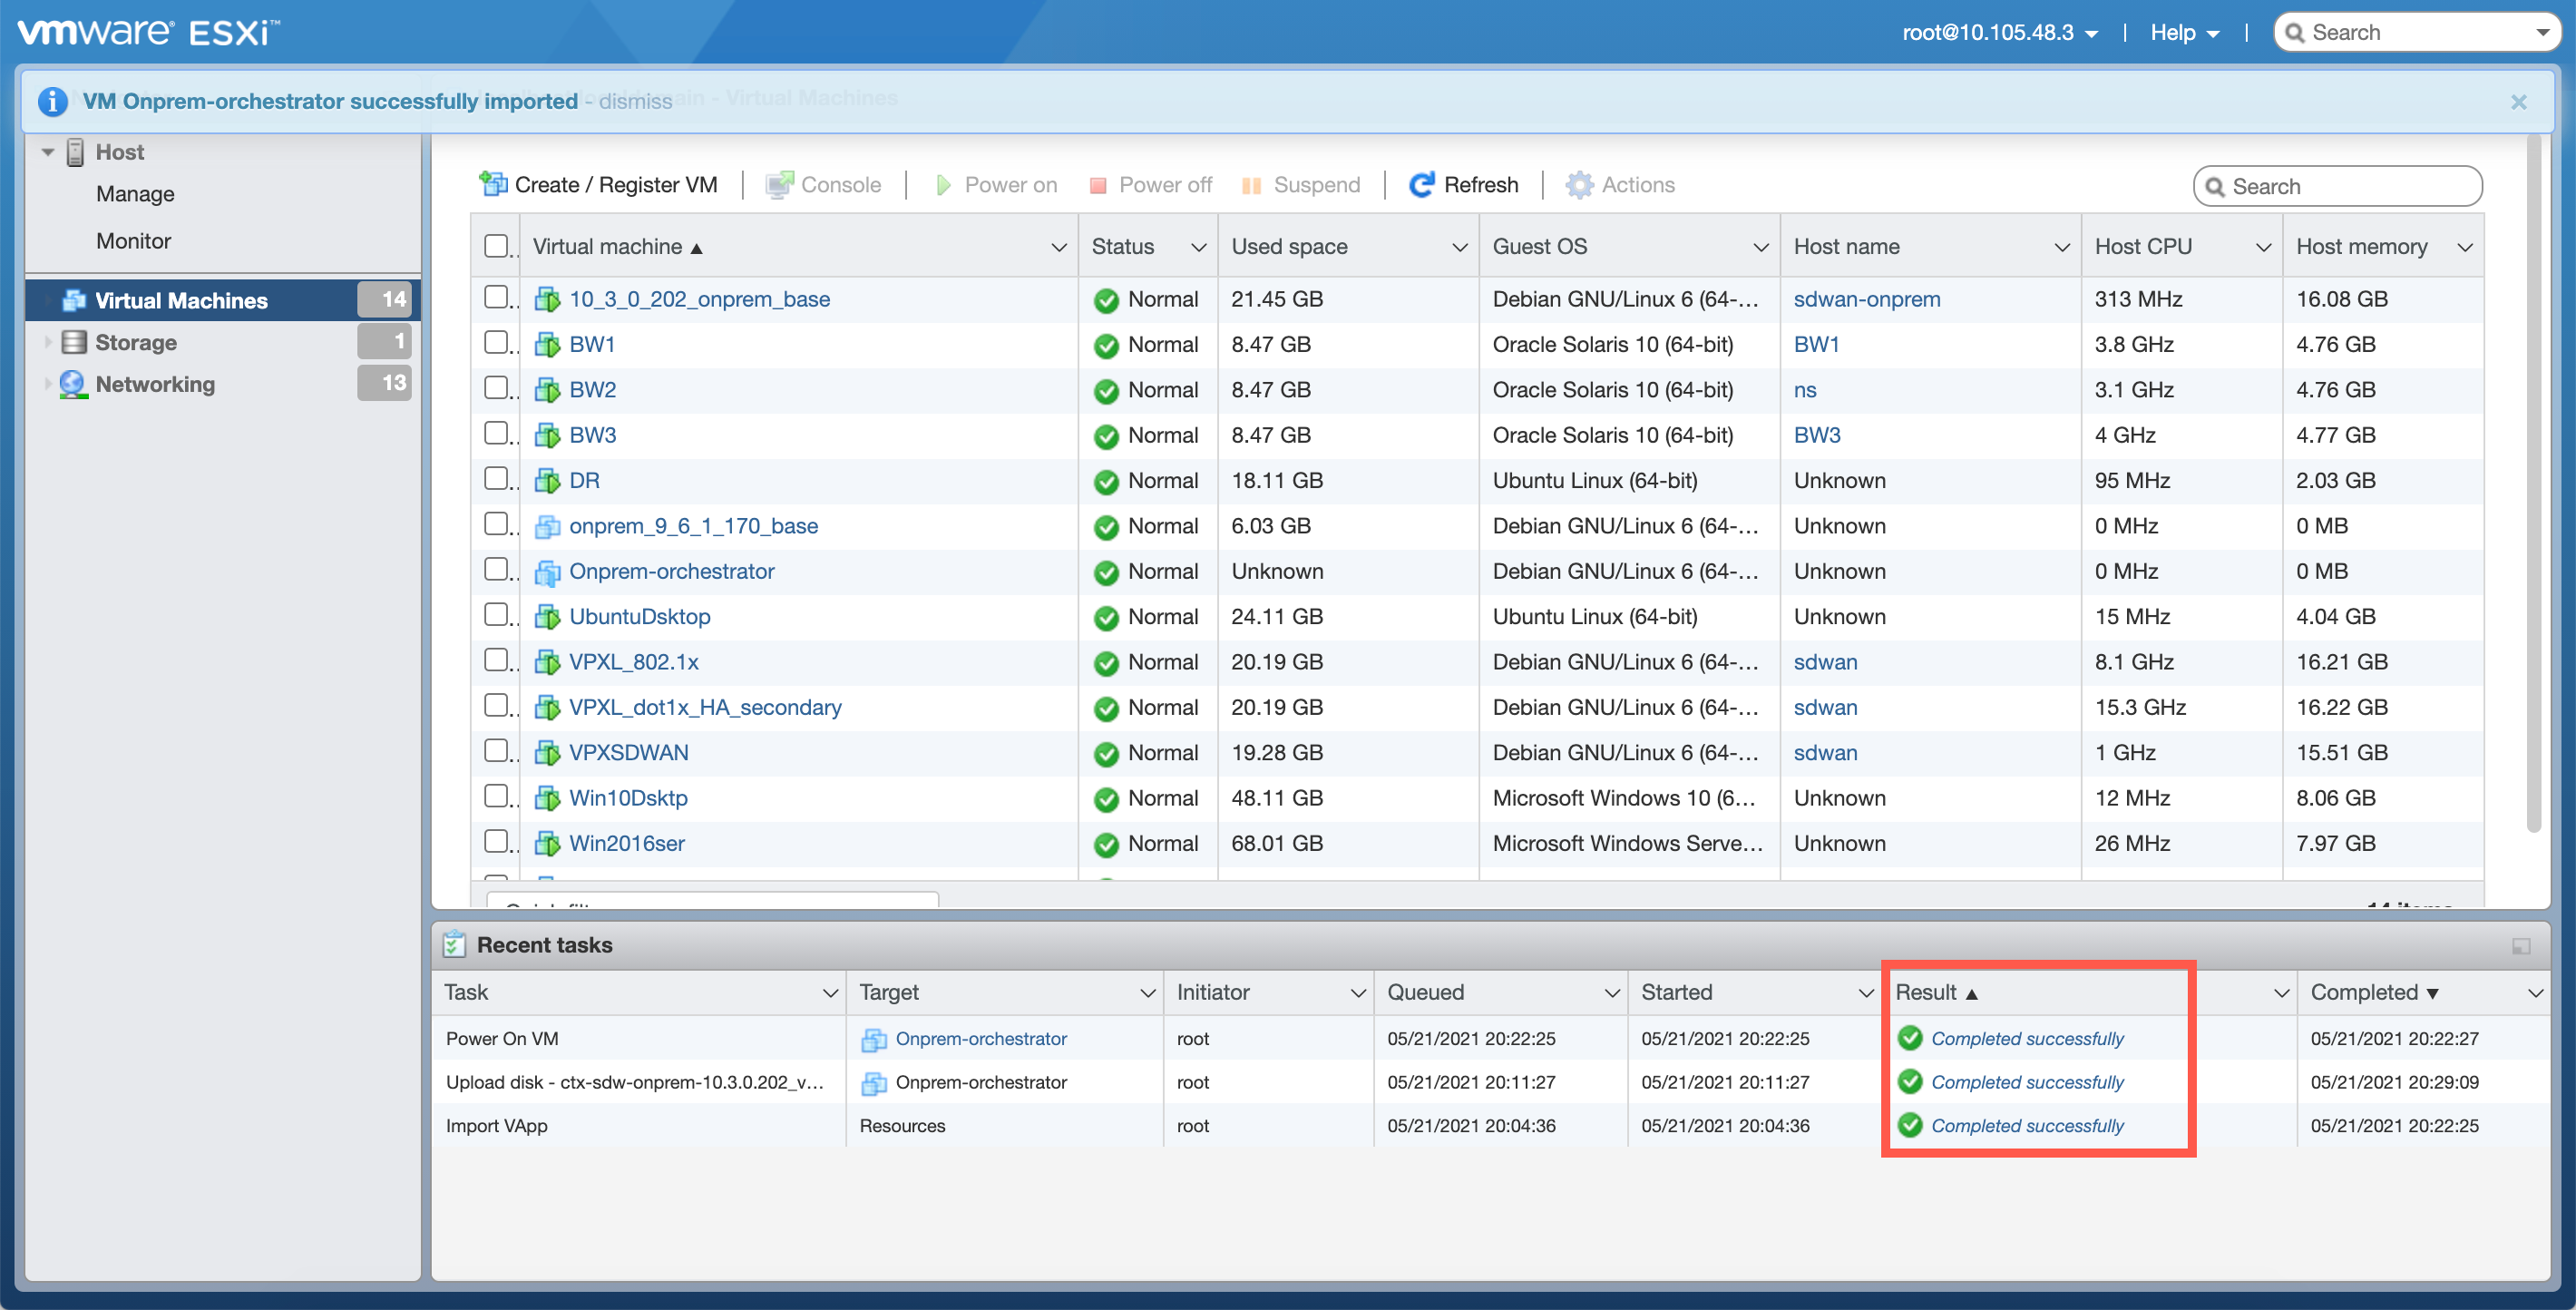
On the vSphere client Inventory page, select the new Citrix SD-WAN Orchestrator for On-premises virtual machine.
-
On the Citrix SD-WAN Orchestrator for On-premises page, under Recent Tasks, wait for the result to show completed.
-
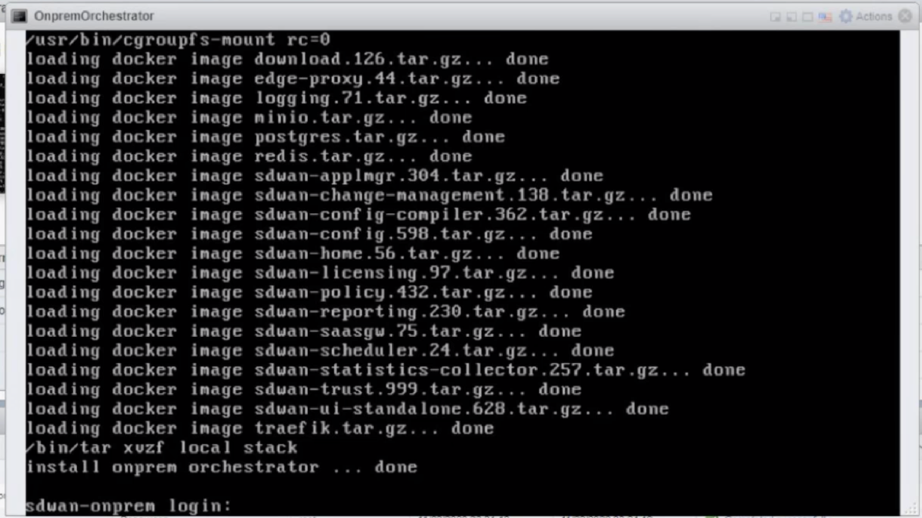
Select the Console tab, and then click anywhere inside the console area to enter console mode.
Note
To release console control of your cursor, press the
<Ctrl>and<Alt>keys simultaneously. -
Press Enter to display the console login prompt.
-
Log into the virtual machine console.
The default login credentials for the new Citrix SD-WAN Orchestrator for On-premises virtual machine are as follows:
- Login: admin
- Password: password
Note
It is mandatory to change the default admin user account password on a first time logon. This change is enforced using both CLI and UI.
-
Record the Citrix SD-WAN Orchestrator for On-premises virtual machine’s management IP address, which is shown as the Host IP address in a welcome message that appears when you log on.
Note
-
The DHCP server must be present and available in the SD-WAN network, or this step cannot be completed.
-
In the console, enter the CLI command
set_dnsto confirm the current DNS server setting and reconfigure the DNS server if the existing DNS server is unable to provide the DNS service. For more information about the usage of theset_dnscommand, see Citrix SD-WAN Orchestrator for On-premises log-in.
-
If the DHCP server is not configured in the SD-WAN network, you have to manually enter a static IP address.
To configure a static IP address as the management IP address:
-
When the virtual machine is started, click the Console tab.
- Log into the virtual machine. The default login credentials for the new Citrix SD-WAN Orchestrator for On-premises virtual machine are as follows:
- Login: admin
- Password: password
-
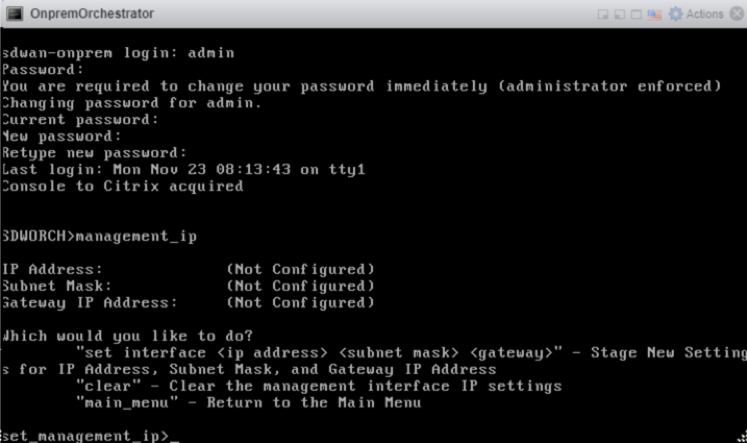
In the console enter the CLI command
management_ip. -
Enter the command
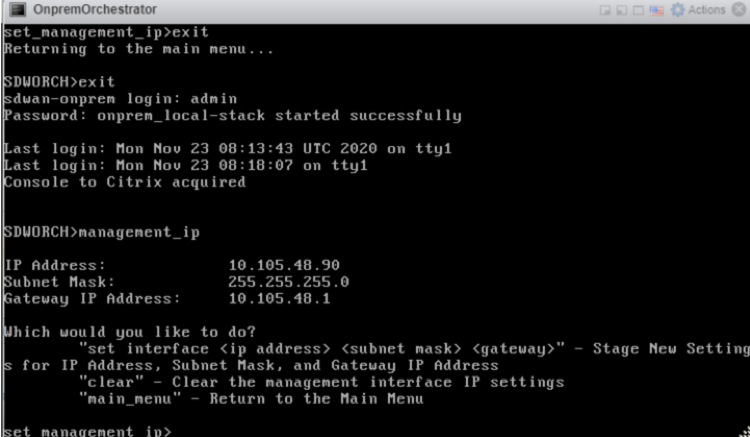
set interface <ipaddress> <subnetmask> <gateway>, to configure management IP. -
Are you sure you want to change your Management Interface IP settings?
You may lose connectivity to the appliance. <y/n>?
Press “y” to change the IP and access the new management IP configured after nearly 6–7 minutes.