Site and IP Groups
Administrators can group sites or IP addresses to simplify common application policies across multiple sites or network addresses, and also serve as filters for reports.
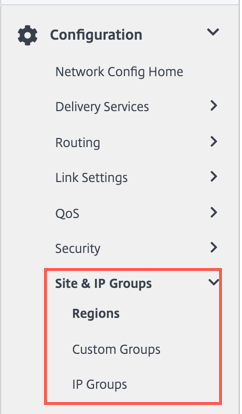
To view Regions, Site and IP Groups, navigate to Configuration > Site & IP Groups.
Regions
Regions help to create administrative boundaries within large networks spanning hundreds to thousands of sites. If your organization has a large network spanning multiple administrative (or geographical) boundaries, you can consider creating regions to segment the network.
Currently, a maximum of 1000 sites are supported per region. Each region is expected to have a Regional Control Node (RCN), which serves as the hub and controller for the region. So, you would typically consider a multi-region deployment if your network has more than 500 sites. By default, all networks are single region networks, where the Master Control Node (MCN) serves as the hub and the control node for all the sites. On adding one or more regions, the network becomes a multi-region network. The region associated with the MCN is called the default region.
A multi-region network supports a hierarchical architecture with an MCN controlling multiple RCNs. Each RCN, in turn, controls multiple branch sites. Even in a multi-region deployment, you can have the MCN double up as the direct hub node for a subset of the sites while having the rest of the sites use their respective RCNs as hub nodes.
The sites being managed directly by the MCN that is, the RCNs and potentially some other sites directly managed by the MCN are said to be in the default region. The default region would be the only region for a network before other regions are added. After adding other regions, you can select the Default option to use a desired region as the default region.
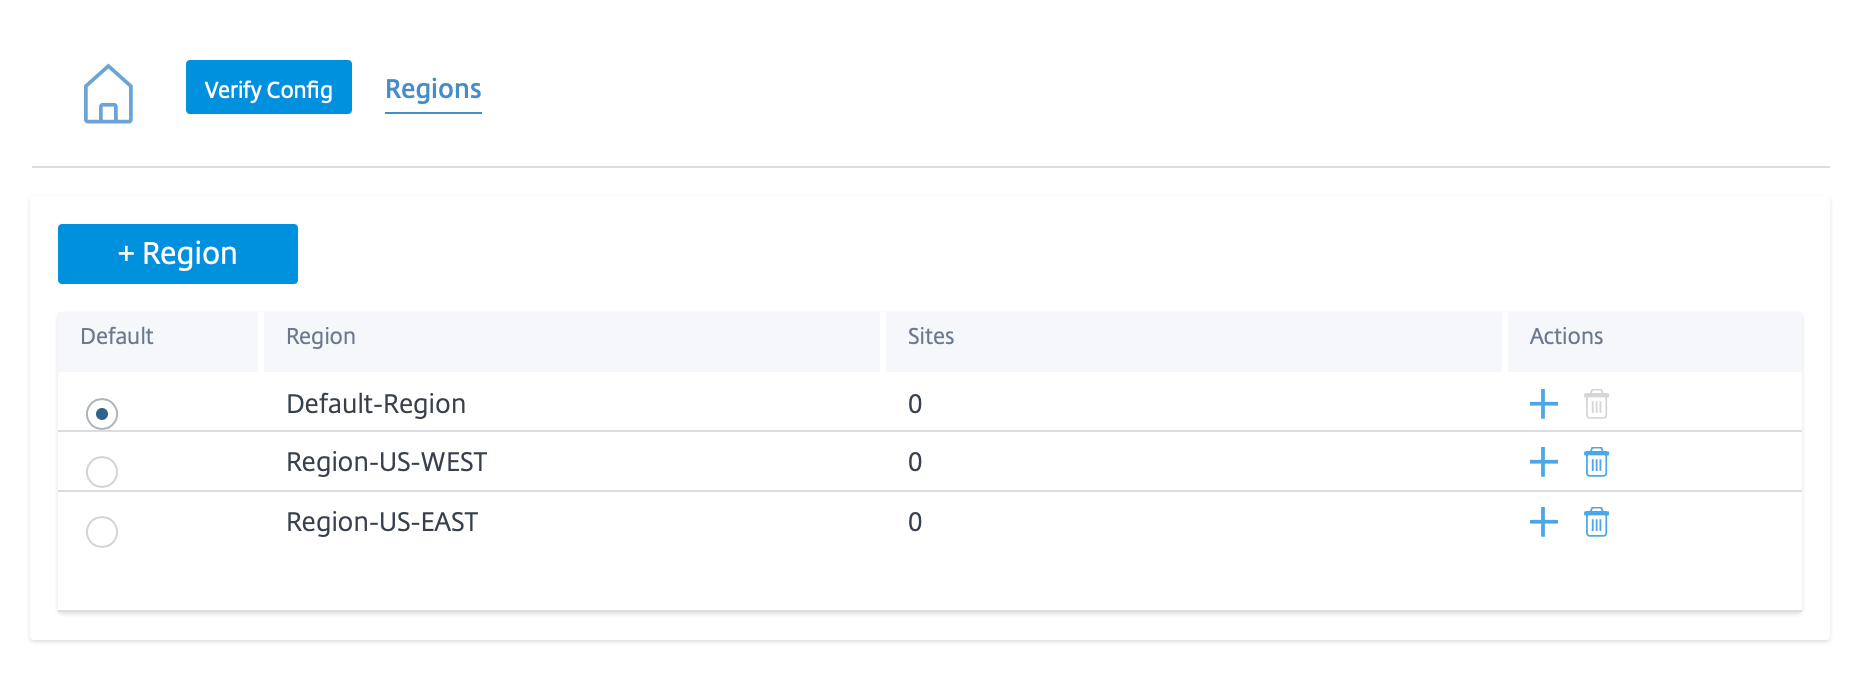
To create a region:
-
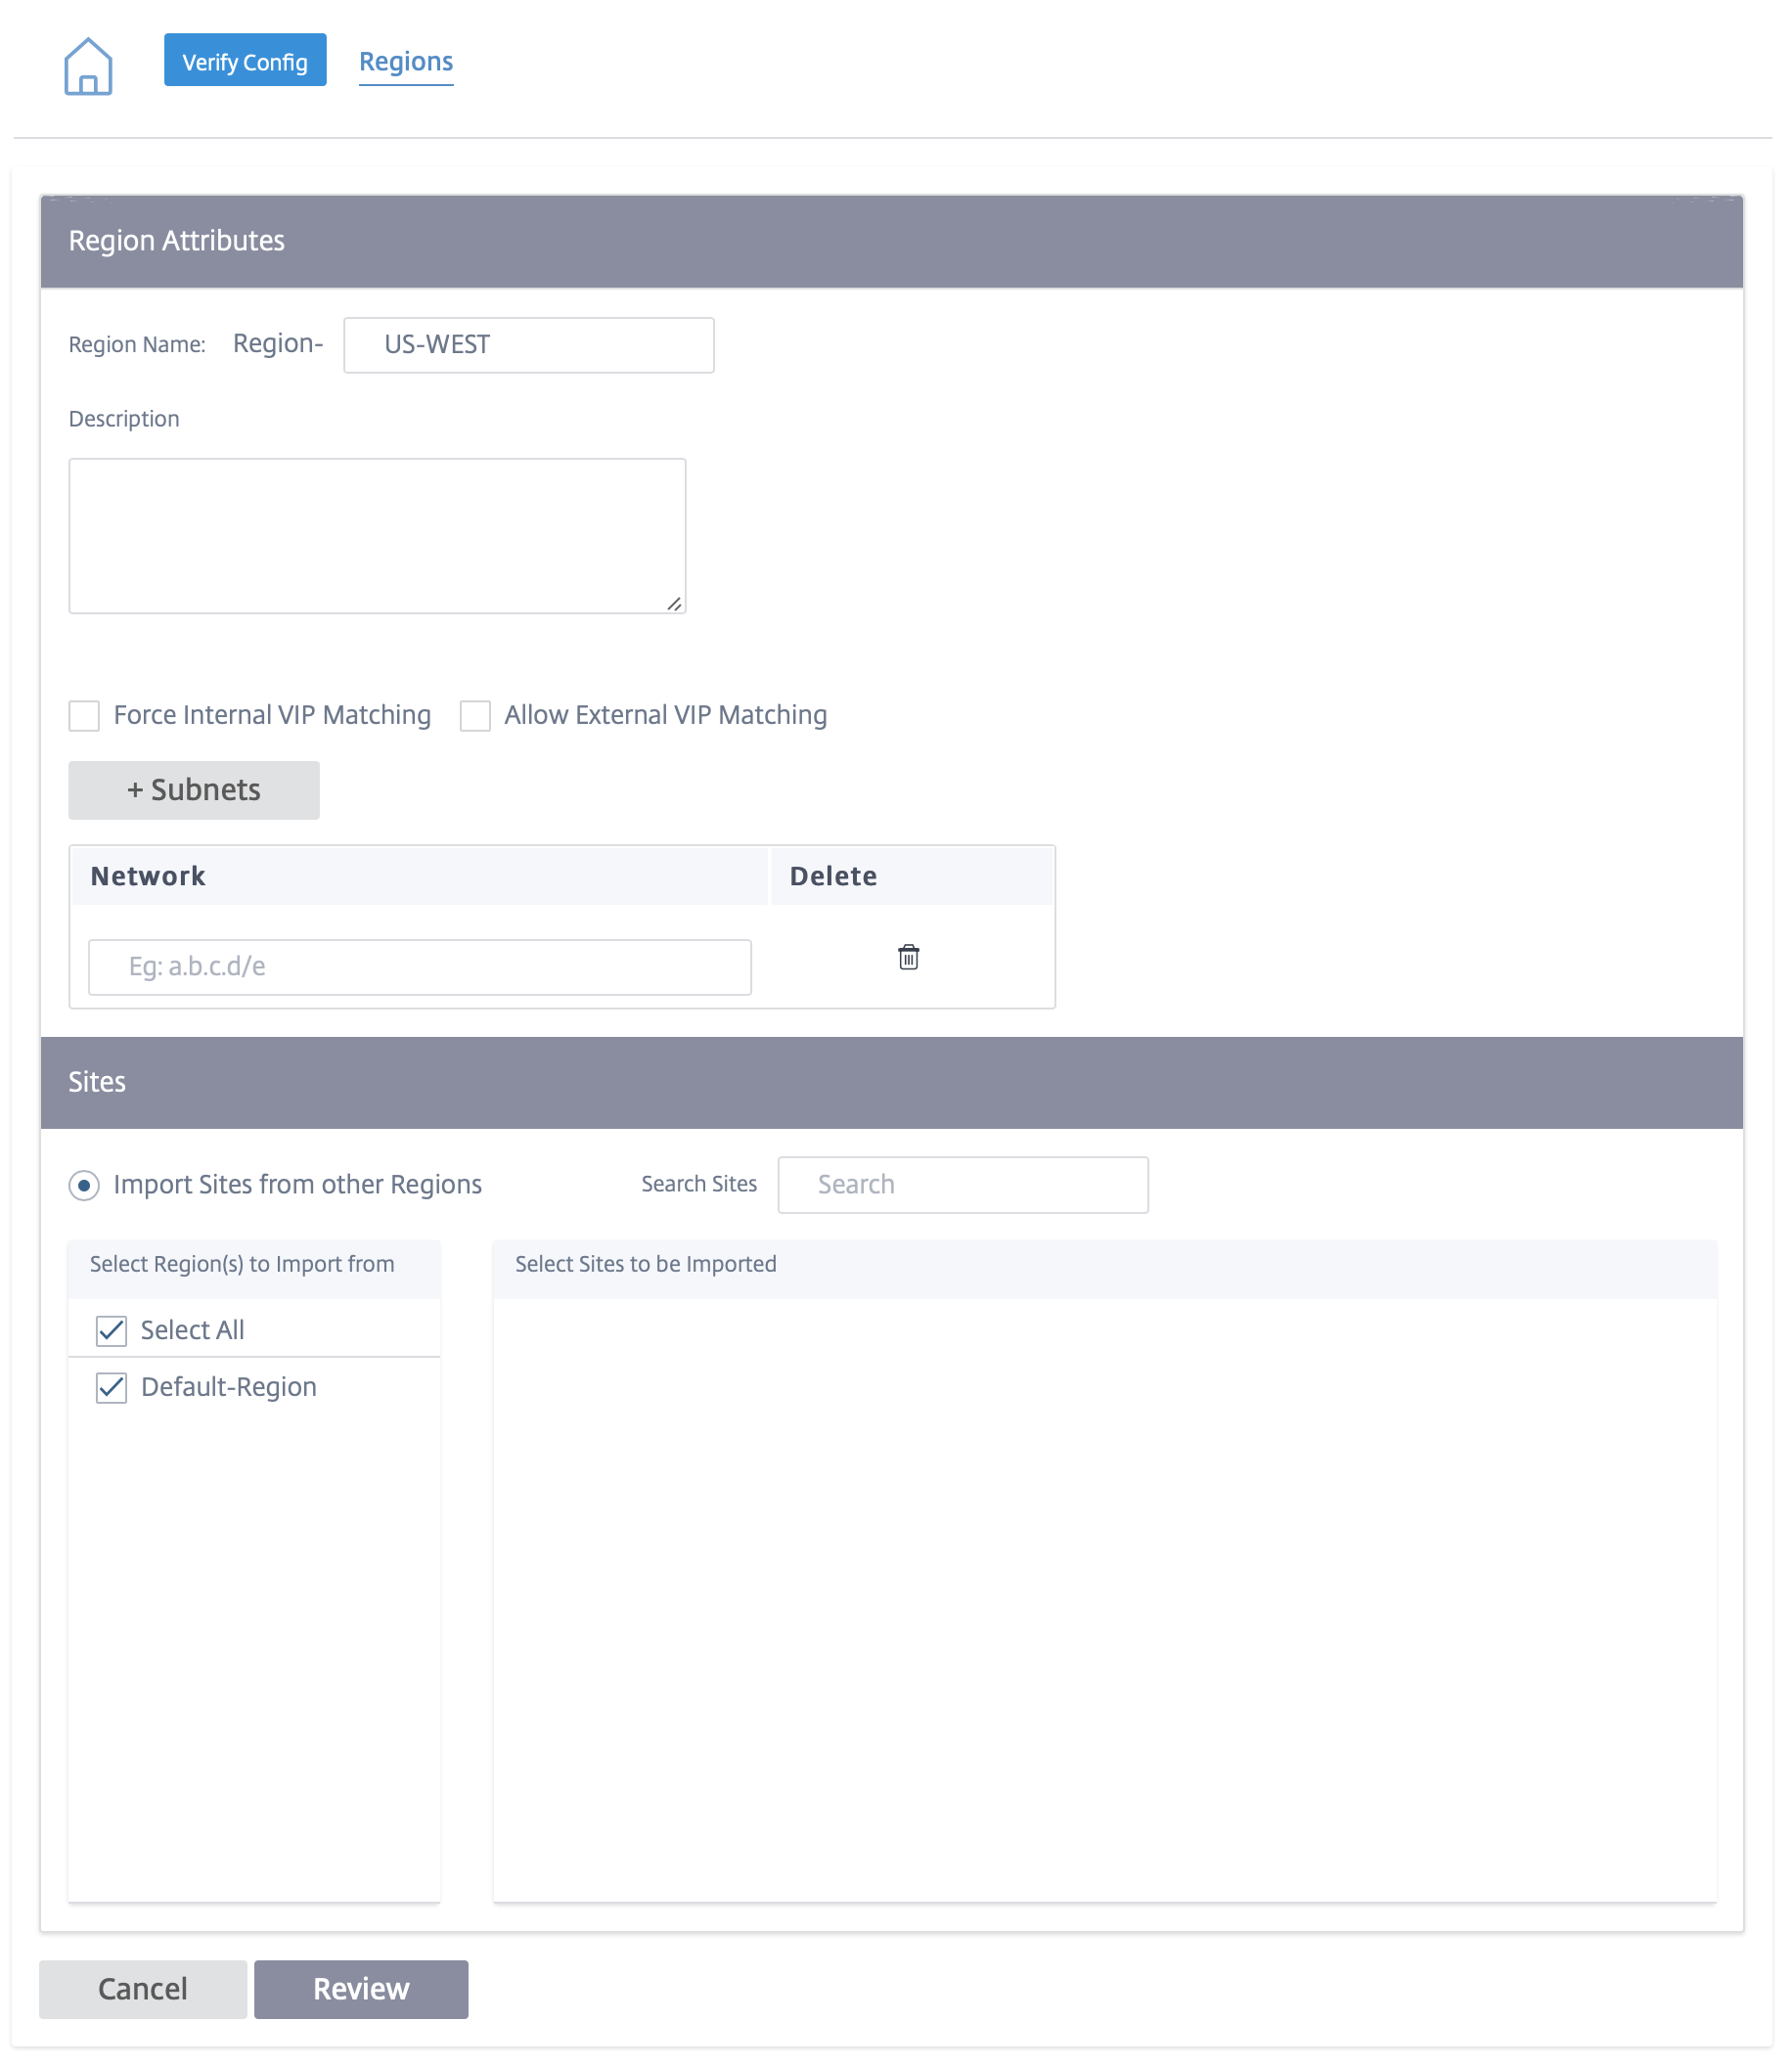
Click + Region. Provide a region name and description.
-
Enable Interval VIP matching based on whether you want Forced Internal VIP Matching or Allow External VIP Matching.
- Forced Internal VIP Matching: When enabled, all non-private Virtual IP addresses in the Region are forced to match the configured subnets.
- Allowed External VIP Matching: When enabled, non-private Virtual IP addresses from other regions are allowed to match the configured subnets.
-
Click + Subnets to add subnets. Enter a Network address. The network address is the IP address and mask for the subnet.
-
Select the sites.
-
Click Review and then Save. The newly created region is added to the existing list of regions.
Note
A customer can only have Static or Dynamic Virtual paths within a Region.
You can place sites under the region once a Region is created successfully.
Note
Dynamic virtual paths cannot be established between branches in different regions.
Click Verify Config to validate any audit error.
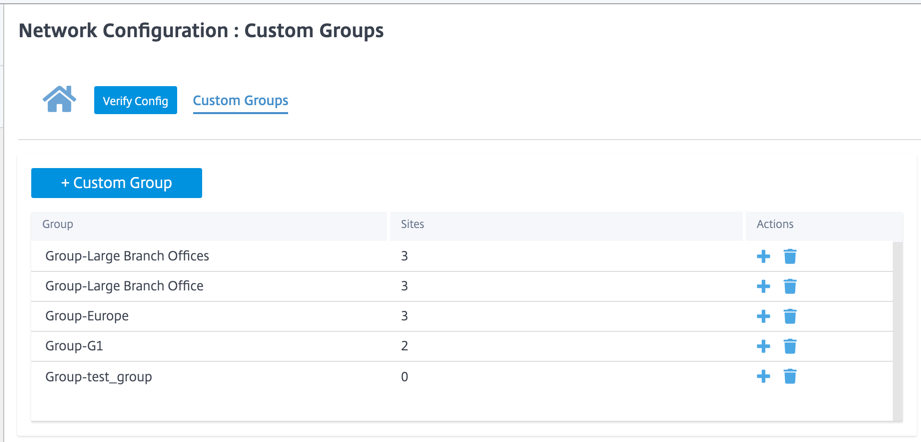
Custom groups
Custom Groups provide users the flexibility to group sites as needed. Users can apply policies for groups of sites at once, without necessarily having to deal with each site individually. Groups can also serve as filters for dashboards, reports, or network configuration. Unlike Regions, groups can overlap in terms of sites. In other words, the same sites can be part of multiple groups.
For example, a user can create a group named Business Critical Sites to configure common policies for all your business-critical sites. The user can also monitor their health and performance separately as a group. Some of those sites can also be a part of a Large Branch Office group, for instance.
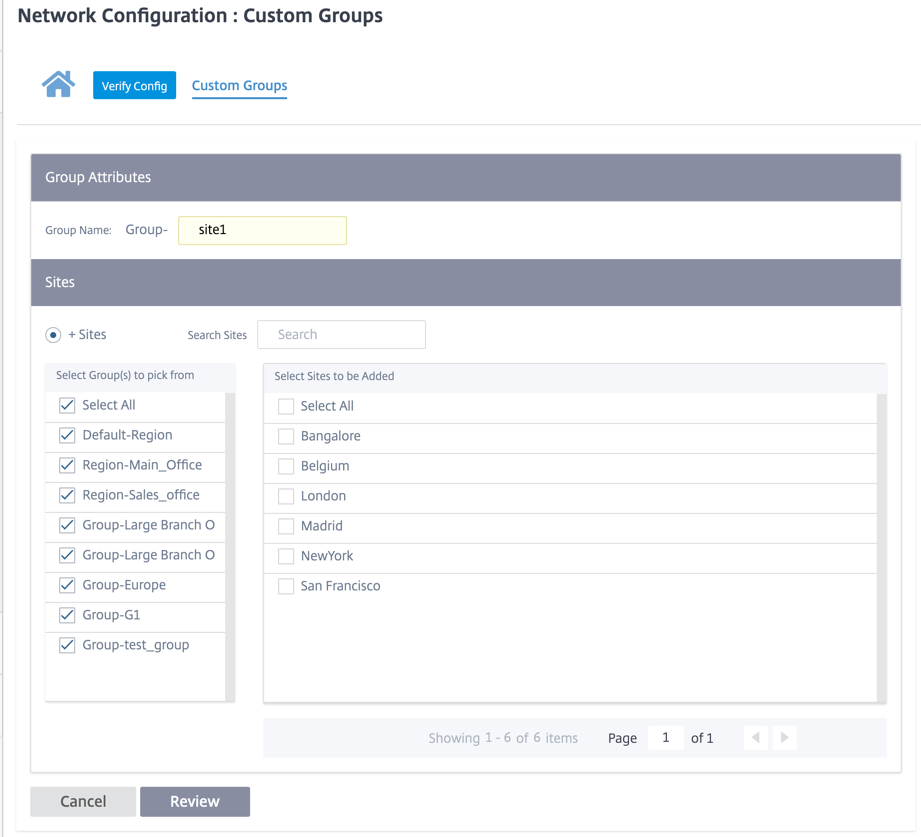
Custom Site Groups provide a way to logically group sites together for reporting purposes. You can create custom groups and add sites to each custom group. To create a custom group click + Custom Group. Provide a group name and select or add sites. Click Review and then Save.
Click Verify Config to validate any audit error.
IP groups
Citrix SD-WAN Orchestrator service introduces the option of adding IP groups (network objects). With this option, you can group IP and network addresses by using IP Groups while defining a route filter rather than creating a filter for each subnet. These groups can be used in configuration and policies as needed, without necessarily having to key in individual IP addresses each time.
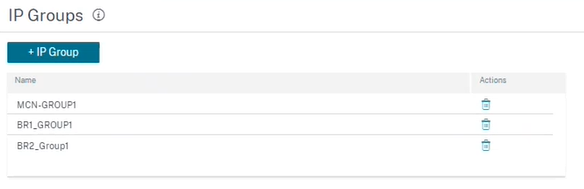
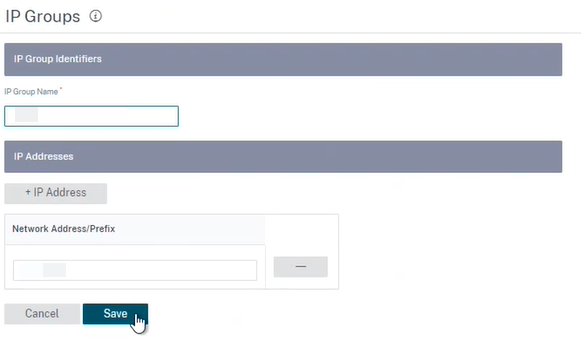
You can create IP groups and add network addresses and prefixes. To create an IP group, select IP Groups and click + IP Group. Provide a group name. Click + IP Address and enter IP addresses to be added to the IP group.
Click Verify Config to validate any audit error
The following features utilize the IP groups:
-
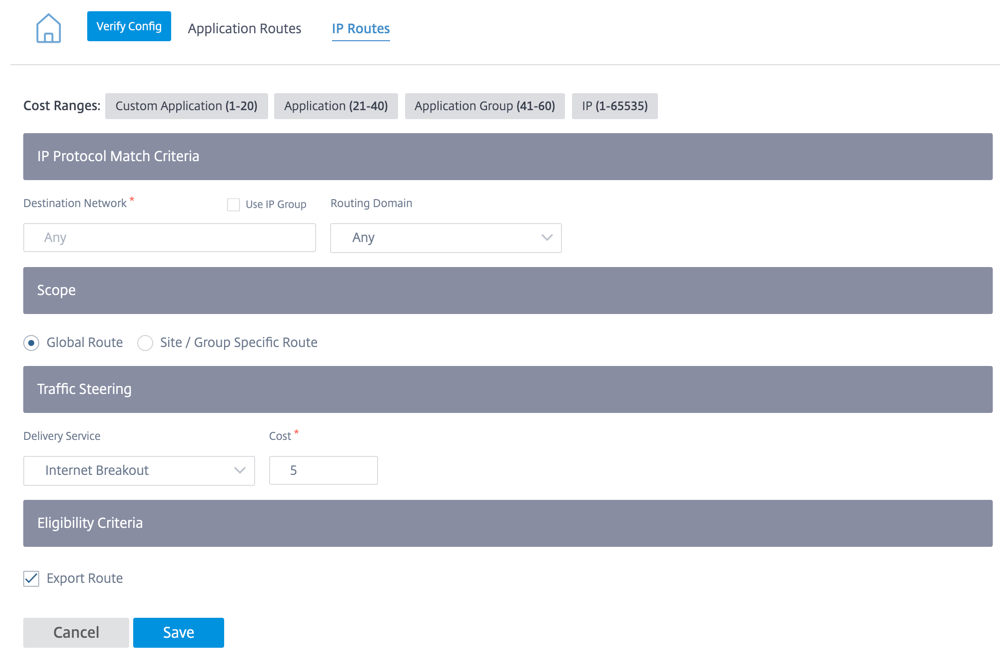
Creating an IP route: You can add a destination network or enable the Use IP Group check box to select an existing IP group. For more information, see IP groups.
-
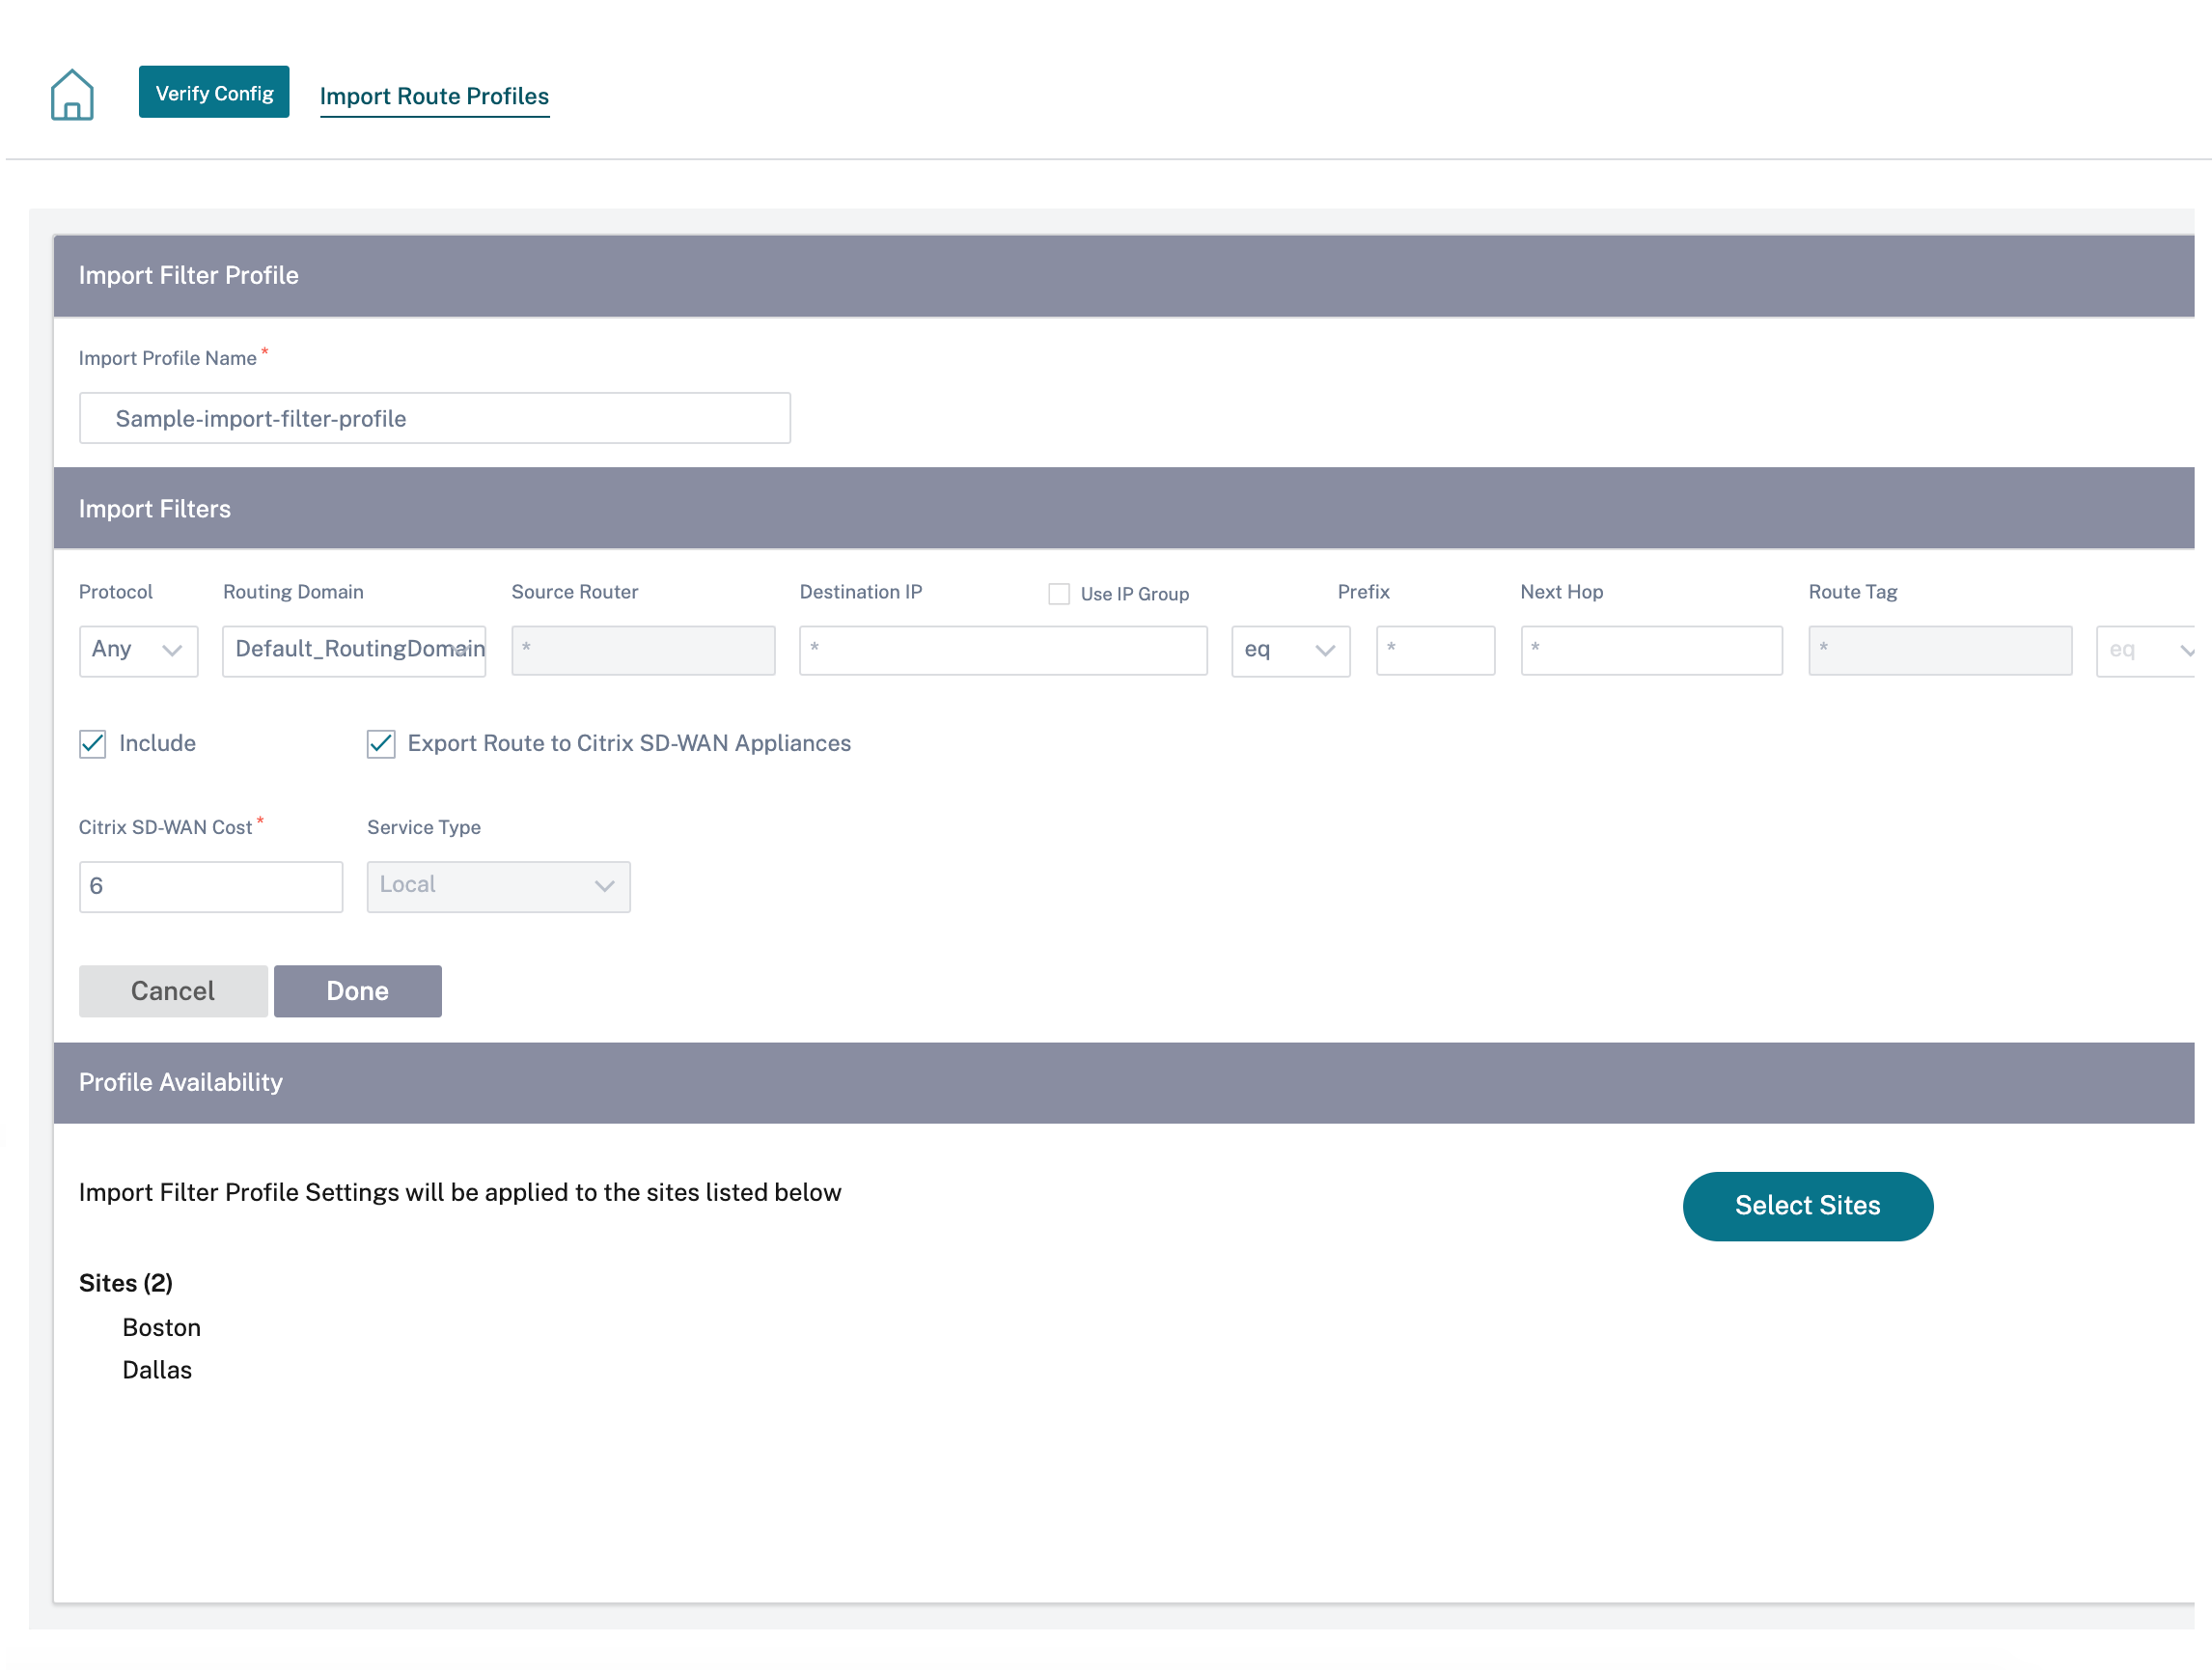
Import route profiles: While creating an import filter profile, you can choose from the list of IP groups available on your network.
You can add a destination network or enable the Use IP Group check box to select an existing IP group.
For more information, see Import route profiles.
-
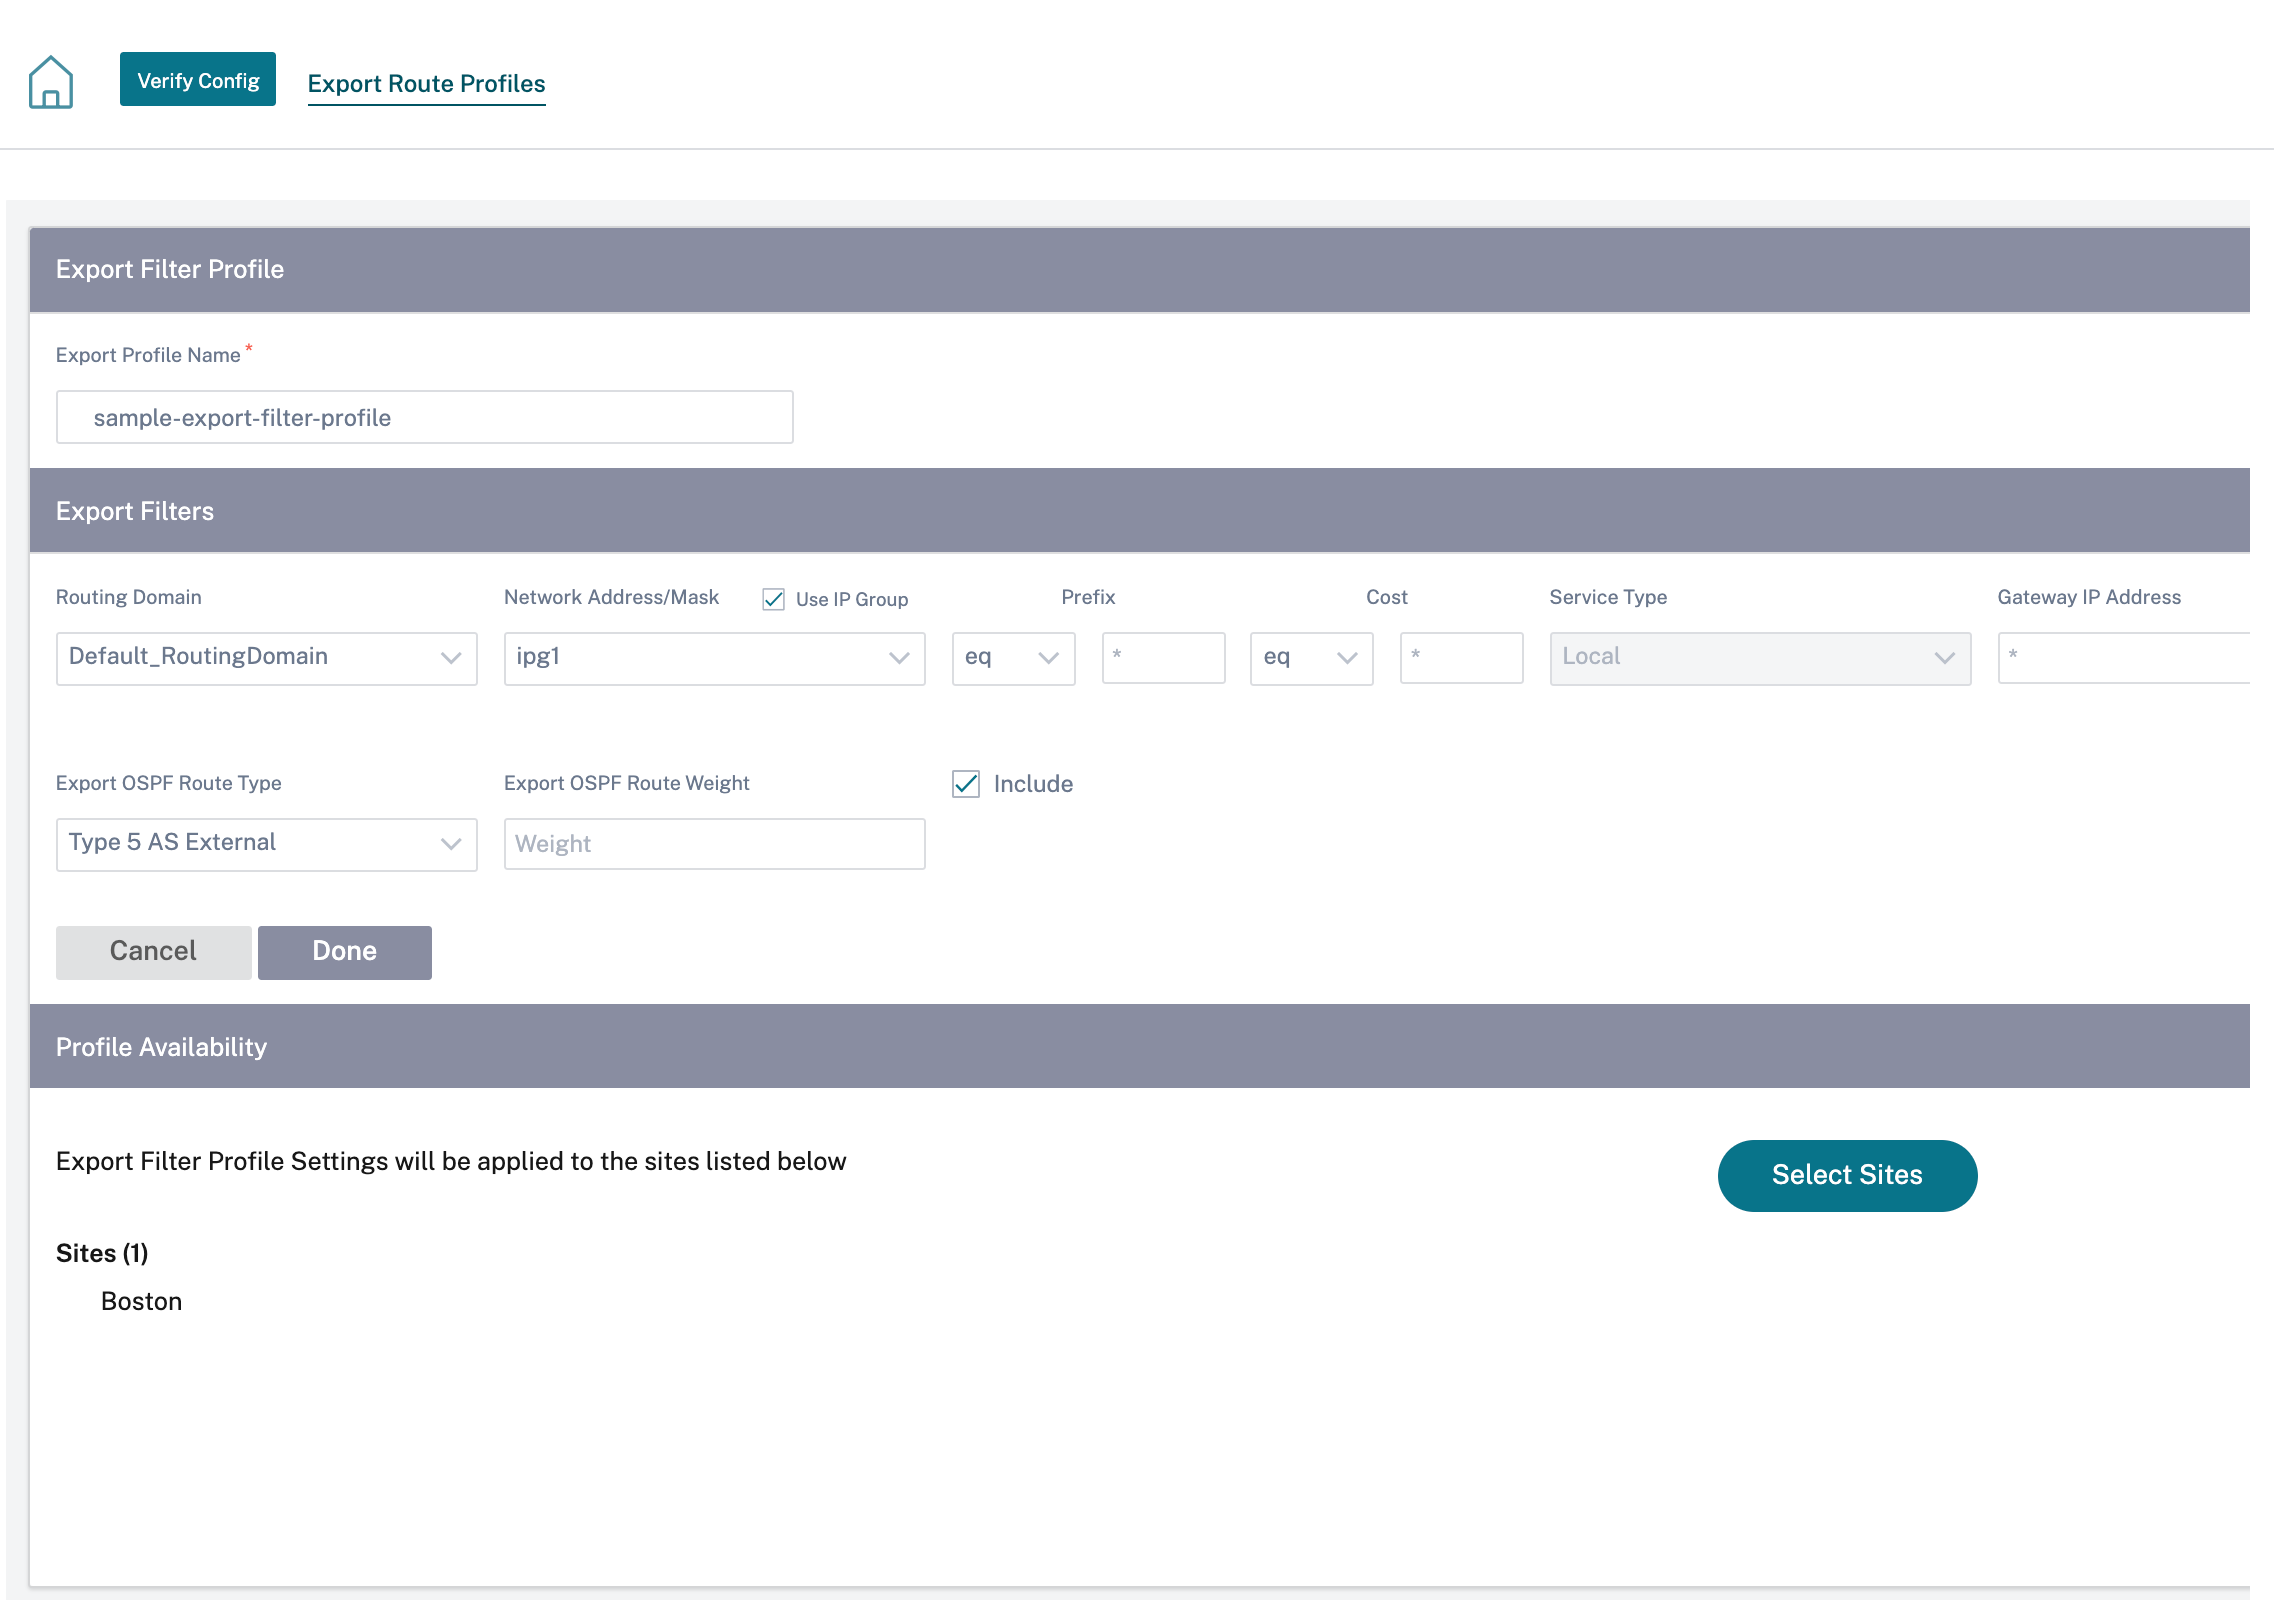
Export route profiles: While creating an export filter profile, you can add a network address mask or enable the Use IP Group check box to select an existing IP group.
For more information, see Export route profiles.
-
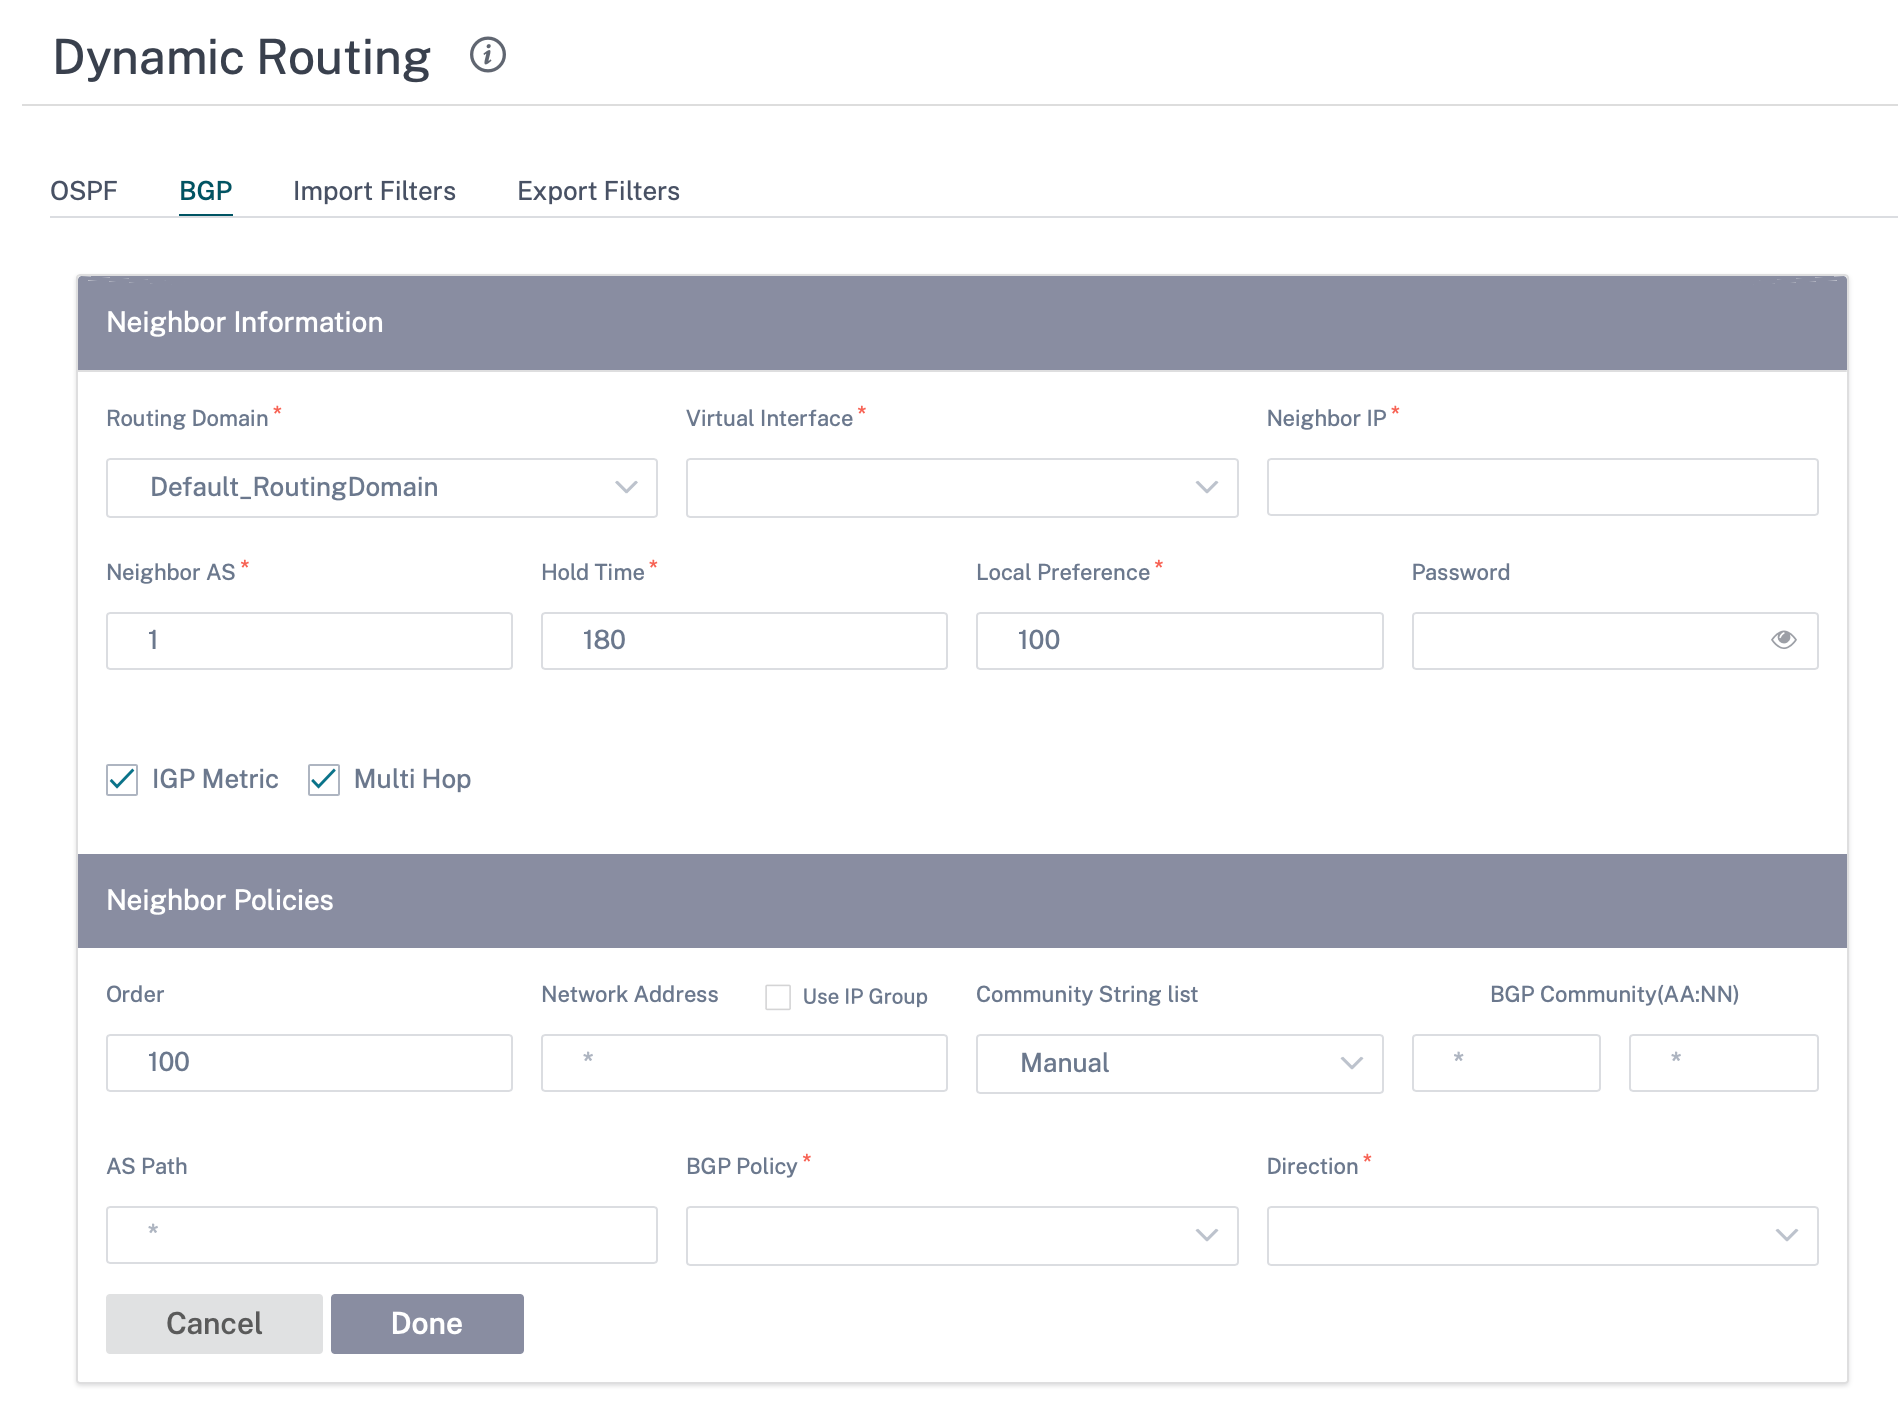
BGP neighbor policies: While adding a configured BGP policy for neighboring routers, you can add a network address or enable the Use IP Group check box to select an existing IP group.
For more information, see BGP.