Configure Management IP
There are two methods for assigning the Management IP Address to the SD-WAN VPX Virtual Machine:
-
If you are not using DHCP: If you are not using DHCP, you must manually assign a static Management IP Address for the SD-WAN VPX Virtual Appliance. For instructions, see section Manually Configuring a Static Management IP Address for the VPX.
-
If you are using DHCP: By default, all SD-WAN VPX Virtual appliances use DHCP to acquire the Management IP Address. To use DHCP, the DHCP server must be present and available in the SD-WAN. For instructions on identifying the acquired Management IP Address, see section Displaying the DHCP assigned Management IP Address for the VPX.
Manually configuring a static Management IP address for the VPX
If you are not using DHCP, or want to set a static Management IP Address for the SD-WAN VPX Virtual Appliance VM, you must do this manually. To do so, you use the console for the Virtual Machine you created, in the vSphere Client.
Also see, Setting up the SD-WAN Appliances.
To set the Management IP Address manually, do the following:
Note
DHCP is enabled by default for the SD-WAN VPX Management IP Address.
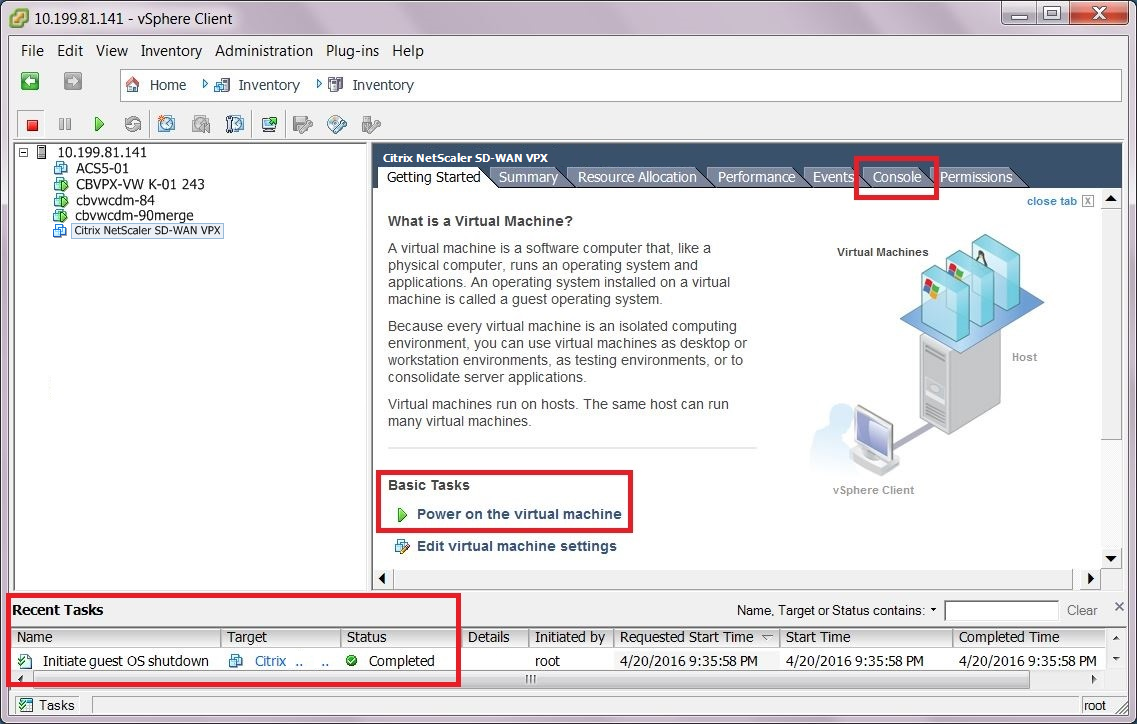
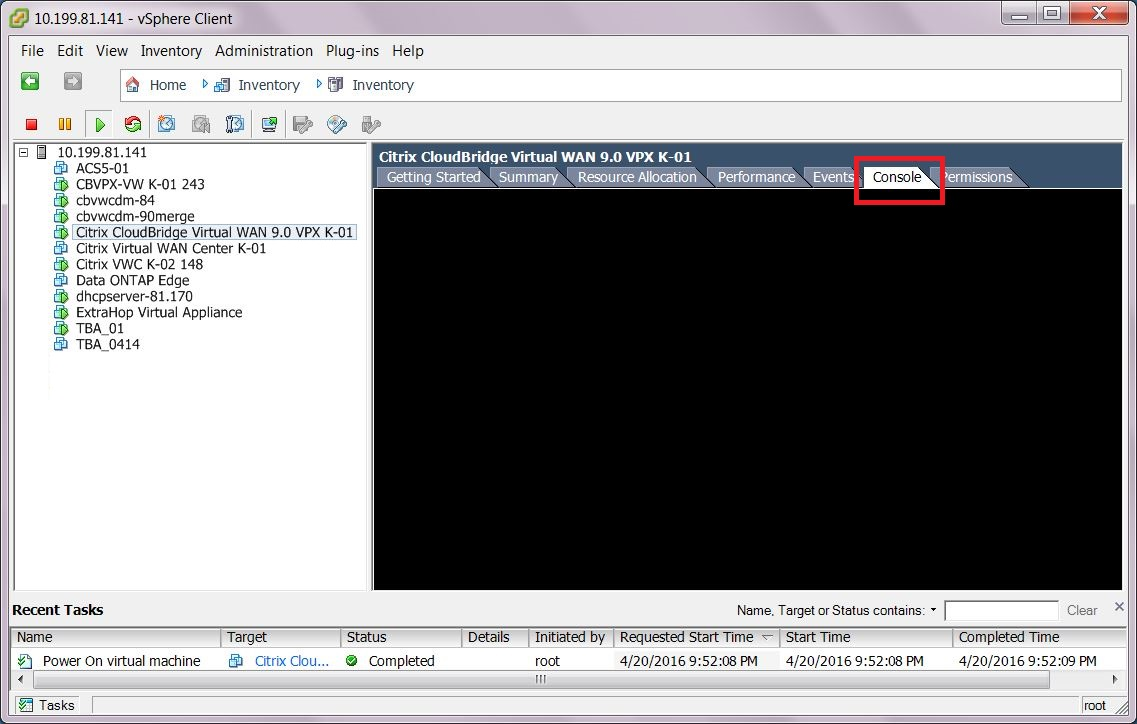
- Continuing in the vSphere client Inventory page, select the new SD-WAN VPX VM in the Inventory tree (left pane). This displays the Inventory page for the new VM, with the Getting Started tab preselected.
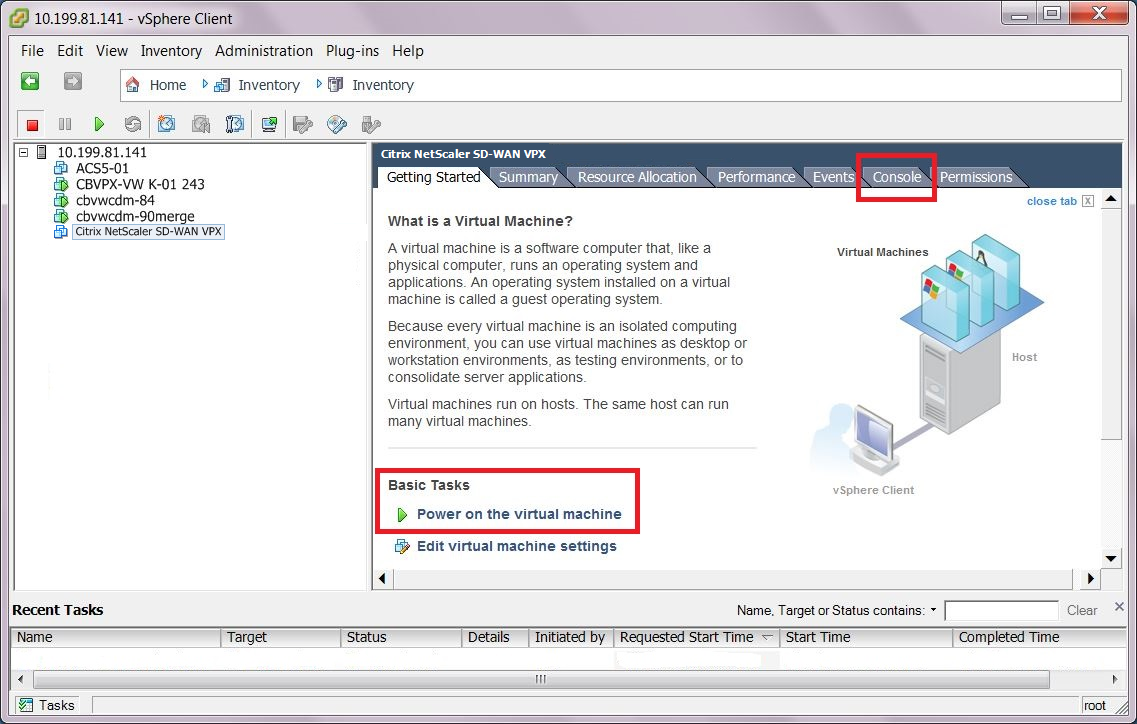
- Power on the new Virtual Machine. In the Basic Tasks section of the Getting Started tab page, click Power on the virtual machine (green play button) to power on the new SD-WAN VPX-SE VM.
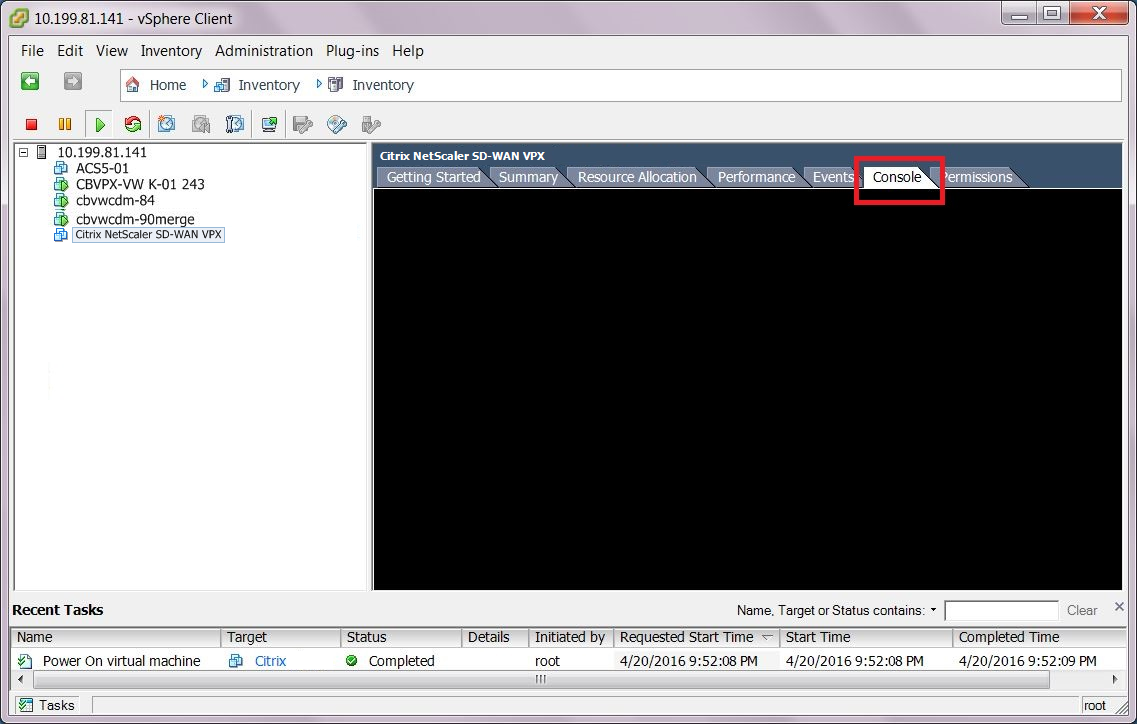
- Select the Console tab in the Inventory page tab bar. The Console tab is located in Inventory page tab bar at the top of the main page area. Selecting this tab displays and enables access to the CLI console for the VM.
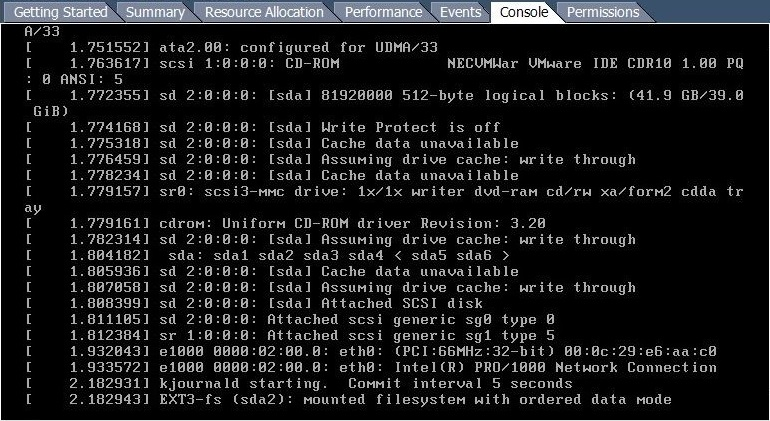
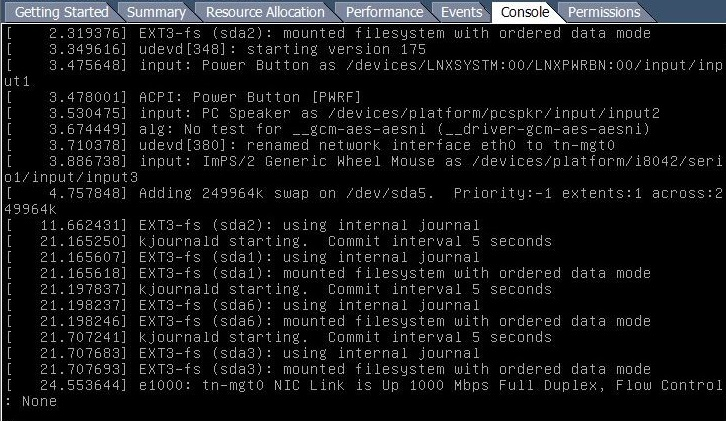
 As the new VM starts up, a series of status messages display in the console.
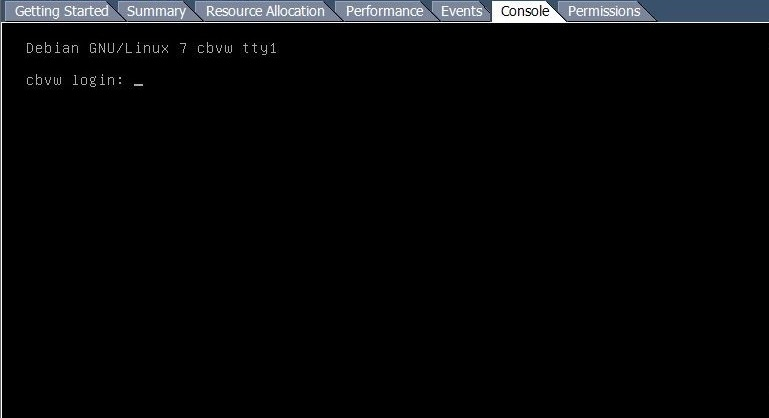
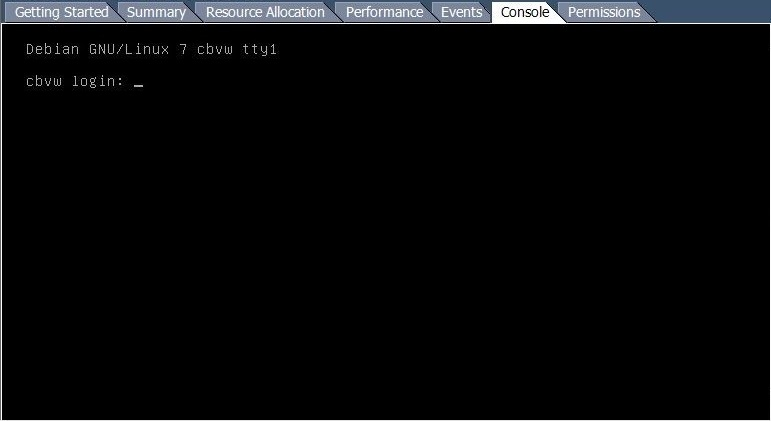 When the startup process completes, the console login prompt displays.
 - Click anywhere inside the console area to enter console mode. This turns control of your mouse cursor over to the VM console, and enables console mode.
Note
To release console control of your cursor, press the Ctrl and Alt keys simultaneously.
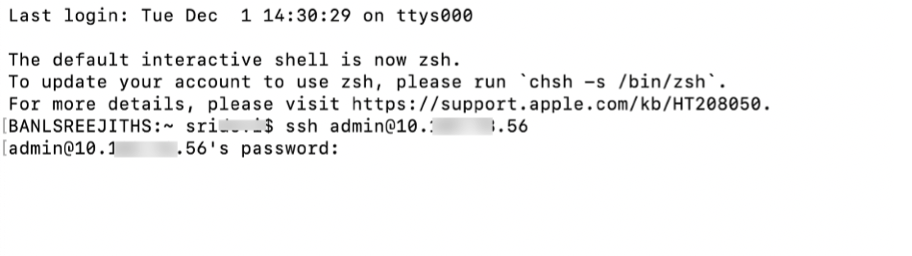
- Log into the VM console. The default login credentials for the new SD-WAN VPX-SE VM are as follows:
Login: admin
Password: password
This displays the console Welcome screen.
-
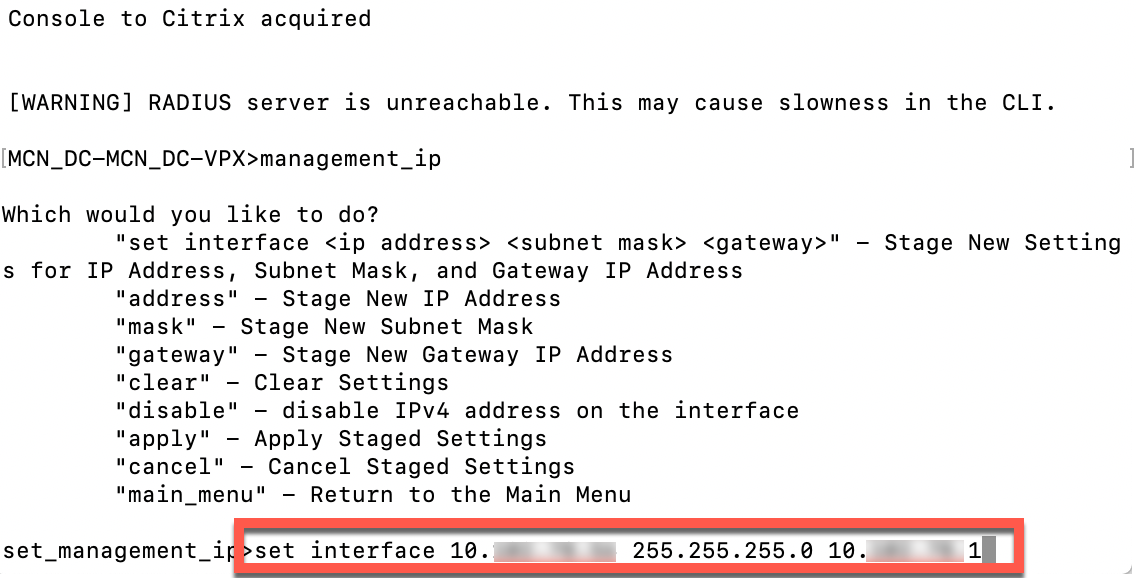
Enter the following command line at the console prompt:
management_ip This switches to the management_ip CLI in the console, and displays the set_management_ip prompt.

-
Configure the interface settings for the VM. Enter the following command line at the set_management_ip prompt:
pre codeblock
set interface <ipaddress> <subnetmask> <gateway>
<!--NeedCopy-->
Where:
- <ip> is the Management IP Address for the SD-WAN VPX-SE Virtual Appliance.
- <subnetmask> is the subnet mask used to define the network in which the CB VPX-VW Virtual Appliance resides.
- <gateway> is the Gateway IP Address the SD-WAN VPX-SE Virtual Appliance uses to communicate with external networks.
This stages but does not apply the interface settings.
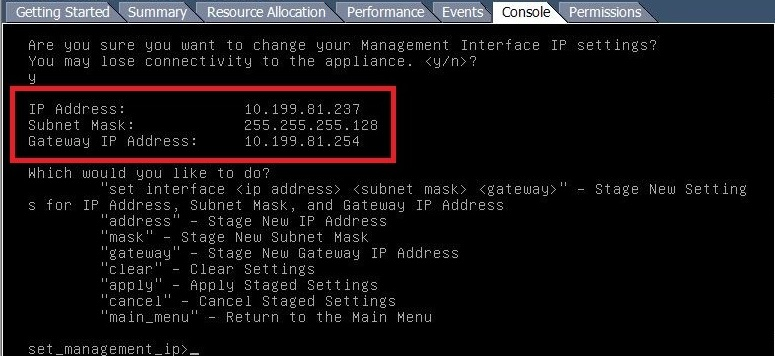
- Apply the staged settings for the VM interface. Do the following:
- Enter the following command at the set_management_ip prompt: apply
- When prompted to confirm the apply operation, enter Y.
This applies the staged interface settings for the VM, and displays the results.
- Enter exit and press Return at the prompt to exit the management_ip CLI.
- Exit the console. Enter exit and press Return at the console prompt, and then press Ctrl+Alt to regain control of the cursor.
- Shut down and restart the VM. Do the following:
- Select the Getting Started tab to display the Basic Tasks options.
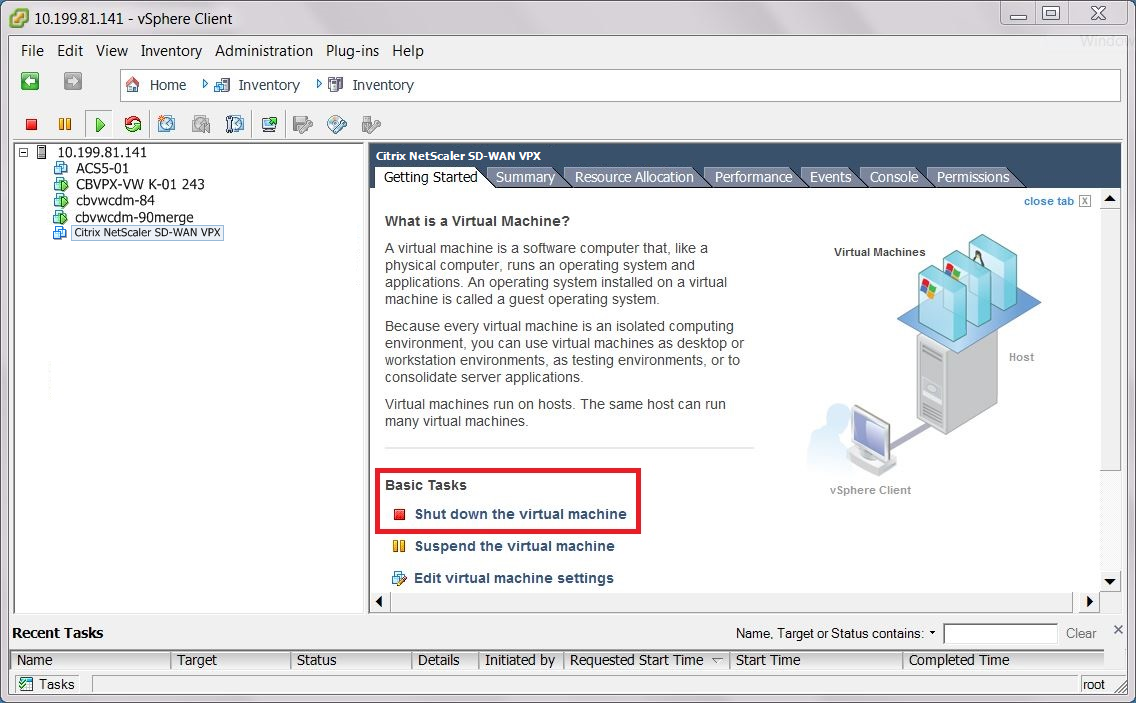
- In the Basic Tasks section, click Shut down the virtual machine (red box icon).
You are prompted to confirm that you want to shut down the guest operating system for the VM.
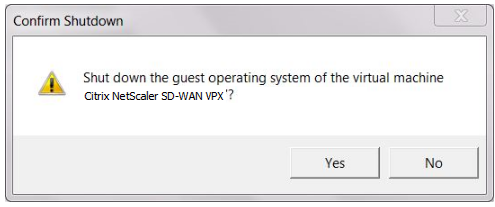
- Click Yes to confirm. This shuts down the guest operating system and powers off the VM. When the shutdown completes, the Power on the virtual machine option (green play button) becomes available.
- Select the Getting Started tab to display the Basic Tasks options.
- Restart the Virtual Machine. Click Power on the virtual machine (green right-arrow) to restart the VM. You can view the progress of the start-up process in the Console tab page for the VM.
 When the startup process completes, the login prompt displays.
 You can now proceed to the final step, Connecting to the SD-WAN VPX-SE and Testing the Deployment
Displaying the DHCP assigned Management IP address for the VPX
This section provides instructions for displaying and recording the DHCP-assigned Management IP Address for the new SD-WAN VPX-SE Virtual Appliance VM.
Note
By default, all SD-WAN VPX-SE Virtual Appliances use DHCP. If you are not using DHCP, or have assigned a static IP Address for the Virtual Appliance, you can skip this step. If you are using DHCP, the DHCP server must be present and available in the SD-WAN before you can complete this step.
To display the DHCP-assigned Management IP Address for the Virtual Appliance, do the following:
- Continuing in the vSphere client Inventory page, select the new SD-WAN VPX-SE VM in the Inventory tree (left pane). This displays the Inventory page for the SD-WAN VPX-SE VM.
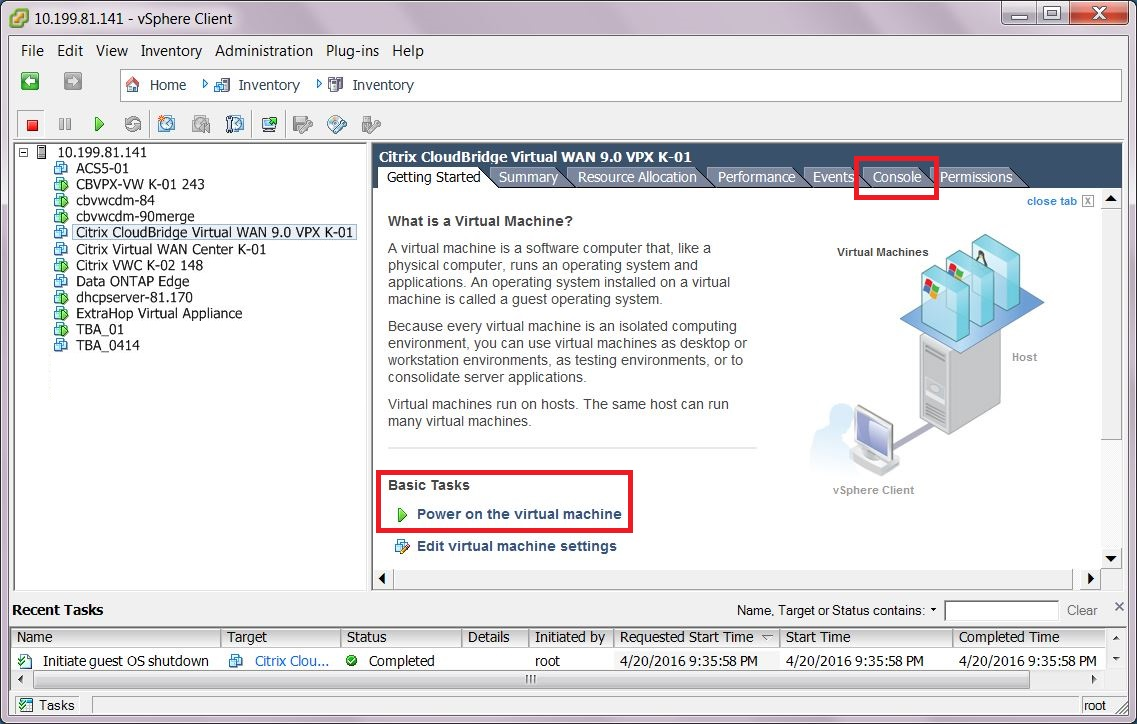
- If you have not already done so, power on the new Virtual Machine. In the Basic Tasks section, click the Play icon (green arrow) to power on the new SD-WAN VPX-SE VM.
- Select the Console tab in the Inventory page tab bar. The Console tab is located in Inventory page tab bar at the top of the main page area. Selecting this tab displays and enables access to the CLI console for the VM.
- Click anywhere inside the console area to enter console mode. This turns control of your mouse cursor over to the VM console, and enables console mode.
Note
To release console control of your cursor, press the Ctrl and Alt keys simultaneously.
- Press Enter to display the console login prompt. Press Enter once or twice to display the console login prompt.
- Log into the VM console. The default login credentials for the new SD-WAN VPX-SE VM are as follows:
- Login: admin
- Password: password
This displays the console Welcome message, which includes the Host IP Address.

- Record the Management IP Address for the SD-WAN VPX-SE VM.
Note
The DHCP server must be present and available in the SD-WAN, or this step cannot be completed.
After logging into the console, the Welcome message displays the Last login information and the Host IP Address. This IP Address is the Management IP Address for this new SD-WAN VPX-SE VM.
This completes the deployment of the SD-WAN VPX-SE Virtual Machine. The final step is to connect to the new SD-WAN VPX-SE and test the deployment. Instructions are provided in the next section.