Install StoreFront
Before installing and configuring
To install and configure StoreFront, complete the following steps in order:
-
Review the System Requirements.
-
If you plan to use StoreFront to deliver Citrix Virtual Apps and Desktops resources to users, ensure that the StoreFront server is joined to either the Microsoft Active Directory domain containing your users’ accounts or a domain that has a trust relationship with the user accounts domain.
Important:
- For single server deployments you can install StoreFront on a non-domain-joined server.
- StoreFront cannot be installed on a domain controller.
-
Optionally, if you plan to configure a multiple server StoreFront deployment, set up a load balancing environment for your StoreFront servers.
To use NetScaler ADC for load balancing, you define a virtual server to proxy your StoreFront servers. For more information on configuring NetScaler ADC for load balancing, see Load balancing with NetScaler ADC.
-
Ensure your firewalls and other network devices permit access to TCP port 80 or 443, as appropriate, from both inside and outside the corporate network. In addition, ensure that any firewalls or other devices on your internal network do not block traffic to any of the unassigned TCP ports.
When you install StoreFront, a Windows Firewall rule is configured enabling access to the StoreFront executable through a TCP port randomly selected from all unreserved ports. This port is used for communications between the StoreFront servers in a server group.
Install StoreFront
Important
To avoid potential errors and data loss when installing StoreFront, ensure all applications are closed and no other tasks or operations are running on the target system.
-
Download the installer from the download page.
-
Log on to the StoreFront server using an account with local administrator permissions.
-
Locate CitrixStoreFront-x64.exe, and run the file as an administrator.
-
Read and accept the license agreement, and click Next.
-
If the Review prerequisites page appears, click Next.
-
On the Ready to install page, check the prerequisites and StoreFront components that are listed for installation and click Install.
-
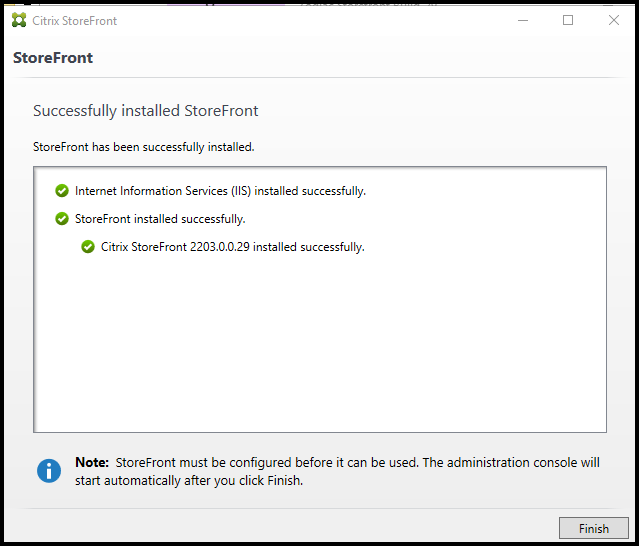
When the installation is complete, click Finish.

-
StoreFront may ask to reboot to complete the installation. Click Yes to reboot now.
-
Configure Microsoft Internet Information Services (IIS) for HTTPS. For steps see Securing StoreFront with HTTPS.
To install StoreFront at a command prompt
-
Log on to the StoreFront server using an account with local administrator permissions.
-
Ensure that the requirements for installation of StoreFront are met before installing StoreFront. Refer to Before installing and configuring for details.
-
Browse your installation media or download package, locate CitrixStoreFront-x64.exe, and copy the file to a temporary location on the server.
-
At a command prompt, navigate to the folder containing the installation file and type the following command.
CitrixStoreFront-x64.exe [-silent] [-INSTALLDIR installationlocation] [-WINDOWS_CLIENT filelocation\filename.exe] [-MAC_CLIENT filelocation\filename.dmg]
<!--NeedCopy-->
Use the -silent argument to silently install StoreFront and its prerequisites. By default, StoreFront is installed at C:\Program Files\Citrix\Receiver StoreFront. However, you can specify a different installation location using the -INSTALLDIR argument, where installationlocation is the directory in which to install StoreFront. If you intend the server to be part of a server group, both the StoreFront installation location and IIS website settings, physical path and site IDs must be consistent across them.
When a user opens a store in a web browser on Windows or macOS, by default, if it cannot detect Citrix Workspace app, it prompts the user to download and install the appropriate Citrix Workspace app for their platform from the Citrix website. You can modify this behavior so that users download the Citrix Workspace app installation files from the StoreFront server instead. For more information, see Configure how resources are displayed for users.
If you plan to make this configuration change, specify the -WINDOWS_CLIENT and -MAC_CLIENT arguments to copy Citrix Receiver for Windows or Citrix Workspace app for Windows, and Citrix Receiver for Mac or Citrix Workspace app for Mac installation files, respectively, to the appropriate location in your StoreFront deployment. Replace filelocation with the directory containing the installation file that you want to copy, and filename with the name of the installation file. Citrix Workspace app for Windows, and Citrix Receiver for Mac or Citrix Workspace app for Mac installation files are included on your Citrix Virtual Apps and Desktops installation media.
Installation logs
For more details of logs files, see Installation Logs.
Configure StoreFront
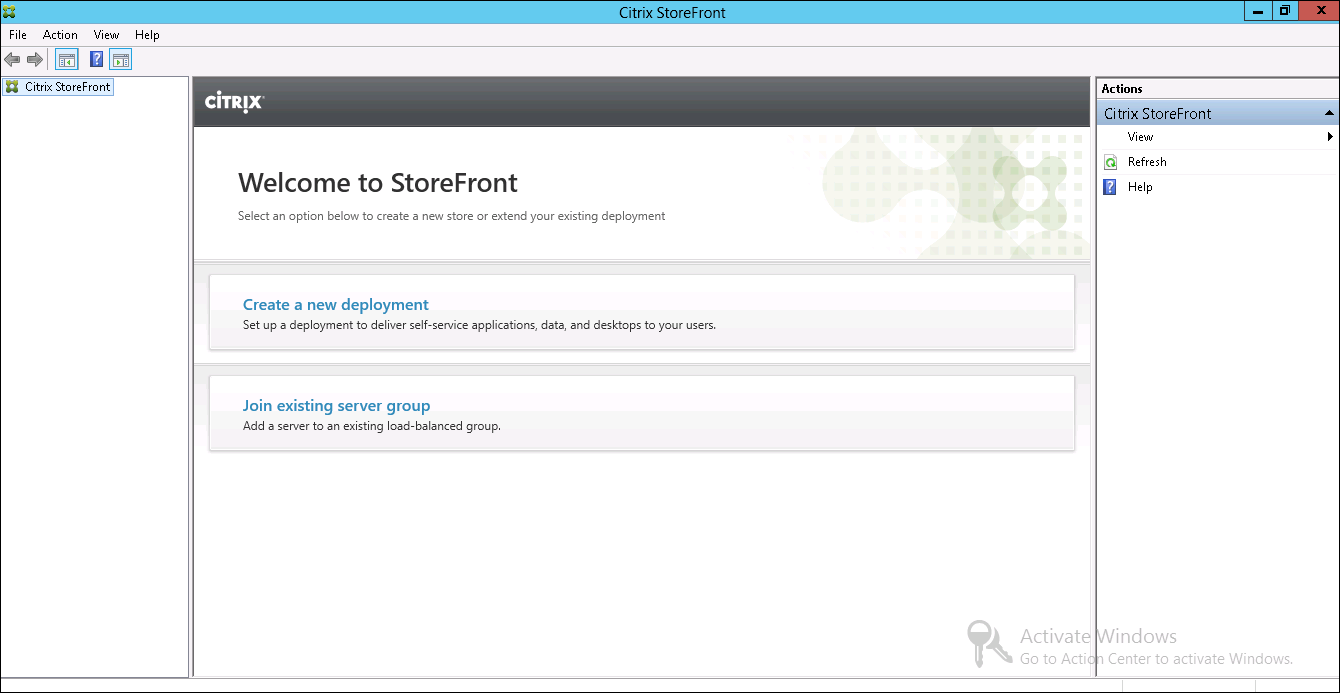
When you complete installation, the Citrix StoreFront management console starts automatically. You can also open StoreFront from the Start menu. When the Citrix StoreFront management console first starts, two options are available.

-
Create a deployment. Configure the first server in a new StoreFront deployment. Single-server deployments are ideal for evaluating StoreFront or for small production deployments. Once you have configured your first StoreFront server, you can add more servers to the group at any time to increase the capacity of your deployment.
-
Join existing server group. Add another server to an existing StoreFront deployment. Select this option to rapidly increase the capacity of your StoreFront deployment. External load balancing is required for multiple server deployments. To add a server, you need access to an existing server in the deployment.
Your store is now available for users to access through a browser or Citrix Workspace app. See the User guide.