Using Installer of Citrix VDA for macOS
-
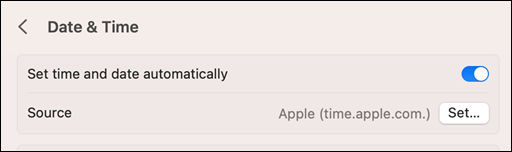
Before installation, make sure the system time is synced via Apple NTP server.
-
Download .Net 6.0 from https://dotnet.microsoft.com/en-us/download/dotnet/6.0
-
Install the Arm64 .Net Runtime package for macOS and check the installation directory path using command
which dotnet.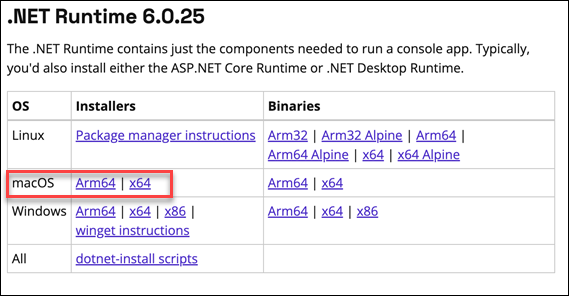
-
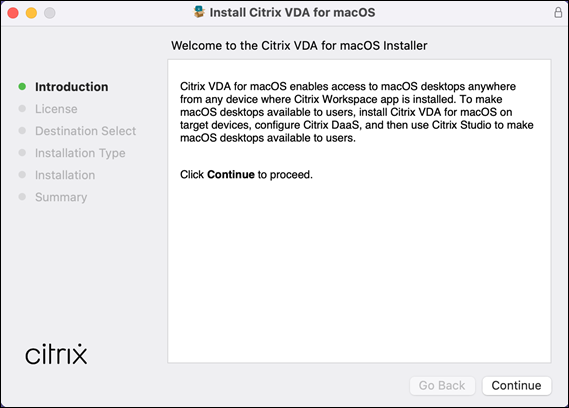
Double click the Citrix VDA for macOS installer to begin installation.
During the initial phase of the pkg installation, it will check whether you have already installed .NET, and if your macOS version is compatible.
-
Click Continue to continue installation.
-
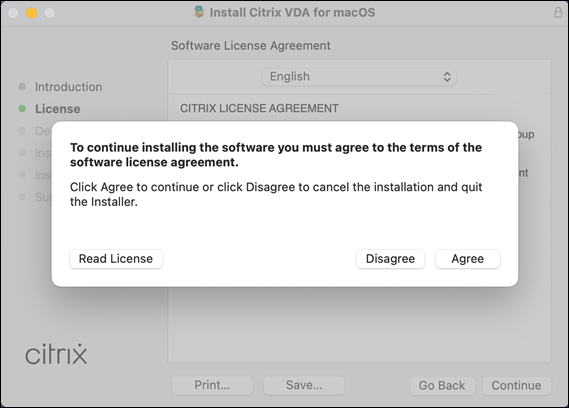
Click Continue to proceed to the license agreement page..

-
Read and Click Agree to continue. If you disagree, the installation process aborts.
-
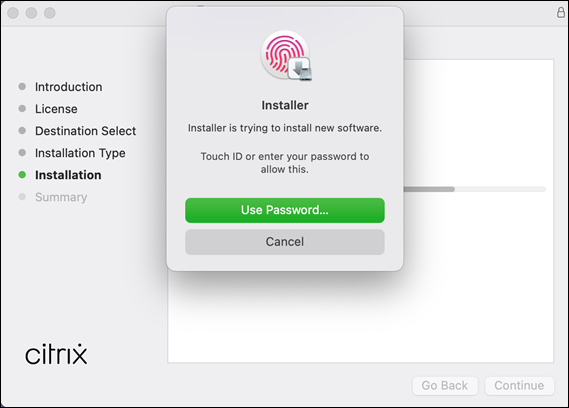
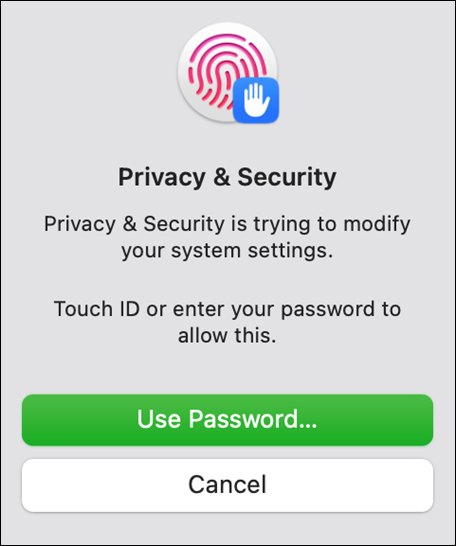
You must have administrator credentials to enable installation and the related services, by either typing admin password or enable through fingerprint as below shown:
-
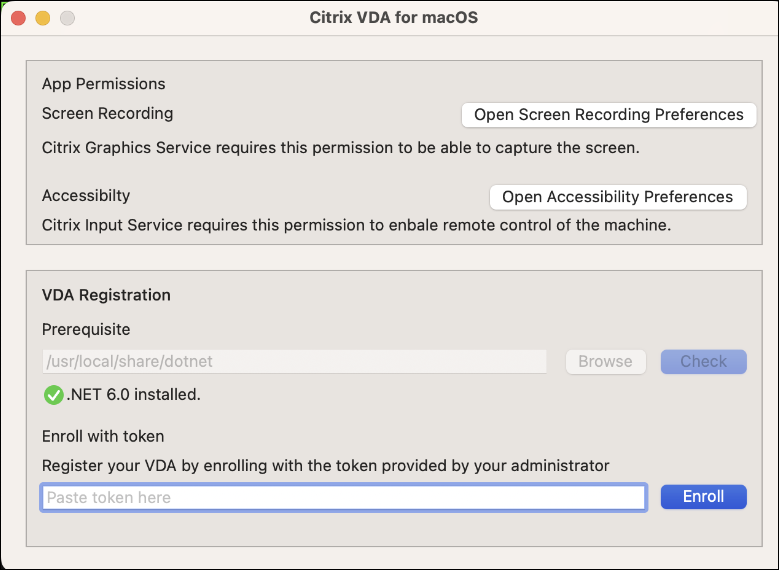
Choose the required option on vdaconfig UI and perform actions as described below.
-
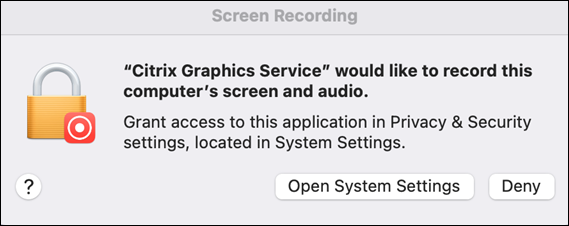
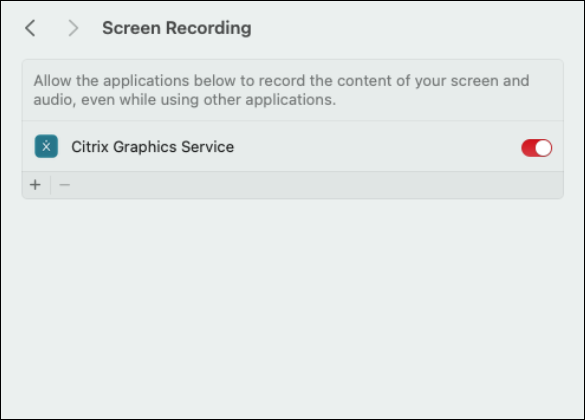
Click Open Screen Recording Preference to enable Citrix Graphics Service
AND
-
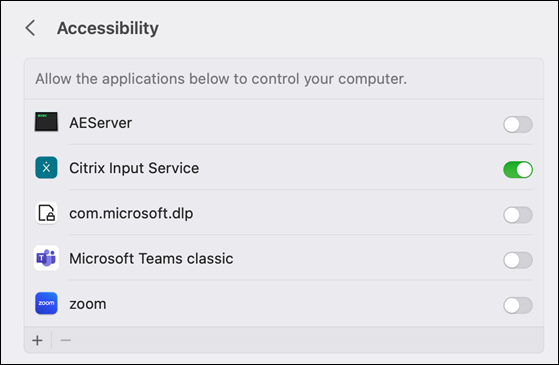
Click Open Accessibility Preferences to enable Citrix Input Service
Note :
For first time installation, you can also enable Citrix Graphics Service through the system pop-up message box by clicking “Open System Settings”.
-
-
You must have administrator credential to enable services.
-
Click Open Accessibility Preference to enable the “Citrix Input Service”.
-
If you’ve installed an incorrect version of .NET, or if there’s an issue with the .NET installation location, you’ll be prompted to enter the correct .NET path during the prerequisite stage.
-
Click Browse to select the .NET installation path, or you can manually input the .NET installation path directly.
-
Click Check to check if the path entered is valid.
If you encounter any issues, you can try using a command to complete the enrollment process.
sudo /opt/Citrix/VDA/bin/ctxreg create -k 'HKLM/\Software/\Citrix/\VirtualDesktopAgent' -t 'REG_SZ' -v 'DotNetRuntimePath' -d '<dotnet path>' --force && launchctl kickstart -kp system/com.citrix.ctxvdaThis process requires administrator privileges.
-
-
If your .NET installation is correct, we’ll proceed to the enrollment stage.
- Copy and paste the token provided by the administrator in the Prepare Installation Non-Domain joined VDAs and click enroll to enroll and register the VDA to DaaS management plane.
Generally, this process completes within a few seconds if the network conditions are favorable.
If you encounter any issues, you can try using a command to complete the enrollment process.
sudo /opt/Citrix/VDA/bin/VdaEnrollmentTool -EnrollmentToken:<token> -RestartThis process requires administrator privileges.
Note :
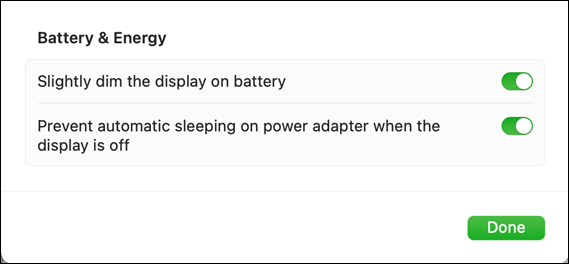
If your VDA machine is used solely by remote access after installation, it is recommended to turn on Prevent automatic sleeping on power adapter when display is off under the Battery & Energy section in your macOS settings like below. If your 1st installation failed or you have an older VDA but you like to enroll it towards a new DDC, please invoke “sudo /opt/Citrix/VDA/bin/vdaconfig” to re-open the vdaconfig tool UI to perform corresponding actions.