Licensing guide for XenServer
Note:
File based licensing system, traditionally used for activating various on-premises components, will be End of Life (EOL) on April 15, 2026. License Activation Service (LAS) is the next generation technology for product activations across the suite of Citrix products. LAS will be the only way to activate and license Citrix on-premises components after April 15, 2026. To remain supported, your XenServer deployment must be on a LAS compatible version.The minimum required XenServer version compatible with LAS is XenServer 8.4.
- If you are using the Early Access channel, the update should occur on or after August 21, 2025.
- If you are using the Normal channel, the update should occur on or after August 28, 2025.
- If you are using Offline update, the bundle should be released on or after August 28, 2025.
Should you have questions or concerns, contact Customer Care. Citrix may limit or suspend your Citrix Maintenance for non-compliance with these requirements without liability in addition to any other remedies Citrix may have at law or equity. These requirements don’t apply where prohibited by law or regulation.
Install a new license
To install a license, you can either use the automatic method or the manual method. Automatic license allocation requires access to citrix.com public domains through the License Server.
You can download and allocate, and install your licenses by using the Automatic method for machines with internet. Use the Manual method for License servers without internet access.
Using the XenServer (formerly Citrix Hypervisor) Standard and Premium editions requires purchased licenses. For more information, see the feature matrix.
The following section contains methods to install a license:
Before you Start
- Ensure you have your license access code in the
LA-xxxxxxxxxx-xxxxxformat. This code is listed in the Citrix® email when you purchase a license. - Install a License Server if a new site does not have an existing Citrix infrastructure. Install a license server on a Windows machine or create a Citrix Licensing virtual appliance. For installation on a virtual appliance, see How to Install and Configure License Server VPX on XenServer.
Automatic installation
-
Download the License Server product installer from citrix.com and start the installation.
-
Use the
CitrixLicensing.exefile and start the License Server as an administrator or a member of the administrators group. -
Follow the installer instructions to accept the destination folder.
-
Choose to start the Citrix Licensing Manager and whether to join the Citrix Customer Experience Improvement Program.
-
After the installation is complete, log on to the License Server.
-
On the Start menu, select All Programs > Citrix > Citrix Licensing Manager or from a remote machine use
https://licenseservername:8083with your actual License Server name. -
Click Install Licenses.
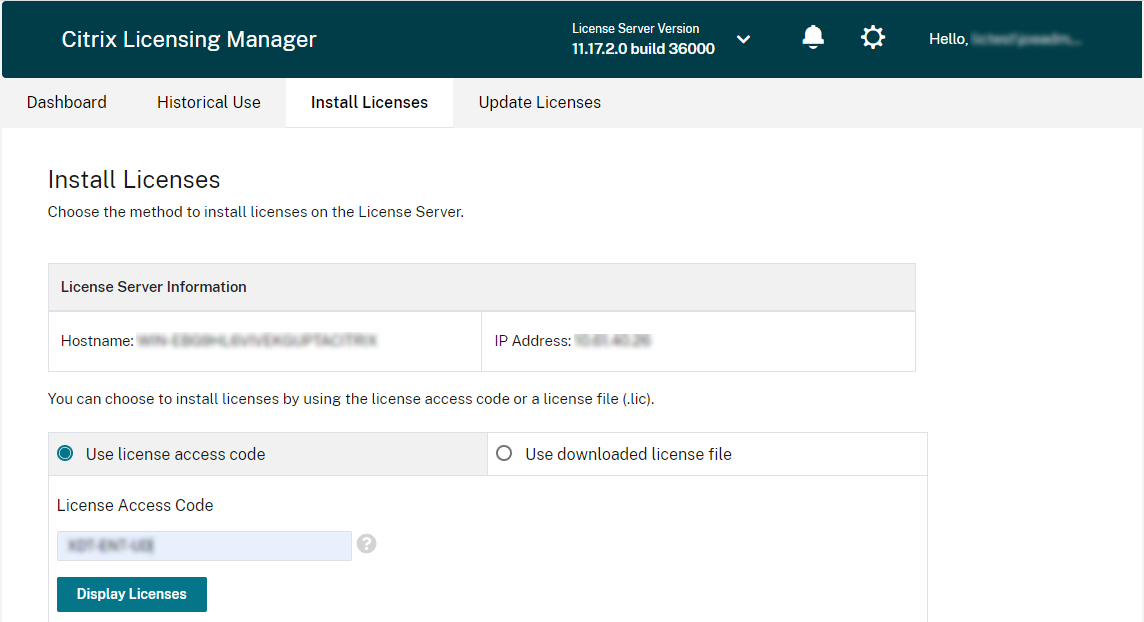
-
Select Use license access code and enter the license access code you got in an email from Citrix, and choose Display Licenses. Your license entitlements display and you can choose licenses and the quantity to install.
-
Select a product from the list, enter the number of entitlements to install, and choose Install.
-
To display the newly downloaded licenses, click the Dashboard tab.
-
Connect to your XenServer using XenCenter and open the Xencenter console. For more information, see Install XenServer and XenCenter.
-
On the Tools menu, click License Manager.
-
Select the Pool or Hosts that you want to license, and then click Assign License.
-
In the Apply License dialog, specify the Edition type to assign to the host, and type the hostname or IP address of the License Server. The XenServer host or pool is now licensed.
For more information, see Managing XenServer Licenses.
Manual installation
If your License Server or appliance isn’t able to contact www.citrix.com, use the Citrix Manage Licenses portal to allocate licenses, download the license file, and upload it to the appliance.
-
From a web browser, go to www.citrix.com.
-
Click Sign In > My Account and type your user ID and password.
-
Select Manage Licenses.
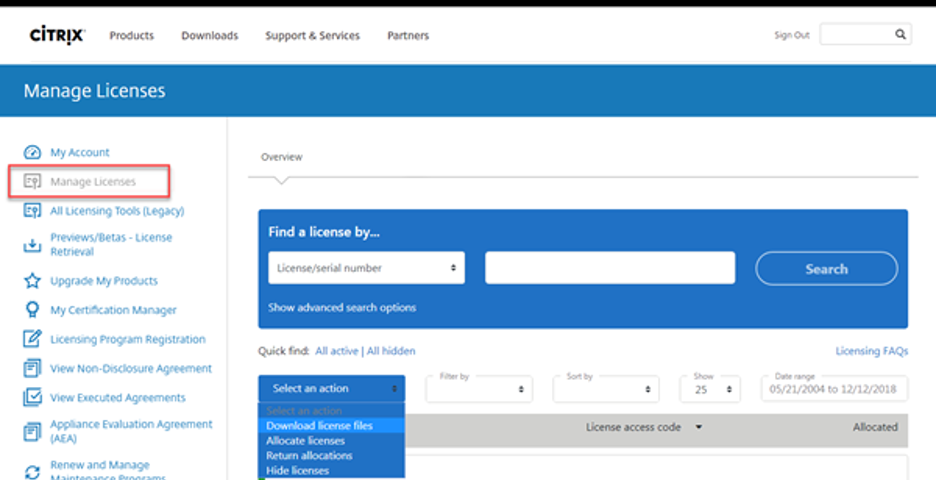
-
Select the licenses that you want to allocate. The landing page displays only new licenses within 30 days and expiring term licenses. You can use the Find a license by… search to find all licenses using one of the search criteria. Then use the Filter by menu to narrow the display down to specific types of licenses. You can select Quick find: All active to see all licenses.
-
From the Select an action menu, choose Allocate licenses.
-
Enter the host name (case sensitive) and how many licenses to allocate and click Create license file.
-
Select Yes, create license file.
-
Select Download license file, and save the file to a location accessible from your License Server or Appliance.
-
Log on to the License Server.
-
On the Start menu, click All Programs > Citrix > Citrix Licensing Manager or from a remote machine use this URL with your actual License Server name
https://licenseservername:8083. -
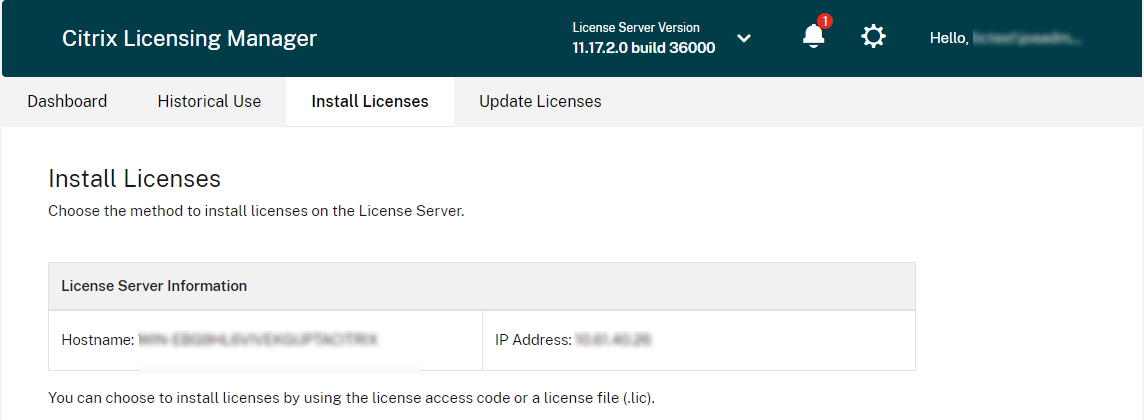
Click Install Licenses.
-
Select Use downloaded license file, browse and choose a file, and select the check box if you want to replace and older file with the same name.
-
Click Import. The Citrix Licensing Manager displays information about the licenses. If your license file is successfully uploaded to the License Server, a message displays.
-
Click the Dashboard tab to display the newly downloaded licenses.
-
Once the license server is connected, you can select these licenses within XenCenter® to the license server.
-
Connect to your XenServer using XenCenter and open the console. For more information, see Install XenServer and XenCenter.
-
On the Tools menu, click License Manager.
-
Select the Pool or Hosts that you want to license, and then click Assign License.
-
In the Apply License dialog, specify the Edition type to assign to the host, and type the hostname or IP address of the License Server.
For more information, see Managing XenServer Licenses.
Renew a license
Use the Citrix Licensing Manager to automatically install any renewed licenses to the license server. For automatic license renewal, you need access to citrix.com public domains through the License Server.
To renew the CSS agreement for your license files, refer to the Renewal guide.
This section contains the following:
Renew a license - Automatic method
-
In the Citrix Licensing Manager, click the Settings icon in the top right of the screen.
-
Select from the following options on how you want to be notified and automatically install the renewal licenses:
- Automatically check for Customer Success Services renewal licenses and notify when available: Citrix Licensing Manager displays a notification. Click a link to download and install the available renewals. This same notification appears in Studio and Director if they are configured to manage the License Server.
- Automatically check for and install Customer Success Services renewal licenses when available: Citrix Licensing Manager checks weekly and automatically installs renewal licenses when available. A notification displays for a few days stating that renewals have been installed.
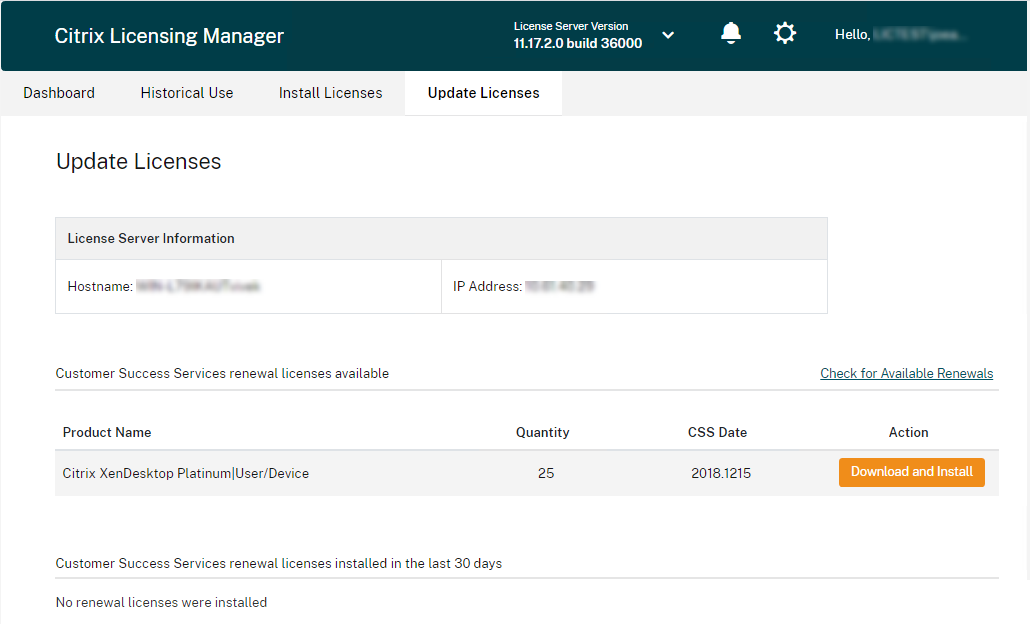
- Manually check for Customer Success Services renewal licenses: Select the Update Licenses tab and Check for Available Renewals. You can check the Update Licenses tab at any time to see a list of licenses installed in the last 30 days.
Note:
If the automatic checks for Customer Success Services renewal licenses fail, check the firewall setting or configure a proxy. For this feature to work, the License Server must be able to access
https://citrixservices.citrix.com. For more information, see the Configure a proxy server manually section in the Get started article.
Renew a license - Manual method
-
On the License Server Start menu, click All Programs > Citrix > Citrix Licensing Manager or from a remote machine use this URL with your actual License Server name
https://licenseservername:8083. -
Go to the Update Licenses tab.
Note:
This screen lists any licenses installed in the last 30 days. If any renewed licenses are not displayed, use the Check for available licenses link for new licenses.
-
Once the renewed CSS licenses are available, the list of licenses, quantity, and Customer Success Services date displays on the screen.
-
Use the Download and Install button to download and install the licenses. Your renewed licenses are now installed on the License Server.