Licensing guide for NetScaler
Important:
File-based licensing system (also referred to as manually managed entitlements), traditionally used for activating various on-premises components, will be End of Life (EOL) on April 15, 2026. License Activation Service (LAS) is the next generation technology for product activations across the suite of Citrix products. LAS will be the only way to activate and license NetScaler instances after April 15, 2026, supporting NetScaler Flexed licenses (CPL/UHMC), legacy NetScaler Pooled licenses, and NetScaler Fixed term Bandwidth licenses. To remain supported, your NetScaler and NetScaler Console deployments must be on a LAS compatible version.
The minimum required NetScaler versions that are LAS compatible are:
NetScaler ADCs: 14.1-51.x, 13.1-60.x, 13.1-37.246 (FIPS)
NetScaler SVM: 14.1-51.x, 13.1-60.x
NetScaler Console Service: Supported from early September 2025.
NetScaler Console on-prem: 14.1-51.x
Note: LAS support for Console on-prem is from release 14.1-51.x onwards. However, file-based licensing is deprecated as of April 15 2026 from Console on-prem releases 14.1-51.x onwards and 13.1-60.x onwards. If you upgrade to Console on-prem release 14.1-51.x or release 13.1-60.x or later, you can continue using file-based licensing until 15th April 2026. However you must upgrade to Console on-prem release 14.1-51.x or later, and switch to LAS before 15th April 2026 because Console on-prem 13.1 does not support LAS.
All the other forms of legacy NetScaler licenses such as Pooled vCPU, CICO, perpetual will not be supported with LAS. NetScaler instances leveraging perpetual licenses without an active maintenance will become unlicensed upon upgrade to the above mentioned software versions.
LAS based licenses may not be available to customers where prohibited by law or regulations.
If you have questions or concerns, contact Customer Care. Citrix may limit or suspend your Citrix Maintenance for non-compliance with these requirements without liability in addition to any other remedies Citrix may have at law or equity. These requirements don’t apply where prohibited by law or regulation.
License Activation Service
License Activation Service (LAS) is a new cloud-based licensing solution that provides an alternative to traditional file-based licensing. LAS introduces new modules for activation of Citrix and NetScaler products, ensuring a seamless and modern approach to license management.
Note:
LAS is a licensing mechanism, not a license type.
For more information, see the following documents:
Note:
The content in the following sections apply only to file-based licensing and is not relevant for License Activation Service (LAS).
Install a new license
To install a license, you can either use the automatic method or the manual method. For automatic allocation of licenses, you require access to citrix.com public domains through the appliance.
Note:
- For information on pooled capacity licensing, see NetScaler pooled capacity licensing and Configure NetScaler pooled capacity.
- NetScaler MPX™ uses either the hardware serial number (HSN) or the license access code to install licenses.
- NetScaler VPX/BLX uses license access code from Citrix to install licenses.
The following section contains methods to install a license:
Before you start
- Ensure your hardware serial number is linked to your appliance hardware.
- Ensure you have your license access code in the
LA-xxxxxxxxxx-xxxxxformat. This code is listed in the Citrix® email when you purchase a license. - Partially allocate licenses as required for your deployment. For more information, see the term Allocate licenses in the Glossary.
- Ensure you use a proxy server, if you do not want to configure internet connectivity on the NetScaler appliance. Select the Connect through Proxy Server check box and specify the IP address and port of your proxy server.
NetScaler MPX - Install a new license
-
In a web browser, type the IP address of the NetScaler appliance. For example,
http://192.168.100.1. -
In the User Name and Password, type the administrator credentials.
-
On the Configuration tab, navigate to System > Licenses.
-
In the details pane, click Manage Licenses, click Add New License, and then select:
- Use Serial Number: The software internally fetches the serial number of your appliance and uses this number to display your licenses.
- Use license access code: Citrix emails the license access code for the license that you purchased. Enter the license access code (LA-xxxxxxxxxx-xxxxx) in the text box.
-
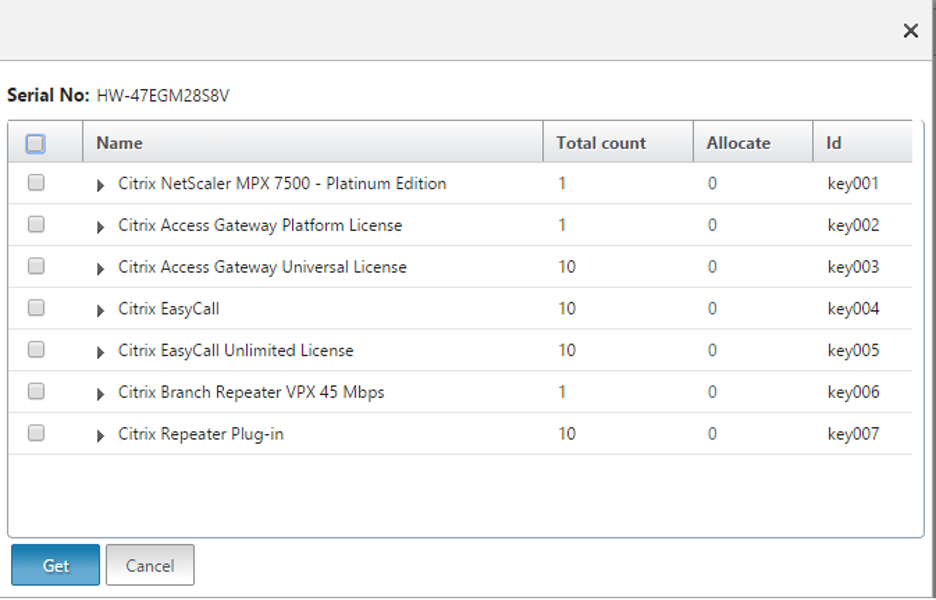
Click Get Licenses. Depending on the option that you selected, one of the following dialog boxes appears.
The following dialog box appears if you selected the serial number.
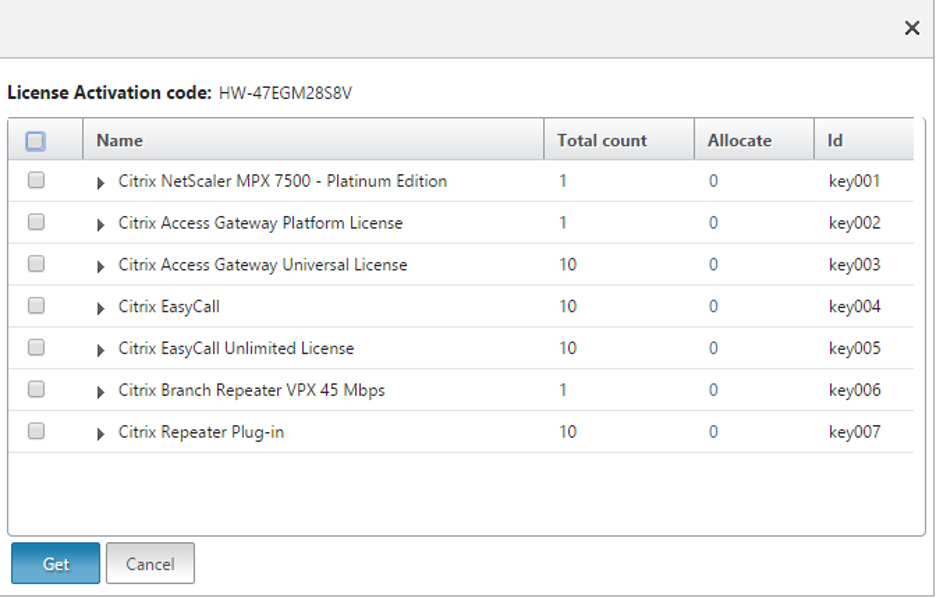
The following dialog box appears if you selected the license access code.
-
Select the license file that you want to use to allocate your licenses.
-
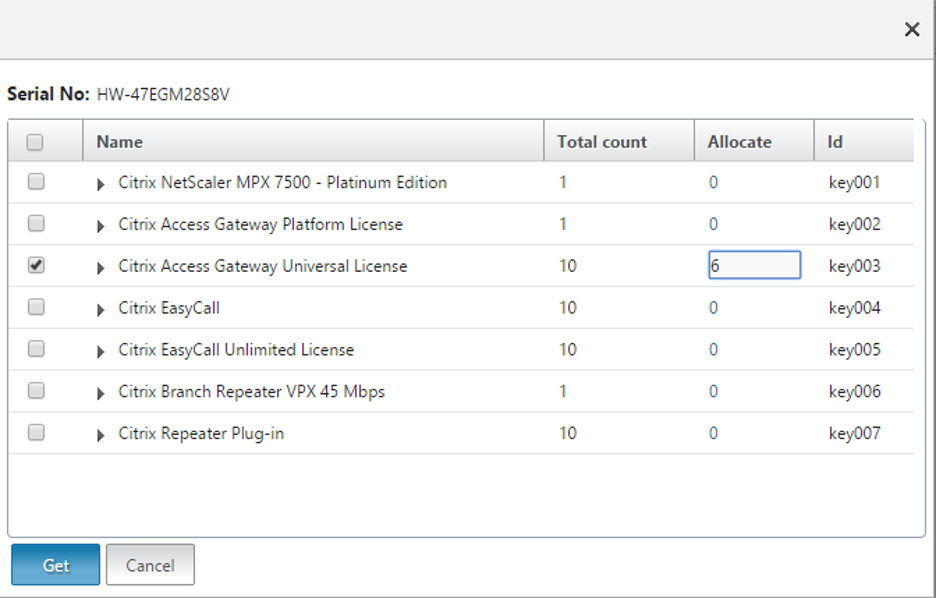
In the Allocate column, enter the number of licenses to be allocated, and click Get.
- If you selected Hardware Serial Number, enter the number of licenses, as seen in the following image.
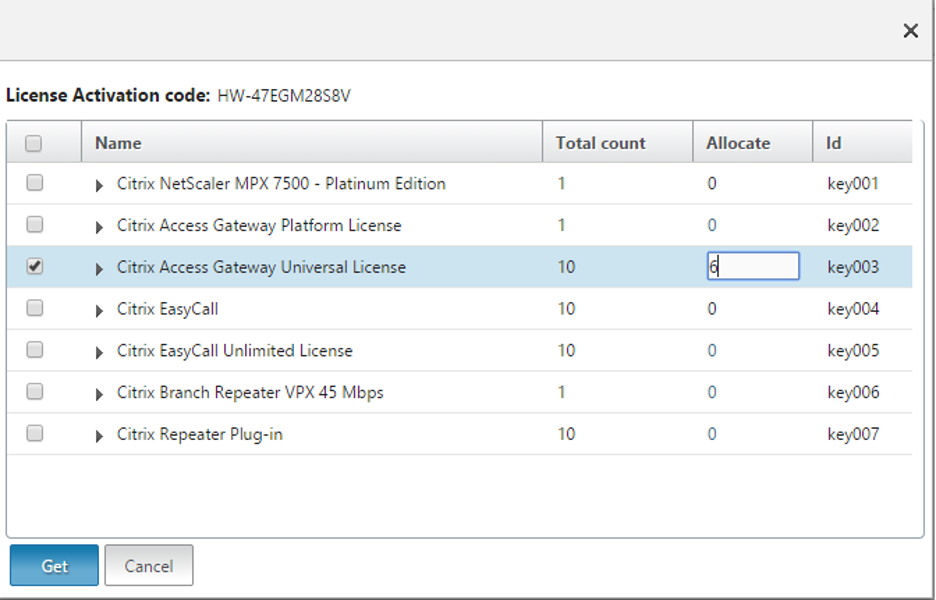
- If you selected license access code, enter the number of licenses, as seen in the following image.
-
Click restart for the license to take effect.
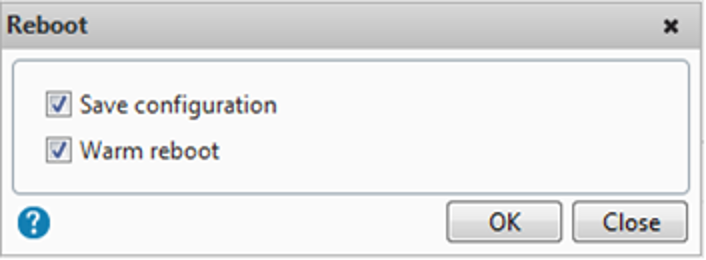
-
In the Reboot dialog box, click OK to proceed with the changes, or click Close to cancel the changes.
NetScaler VPX/BLX - Install a new license
-
In a web browser, type the IP address of the NetScaler appliance (for example,
http://192.168.100.1). -
In User Name and Password, type the administrator credentials.
-
On the Configuration tab, navigate to System > Licenses.
-
In the details pane, click Manage Licenses, click Add New License, and then select:
- Use license access code: Citrix emails the license access code for the license that you purchased. Enter the license access code (LA-xxxxxxxxxx-xxxxx) in the text box.
-
Click Get Licenses. The following dialog box appears.
-
Select the license file that you want to use to allocate your licenses.
-
In the Allocate column, enter the number of licenses to be allocated, and click Get.
-
Enter the number of licenses, as seen in the following screenshot.
-
Click restart for the license to take effect.
-
In the Reboot dialog box, click OK to proceed with the changes, or click Close to cancel the changes.
Manual installation
If your License Server or appliance does not have an internet access, you can manage licenses from www.citrix.com.
-
From a web browser, go to www.citrix.com.
-
Click Sign In > My Account and type your user ID and password.
-
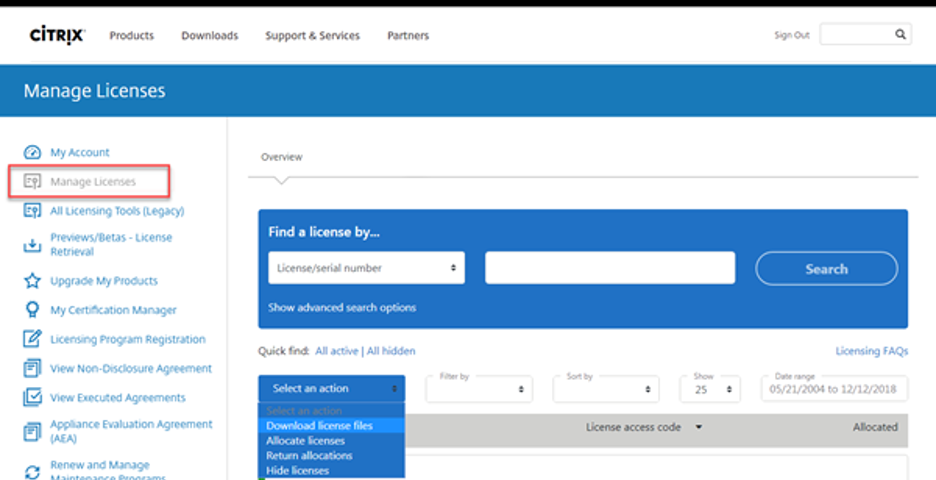
Select Manage Licenses.
-
Select the licenses that you want to allocate. The landing page displays only new licenses within 30 days and expiring term licenses. You can use the Find a license by… search to find all licenses using one of the search criteria. Then use the Filter by menu to narrow the display down to specific types of licenses. You can select Quick find: All active to see all licenses.
-
From the Select an action menu, choose Allocate licenses.
- Enter the MAC address in lower case without any dashes and periods and enter how many licenses to allocate and then click Create license file. To find the MAC address, perform the following steps:
- Log in to PuTTY.
- Type
shell. - Type
lmutil lmhostid.
-
Select Yes, create license file.
-
Select Download license file, and save the file to a location accessible from your License Server or appliance.
-
In a web browser, type the IP address of the NetScaler appliance. For example,
http://192.168.100.1. -
In User Name and Password, type the administrator credentials.
-
On the Configuration tab, navigate to System Licenses.
-
In the details pane, click Manage Licenses.
-
Click Add New License, then select Upload license files from a local computer.
-
Click Browse. Navigate to the location of the license files, select the license file, and then click Open.
-
Click restart to apply the license.
- In the Reboot dialog box, click OK to continue with the changes, or click Close to cancel the changes.
Renew a license
Note:
You need to engage with your regular sales channel to purchase the renewal or repurchase the subscription. After renewal, the renewed license is available for download in the Manage Licenses section.
You can download the renewed license file from Manage Licenses and then install the file on the appliance.
-
From a web browser, go to www.citrix.com.
-
Click Sign In > My Account and type your user ID and password.
-
Select Manage Licenses.
-
Select the renewed licenses that you want to download. The landing page displays only new licenses within 30 days and expiring term licenses. You can use the Find a license by… search to find all licenses using one of the search criteria. Then use the Filter by menu to narrow the display down to specific types of licenses. You can select Quick find: All active to see all licenses.
-
From the Select an action menu, choose Download all licenses, and save the file to a temporary location. Remember the file name and location where you downloaded the file.
-
In a web browser, type the IP address of the NetScaler appliance. For example,
http://192.168.100.1. -
In User Name and Password, type the administrator credentials.
-
On the Configuration tab, navigate to System Licenses.
-
In the details pane, click Manage Licenses.
-
Click Add New License, then select Upload license files from a local computer.
-
Click Browse. Navigate to the location of the license files, select the license file, and then click Open.
-
Click restart to apply the license.
-
In the Reboot dialog box, click OK to proceed with the changes, or click Close to cancel the changes.