Cloud Connector for hybrid deployment

The Secure Private Access provider for the hybrid deployment is installed as part of Citrix Cloud Connector. After Citrix Cloud Connector is installed, the Citrix Secure Private Access service can be found in the Windows services. The Secure Private Access service operates under the network service account.

Important:

Once the Cloud Connector is updated, the Secure Private Access service is disabled. To enable the feature, customers must contact Citrix Support. Once enabled, the service status changes to Running and the Secure Private Access service automatically starts on the connector machine.
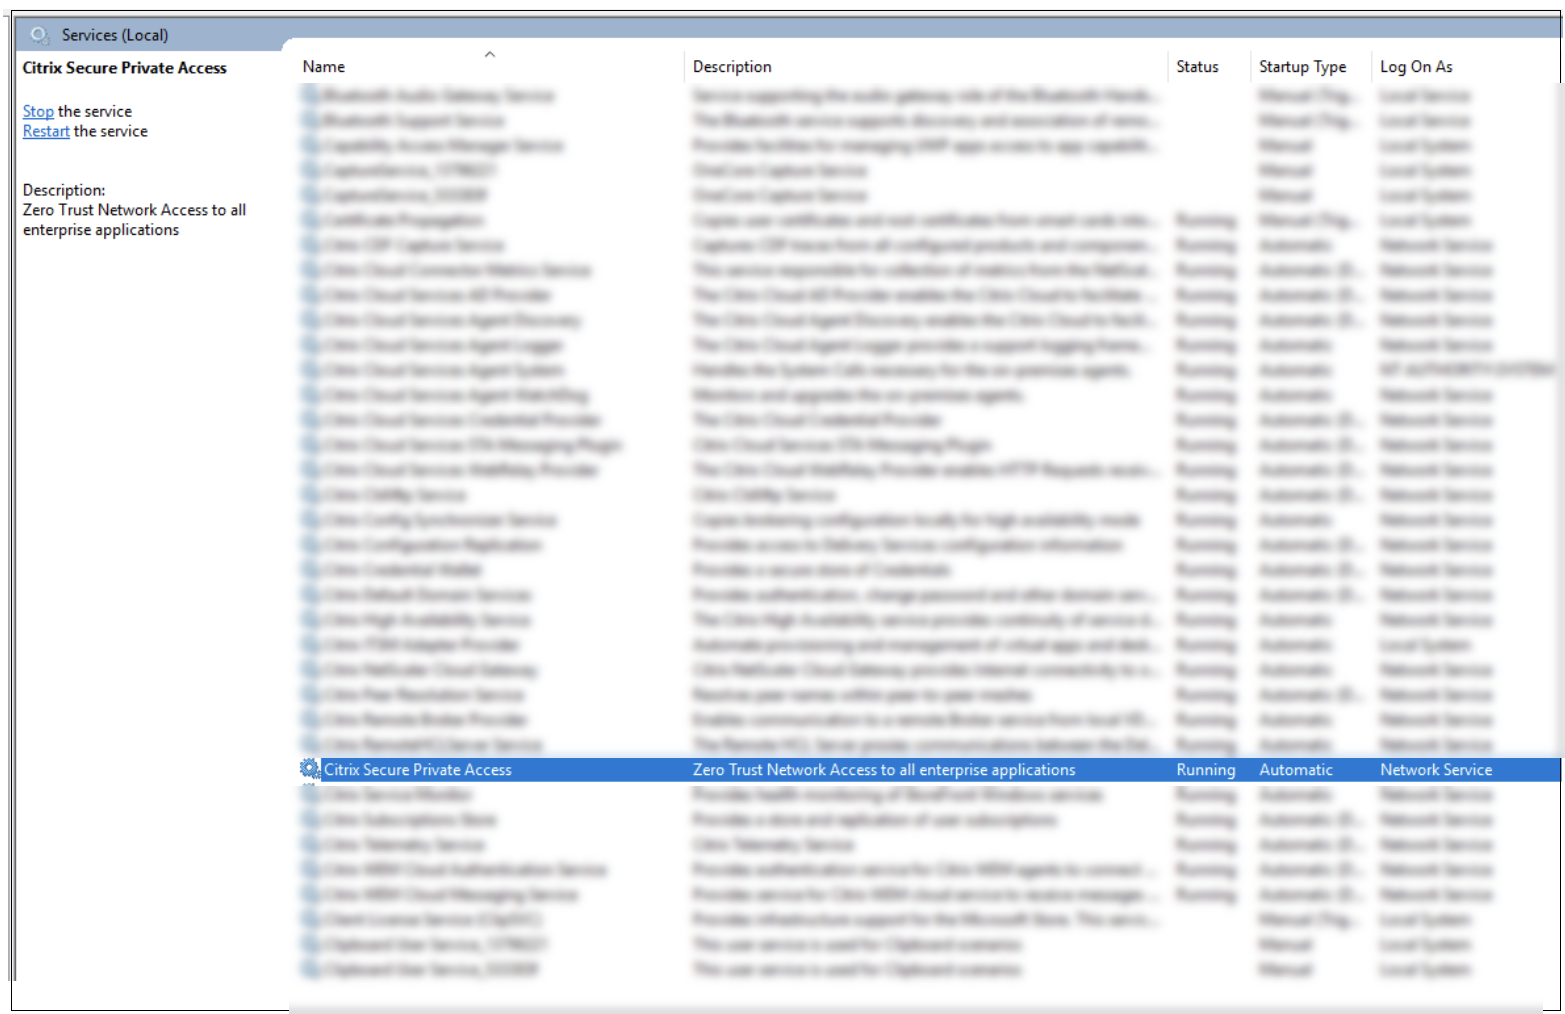
Windows services

For details on Cloud Connector installation, see Cloud Connector Installation.

Port configuration for Citrix Secure Private Access

Points to note:

  • By default, Citrix Secure Private Access uses port 8443 as a plain HTTP service. Ensure that you add the inbound rule for port 8443 from the data center network.
  • The internal load balancer for Citrix Secure Private Access adds the Cloud Connector backend service using port 8443.
  • The port 8443 can be opened by manually configuring the firewall rules or by running the Citrix Secure Private Access config tool.

    Perform the following steps to run the config tool:

    1. Navigate to the Citrix Secure Private Access installation folder (default path - C:\Program Files\Citrix\AccessSecurityService).
    2. Run the command .\Citrix.AccessSecurityService.exe /ENABLE_SPA_PORTS 8443.

    After the command is run successfully, the firewall is configured automatically.

Enable TLS

By default, Citrix Secure Private Access operates as a standard HTTP service. This configuration works well if a load balancer is set up with full SSL offload. However, if you need to run the Citrix Secure Private Access service over TLS, follow these steps.

  1. Install the TLS certificate in the Cloud Connector local machine personal certificate store.
  2. Grant Network Service account permission to access the installed certificate. You can do this by using the Microsoft Management Console (MMC).

    1. Open the Microsoft Management Console.
    2. Add certificate snap-in for local Computer Account, follow the wizard, and click OK.
    3. In the Microsoft Management Console, go to Console Root -> Certificates -> Personal -> Certificates.
    4. Right-click the certificate that is required to configure for Secure Private Access.
    5. Click All Tasks -> Manage Private Keys.
    6. In the Permissions window, click Add and then search for the Network Service account.

      Permissions

    7. Choose the permission Read only.
    8. Click OK.

    9. Copy the thumbprint from Certificate Details.

    Cloud Connector thumbprint

    1. After copying the thumbprint, perform the following steps to enable TLS.

      1. Navigate to the Citrix Secure Private Access installation folder (default path - C:\Program Files\Citrix\AccessSecurityService).
      2. Run .\Citrix.AccessSecurityService.exe /CERTIFICATE_THUMBPRINT <ThumbprintValue>.
      3. Restart the Citrix Secure Private Access service.

      After the command runs successfully, the Secure Private Access service must be running as a TLS service. To confirm, enter the following URL in the browser.

      https://<Cloud connector address>:<port>/secureAccess/health

Cloud Connector TLS

Load balancer configuration

We recommend that you use the SSL bridge load balancer configuration for Cloud Connectors. For more information, see Configure SSL bridging.

Cloud Connector for hybrid deployment