Licensing guide for Citrix uberAgent 7.5.x
Before you start
Ensure that you have a valid entitlement that includes Citrix uberAgent.
Licensing use cases
Citrix uberAgent 7.5.x uses the Citrix License Activation Service (LAS) instead of traditional license files. Depending on the deployment use case, you must follow different procedures.
Use case 1: On Citrix Virtual Delivery Agents
When installed on a Citrix Virtual Delivery Agent (VDA), uberAgent 7.4.2 and later is automatically licensed when the VDA itself has a valid license. You do not need to provide an uberAgent license or activation file.
Note:
On a VDA, uberAgent ignores any existing activation files.
Use Case 2: Non-VDA deployments
On non-VDA deployments, uberAgent processes an activation file (provisiontoken.blob), which has to be distributed to all endpoints where uberAgent is installed. Follow the procedure outlined in Downloading the Activation File.
Note:
This also applies to uberAgent installations on Citrix Delivery Controllers (DDC) that have no VDA-role installed.
Downloading the activation file
Use the Citrix Cloud portal to allocate your uberAgent licenses, and download the activation files. To do so, proceed as follows:
- From a web browser, go to your Citrix Cloud environment (for example, https://us.cloud.com).
- Sign in with your username and password. Verify that you’ve selected the right customer ID if your account has access to multiple Citrix Cloud environments.
- Click the menu in the top-left corner. Select Licensing. From there, select Licensed deployments and click uberAgent.
-
This page shows all the active and revoked activation files created in your Citrix Cloud account. Note the expiration date, which indicates when your activation file expires. Plan ahead and distribute new activation files well before they expire.
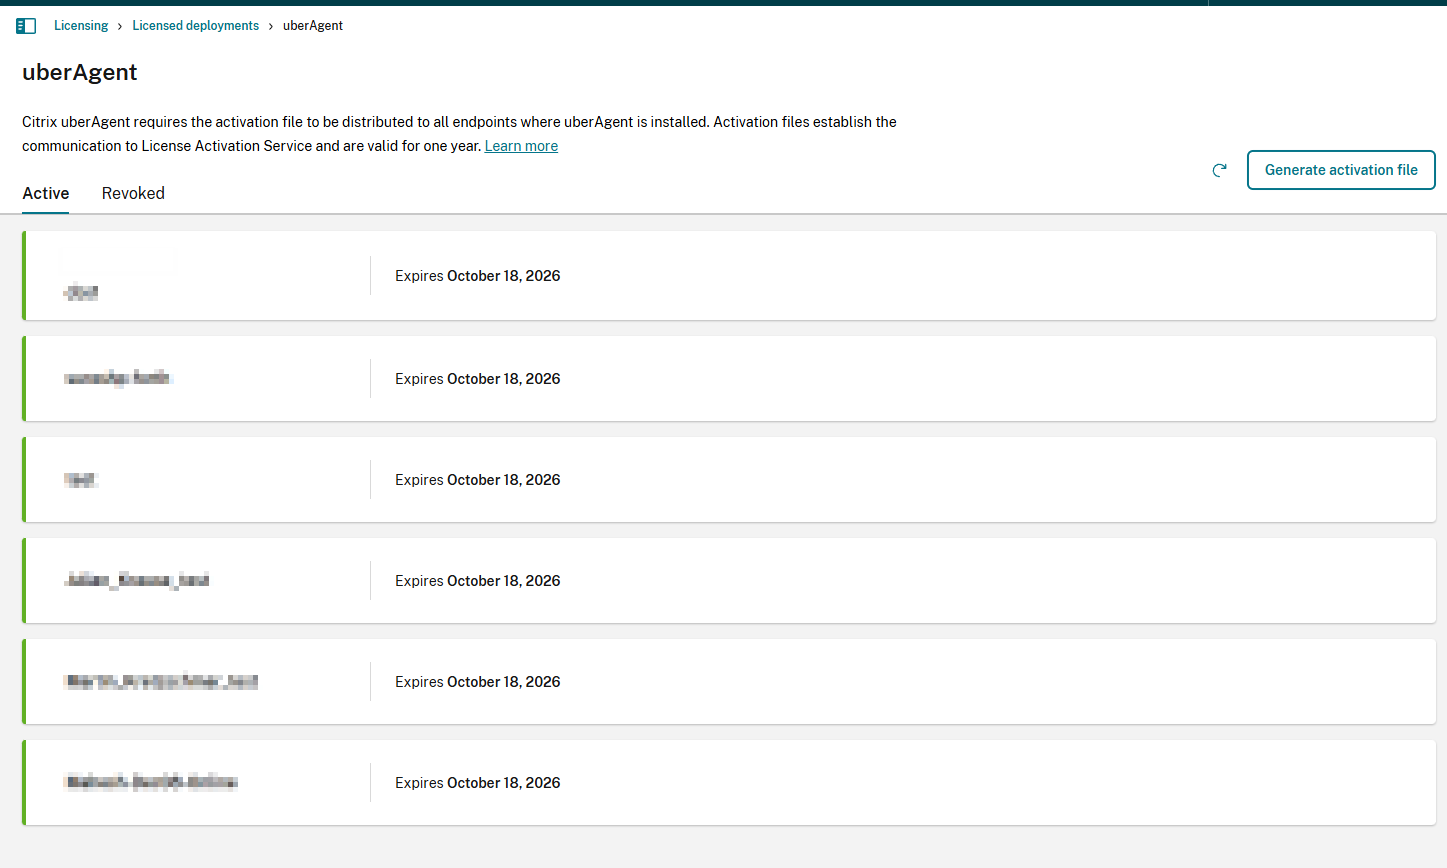
- To create a new provision token, use the Generate activation file button in the top-right corner.
-
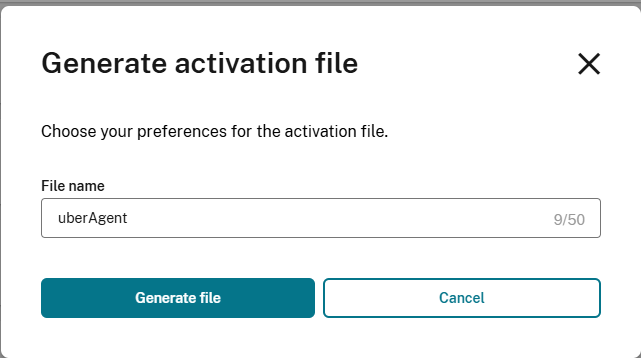
A new window opens where you can enter a name for the .zip archive that contains your provision token. The download starts after clicking Generate file.
- After the download finishes, extract the archive to retrieve the
provisiontoken.blob. The file name and content must remain unchanged.
To apply your activation file, follow the steps described below.
Installing the Activation File
Requirements
uberAgent validates the activation file with the Citrix LAS backends. Ensure that uberAgent is able to contact the LAS backend-resources. This might require adding firewall exceptions as well as configuring a proxy. If you set up a proxy to only allow LAS-related traffic, follow this practice guide.
Manual Installation
To apply the activation file to an uberAgent installation, follow the steps below. If you are using uberAgent 7.4.2 or later on a Citrix VDA, you do not need to provide a token or license because uberAgent is automatically activated through a licensed VDA.
- Locate the activation file (
provisiontoken.blob), that was downloaded from your Citrix Cloud portal and copy it to the clipboard. - Paste the activation file into uberAgent’s installation directory which resolves to
%ProgramFiles%\Citrix\uberAgentby default on Windows or to its configuration directory/Library/Application Support/uberAgenton macOS. Ensure that the file name isprovisiontoken.blob. - Start or restart the uberAgent service/daemon to apply the new uberAgent activation file.
- After startup, uberAgent validates the
provisiontoken.blob, and activates itself by contacting the LAS backend. If the validation was successful, uberAgent starts operating.
Central license file management
uberAgent is able to install activation files automatically from a centrally managed license file share. For more information, see Central License File Management. Using this approach, the provision token downloaded from the Citrix portals have to be placed on the configured file share instead of the installation or configuration directory.
Renew a License
Citrix uberAgent does not have an auto-renew feature. To renew an activation, click the three dots on the right-hand side of your activation entry and choose Renew activation.
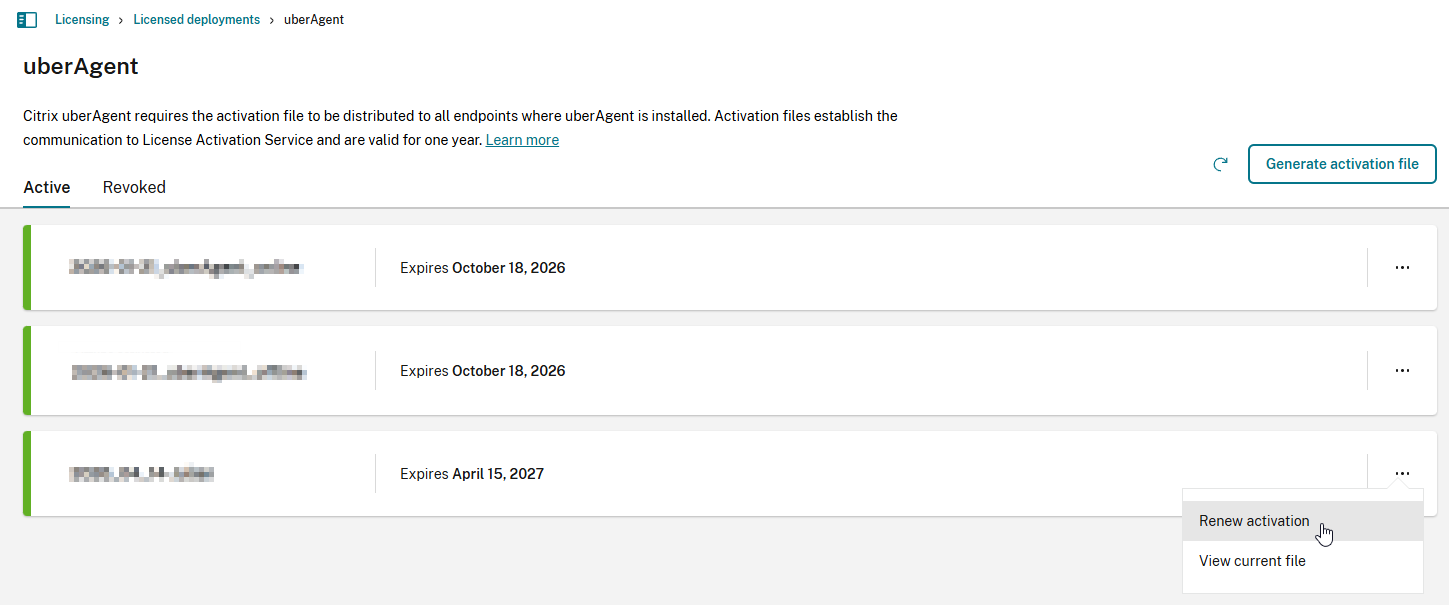
After renewing an activation, you are prompted to download a new activation file which then needs to be distributed to your endpoints through the steps outlined above.
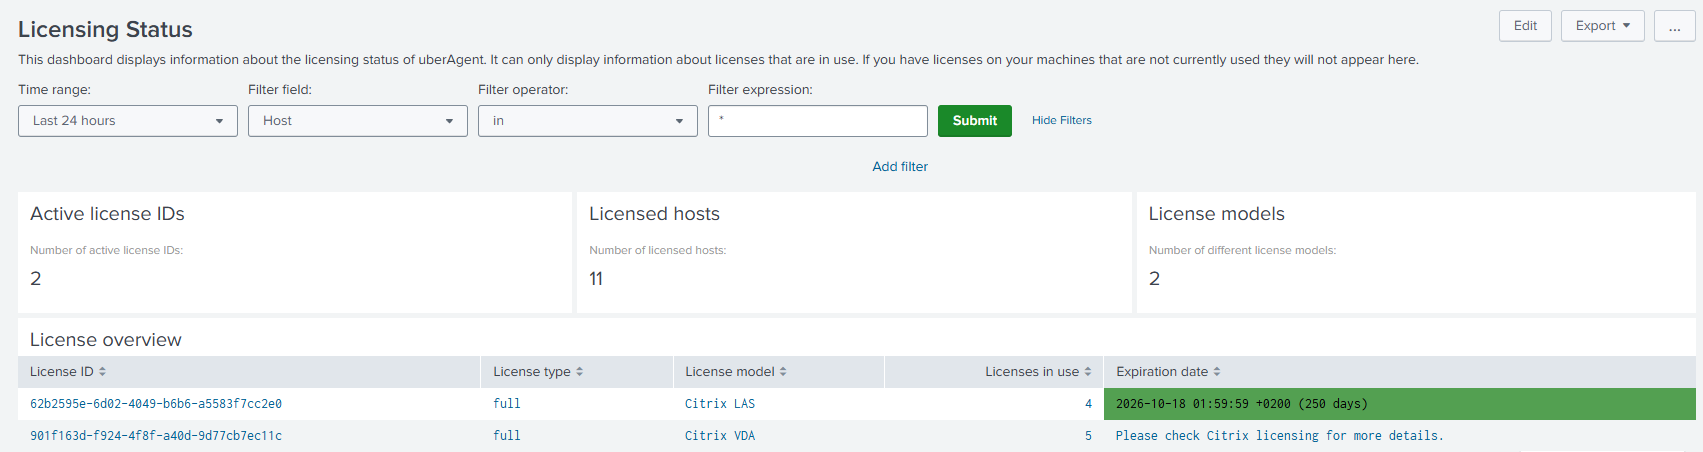
Use the uberAgent UXM Splunk dashboard Licensing Status to keep track of active licenses. To ensure uninterrupted monitoring, it is recommended that you distribute new provision tokens ahead of the expiration date.
Advanced Licensing Options
Review the uberAgent product documentation for knowledge base articles about the licensing.