Configuring Scout Agent for Windows
Note:
The Scout Agent for Windows supports the languages English and German.[1[[ ]The shown language is determined by the display language selected in the Windows control panel.]]
-
Show all systray icons of the Windows taskbar and right-click
 Scout Agent > Configuration.
-
Click Configuration.
The Scout Agent for Windows is loaded and requests the device password.
-
Enter the device password of the client.
For initial start-up the password is elux. During first connection to the Scout Server, the password is changed to the value defined there (see Scout Console > Options > Base configuration > Security > Local security settings > Device password).
The Scout Agent for Windows Configuration dialog opens. The Scout Server address is predefined as ScoutSrv. For further information, see Self-registration of devices in the Scout guide.
-
In the Scout Server Address field, enter the IP address or FQDN of the Scout Server.
The Scout Agent for Windows sets up a connection to the Scout Server.
-
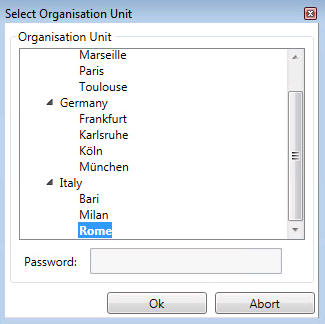
Next to Organisation unit, click the … button to display the Select Organization Unitdialog, and then assign the device to an OU.
-
Confirm with OK and Apply.
The device receives the configuration data of the selected OU from the Scout Server. The configuration becomes active after the next restart.
Note:
On each client restart, the Scout Agent for Windows is started automatically. As long as the Scout Agent for Windows is active, the
Scout Agent is displayed in green.