-
-
-
WEM Integrity Condition List Manager
This content has been machine translated dynamically.
Dieser Inhalt ist eine maschinelle Übersetzung, die dynamisch erstellt wurde. (Haftungsausschluss)
Cet article a été traduit automatiquement de manière dynamique. (Clause de non responsabilité)
Este artículo lo ha traducido una máquina de forma dinámica. (Aviso legal)
此内容已经过机器动态翻译。 放弃
このコンテンツは動的に機械翻訳されています。免責事項
이 콘텐츠는 동적으로 기계 번역되었습니다. 책임 부인
Este texto foi traduzido automaticamente. (Aviso legal)
Questo contenuto è stato tradotto dinamicamente con traduzione automatica.(Esclusione di responsabilità))
This article has been machine translated.
Dieser Artikel wurde maschinell übersetzt. (Haftungsausschluss)
Ce article a été traduit automatiquement. (Clause de non responsabilité)
Este artículo ha sido traducido automáticamente. (Aviso legal)
この記事は機械翻訳されています.免責事項
이 기사는 기계 번역되었습니다.책임 부인
Este artigo foi traduzido automaticamente.(Aviso legal)
这篇文章已经过机器翻译.放弃
Questo articolo è stato tradotto automaticamente.(Esclusione di responsabilità))
Translation failed!
WEM Integrity Condition List Manager
WEM Integrity Condition List Manager is a powerful tool that helps you create the XML file for filtering purposes. The tool is used with the following filter condition types: Name is in List, Name is not in List, Name or Value is in List, and Name or Value is not in List. For more information about using these conditions in the administration console, see Filters.
This article describes how to use the WEM Integrity Condition List Manager to create the XML file for filtering purposes. For example, suppose you want to filter the actions by using the WEM Integrity Condition List Manager in conjunction with Name is in List.
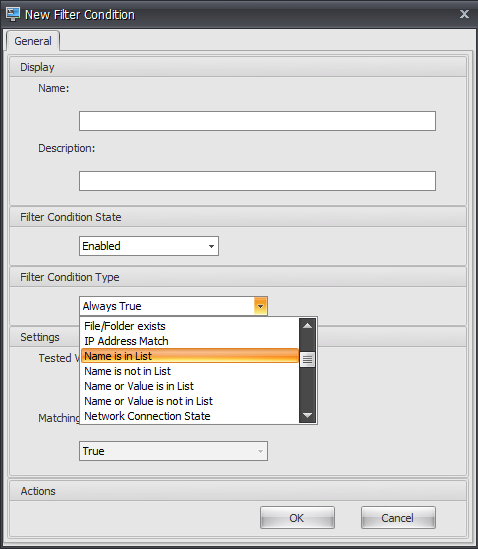
-
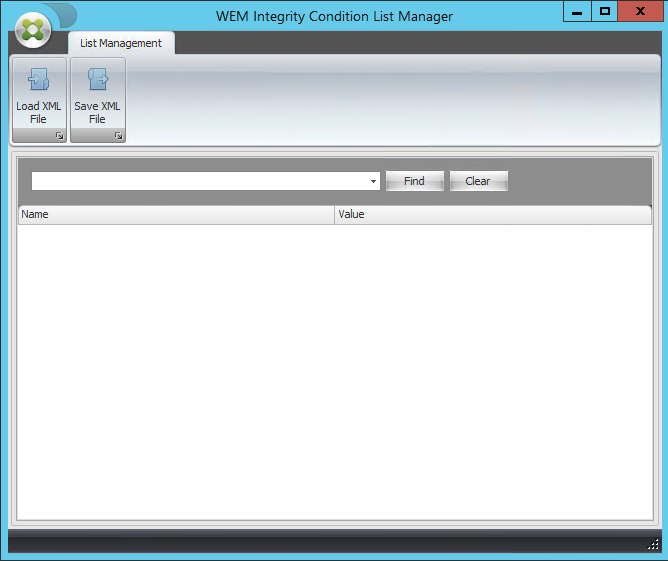
Open WEM Integrity Condition List Manager.
-
Right-click the blank area and then select Add in the context menu.
-
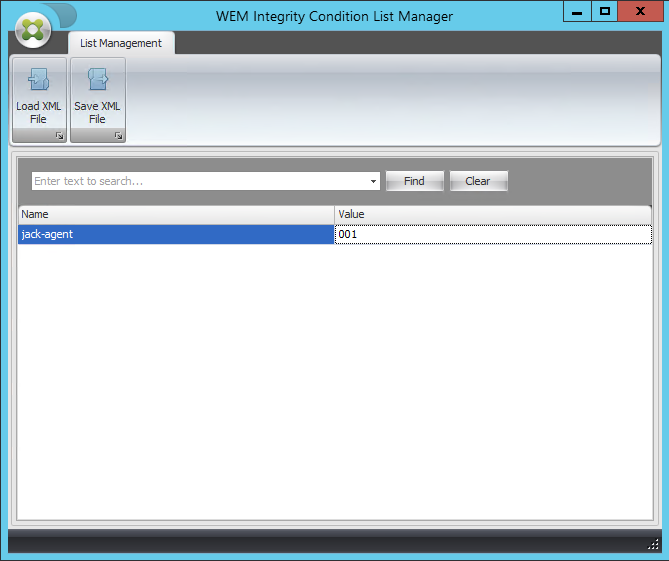
Type the name in the Name field.
Note:
Type the name of the machine on which the WEM agent is running (agent host).
-
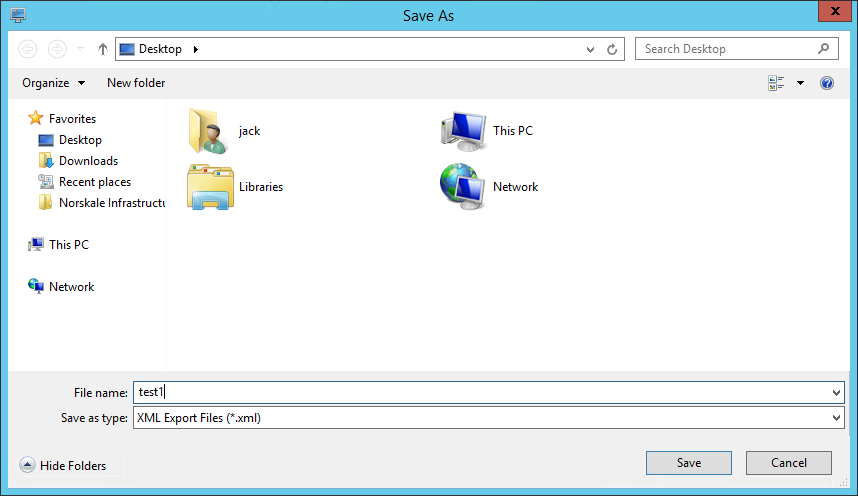
Click Save XML File, browse to the desired folder, and then click Save.
-
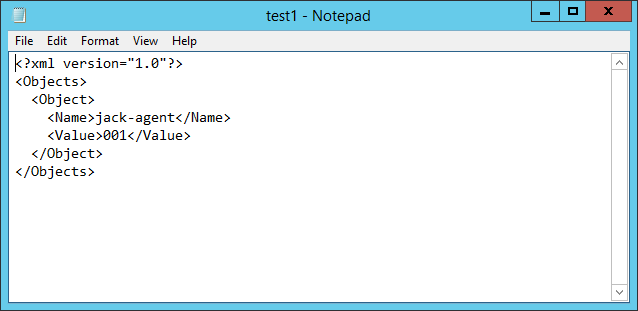
Open the saved XML file to verify that the information you provided was saved correctly.
-
Copy the saved XML file to a folder on the agent host.
Note:
This feature does not work if you save the XML file on an administration console machine.
-
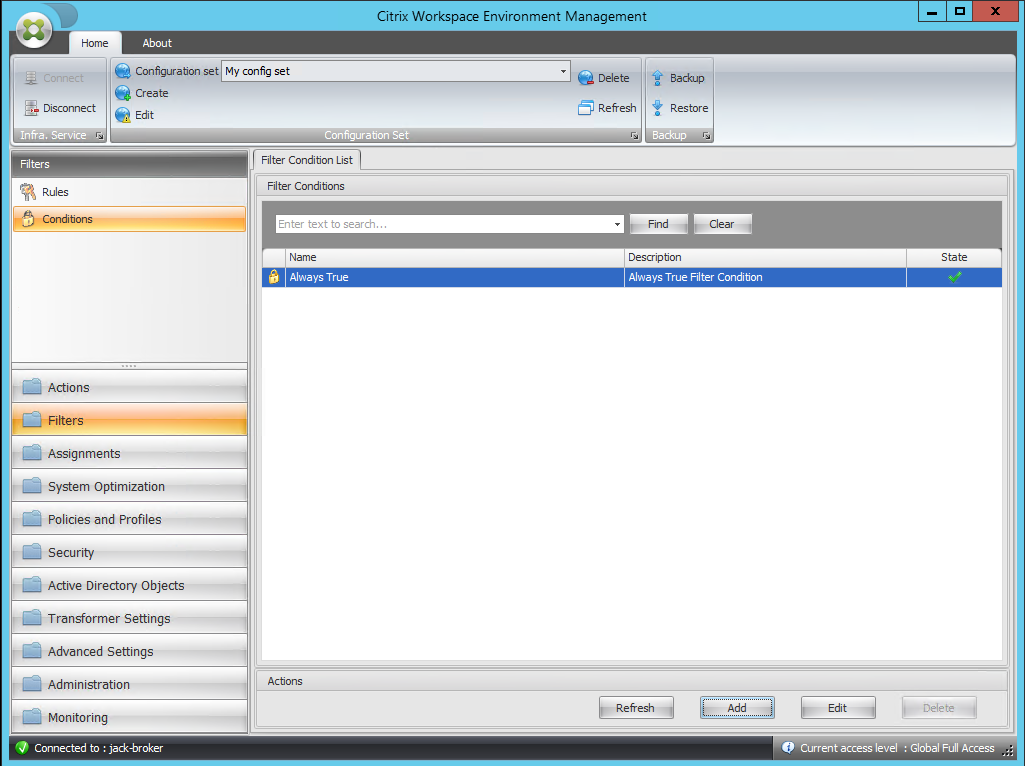
Go to the Administration Console > Filters > Conditions > Filter Condition List tab and then click Add.
-
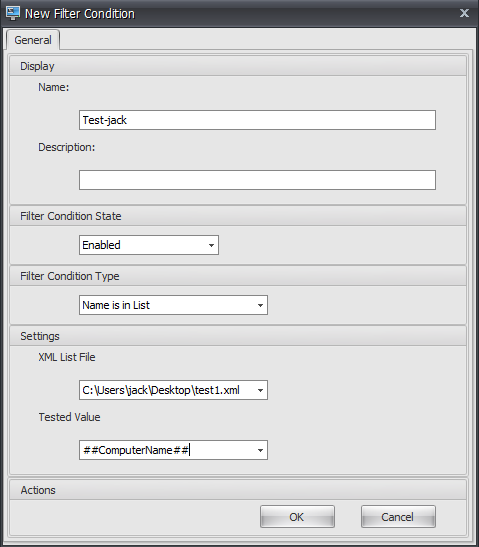
Type the information and then click OK.
Note:
- Filter Condition Type. Select Name is in List.
- XML List File: C:\Users\<user1>\Desktop\test1.xml (file address on the agent host)
- Tested Value. Type the dynamic token that corresponds to the name you typed in the Name field in the WEM Integrity Condition List Manager. In this example, you typed the name of the machine on which the agent is running (agent host). Therefore, you must use the dynamic token “##ComputerName##.” For more information about using dynamic tokens, see Dynamic tokens.
-
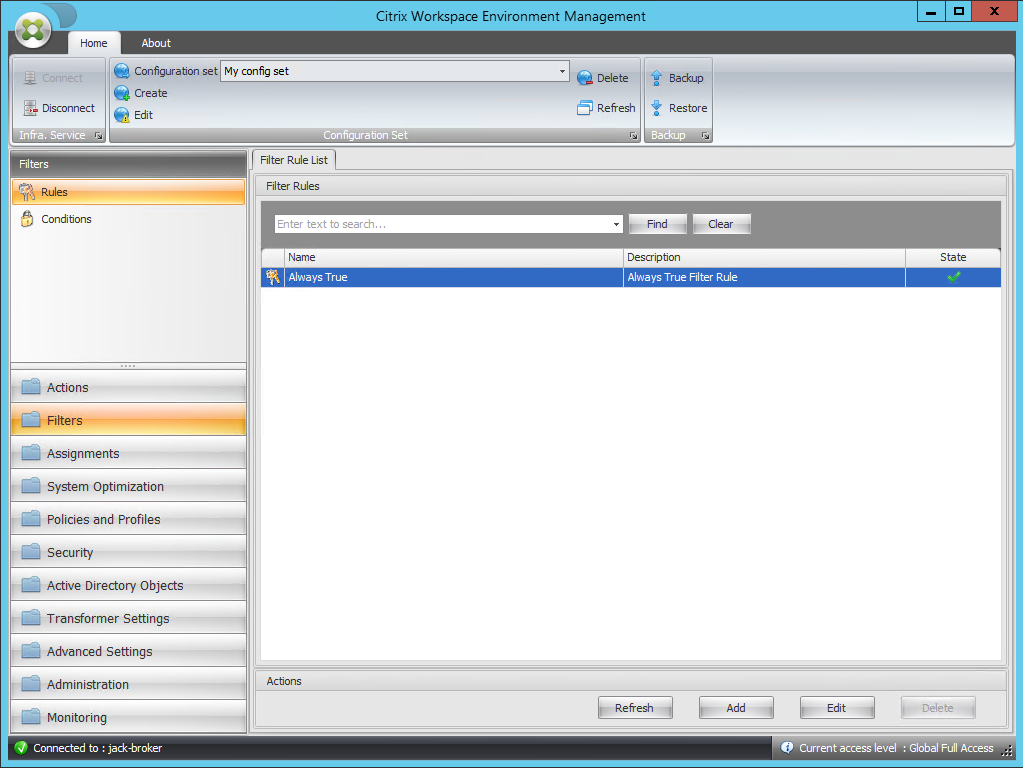
Go to the Administration Console > Filters > Rules > Filter Rule List tab and then click Add.
-
Type the filter name in the Name field.
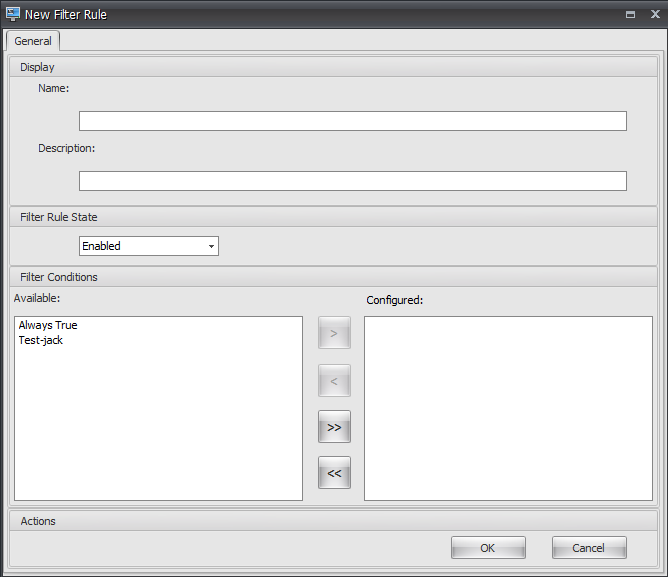
-
Move the configured condition from the Available pane to the Configured pane and then click OK.
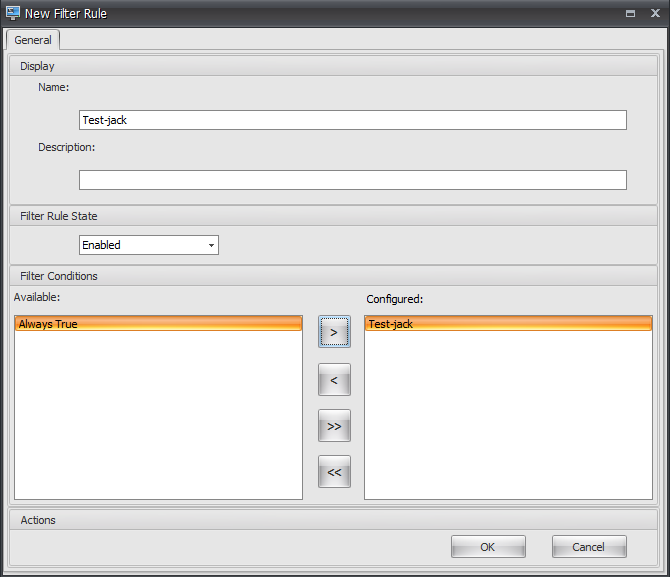
-
Go to the Administration Console > Actions > Applications > Application List tab and then add an application.
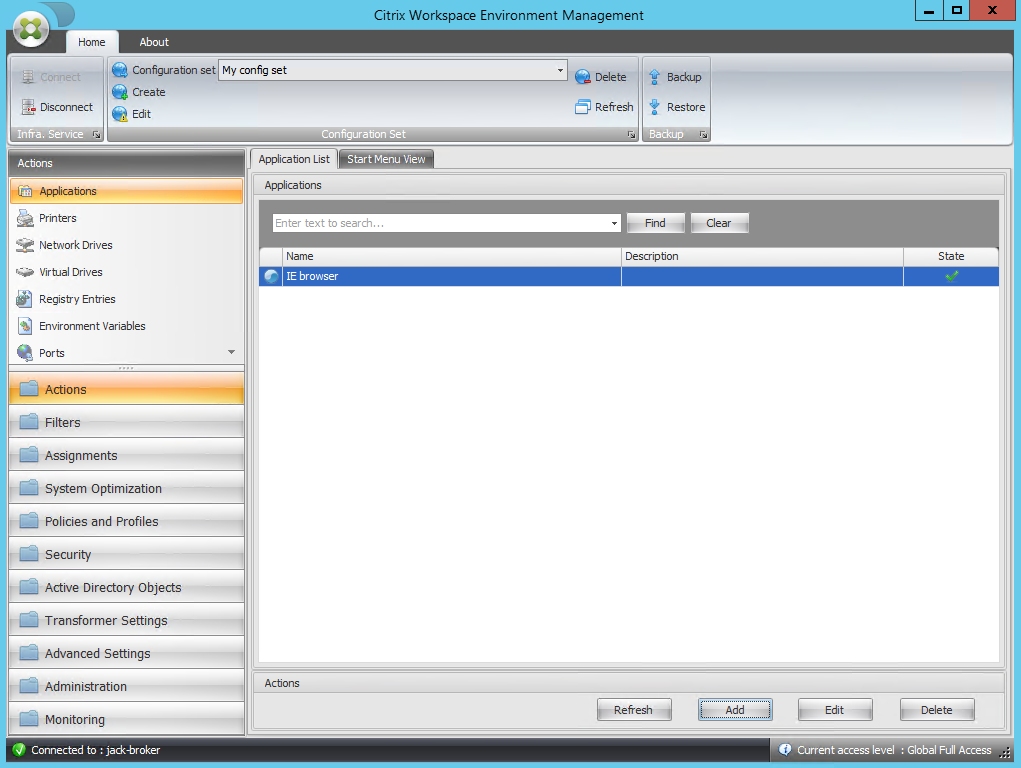
-
Go to the Administration Console > Assignments > Action Assignment tab.
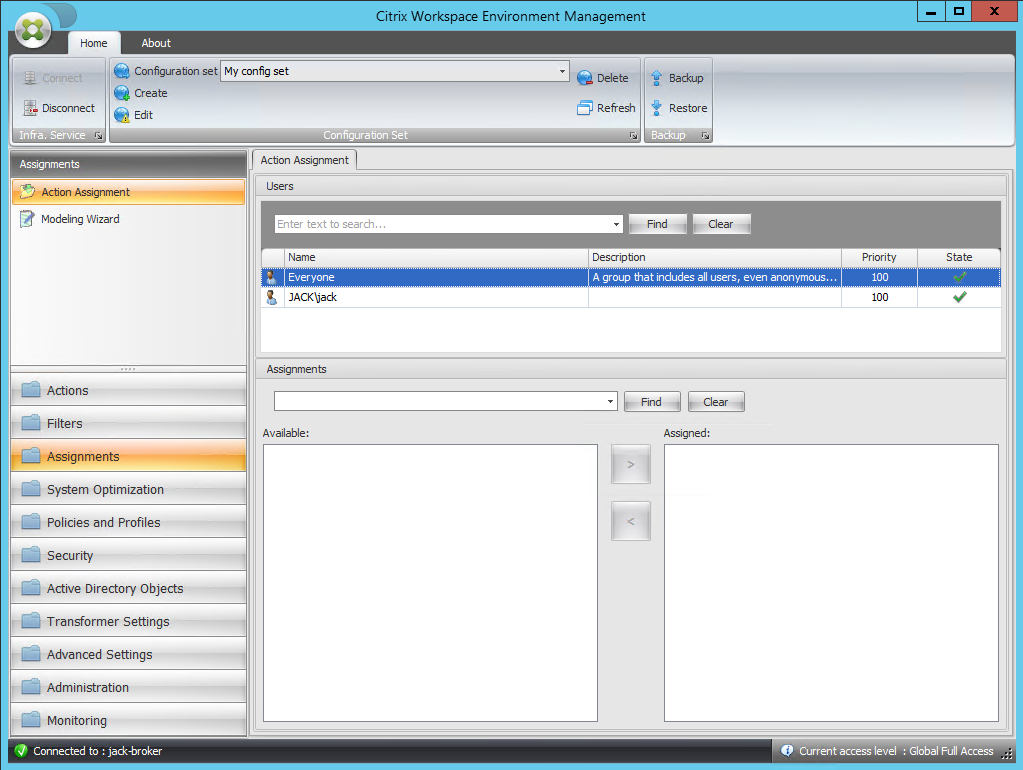
-
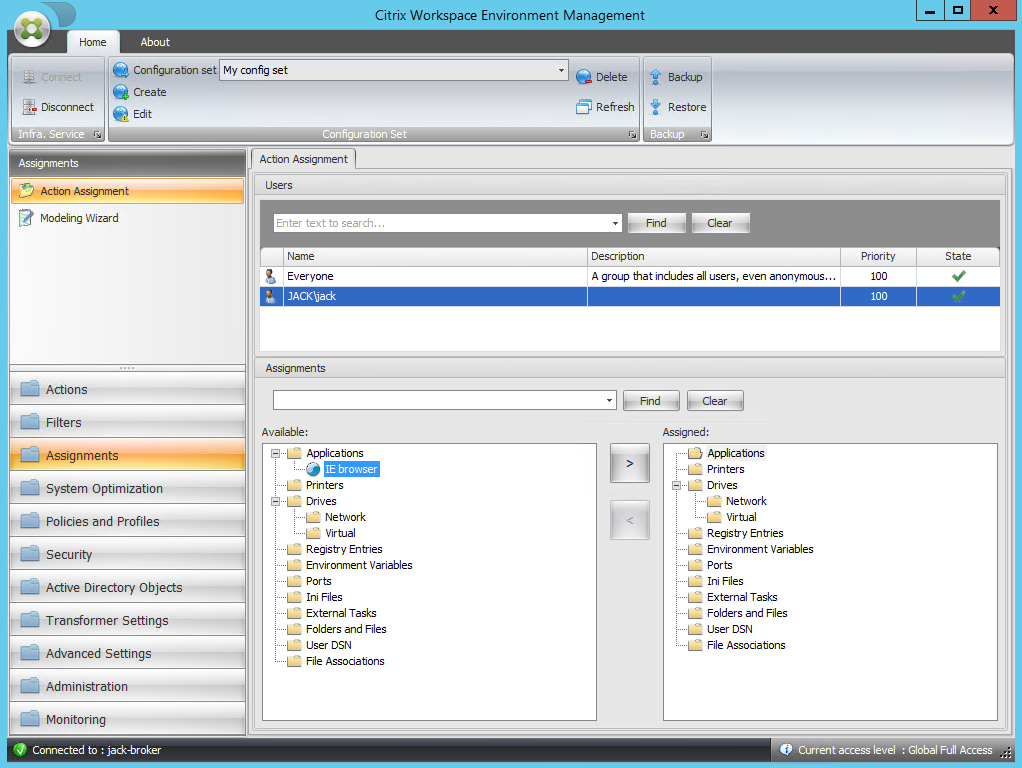
Double-click the desired user or user group (in this example, select the agent host).
-
Move the application from the Available pane to the Assigned pane.
-
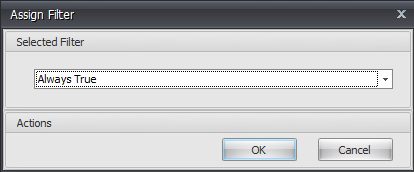
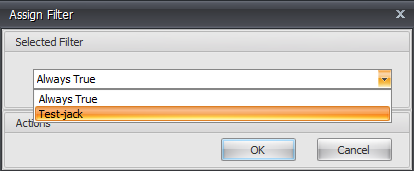
Select the filter and then click OK.
-
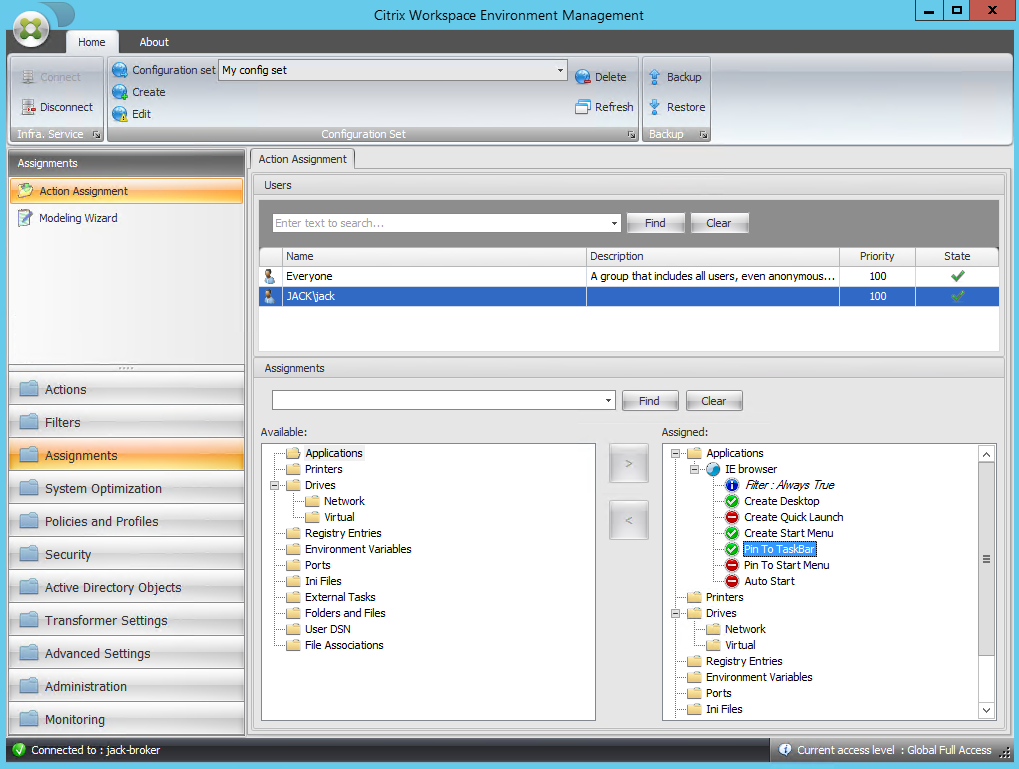
Enable the options for the assigned application (in this example, enable Create Desktop and Pin To TaskBar).
-
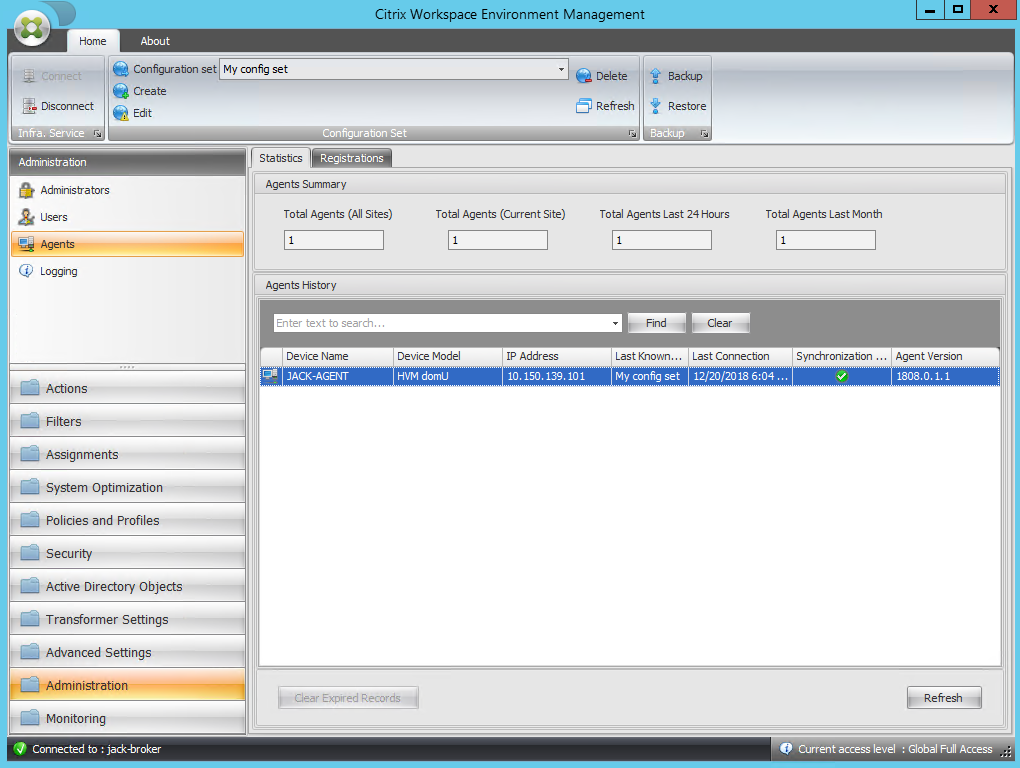
Go to the Administration Console > Administration > Agents > Statistics tab and then click Refresh.
-
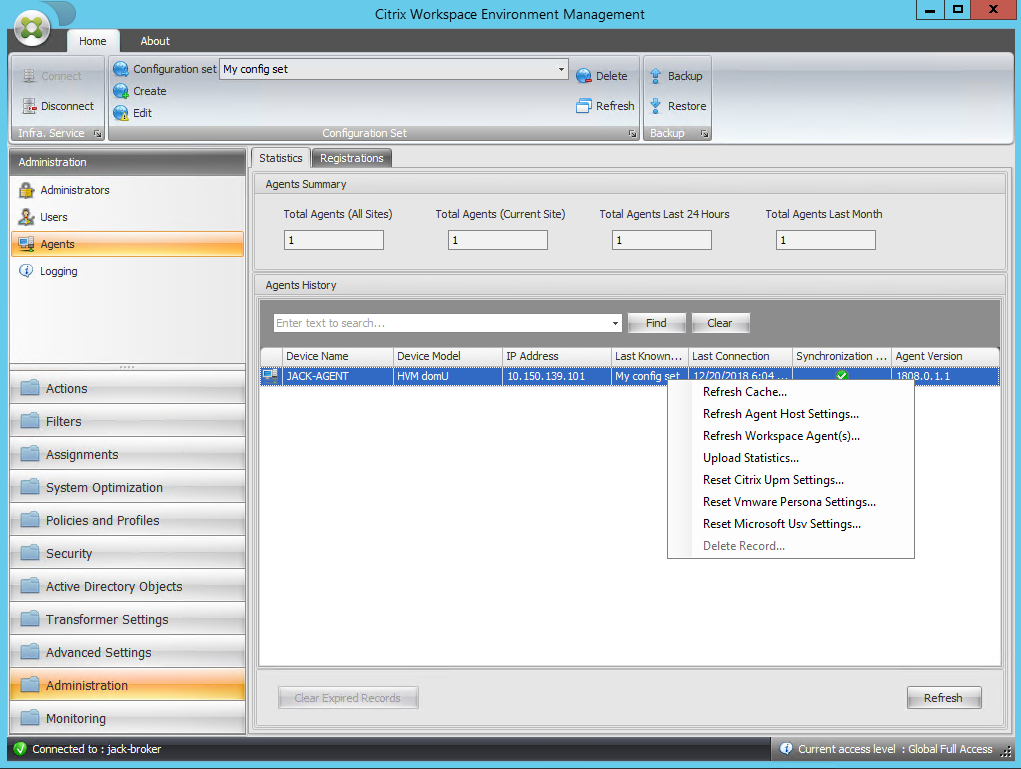
Right-click the agent and then select Refresh Workspace Agent(s) in the context menu.
Note:
For the settings to take effect, you can also go to the machine on which the agent is running and then refresh Citrix WEM Agent.
-
Go to the machine on which the agent is running (agent host) to verify that the configured condition works.
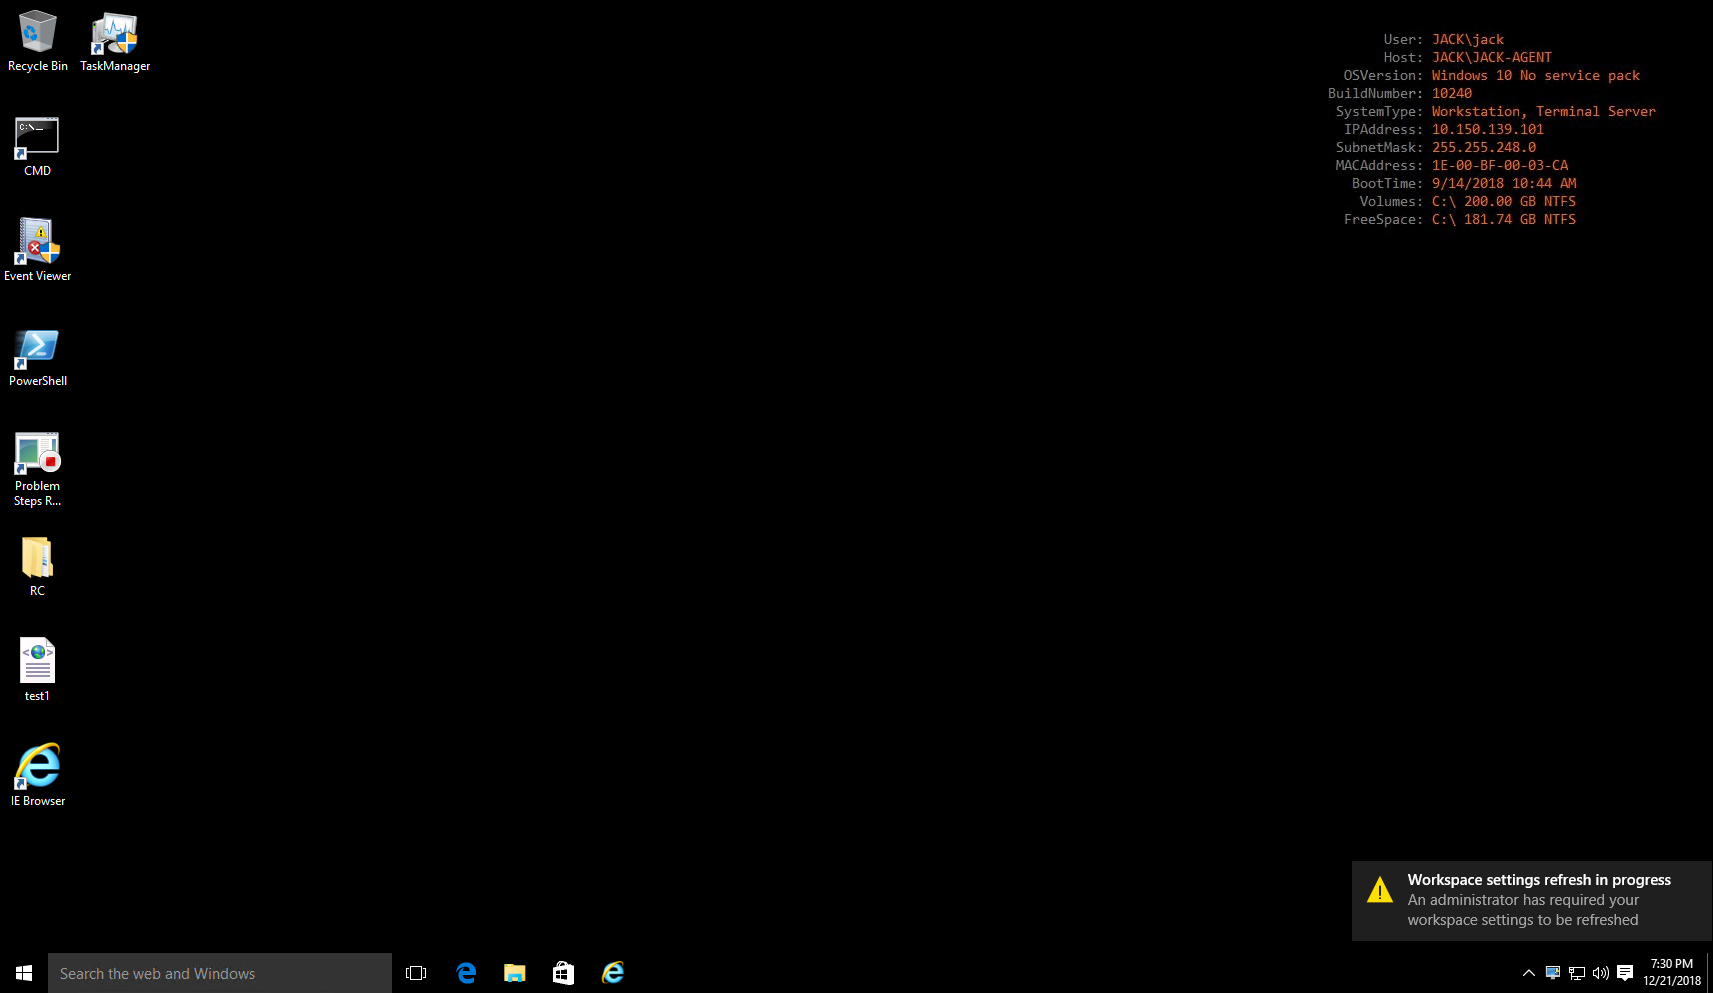
In this example, the application was assigned to the agent machine successfully. It was created on the desktop and pinned to the taskbar.
Share
Share
In this article
This Preview product documentation is Citrix Confidential.
You agree to hold this documentation confidential pursuant to the terms of your Citrix Beta/Tech Preview Agreement.
The development, release and timing of any features or functionality described in the Preview documentation remains at our sole discretion and are subject to change without notice or consultation.
The documentation is for informational purposes only and is not a commitment, promise or legal obligation to deliver any material, code or functionality and should not be relied upon in making Citrix product purchase decisions.
If you do not agree, select I DO NOT AGREE to exit.