Action Groups
The action groups feature lets you first define a group of actions and then assign all the defined actions in the action group to a user or user group in a single step. With this feature, you no longer have to assign each action present in the Actions pane one by one. As a result, you can assign multiple actions in a single step.
Tip:
You can use dynamic tokens to extend Workspace Environment Management actions to make them more powerful.
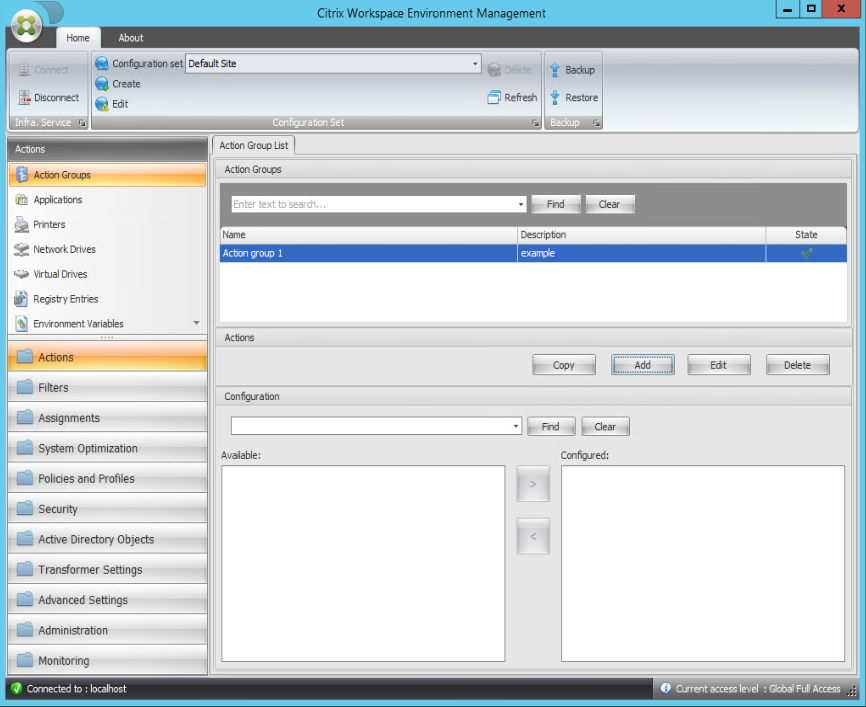
Action group list
Action groups
Displays a list of your existing action groups. Use Find to filter the list by name, display name, or description.
Actions
Important:
- The action group includes only actions already present in each action category (applications, printers, and network drives, and so on). For example, unless you have added applications on the Application List tab, the action groups on the Action Group List tab do not display any applications available for you to assign under Applications.
- If you configure the options for actions in an assigned action group (Action Group List > Name > Configured), the configured options will not impact the users to which the action group is assigned.
The Actions section displays the actions available to you. You can perform the following operations:
- Add. Lets you create an action group that contains all the actions you want to assign to a user or user group.
- Edit. Lets you edit an existing action group.
- Copy. Lets you replicate an action group from an existing one.
- Delete. Lets you delete an existing action group.
To create an action group, follow the steps below.
- On the Administration Console > Actions > Action Groups > Action Group List tab, click Add.
- In the New Action Group window, type the required information, select the applicable option from the dropdown, and then click OK.
To edit an action group, select the applicable group from the list and then click Edit.
To clone an action group, select the group you want to clone and then click Copy. Note that the clone is automatically created after you click Copy. The clone inherits the name of the original and has a suffix “-Copy.” You can click Edit to change the name.
Note:
When you clone an action group, actions (if any) associated with the Network and Virtual Drives are not cloned unless the Allow Drive Letter Reuse in assignment process option is enabled. To enable that option, go to the Advanced Settings > Configuration > Console Settings tab.
To delete an action group, select the applicable group from the list and then click Delete.
Note:
If you delete or edit an action group that is already assigned, the changes you make will impact all users to which the group is assigned.
Fields and controls
Name. The display name of the action group, as it appears in the action group list.
Description. Lets you specify additional information about the action group.
Action Group State. Toggles the action group between enabled and disabled state. When disabled, the agent does not process the actions included in the action group even if you assign that action group to a user or user group.
Configuration
Lets you search for the specific action that you want to assign or you have configured. Use Find to filter the option by name, display name, or description.
Available. These are the actions available to you to add to the action group you created.
Click the plus sign to expand the actions under the specific action category. Double-click an action or click the arrow buttons to assign or unassign it.
Note:
- If you add an action to an action group that is already assigned to users, the action will be assigned to those users automatically.
- If you delete an action from an action group that is already assigned to users, the action will be unassigned from those users automatically.
Configured. These are the actions already assigned to the action group you created. You can expand individual actions to configure them. You can also configure the options for each specific action; for example, application shortcut locations, default printers, drive letter, and so on.
Assignments
Important:
If you configure the options for actions in an assigned action group in the Assigned pane on the Action Assignment tab, the configured options will automatically impact the users to which the action group is assigned.
After you finish configuring the actions for the action group on the Actions > Action Groups > Action Group List tab, you might want to assign the configured actions to the applicable user or user group. To do so, go to the Assignments > Action Assignment > Action Assignment tab. On that tab, double-click a user or user group to see the Action Groups node in the Available pane that contains the action groups you created. You can click the plus sign next to the Action Groups node to view the action groups you created. Double-click an action group or click the arrow buttons to assign or unassign it. When you assign an action, you are prompted to select the rule you want to use to contextualize that action.
For more information about how assignments work, see Assignments.
When assigning action groups, there are several scenarios to be aware of:
- If you assign an action group, all actions included in it are assigned.
- One or more actions might overlap in different action groups. For overlapping action groups, the group that is processed last overwrites groups that were processed earlier.
- After the actions in an action group are processed, consider assigning the actions that overlap with those in another action group. In this case, the unassigned actions overwrite those that were processed earlier, resulting in the actions processed later being unassigned. The other actions remain unchanged.
Example scenario
For example, to use the action groups feature to assign two applications (iexplore.exe and calc.exe) to a user at one time, follow the steps below.
-
Go to the Administration Console > Actions > Applications > Application List tab and then add the applications (iexplore.exe and calc.exe).

-
Go to the Administration Console > Actions > Action Groups > Action Group List tab and then click Add to create an action group.
-
On the Action Group List tab, double-click the action group you created to display the action list in the Available and Configured panes.
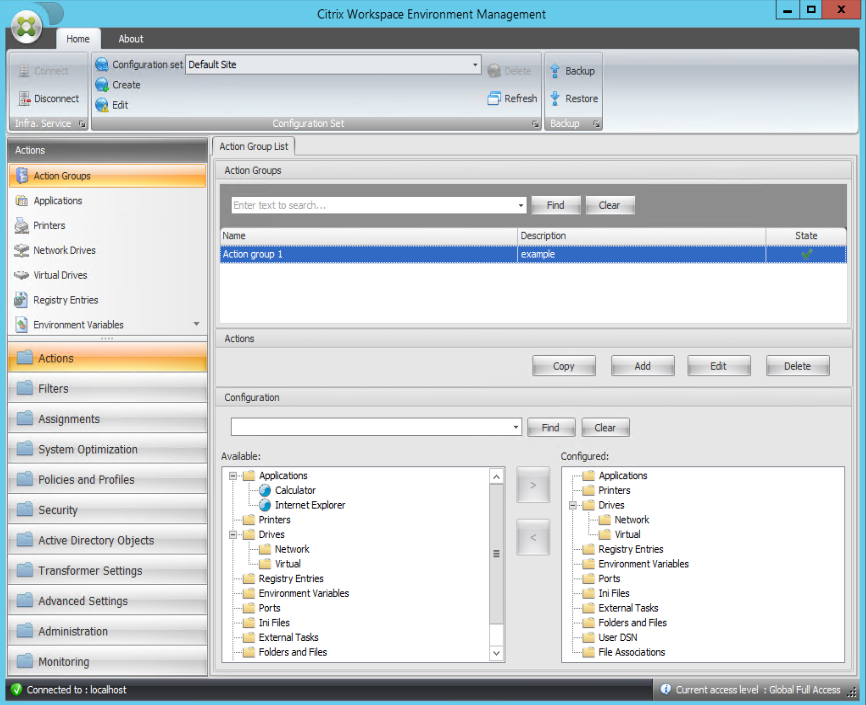
-
In the Available pane, double-click each application to move it to the Configured pane. You can also do so by selecting the application and then clicking the right arrow.
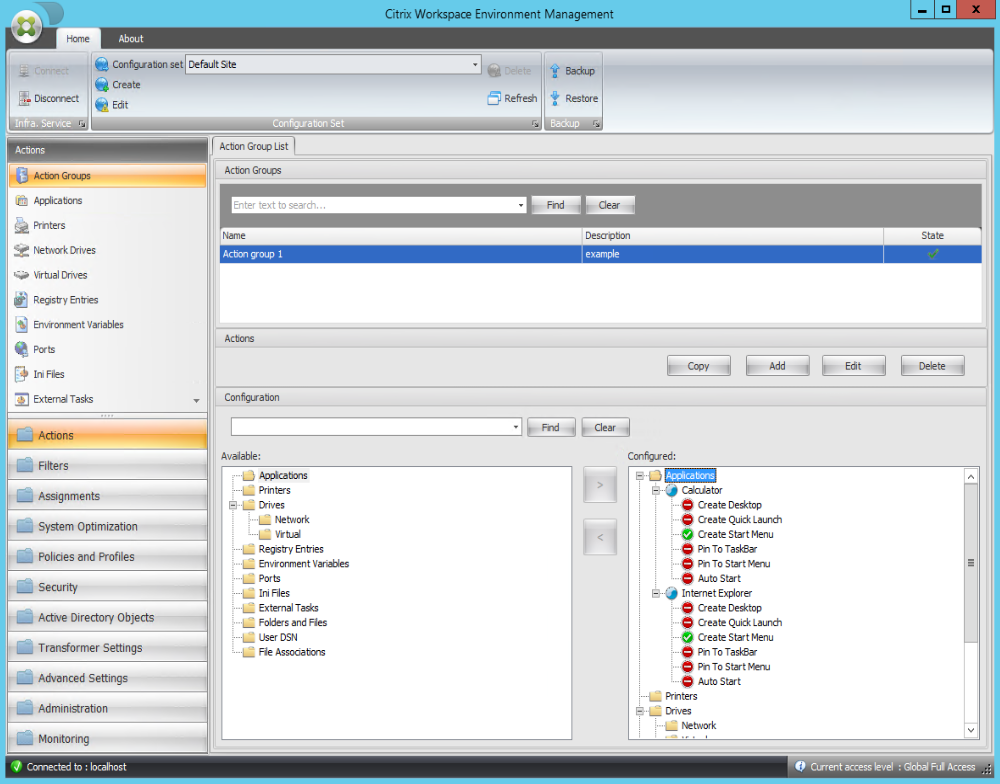
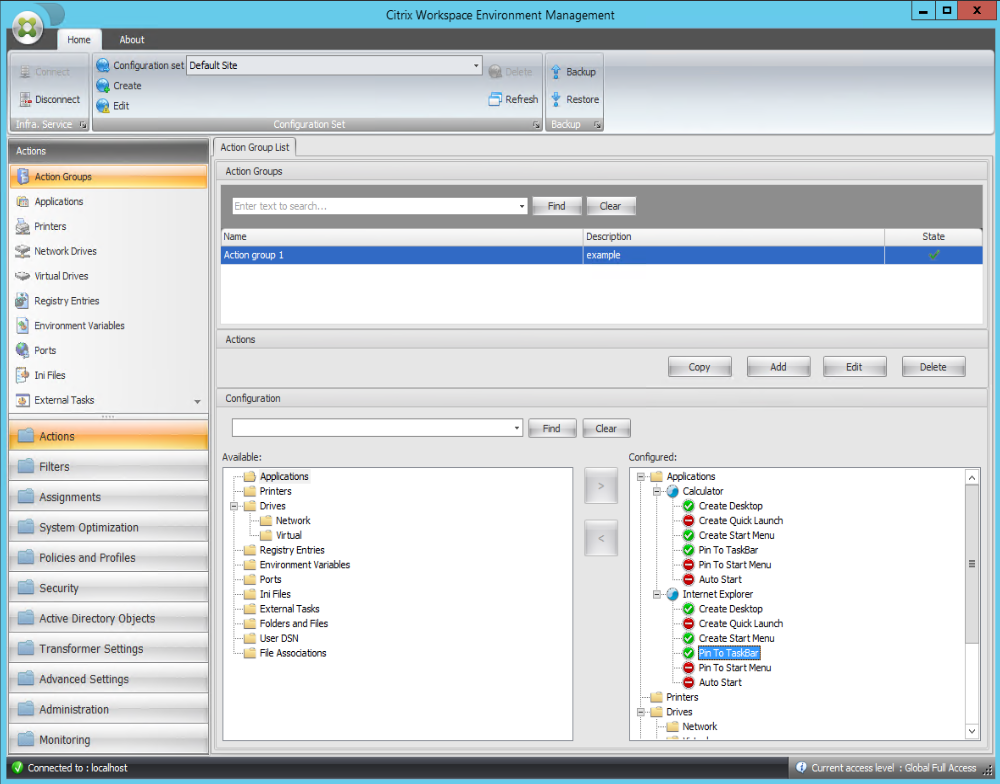
-
In the Configured pane, configure the options for each application. In this example, enable Create Desktop and Pin To TaskBar.
-
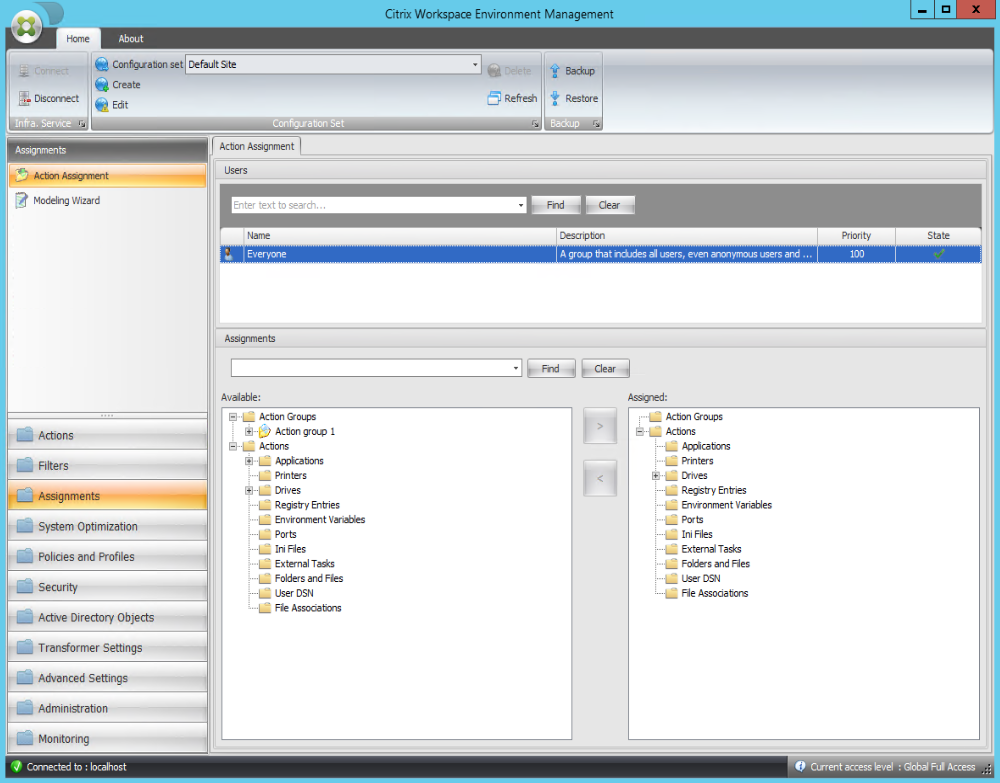
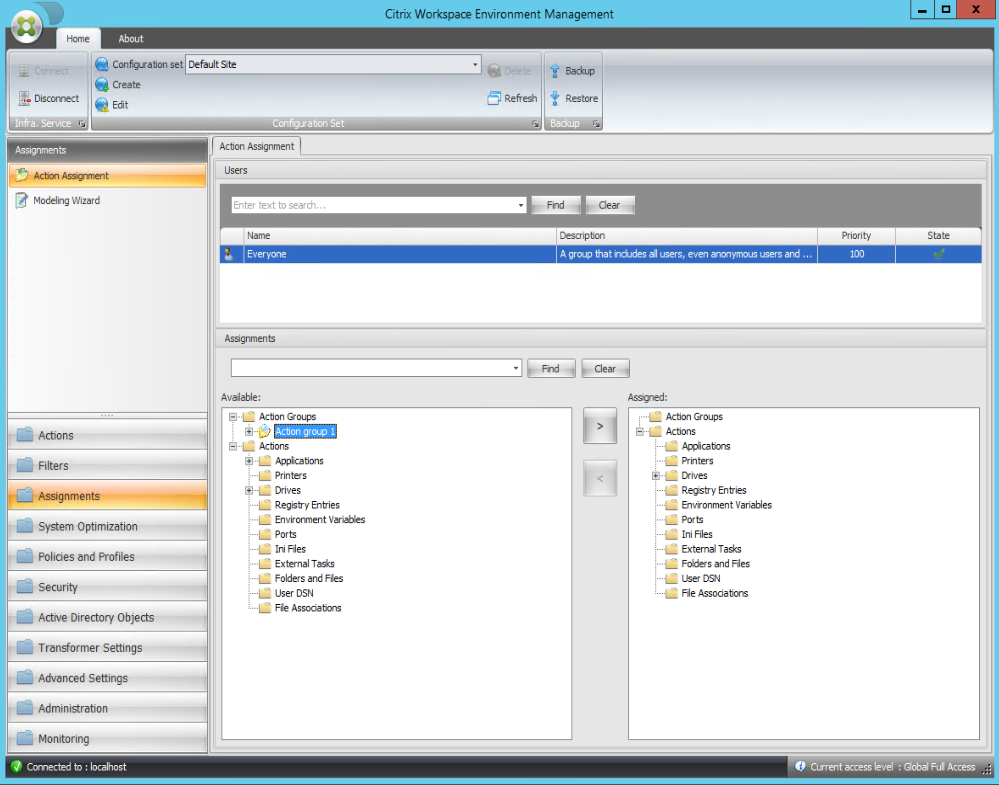
Go to the Administration Console > Assignments > Action Assignment tab and then double-click the applicable user to display the action group in the Available and Assigned panes.
-
In the Available pane, double-click the action group you created (in this example, Action group 1) to move it to the Assigned pane. You can also do so by selecting the action group and then clicking the right arrow.
-
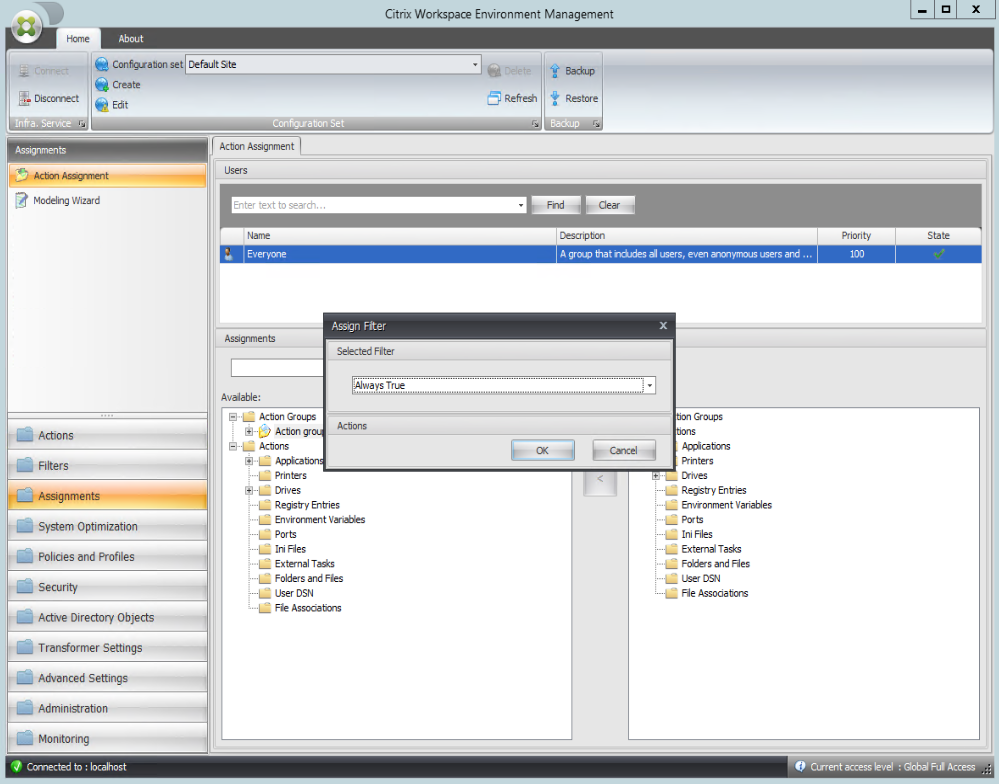
In the Assign Filter window, select Always True and then click OK.
-
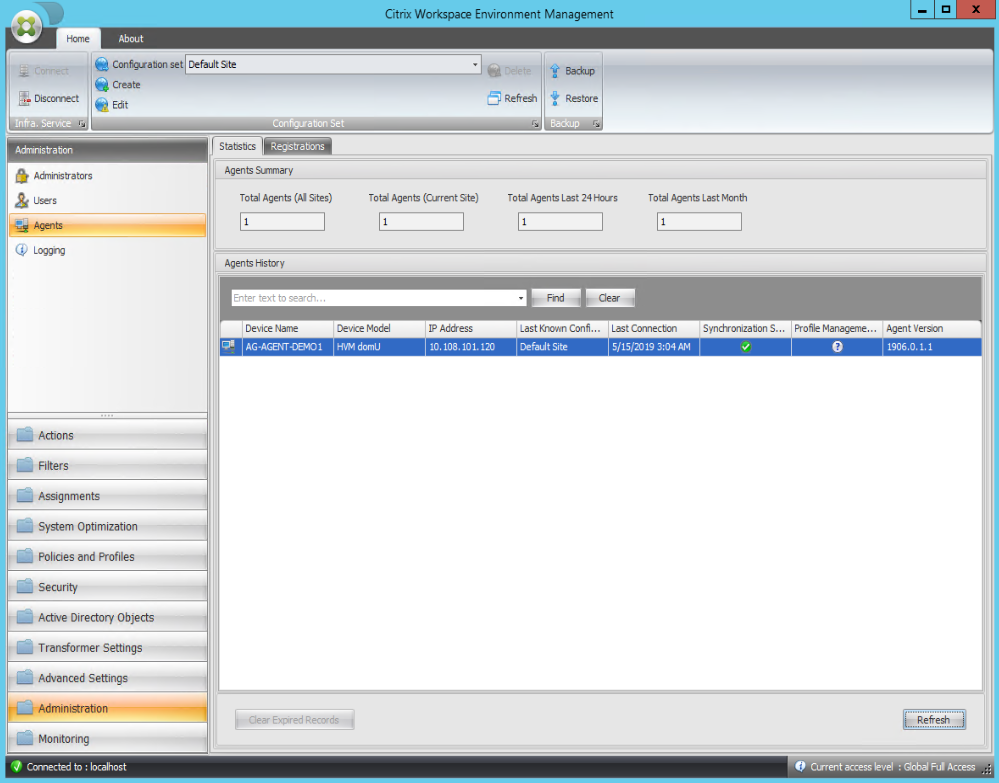
Go to the Administration Console > Administration > Agents > Statistics tab and then click Refresh.
-
Right-click the agent and then select Refresh Workspace Agent(s) in the context menu.
-
On the machine where the agent is running (agent host), verify that the configured actions are taking effect.
In this example, the two applications are successfully assigned to the agent host, and their shortcuts are added to the desktop and pinned to the taskbar.