Scenario 4
This scenario covers how to enable App Protection for devices based on the EPA scan results.
Following are the steps to enable App Protection for the devices that pass the EPA scans:
Prerequisites:
Make sure that you have the following:
- Authentication, authorization, and auditing user groups (for default and quarantined user groups) and associated policies
- LDAP server configurations and associated policies
-
Sign in to Citrix ADC and go to Configuration > Citrix Gateway > Virtual Servers.
-
Select the relevant Virtual Server and click Edit.
-
Edit the existing Authentication Profile.
-
Select the relevant Virtual Server and click Edit.
-
Click Authentication Policies > Add Binding.
-
Under Select Policy, click Add.
-
In the Name field, enter the name of the Authentication Policy.
-
In the Action Type drop-down list, select EPA.
-
In the Expression field, enter
True.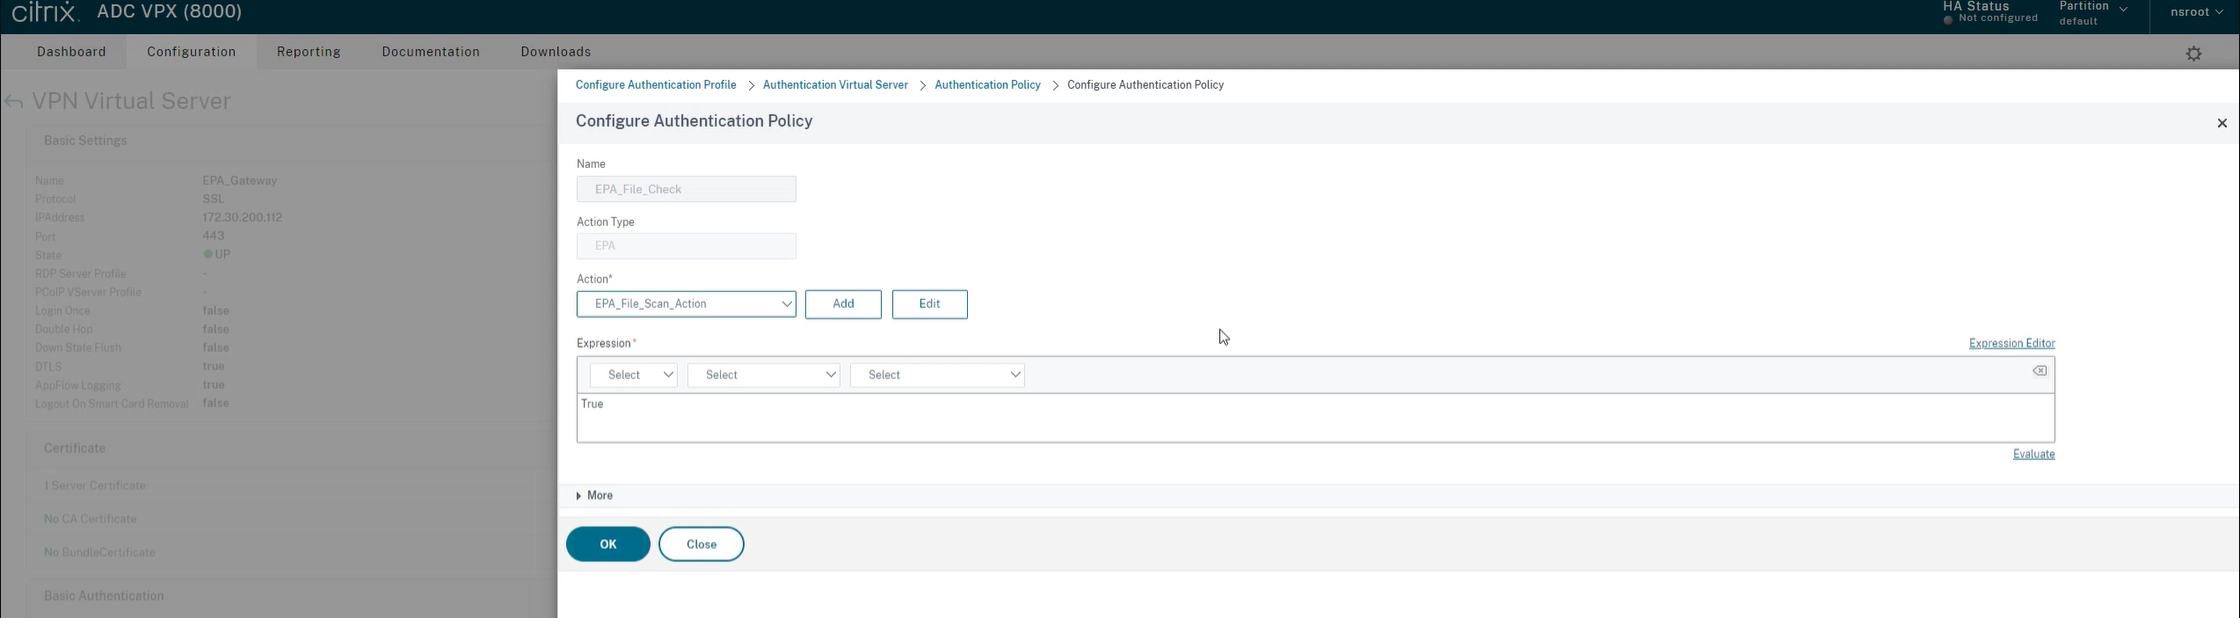
-
Under Action, click Add.
-
In the Name field, enter the name of the EPA Action.
-
Enter the Default Group and Quarantine Group names. In this scenario, Default Group name is FileExists and Quarantine Group name is FileNotExists.
-
In the Expression field, enter the following value:
sys.client_expr("file_0_c:\\\\epa\\\\compliance.txt") || sys.client_expr("file_0_c:\\\\epa\\\\trusteddevice.txt") || sys.client_expr("file_0_/tmp/compliance.txt") || sys.client_expr("file_0_/tmp/trusteddevice.txt")
<!--NeedCopy-->
-
Click Create and then click Bind.
-
Click Session Policies > Add Binding.
-
Under Select Policy, click Add.
-
In the Name field, enter the name of the Session Policy.
-
In the Expression field, enter the following value:
AAA.USER.IS_MEMBER_OF("FileExists")
<!--NeedCopy-->
-
Click Create and then click Bind.
-
On the leftmost side of the taskbar, click the Search
 icon.
icon. -
Type Powershell and open Windows Powershell.
-
Use the following command to disable App Protection policies for devices that have passed the EPA scans by referencing the Smart Access tag”EPA_GW:Trusted-Device-PC”:
Set-BrokerAccessPolicyRule "Contextual App Protection Delivery Group_AG" -IncludedSmartAccessFilterEnabled $true -IncludedSmartAccessTags EPA_GW:Trusted-Device-PC -AppProtectionScreenCaptureRequired $false
<!--NeedCopy-->
where, EPA_GW is the VPN Virtual Server name.
-
Use the following command to enable App Protection policies for devices that have failed the EPA scans by referencing the Smart Access tag”EPA_GW:Trusted-Device-PC”:
New-BrokerAccessPolicyRule "Contextual App Protection Delivery Group_AG_NonCompliant"-DesktopGroupUid 17 -AllowedConnections ViaAG -AllowedProtocols HDX, RDP -Enabled $true -AllowRestart $true -ExcludedSmartAccessFilterEnabled $true -ExcludedSmartAccessTags EPA_GW:Trusted-Device-PC -IncludedSmartAccessFilterEnabled $true -AppProtectionScreenCaptureRequired $true <!--NeedCopy--> -
Verification
Sign out of the Citrix Workspace app, if already open. Sign in to the Citrix Workspace app from a trusted device. Launch the protected resource and you see that App Protection is disabled.
Sign out of the Citrix Workspace app and Sign in again from an untrusted device. Launch the protected resource and you see that App Protection is enabled.