Upload Certificate
Note:
It is recommended to perform upload certificate configuration through the Adaptive Authentication portal’s user interface rather than directly on NetScaler® (using GUI or CLI). Changes made on NetScaler are not automatically synced with the Adaptive Authentication portal and might be lost.
-
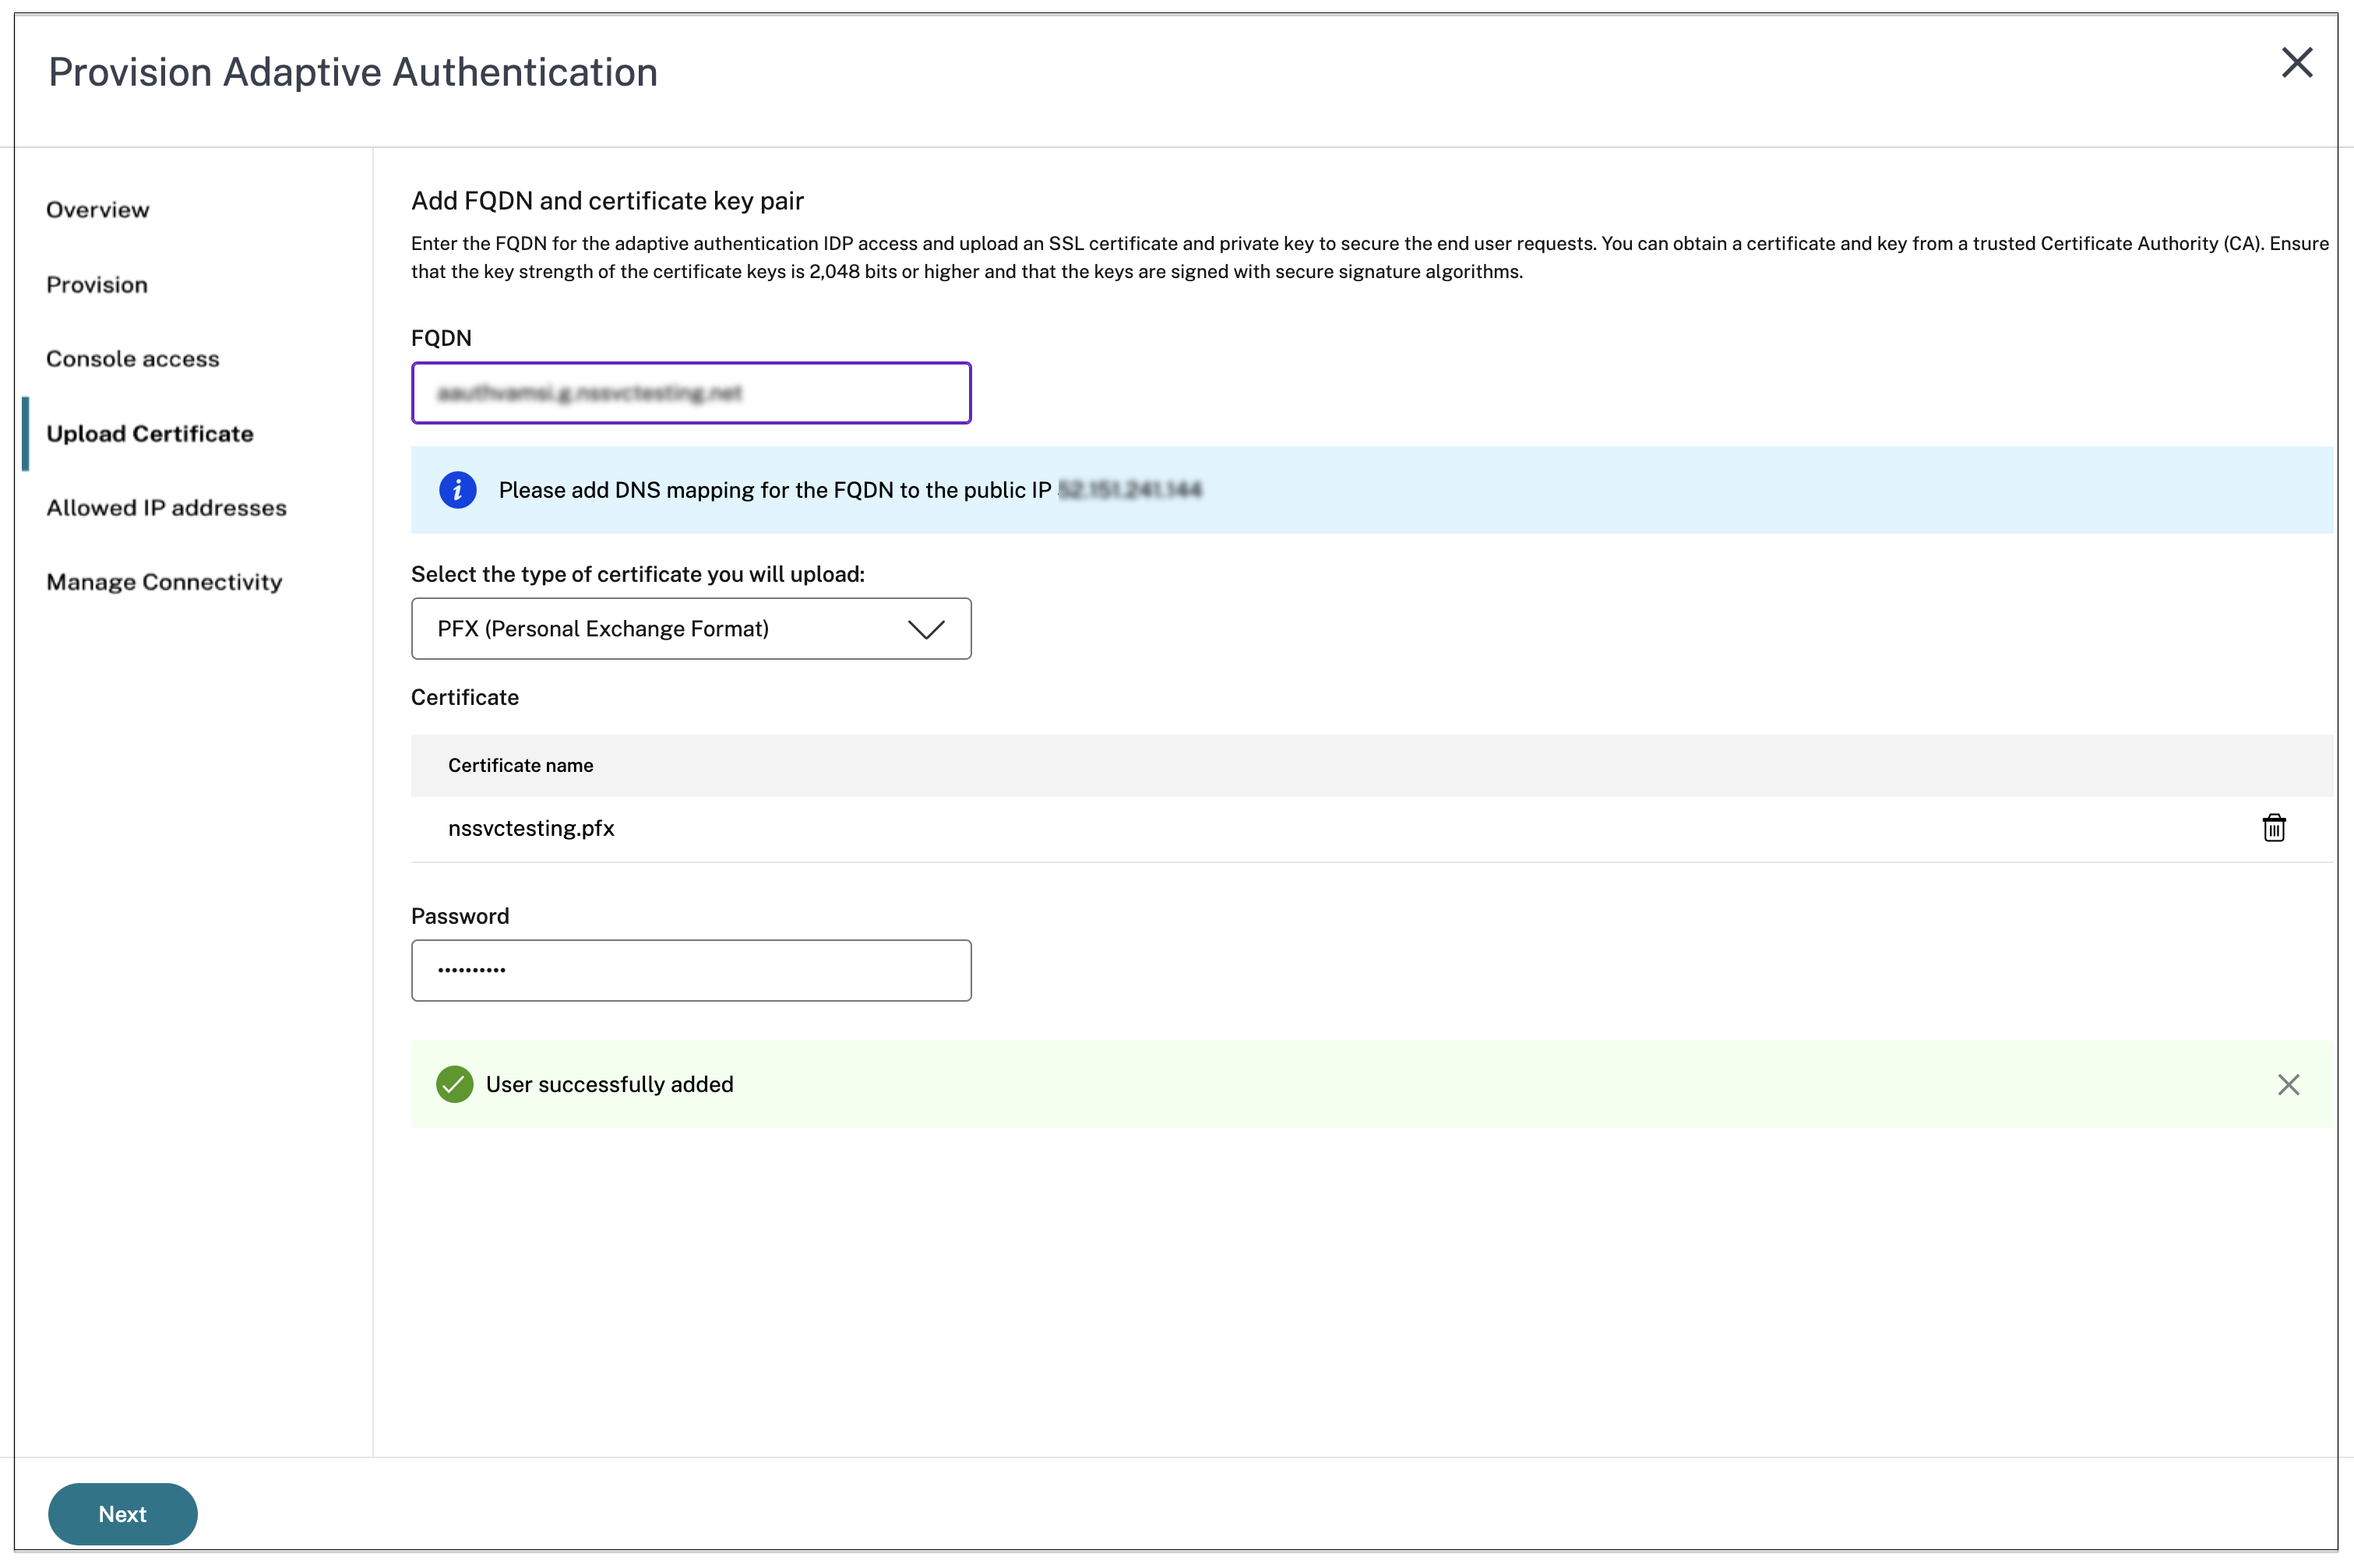
Add the Adaptive Authentication service FQDN and upload the certificate-key pair. You must enter the Adaptive Authentication service FQDN of your choice for the publicly accessible authentication server. This FQDN must be publicly resolvable.
- In the Upload Certificate screen, enter the FQDN that you’ve reserved for Adaptive Authentication.
-
Select the certificate type.
- Adaptive Authentication service supports certificates of type PFX, PEM, DER for provisioning of instances.
- Certificate bundle is only supported for certificates of type PEM. For other bundle types, Citrix® recommends installing the root and intermediate certificates and linking them to the server certificate.
- Upload the certificate and the key.
Note:
-
Install your intermediate certificate on the Adaptive Authentication instance and link it with the server certificate.
- Log in to the Adaptive Authentication instance.
- Navigate to Traffic Management > SSL. For details, see Configure intermediate certificates.
- Only public certificates are accepted. Certificates signed by private or unknown CAs aren’t accepted.
- Certificate configuration or certificate updates must be done using the Adaptive Authentication UI only. Do not change it directly on the instance as this might result in inconsistencies.
-
Upload the certificate and the key.
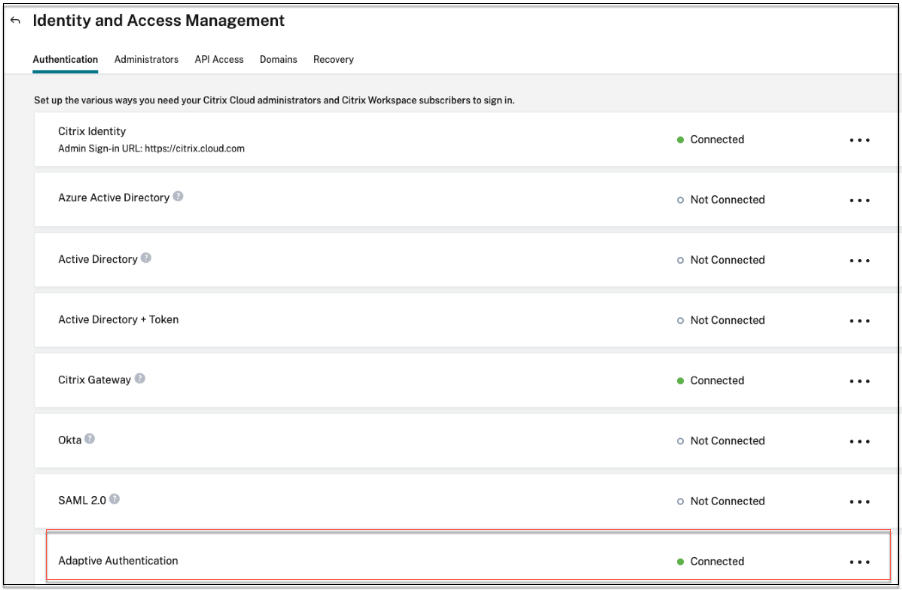
Adaptive authentication service auto connects to Citrix Cloud™ as IDP once certificate upload is successful. The status of the Adaptive authentication service can be verified from Identity and access management UI.
-
Click Next to go to Allowed IP addresses section.