Seamless experience
Connection Center
Connection Center helps application management in seamless sessions by providing a taskbar that lists all opened applications.
To launch the Connection Center, right-click the Citrix Workspace icon and then select Connection Center.
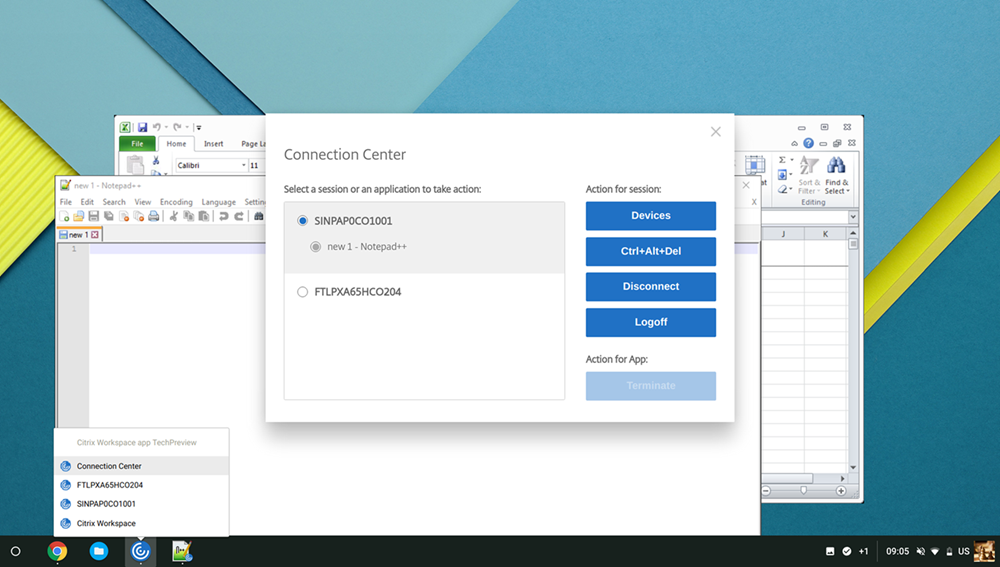
Using the Connection Center, you can select an application and:
- Display devices.
- Send a Ctrl+Alt+Del command.
- Disconnect from a session.
- Logoff from the session.
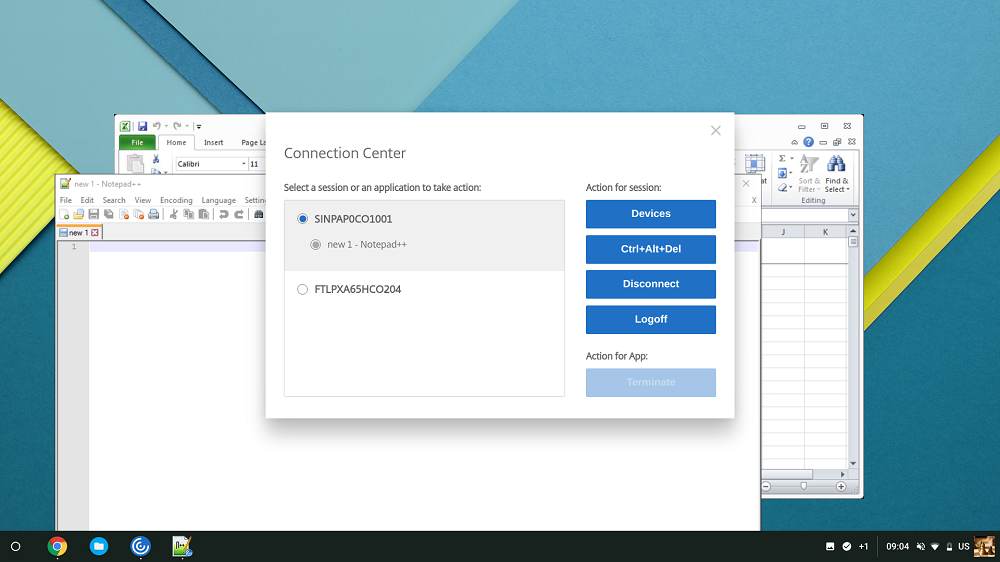
You can also end an app using the Connection Center by selecting the radio button of the corresponding application and clicking Terminate.
Seamless window integration
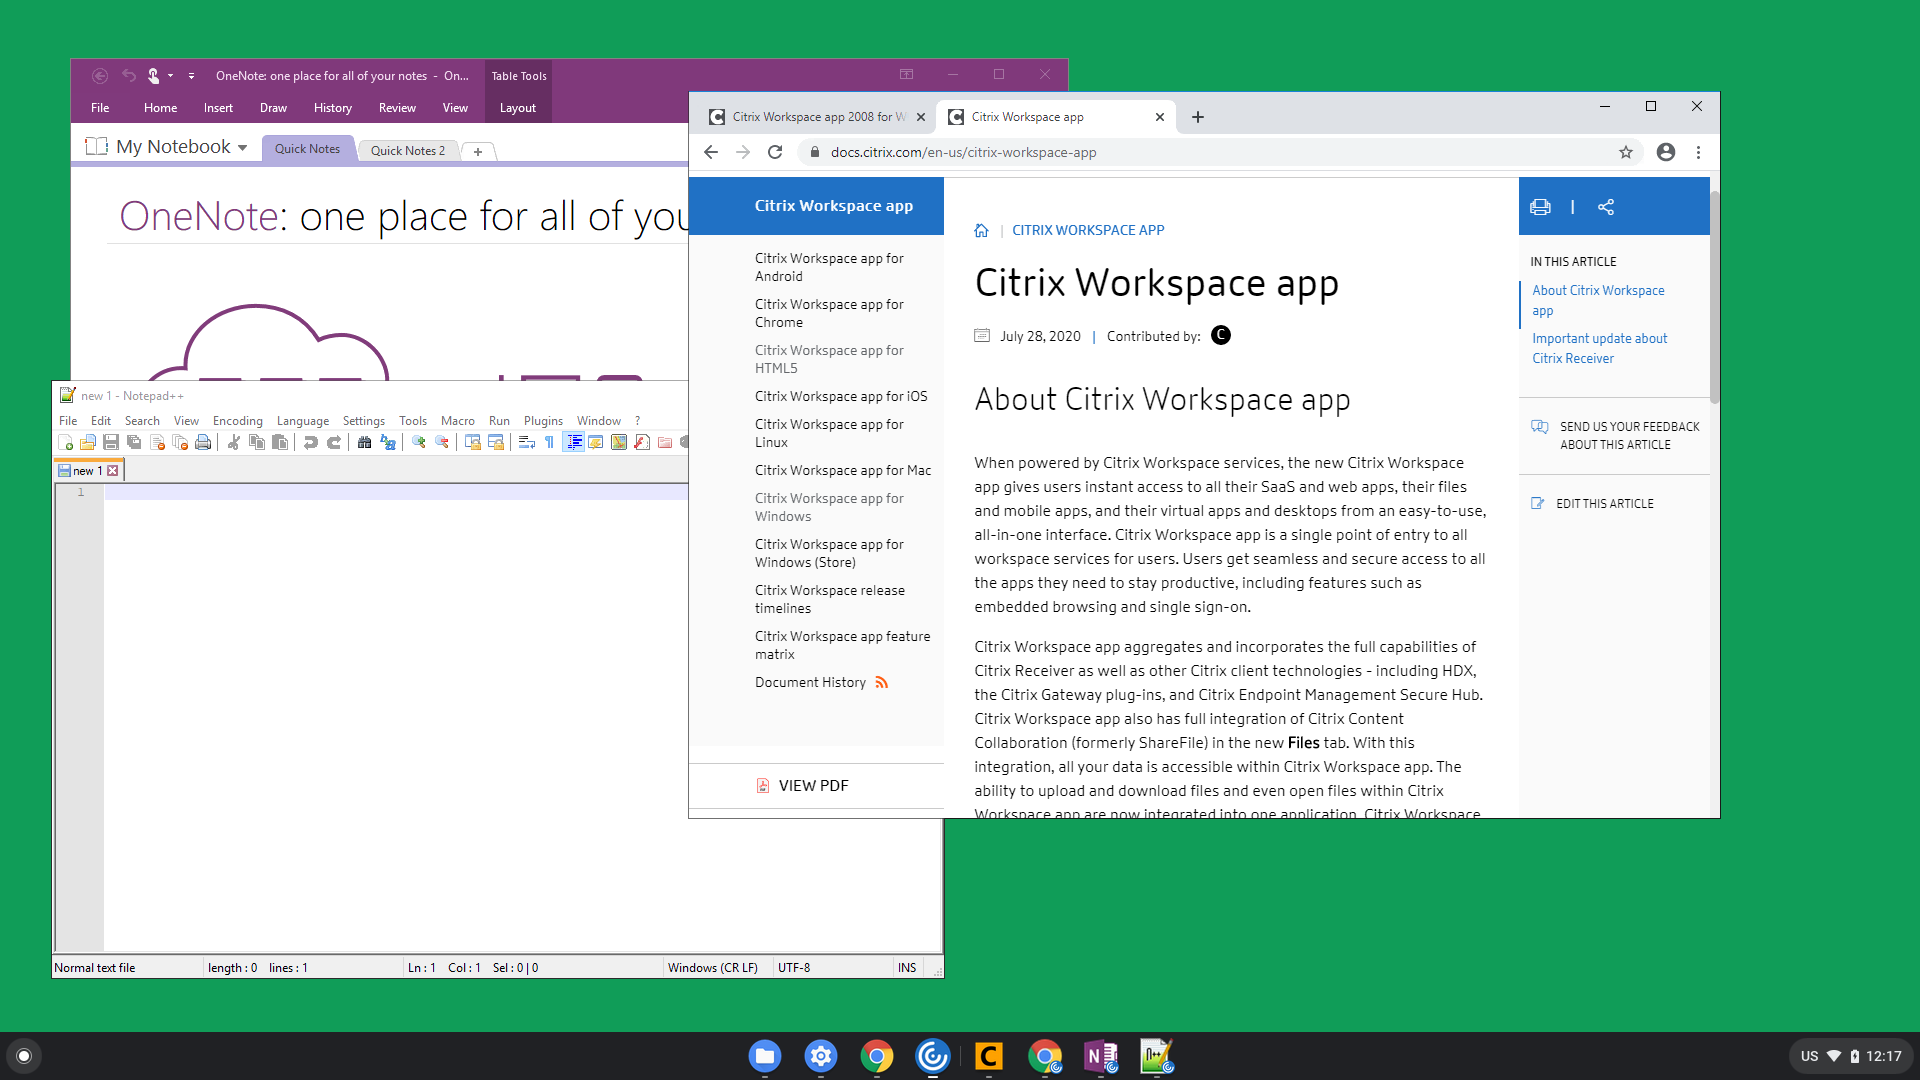
Citrix Workspace app for ChromeOS improves the user experience by adding seamless integration of multiple apps that are hosted in separate windows within an active session. Using this functionality, Citrix Workspace app for ChromeOS enables you to start apps in an independent user interface as compared to starting all apps for a session in a single window.
Seamless applications can be hosted in separate windows. With this functionality, remote applications are run natively on the client device.
Known limitations in the feature
- Extra entries appear in the Chrome task bar. Click any of the entries to bring the selected session to the front.
-
All opened apps in an active session run in a single window. Focusing on one app in an active session brings that window into focus along with all other apps belonging to that session.
Use the seamless app icon on the taskbar to quickly move between apps:
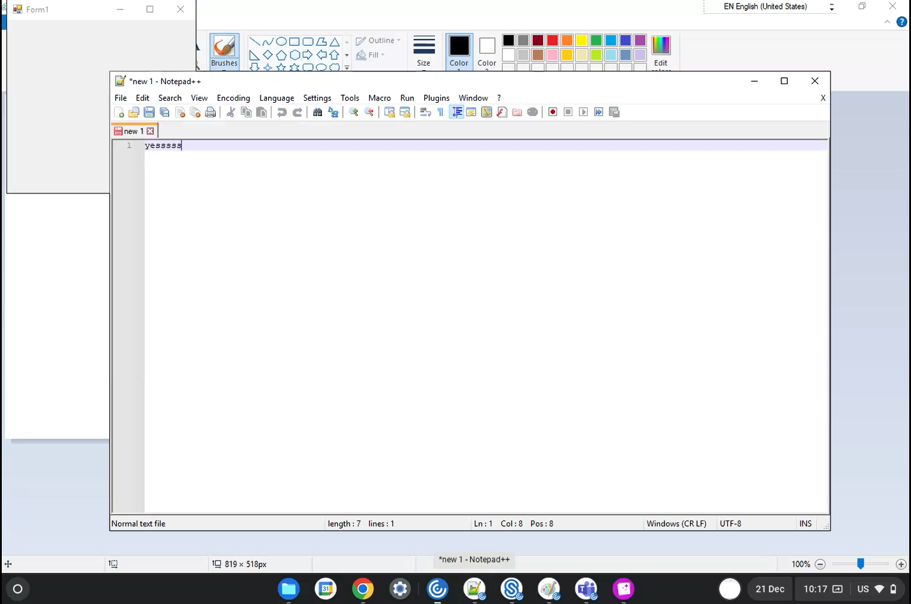
Tip:
All apps in one session run in a single window. When moving an app to a second monitor, all apps that are part of that session move to the second monitor.
-
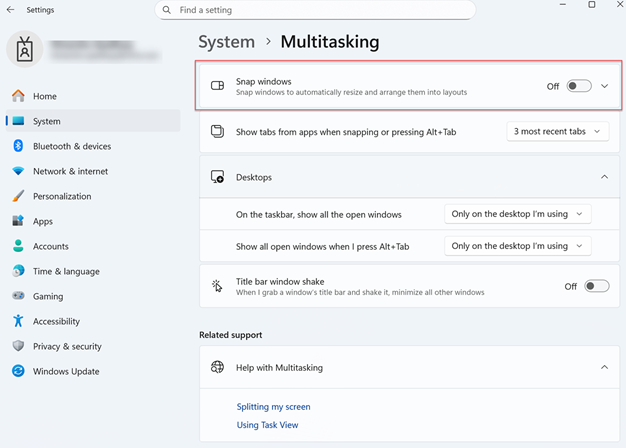
Citrix Workspace app for ChromeOS displays a dark background when you move seamless apps. This issue occurs only with apps published from Windows 2025 and Windows 11 OS. As a workaround, disable the Windows OS Snap Windows feature.
App switch
Shows the apps that are opened inside a session.
Note:
This option is only for kiosk mode.
The app switcher enables users to switch between multiple apps running in the same session. The app that is in focus is highlighted.
How to configure
To configure, use the Google admin policy by including the following:
{
    "settings": {
        "Value": {
            "settings_version": "1.0",
                "engine_settings": {
                    "ui": {
                        "appSwitcher": {
                            "showTaskbar": true,
                            "showIconsOnly": false,
                            "autoHide": false
                                        }
                          }
                   }
        }
    }
}

<!--NeedCopy-->
List of app switch options with their descriptions:
- showTaskbar: If set to true, the taskbar appears at the bottom of the session. To hide the taskbar, set this option to false.
- showIconsOnly: If set to true, the taskbar icons appear. By default, the option is set to false.
- autoHide: If set to true, the taskbar is automatically hidden. By default, the option is set to false.
Taskbar icons
Apps and desktops that are configured using Citrix Virtual Apps and Desktops and Citrix DaaS in an active session are displayed as separate apps. You can see these apps in the taskbar (shelf) on the ChromeOS device. This feature applies to published applications and desktops. The functionality and behavior of this feature is similar to the taskbar experience that is provided by the Windows Operating system.
By default, this feature is enabled.
How to configure
Configuring taskbar icons using Google Admin policy
Note:
Citrix recommends using this method only when Citrix Workspace app for ChromeOS is repackaged for users.
-
Log on to the Google Admin Console.
-
Go to Device management > Chrome Management > User Settings.
-
Add the following strings to the
policy.txtfile.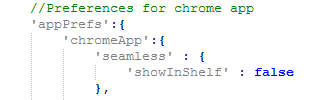
-
Click Save and close the file.
Configuring taskbar icons using the web.config in StoreFront
Note:
Citrix recommends that you use the
web.configfile method for configuration purposes only. You can use this method when the store version of Citrix Workspace app for ChromeOS is being used.
- Open the
web.configfile for the Citrix Receiver for Web site. This file is inC:\inetpub\wwwroot\Citrix\\\<Storename>Web, where theStorenameis the name specified for the store when it was created. - Locate the chromeAppPreferences field and set its value with the configuration as a JSON string.
For example:
chromeAppPreferences='{
    "seamless":{
        "showInShelf":false
        }
        }
<!--NeedCopy-->
Configuring taskbar icons using the configuration.js file
The configuration.js file is in the ChromeApp root folder. Access this file directly to modify Citrix Workspace app.
Note:
Administrator-level credentials are required to edit the configuration.js file; after editing the file, repackage the app for the changes to take effect.
To change the ChromeOS taskbar using the configuration.js file:
- Open the configuration.js file and set the showInShelf attribute to true.
For example:
Known limitations in the feature
- When more than one instance of the same application is launched, the app icon isn’t stacked and appears as two separate icons. For example, two instances of Notepad display two icons of Notepad in the taskbar.
- App pinning isn’t supported.