StoreFront 1912 LTSR reached end-of-life on 18-Dec-2024. It is recommended that you upgrade to a newer version of StoreFront.
X
This content has been machine translated dynamically.
Dieser Inhalt ist eine maschinelle Übersetzung, die dynamisch erstellt wurde. (Haftungsausschluss)
Cet article a été traduit automatiquement de manière dynamique. (Clause de non responsabilité)
Este artículo lo ha traducido una máquina de forma dinámica. (Aviso legal)
此内容已经过机器动态翻译。 放弃
このコンテンツは動的に機械翻訳されています。免責事項
이 콘텐츠는 동적으로 기계 번역되었습니다. 책임 부인
Este texto foi traduzido automaticamente. (Aviso legal)
Questo contenuto è stato tradotto dinamicamente con traduzione automatica.(Esclusione di responsabilità))
This article has been machine translated.
Dieser Artikel wurde maschinell übersetzt. (Haftungsausschluss)
Ce article a été traduit automatiquement. (Clause de non responsabilité)
Este artículo ha sido traducido automáticamente. (Aviso legal)
この記事は機械翻訳されています.免責事項
이 기사는 기계 번역되었습니다.책임 부인
Este artigo foi traduzido automaticamente.(Aviso legal)
这篇文章已经过机器翻译.放弃
Questo articolo è stato tradotto automaticamente.(Esclusione di responsabilità))
Translation failed!
Create a website
When you create a store, a website is created for it automatically. You can add additional websites to existing stores. This allows you to provide different URLs with differnet configurations to your users. However multiple websites can only be accessed through a web browser as Citrix Workspace Apps are configured to use one specific website for a store, see Configure Workspace app website.
Important:
In multiple server deployments, use only one server at a time to make changes to the configuration of the server group. Ensure that the Citrix StoreFront management console is not running on any of the other servers in the deployment. Once complete, propagate your configuration changes to the server group so that the other servers in the deployment are updated.
-
From the management console, select the store for which you want to create the website, and in the Actions pane, click Manage Receiver for Web Sites.
-
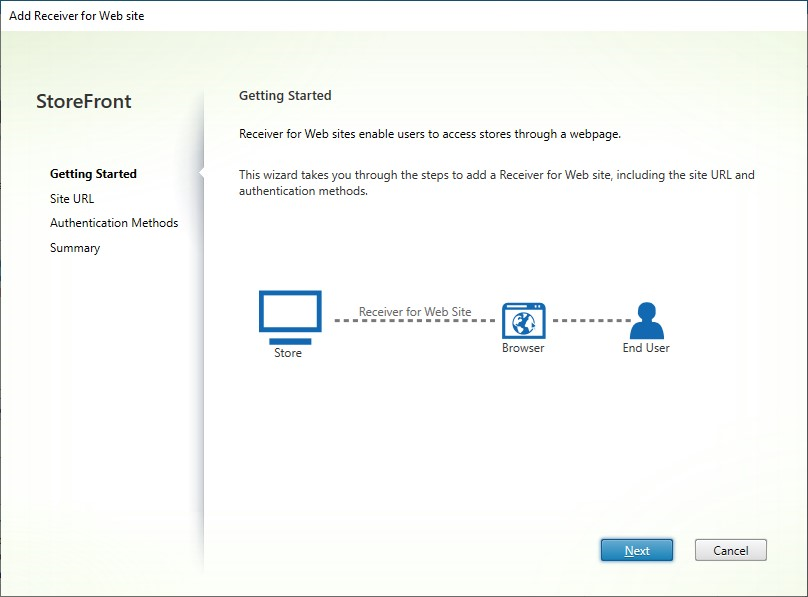
Click Add then click Next.

-
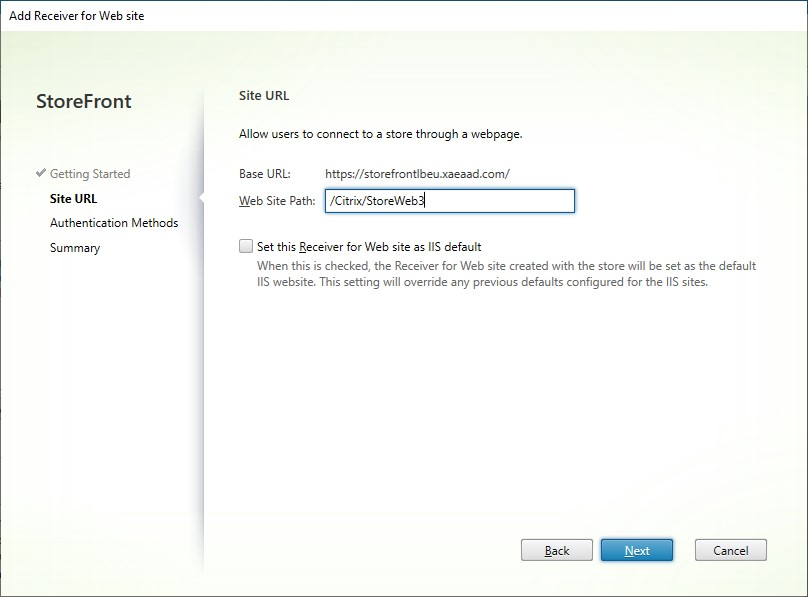
Type the desired Web Site Path, choose if you want to this to be the default website for the base URL and click Next.

-
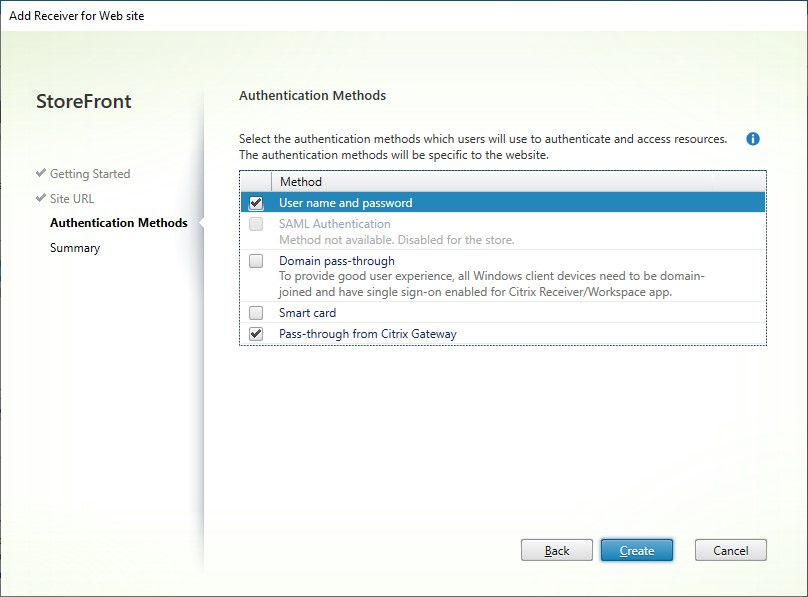
Tick or untick the desired authentication methods. Some methods are only available if they have been configured for the store. Press Next.

-
When the site has been created, click Finish.
-
Select the newly created site and press Edit to configure your web site as required, see Configure Websites.
Create a website using the PowerShell SDK
To create a website with the PowerShell SDK, call the Add-STFWebReceiverService cmdlet.
This Preview product documentation is Citrix Confidential.
You agree to hold this documentation confidential pursuant to the terms of your Citrix Beta/Tech Preview Agreement.
The development, release and timing of any features or functionality described in the Preview documentation remains at our sole discretion and are subject to change without notice or consultation.
The documentation is for informational purposes only and is not a commitment, promise or legal obligation to deliver any material, code or functionality and should not be relied upon in making Citrix product purchase decisions.
If you do not agree, select I DO NOT AGREE to exit.