Launch Cloud PCs
Once the configuration is complete and Cloud PCs have been provisioned, users can access their Cloud PCs. There are a few options available for accessing the Cloud PCs:
- Citrix Workspace™ app
- The store URL in a web browser
- Windows 365 user portal
Citrix Workspace app
Follow these steps to use Workspace app to access Cloud PCs:
- Download and install the Citrix Workspace app client.
- After the installation is complete, open Workspace app.
- Enter the store URL and select Continue.

- Log in with your Azure AD credentials.
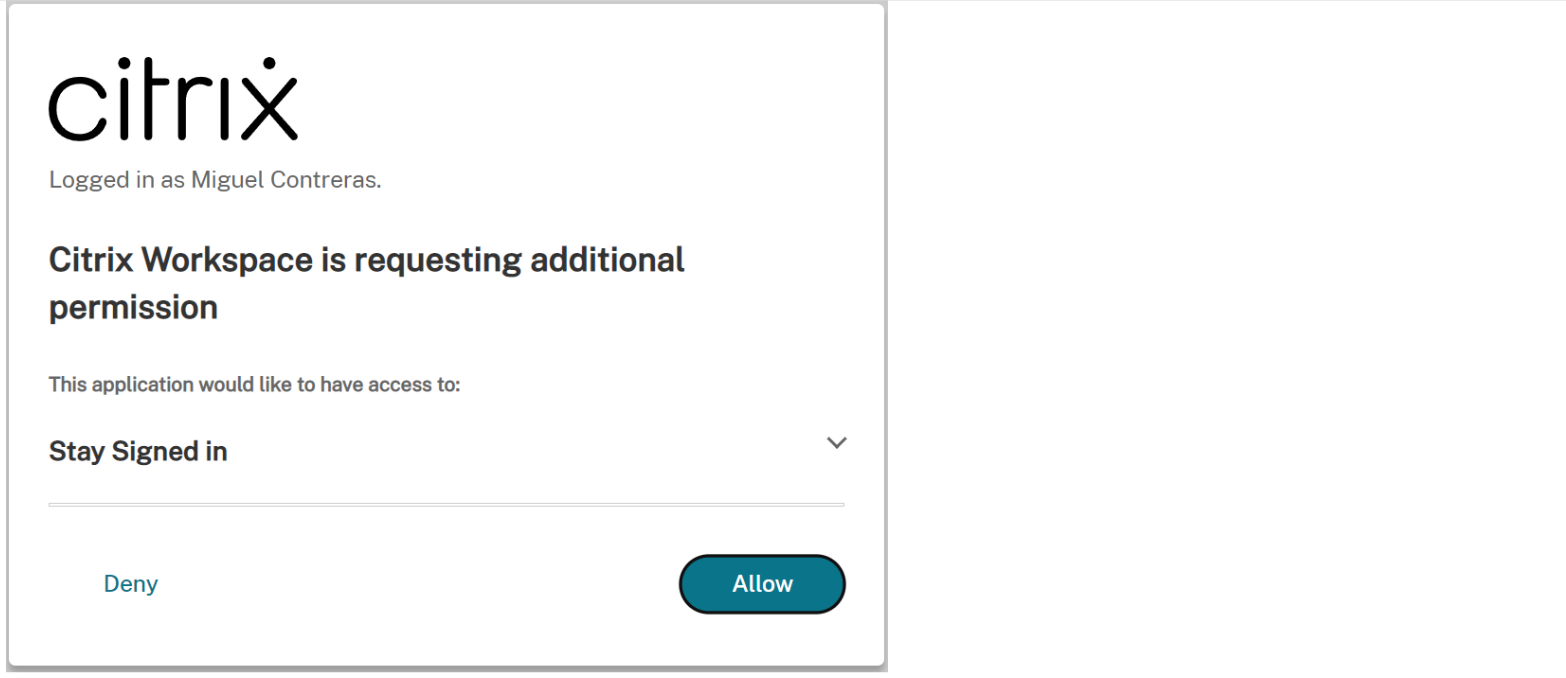
- Select Allow.
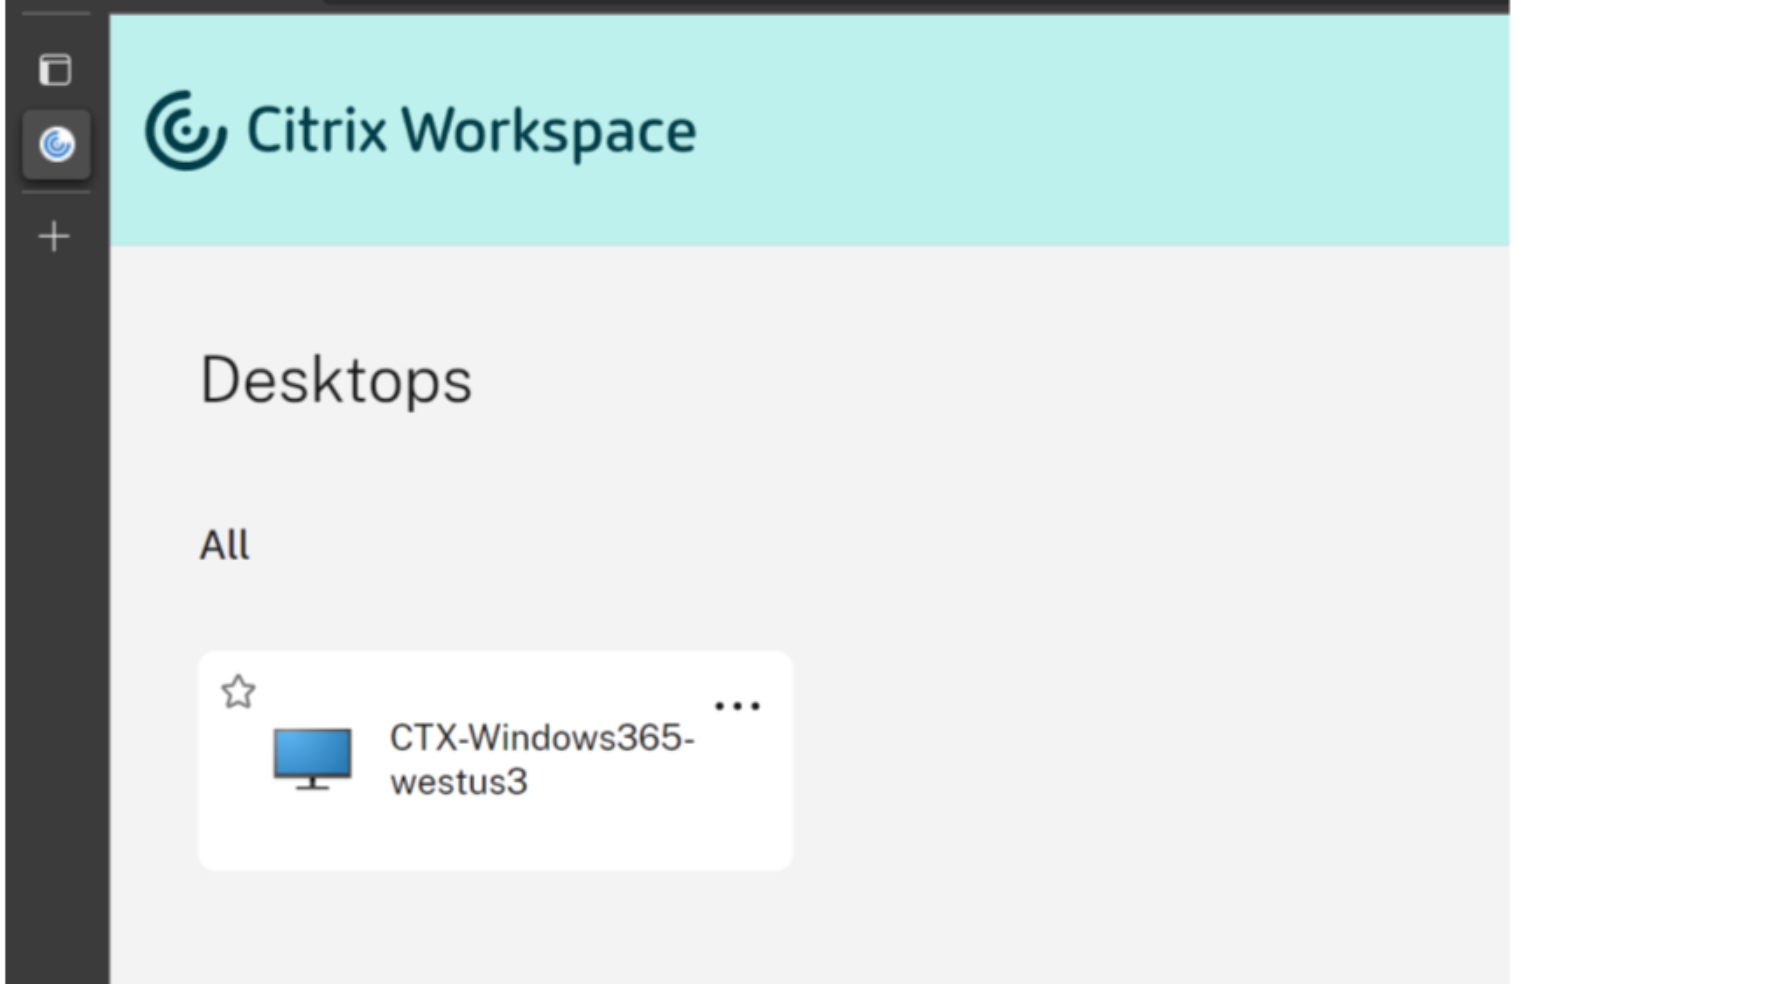
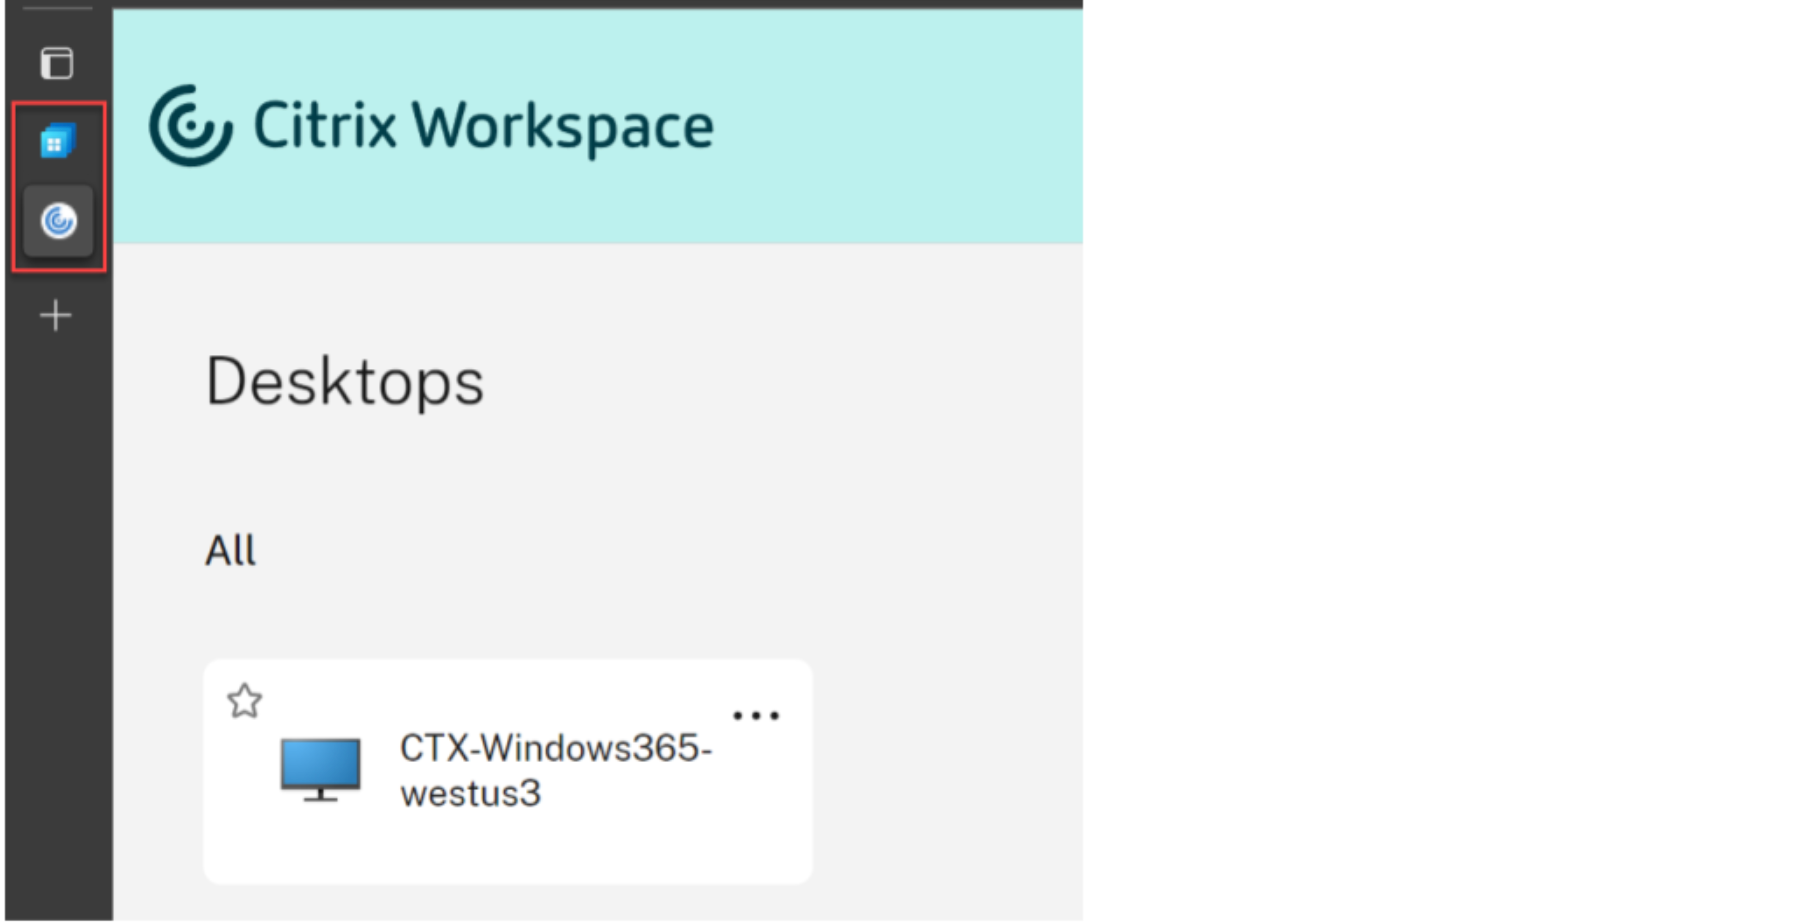
- Your Cloud PCs are displayed.
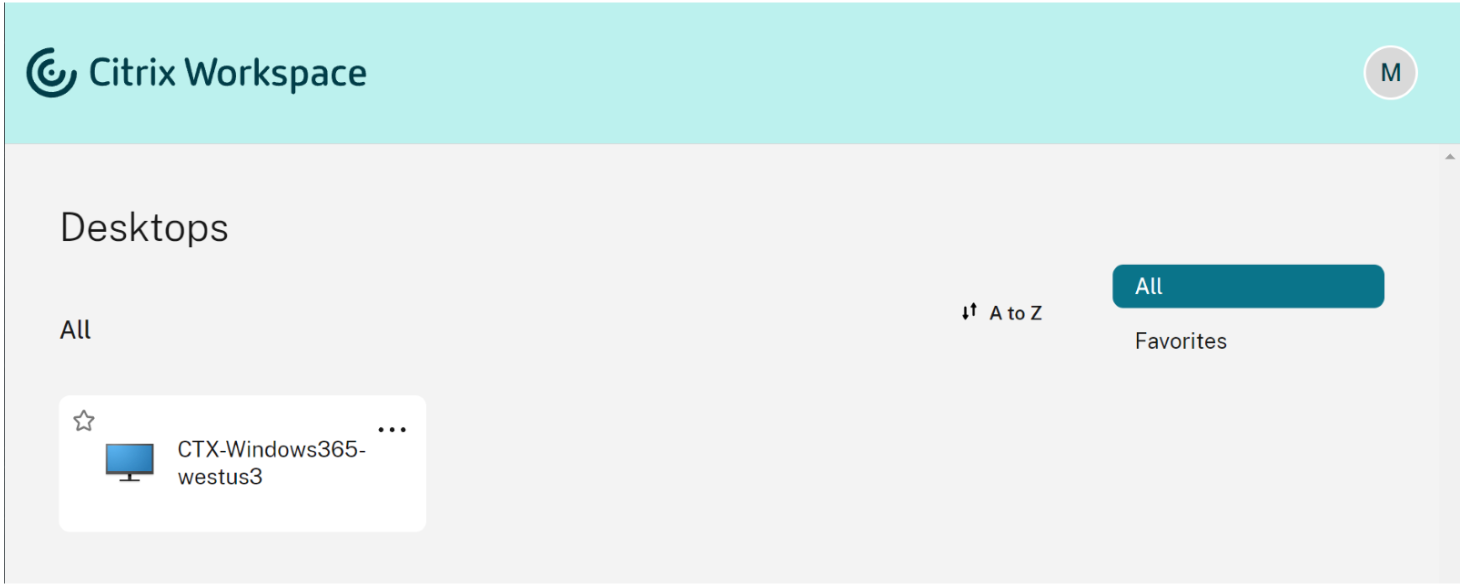
- If you only have one Cloud PC assigned, it should open automatically at this point.
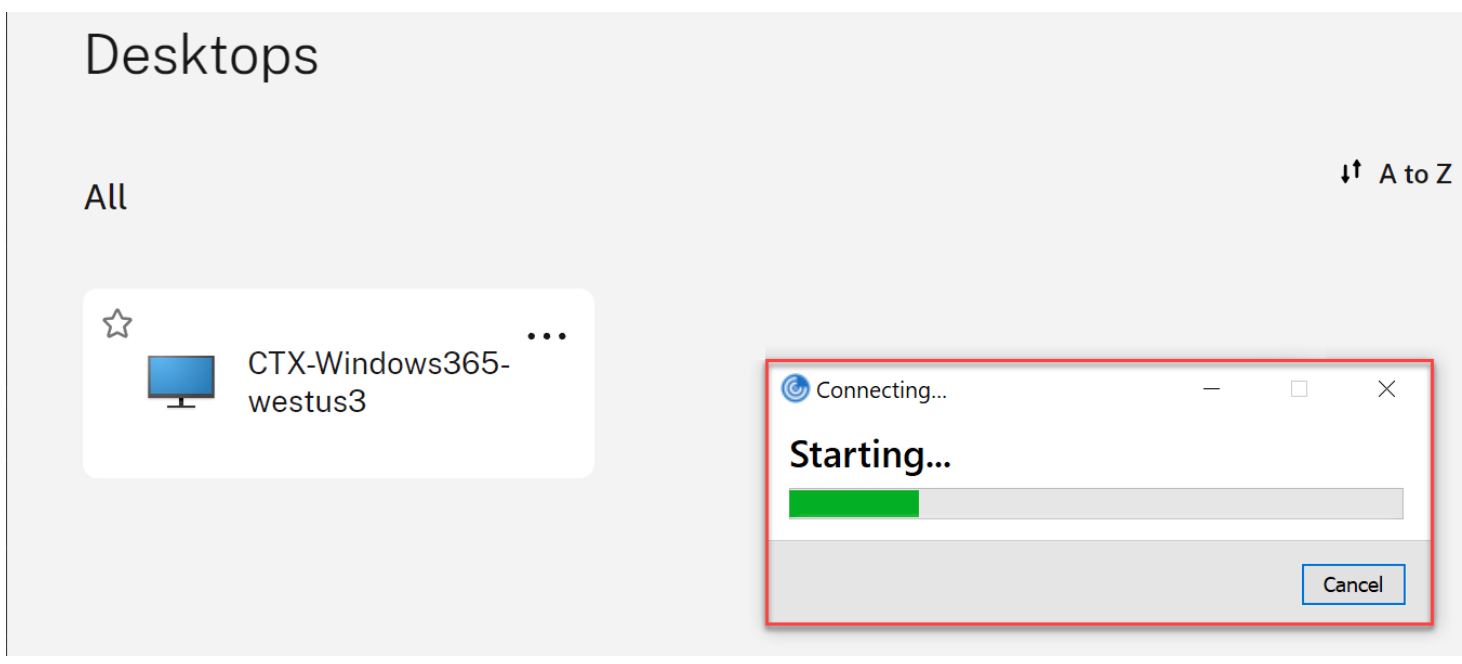
- If you have multiple Cloud PCs, or the autolaunch fails, select the Cloud PC to launch a session.
- Enter your credentials in the virtual desktop to log in. You can start using your Cloud PC.
Note
Steps 1–3 only need to be done once. After Workspace app is installed and configured, you can simply open the Workspace app client to access your Cloud PCs.
The store URL in a web browser
Follow these steps to launch the Cloud PC through The store URL in a web browser:
- Open a browser and navigate to the store URL.
- Log in with Azure AD credentials.
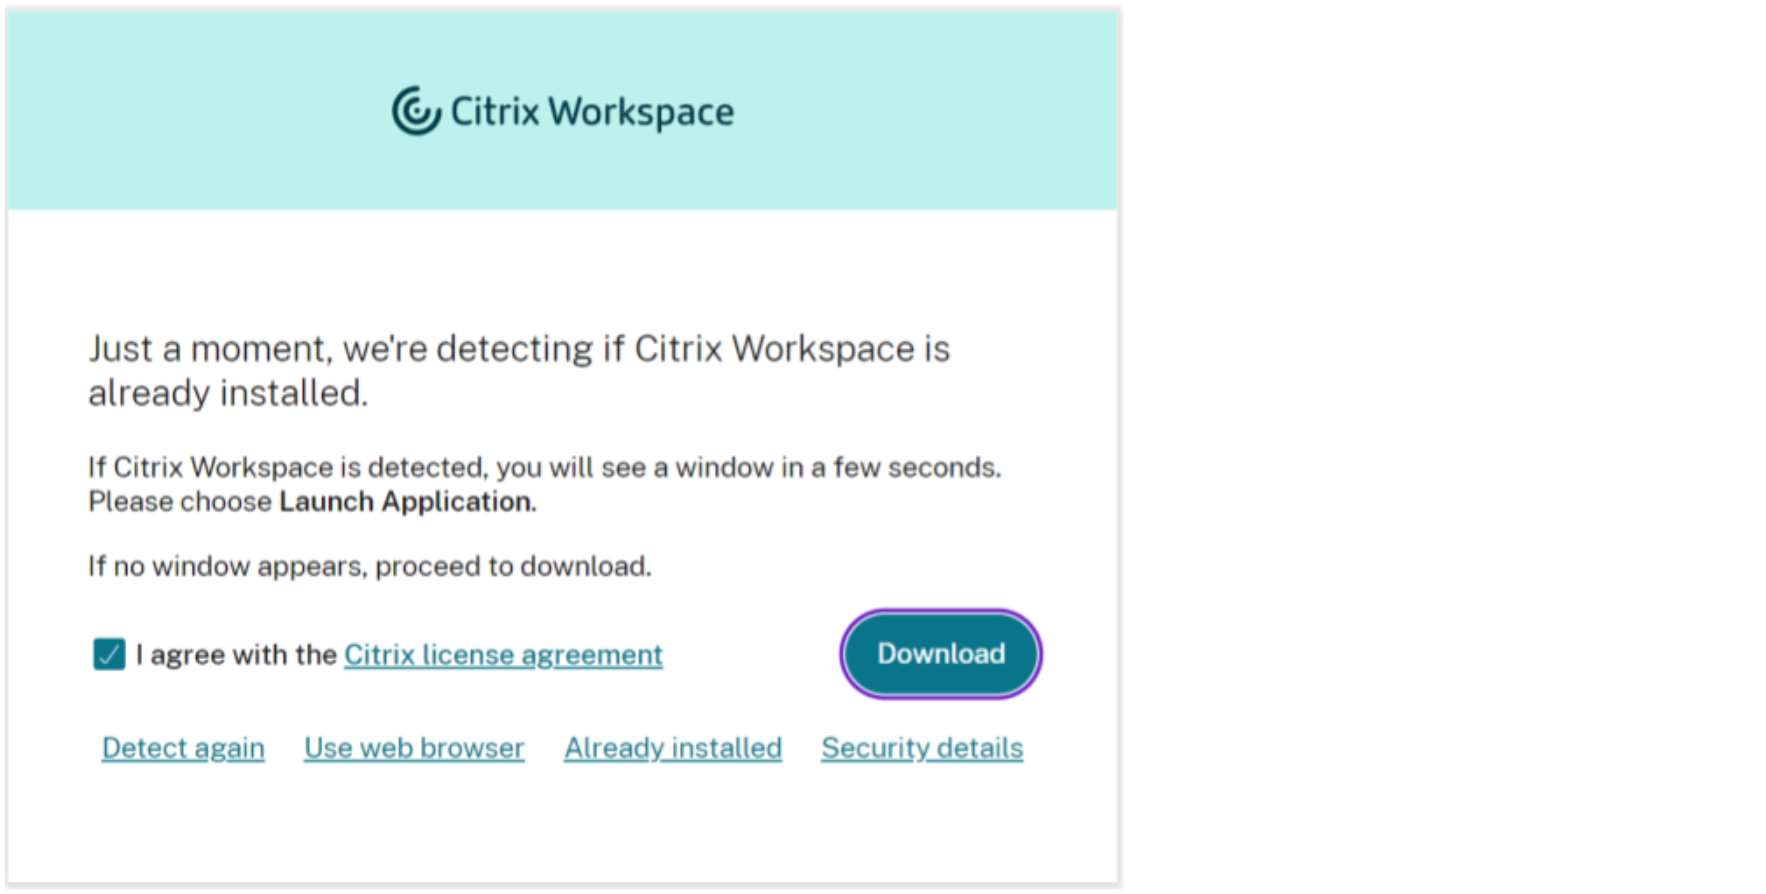
- If prompted, select Detect Workspace. We recommend you download and install Workspace app for the best user experience. Alternatively, you can choose to use web browser to access your Cloud PC without installing a client and can move onto step 7.
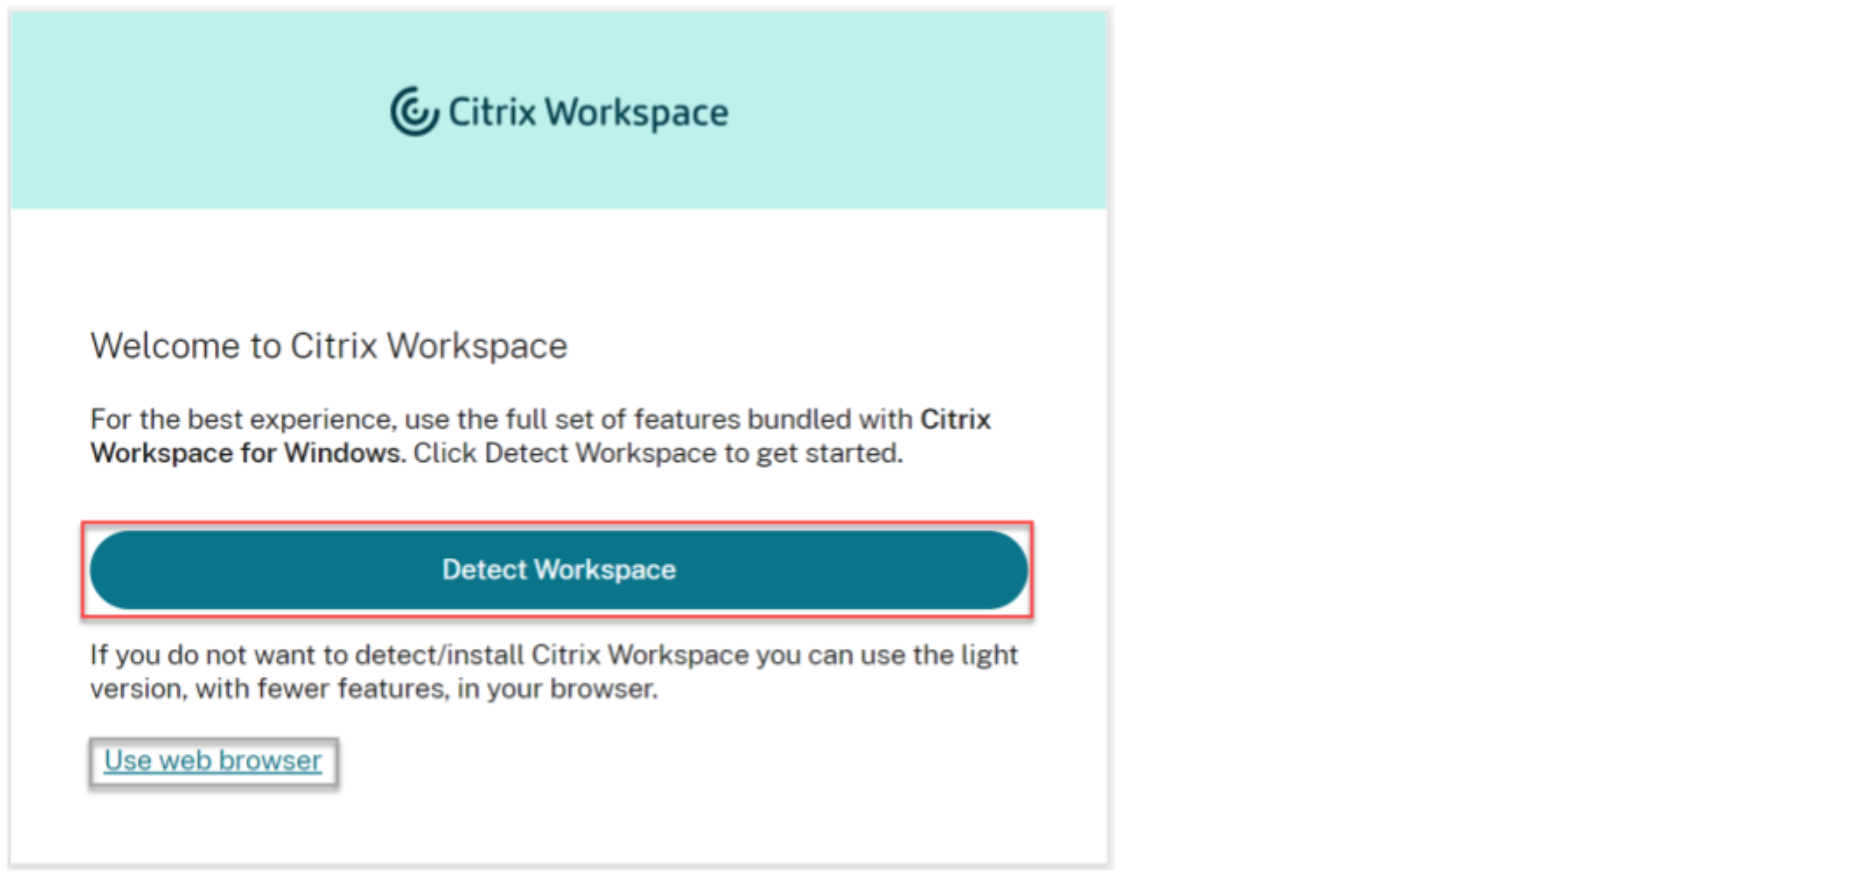
- If Workspace app is not detected in your device, you are given the option to download it.
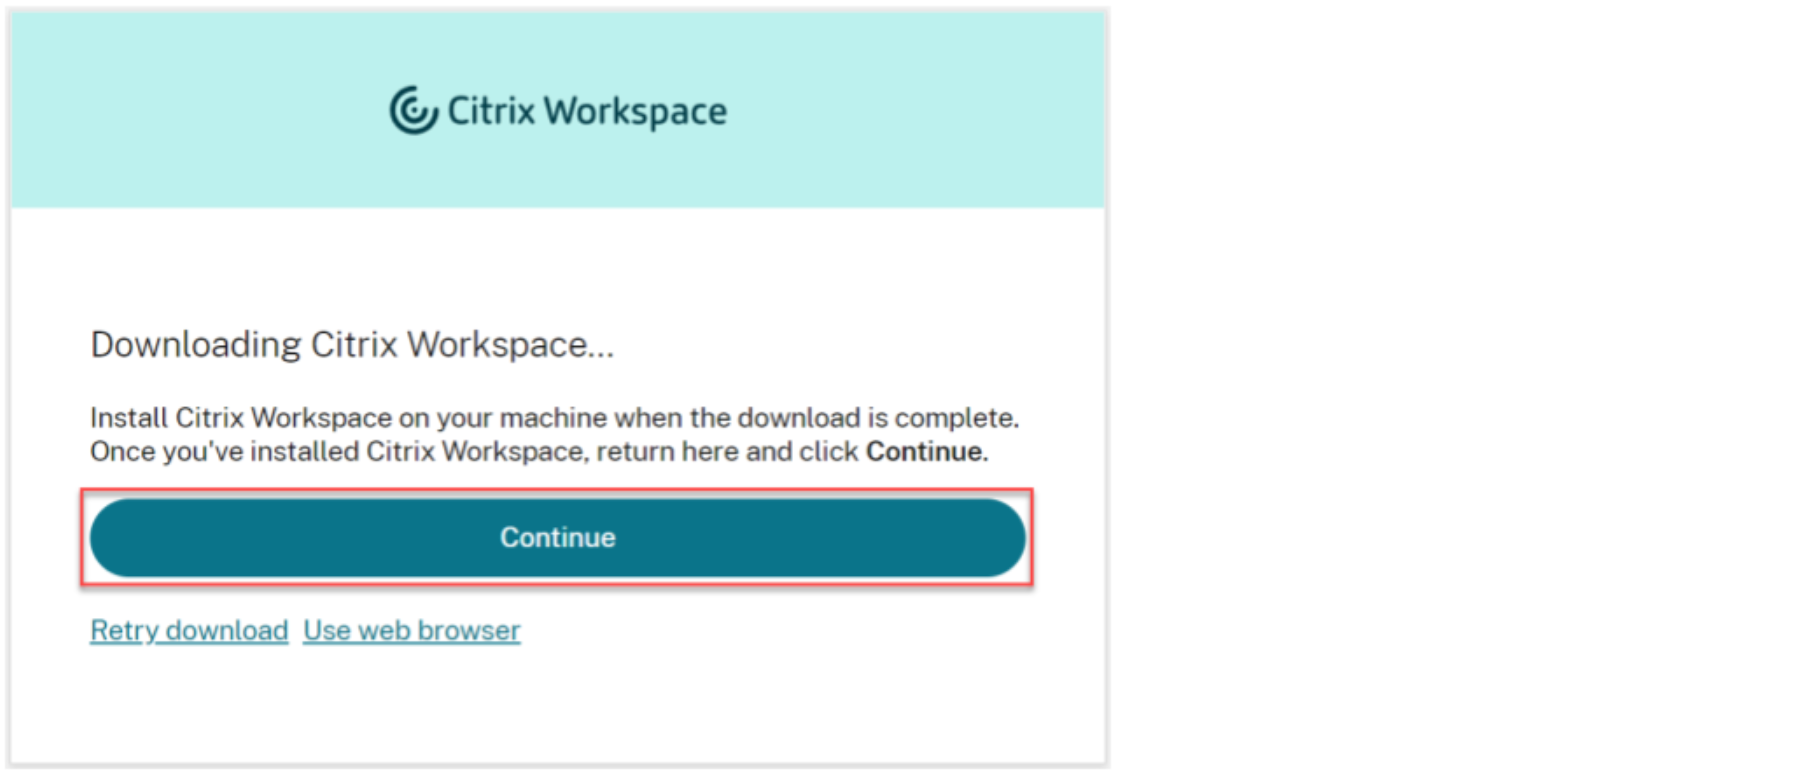
- After the installation is complete, return to the browser and select Continue.
- If prompted, select to always allow the site to open links and select Open.
- You now see your Cloud PCs.
- If you only have one Cloud PC assigned, it should open automatically at this point.
- If you have multiple Cloud PCs, or the autolaunch fails, select the Cloud PC to launch a session.
- Enter your credentials in the virtual desktop to log in. You can start using your Cloud PC.
Note
Steps 3–6 only have to be performed the first time a user logs in.
Windows 365 User Portal
Follow these steps to launch the Cloud PC through the Windows 365 user portal:
- Open a browser and navigate to windows.cloud.microsoft
- Log in with your Azure AD user account.
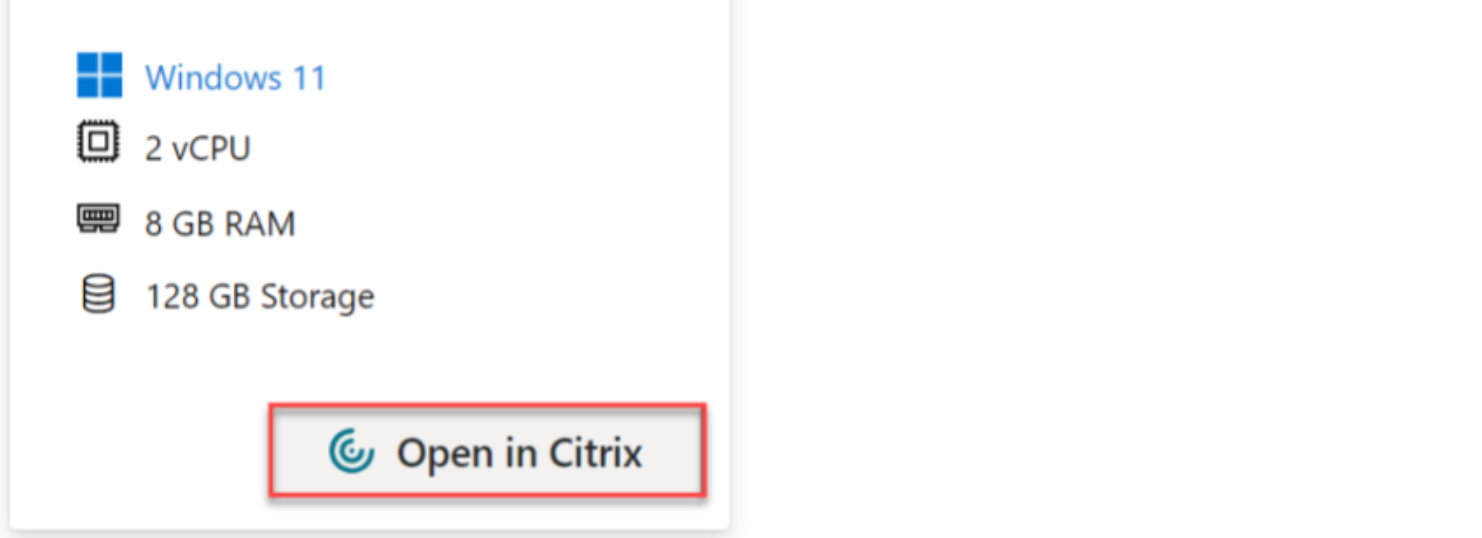
- You now see your Cloud PCs.
- Citrix is enabled.
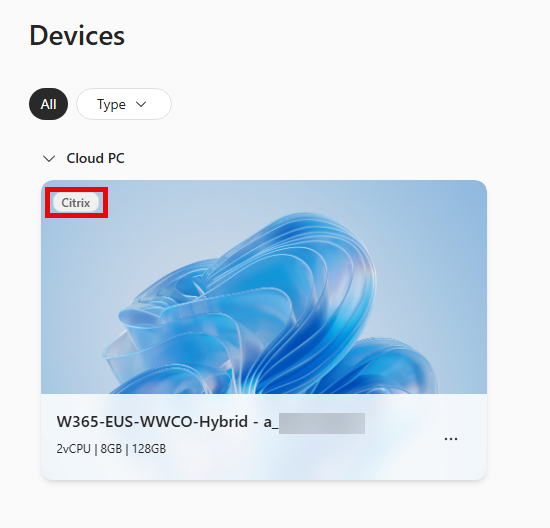
- Select Connect.
- A new tab opens and takes the user to the store website.
- You now see your Cloud PCs.
- If you only have one Cloud PC assigned, it opens automatically at this point.
- If you have multiple Cloud PCs, or the autolaunch fails, select the Cloud PC to launch a session.
- Enter your credentials in the virtual desktop to log in. You can start using your Cloud PC.
Launch Cloud PCs
Copied!
Failed!