Graphics
Graphics and H.264
How to configure
To configure graphics and H.264 protocol support, use the Google admin policy by including the following. By default, H.264 protocol support is enabled. To disable it, set the enabled attribute to false.
{
    "settings": {
        "Value": {
            "settings_version": "1.0",
                "engine_settings": {
                     "ui": {
                        "features": {
                            "graphics": {
                                "jpegSupport": true,
                                "h264Support" : {
                                     "enabled": true,
                                     "losslessOverlays": true,
                                     "dirtyRegions": true,
                                     "yuv444Support": false
                                }
                            }
                        }
                     }
                }
        }
   }
}

<!--NeedCopy-->
List of graphics options with their descriptions:
- “jpegSupport”: JPEG capability in Graphics (Thinwire).
- “h264Support”: H.264 protocol support.
- “enabled”: H.264 support capability in Thinwire.
- “losslessOverlays”: Loss-less overlay capability in Thinwire.
- “dirtyRegions”: Dirty regions capability in Thinwire.
- “yuv444Support”: Yuv444 support capability in Thinwire.
Note:
We recommend setting the Legacy Graphics Mode to Disabled.
Known limitations in the feature
- Citrix Workspace app for ChromeOS does not support full-screen H.264 graphics mode for multiple monitors.
- When you start a desktop session, and open an app to enter text, when you start entering the text disappears and reappears. You can observe that the text flickers. The issue occurs when you use full-screen H.264 mode.
- In a multi-monitor setup, when you open a published app, a blank screen appears instead of the app screen. The issue occurs when you use full-screen H.264 mode.
Selective H.264
How to configure
Configuring Selective H.264 in StoreFront using the web.config file
To change the Selective H.264 configuration using the web.config file:
- Open the web.config file for Citrix Receiver for Web site. This file is in the C:\inetpub\wwwroot\Citrix\<Storename> Web folder, where Storename is the name that is specified for the store when it was created.
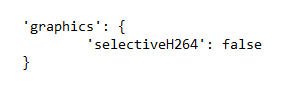
- Locate the chromeAppPreferences field and set its value with the configuration as a JSON string; for example: chromeAppPreferences=’{“graphics”:{“ selectiveH264”:false}}
Configuring Selective H.264 using the configuration.js file
The configuration.js file is in the ChromeApp root folder. Edit this file to modify Citrix Workspace app according to your requirement.
By default, selective H.264 is set to true.
To disable the Selective H.264 configuration using the configuration.js file:
-
Open the configuration.js file and set the selectiveH264 attribute to false.
Notes:
- Citrix recommends that you back up the configuration.js file before making changes.
- Citrix recommends editing the configuration.js file only if the Citrix Workspace app for ChromeOS is repackaged for users.
- Administrator-level credentials are required to edit the configuration.js file.
Other (H.264)
How to configure
To configure H.264, use the Google admin policy by including the following. By default, the option under the other section is disabled. To enable it, set the disabled attribute h264nonworker to true.
{
    "settings": {
        "Value": {
            "settings_version": "1.0",
                "engine_settings": {
                    "other": {
                        "h264nonworker" : false
                        }
                }
        }
    }
}

<!--NeedCopy-->
List of options with their descriptions:
- “h264nonworker”: Enable the option to decode an H.264 frame in the main thread.
Assistive cursor
When a cursor isn’t visible inside a desktop session, you can enable an assistive cursor. Requires a session restart.
How to configure
The assistive cursor feature is disabled by default. To enable the assistive cursor feature, use the Google admin policy by including the following.
{
    "settings": {
        "Value": {
            "settings_version": "1.0",
            "engine_settings": {
                "ui": {
                    "assistiveCursor": true
                    }
                }
            }
        }
}

<!--NeedCopy-->
Note:
If an administrator enables the assistive cursor as described earlier, the corresponding checkbox on the client-side setting is selected by default. To disable the feature, clear the checkbox.
If an administrator disables the assistive cursor as described earlier, the checkbox is cleared and the feature is disabled.
High DPI support for multiple monitors
Citrix Workspace app for ChromeOS supports DPI scaling for app and desktop sessions on single and multi-monitor sessions. This feature is mostly used with large-size and high‑resolution monitors to display applications, text, images, and other graphical elements in a size that can be viewed comfortably.
Note:
This feature is enabled by default for app and desktop sessions.
Benefits
This feature automatically adjusts virtual desktop and app sessions based on device DPI, ensuring content appears perfectly sized and sharp without blurriness. Apps and desktops are intelligently scaled based on monitor resolution and device pixel ratio for optimal readability and usability.
How to configure
- End users can disable this feature using Chrome app settings page.
- Administrators can disable this feature using Google Admin Policy.
Settings page
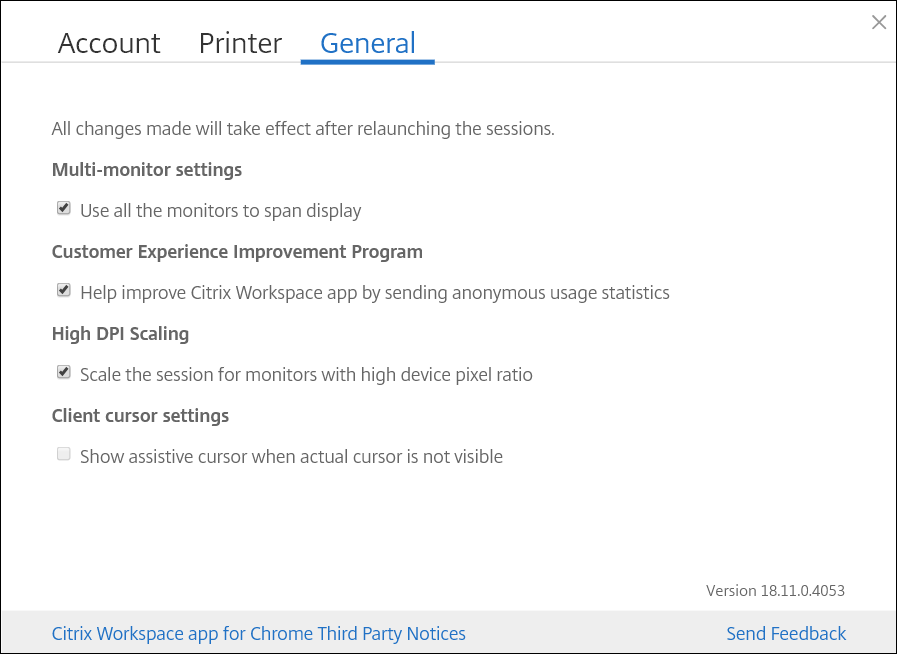
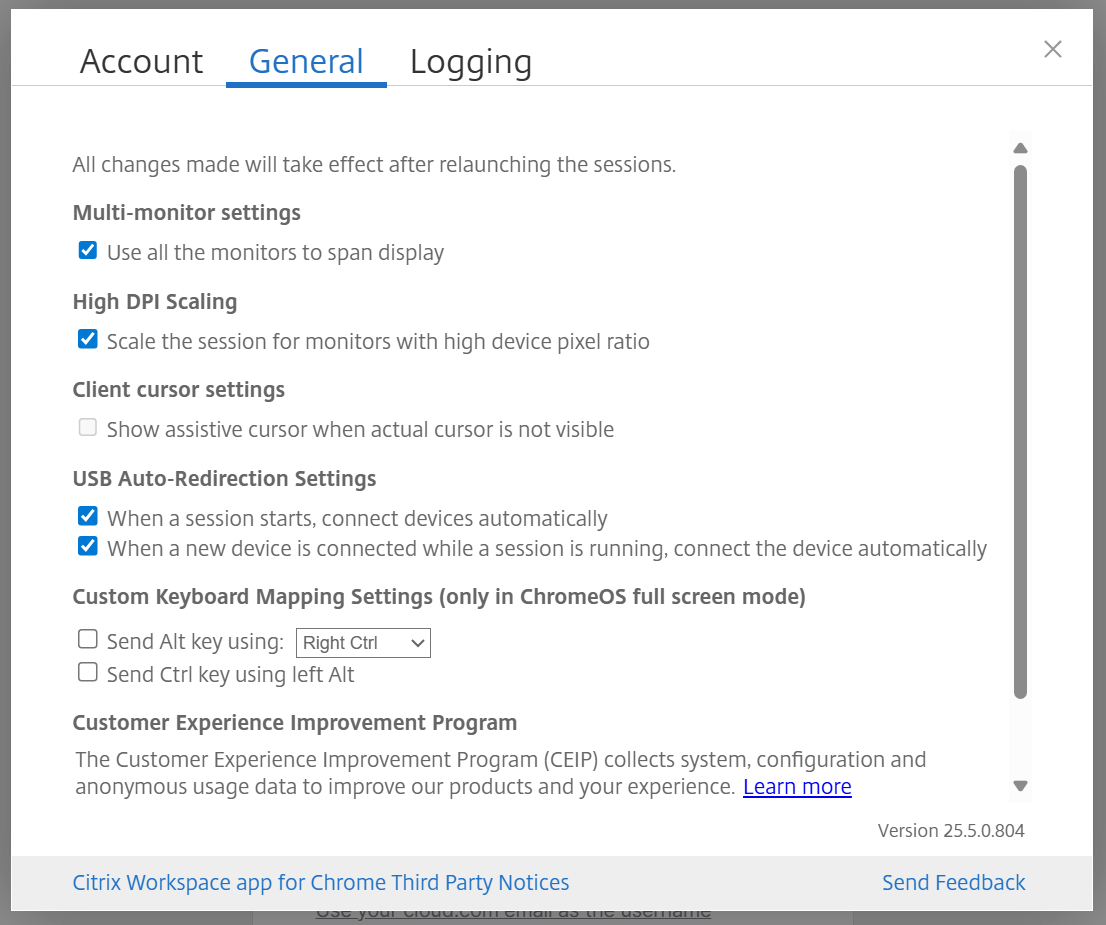
In the Citrix Workspace app, end users can go to the Settings page > General > High DPI Scaling > clear Scale the session for monitors with high device pixel ratio option to disable the High DPI scaling.
Google Admin Policy
For managed devices and users, administrators can disable the feature using the Google Admin Policy as follows:
- Sign in to the Google Admin Policy.
- Go to Device management > Chrome Management > User Settings.
-
Add the following JSON strings to the
policy.txtfile under theengine_settingskey.Note:
You can apply this configuration to the following as well:
- Device > Chrome > Apps and extensions > Users and browsers > Search for the extension > Policy for extensions.
- Device > Chrome > Apps and extensions > Kiosks > Search for the extension > Policy for extensions.
- Device > Chrome > Apps and extensions > Managed guest sessions > Search for the extension > Policy for extensions.
-
Make sure you set the attribute
scaleToDPItofalse. The following is an example of JSON data:{ "settings": { "Value": { "settings_version": "1.0", "engine_settings": { "features": { "graphics": { "dpiSetting": { "scaleToDPI": false } } } } } } } <!--NeedCopy--> - Save the changes.
Fixed issue
- DPI matching does not work when the DPI value is set to less than 100% on ChromeOS devices. Sessions launch with autofit (100% scaling) instead. [CVADHELP-29886]