Single sign-on for Citrix Workspace app using Okta as the IdP
You can configure the single sign-on (SSO) to Citrix Workspace app using Okta as the identity provider (IdP).
Prerequisites
The following prerequisites require administrator privileges:
-
Citrix Cloud
-
Cloud Connectors
Note:
If you’re new to Citrix Cloud, define a Resource Location, and have the connectors configured. It’s recommended to have at least two cloud connectors deployed in production environments. For information on how to install Citrix Cloud Connector, see Cloud Connector Installation.
-
Citrix Workspace app
-
Federated Authentication Service (optional). For more information, see Enable single sign-on for workspaces with Citrix Federated Authentication Service.
-
Citrix DaaS (formerly Citrix Virtual Apps and Desktops Service)
-
AD domain joined VDA or physical AD joined devices
-
Okta Tenant
-
Okta Integrated Windows Authentication (IWA) Agent
-
Okta Verify (Okta Verify can be downloaded from the app store) (optional)
-
Active Directory (AD)
How to configure SSO
Following are the steps to configure SSO for Citrix Workspace app using Okta as an IdP:
- Install Okta AD agent
- Create an Okta OIDC web app integration
- Configure Okta OIDC web application
- Create Okta API token
- Connect Citrix Cloud to your Okta organization
- Enable Okta authentication for Workspaces
- Configure Okta multifactor authentication (MFA) bypass
- Set up Okta IWA Agent
- Configure IdP Routing Rule
- Configure Okta IdP with Google Admin Console
- Configure SSO for Citrix Workspace app for ChromeOS using SAML SSO Chrome extension
Install Okta AD agent
Prerequisites:
Before installing the agent, make sure to fulfill the prerequisites mentioned in the Active Directory integration prerequisites link.
To install the Okta AD agent:
- On the Okta Admin portal, click Directory > Directory Integrations.
- Click Add Directory > Add Active Directory.
- Review the installation requirements by following the workflow, which covers the Agent Architecture and Installation Requirements.
- Click the Set Up Active Directory button and then click Download Agent.
- Install Okta AD Agent onto a Windows server by following the instruction provided in Install the Okta AD agent.
Create an Okta OIDC web app integration
To use Okta as an IdP, an Okta OIDC - OpenID Connect web application must be created so that the user credentials can be used with Citrix Cloud. This app starts the sign-in sequence and also handles redirection to the Citrix Workspace URL in case you sign out.
For more information, see Create an Okta OIDC web app integration.
Configure Okta OIDC web application
After the Okta OIDC app is created, configure it with the settings required for Citrix Cloud. These settings are required for authentication purposes when subscribers sign into Citrix Workspace with Okta.
For more information, see the Configure the Okta OIDC web application link.
Create Okta API token
For more information on how to create an Okta API token, see Create an Okta API token.
Connect Citrix Cloud to your Okta organization
For more information on how to connect Citrix Cloud, see Connect Citrix Cloud to your Okta organization.
Enable Okta authentication for Workspaces
For more information on how to enable Okta authentication, see Enable Okta authentication for workspaces.
Configure Okta multifactor authentication (MFA) bypass
Create a Network Zone defining a set of IP addresses that must be whitelisted for accessing the setup. For more information, see Create zones for IP addresses.
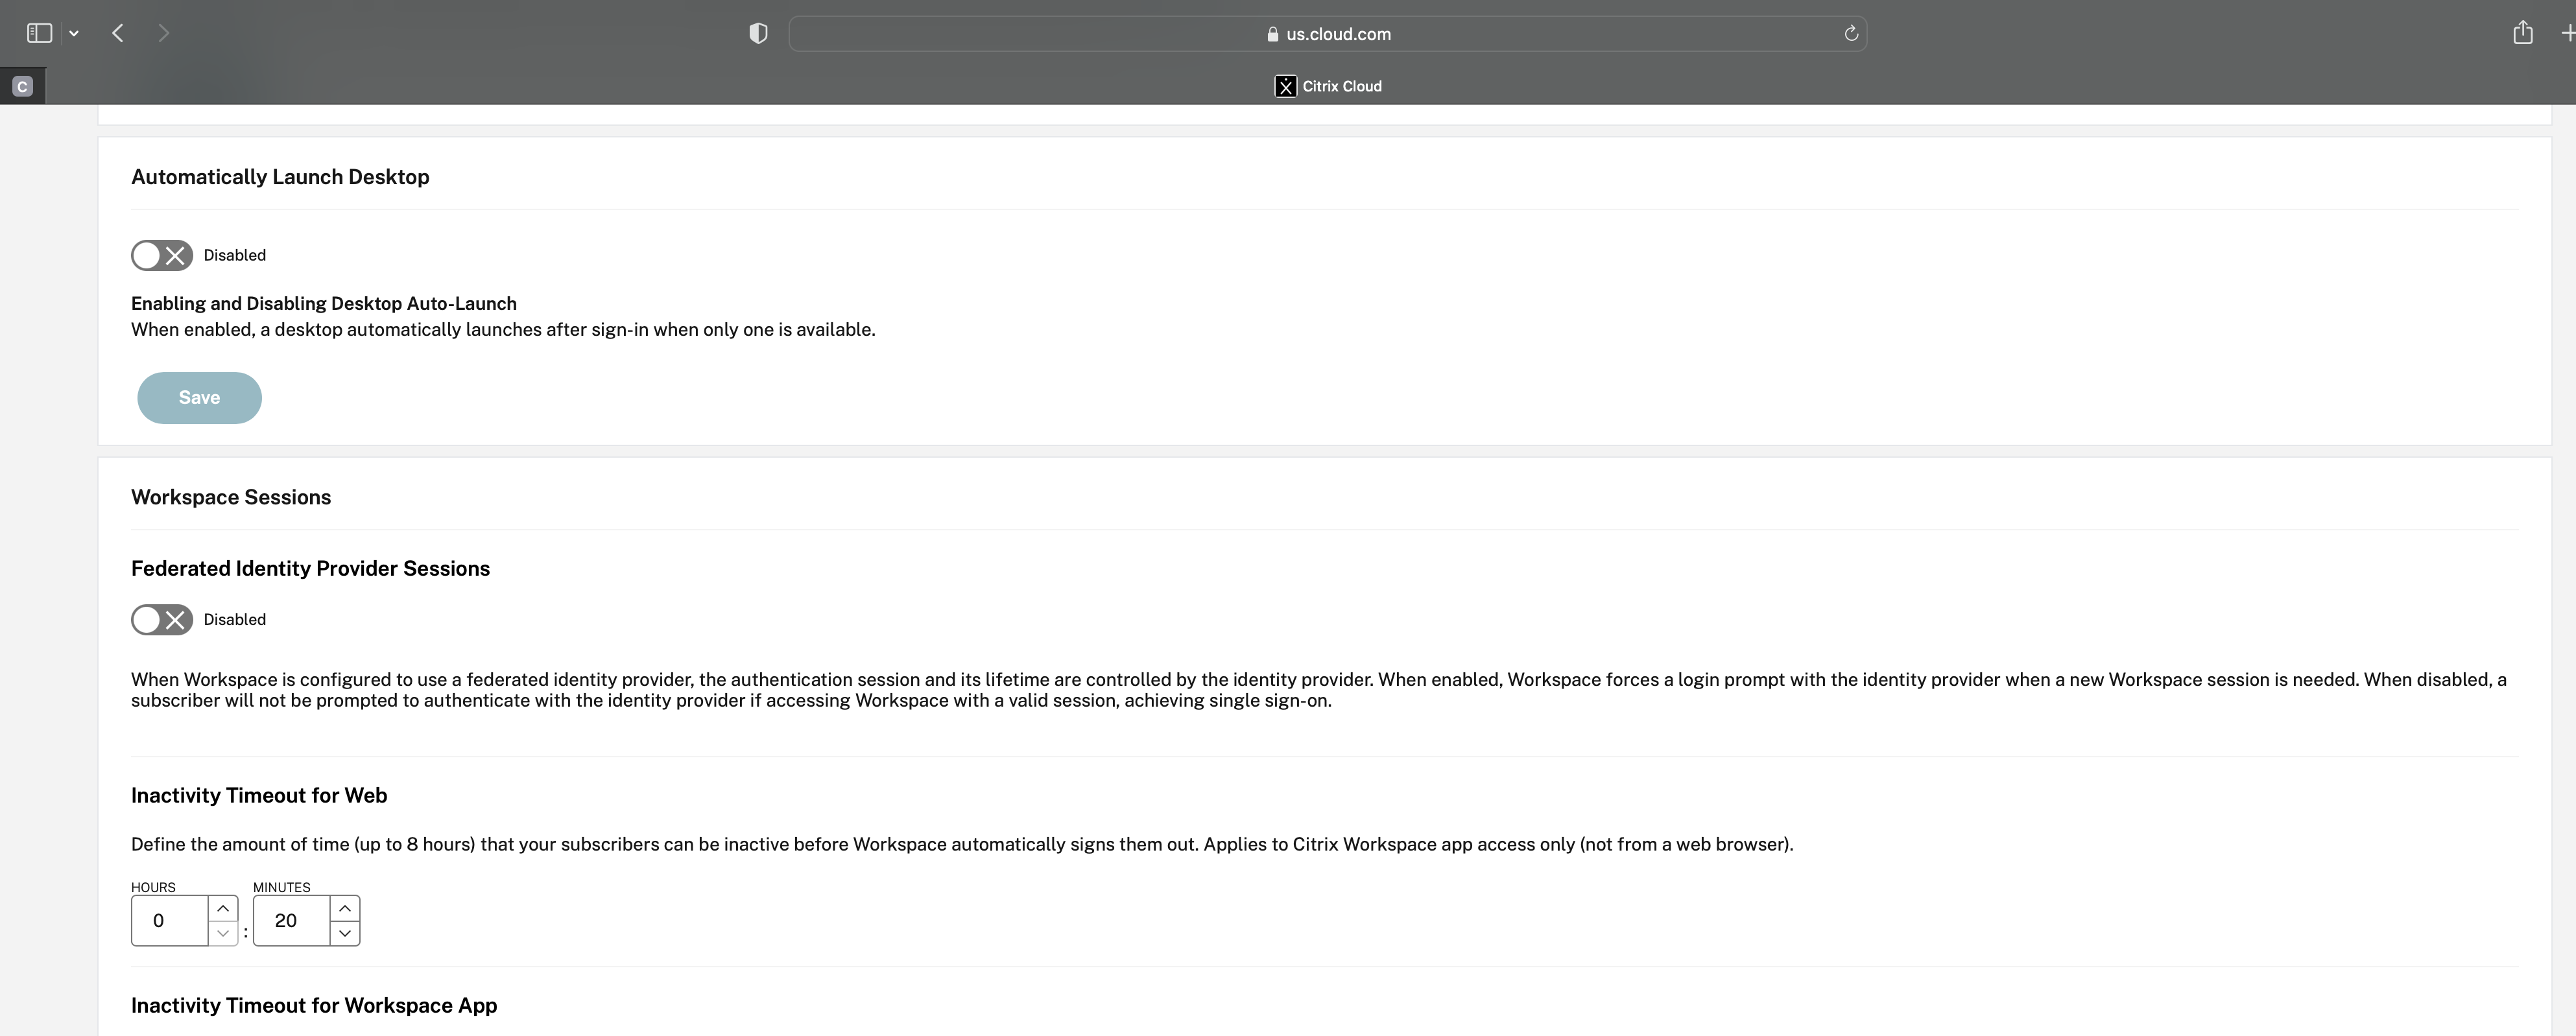
Make sure to disable the option Federated Identity Provider Sessions. Navigate to the cloud console under Workspace Configuration > Customize > Preferences and disable Federated Identity Provider Sessions.
Set up Okta IWA Agent
Okta IWA Agent is a lightweight Internet Information Services (IIS) web agent that enables Desktop single sign-on (DSSO) on the Okta service.
DSSO is used if a domain-joined computer is accessing Citrix Cloud. This domain-joined computer doesn’t require being prompted for authentication.
-
Make sure that the following list of prerequisites are fulfilled.
For the list of prerequisites to install the Okta IWA Web agent, see Okta IWA Web agent installation prerequisites.
-
Install Okta IWA Agent.
To install the Okta IWA Web agent, see Install the Okta IWA Web agent.
-
Configure a Windows browser for SSO.
To configure Windows browser for SSO, see Configure Windows browsers for SSO.
-
Test the Okta IWA Web agent.
After you download and install the Okta IWA Web agent, verify if the IWA server is working from a client machine.
If the Okta agent is configured correctly, details related to UserPrincipalName and SecurityIdentifier appear.
For more information on how to verify, see Test the Okta IWA Web agent.
Configure IdP Routing Rule
To configure the Identity Provider Routing Rule, see Configure IdP Routing Rule.
Note:
From the IdP(s) field, make sure to select OnPremDSSO.
Configure Okta IdP with Google Admin Console
-
To create a Security Assertion Markup Language (SAML) application, see Create SAML app integrations.
Make sure to enter a URL in the Single sign-on URL and Audience URI (SP Entity ID) field. For example,
https://admin.google.com.Note:
You might have to modify the example URL after you create the SAML profile in the Google Admin Console. See the next steps for details.
-
Configure SAML with third-party IdP in the Google Admin Console.
To create an SSO profile for your organization and assign the users, follow the steps mentioned in the Create a SAML SSO profile link.
To get the Okta sign-in, sign-out, issuer, and other IdP information for the SAML profile, follow the steps mentioned in the Add a SAML IdP link.
- To configure a SAML profile, see the How to Configure SAML 2.0 for Google Workspace link.
-
Configure a SAML profile in OKTA using Google SAML profile details to synchronize the profiles:
-
Go to Security > Authentication > SSO with third-party IdP > Third-party SSO profiles > open your SAML profile.
-
On the Okta dashboard page (IdP), add Google(Service Provider) SAML profile details.
-
Navigate to Single sign-on URL > ACS URL, and select the option Use this for Recipient URL and Destination URL.
-
Navigate to Audience URI (SP Entity ID) > Entity ID.
After the IdP and SP(Service Provider) SAML profiles are synchronized, the sign-in page for managed users appears on the Okta sign in page on the Chromebook.
-
-
-
Assign users to your OKTA SAML application.
For more information on how to assign users, see the Assign an app integration to a user link.
Validation checkpoints
-
When users add the enterprise google account in the Chromebook, users can sign in with Okta credentials.
-
After signing into the Chromebook, the user must be able open the Google Chrome browser and enter the Citrix Workspace URL.
-
The user must be able to see the Citrix Workspace app UI. The user must be able to navigate to the virtual apps and desktops without being asked for the credentials.
Note:
If the SSO is unsuccessful, revise the step Configure Okta IdP with Google Admin Console.
Configure SSO for Citrix Workspace app for ChromeOS using SAML SSO Chrome extension
To configure SSO using the SAML extension, do the following:
-
Install and configure SAML SSO for the Chrome app extension on Chrome devices.
To install the extension, click SAML SSO for Chrome Apps.
-
The extension retrieves SAML cookies from the browser and provides them to Citrix Workspace app for ChromeOS.
-
Configure the extension with the following policy to allow Citrix Workspace to get SAML cookies. Replace the domain with your company’s Okta IdP domain.
{
    "whitelist" : {
        "Value" : [
            {
                "appId" : "haiffjcadagjlijoggckpgfnoeiflnem",
                "domain" : "<domain.okta.com>"
                }
            ]
        }
}
<!--NeedCopy-->
Note:
If you’re repackaging the Citrix Workspace app for ChromeOS, replace
haiffjcadagjlijoggckpgfnoeiflnemwith the repackaged appId. -
Deploy FAS to achieve SSO to virtual apps and desktops.
To achieve SSO to virtual apps and desktops, you can either deploy a Federated Authentication Service (FAS) or configure Citrix Workspace app.
Note:
- Without FAS, you’re prompted for the Active Directory user name and password. For more information, see Enable single sign-on for workspaces with Citrix Federated Authentication Service.