Troubleshoot StoreFront
Installation Logs
When StoreFront is installed or uninstalled, the following log files are created by the StoreFront installer in the C:\Windows\Temp\StoreFront directory. The file names reflect the components that created them and include time stamps.
- Citrix-DeliveryServicesRoleManager-*.log—Created when StoreFront is installed interactively.
- Citrix-DeliveryServicesSetupConsole-*.log—Created when StoreFront is installed silently and when StoreFront is uninstalled, either interactively or silently.
- CitrixMsi-CitrixStoreFront-x64-*.log—Created when StoreFront is installed and uninstalled, either interactively or silently.
Event Logs
StoreFront supports Windows event logging for the authentication service, stores, and Receiver for Web sites. Any events that are generated are written to the StoreFront application log, which can be viewed using Event Viewer under either Application and Services Logs > Citrix Delivery Services or Windows Logs > Application. You can control the number of duplicate log entries for a single event by editing the configuration files for the authentication service, stores, and Receiver for Web sites.
Log throttling
-
Use a text editor to open the web.config file for the authentication service, store, or Receiver for Web site, which are typically located in the C:\inetpub\wwwroot\Citrix\Authentication\, C:\inetpub\wwwroot\Citrix\storename\, and C:\inetpub\wwwroot\Citrix\storenameWeb\ directories, respectively, where storename is the name specified for the store when it was created.
-
Locate the following element in the file.
<logger duplicateInterval="00:01:00" duplicateLimit="10">By default, StoreFront is configured to limit the number of duplicate log entries to 10 per minute.
-
Change the value of the duplicateInterval attribute to the set the time period in hours, minutes, and seconds over which duplicate log entries are monitored. Use the duplicateLimit attribute to set the number of duplicate entries that must be logged within the specified time interval to trigger log throttling.
When log throttling is triggered, a warning message is logged to indicate that further identical log entries will be suppressed. Once the time limit elapses, normal logging resumes and an informational message is logged indicating that duplicate log entries are no longer being suppressed.
Powershell and management console logs
Configuration changes made through PowerShell or the management console are logged at C:\Program Files\Citrix\Receiver StoreFront\Admin\logs. The log file names contain command actions and subjects, along with time stamps that can be used to differentiate command sequences.
Diagnosics logging
By default diagnostics logging only logs errors. To enable trace logging, using an account with local administrator permissions, start Windows PowerShell and use the command Set-STFDiagnostics with the following parameters:
- -All. A flag indicating that tracing should be updated for all instances and services.
- -TraceLevel. In increasing levels of tracing detail, allowed values for -TraceLevel are: Off, Error, Warning, Info, or Verbose. Due to the large amount of data that can be generated, tracing may significantly impact the performance of StoreFront. The Info or Verbose levels are not recommended unless specifically required for troubleshooting.
Optional parameters:
- -FileSizeKb. The trace file size in KB.
- -FileCount. The number of trace files to maintain on disk at a time.
- -confirm:$False. Suppresses Windows prompts to allow the StoreFront cmdlet to run each time.
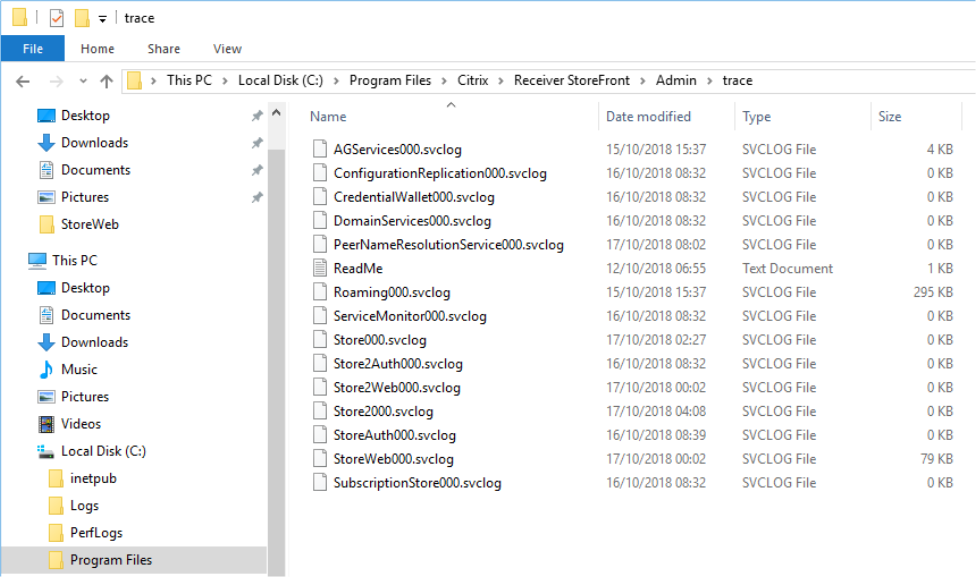
Trace output is sent to c:\Program Files\Citrix\Receiver StoreFront\admin\trace
Examples
To enable Verbose level tracing for all service for debugging purposes:
Set-STFDiagnostics -All -TraceLevel "Verbose" -confirm:$False
<!--NeedCopy-->
To disable Verbose level tracing, and set the tracing level back to the default value for all services:
Set-STFDiagnostics -All -TraceLevel "Error" -confirm:$False
<!--NeedCopy-->
For more information on the Set-STFDiagnostics cmdlet, see the StoreFront PowerShell SDK documentation.
Launch.ica file logging
When a user launches an app or desktop, StoreFront generates a file called launch.ica that Workspace app reads to determine how to connect to the app or desktop. Depending on configuration this file may be stored in memory so not directly accessible. To diagnose launch errors it can be useful to view the contents of launch.ica.
To enable logging of the launch.ica file, complete the following steps:
-
Navigate to the following registry key by using the registry editor:
32-bit Systems:
HKEY_LOCAL_MACHINE\SOFTWARE\Citrix\ICA Client\Engine\Configuration\Advanced\Modules\Logging64-bit Systems:
HKEY_LOCAL_MACHINE\SOFTWARE\Wow6432Node\Citrix\ICA Client\Engine\Configuration\Advanced\Modules\Logging -
Set the following two string key values:
- LogFile=”path to the log file”
- LogICAFile=true
For example:
LogFile=C:\ica\ica.log
LogICAFile=true
<!--NeedCopy-->
Note:
The use of an ICA file in your environment for anything other than troubleshooting purposes is further outlined in CTX200126.