SmartAccess for HDX™ apps
This feature allows you to control access to HDX apps based on device properties, user properties of a device, or applications installed on a device. You use this feature by setting automated actions to mark the device as out of compliance to deny that device access. HDX apps used with this feature are configured in Virtual Apps and Desktops by using a SmartAccess policy that denies access to out-of-compliance devices. XenMobile communicates the status of the device to StoreFront™ using a signed, encrypted tag. StoreFront then allows or denies access based on the access control policy of the app.
To use this feature, your deployment requires:
- Virtual Apps and Desktops 7.6
- StoreFront 3.7 or 3.8
- XenMobile® Server configured to aggregate HDX apps from a StoreFront server
- XenMobile Server configured with a SAML certificate to be used for signing and encrypting tags. The same certificate without private key is uploaded on the StoreFront server.
To start using this feature:
- Configure the XenMobile Server certificate to the StoreFront store
- Configure at least one Virtual Apps and Desktops delivery group with the required SmartAccess policy
- Set the automated action in XenMobile
Export and configure the XenMobile Server certificate and upload it to the StoreFront store
SmartAccess uses signed and encrypted tags to communicate between the XenMobile and StoreFront servers. To enable that communication, you add the XenMobile Server certificate to the StoreFront store.
For more information about integrating StoreFront and XenMobile when XenMobile is enabled with domain and certificate-based authentication, see the Support Knowledge Center.
Export the SAML certificate from the XenMobile Server
-
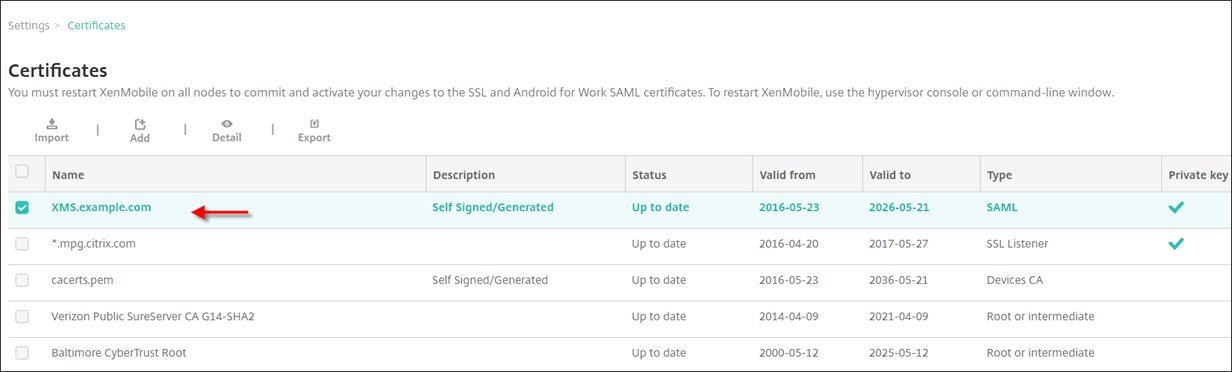
In the XenMobile console, click the gear icon in the upper-right corner. The Settings page appears. Click Certificates.
-
Locate the SAML certificate for XenMobile Server.
-
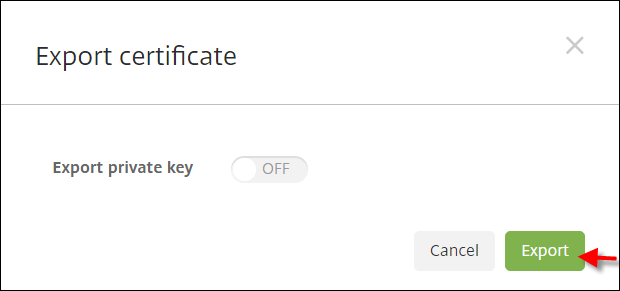
Make sure that Export private key is set to Off. Click Export to export the certificate to your download directory.
-
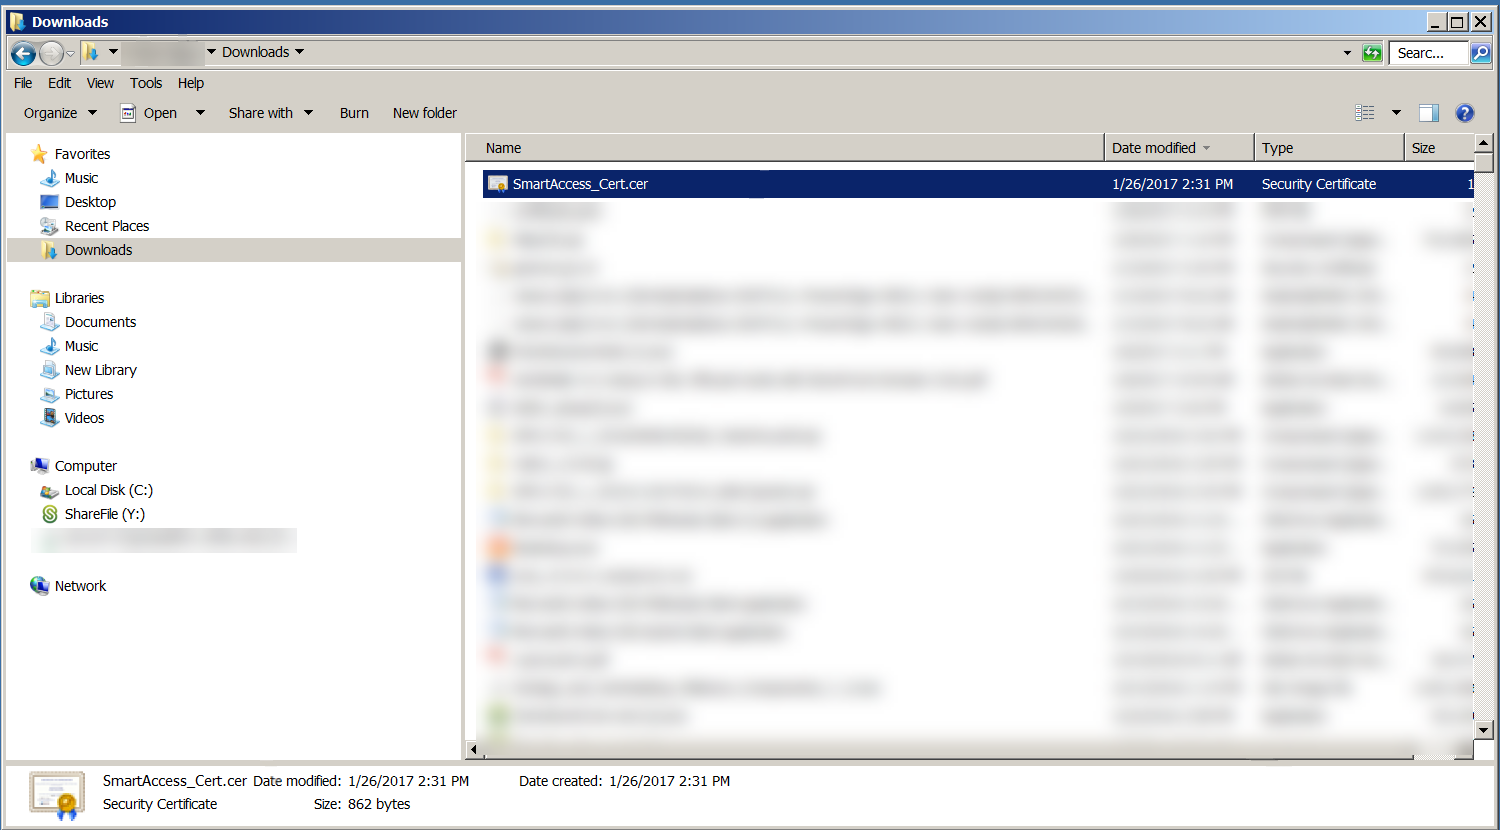
Locate the certificate in your download directory. The certificate is in PEM format.

Convert the certificate from PEM to CER
-
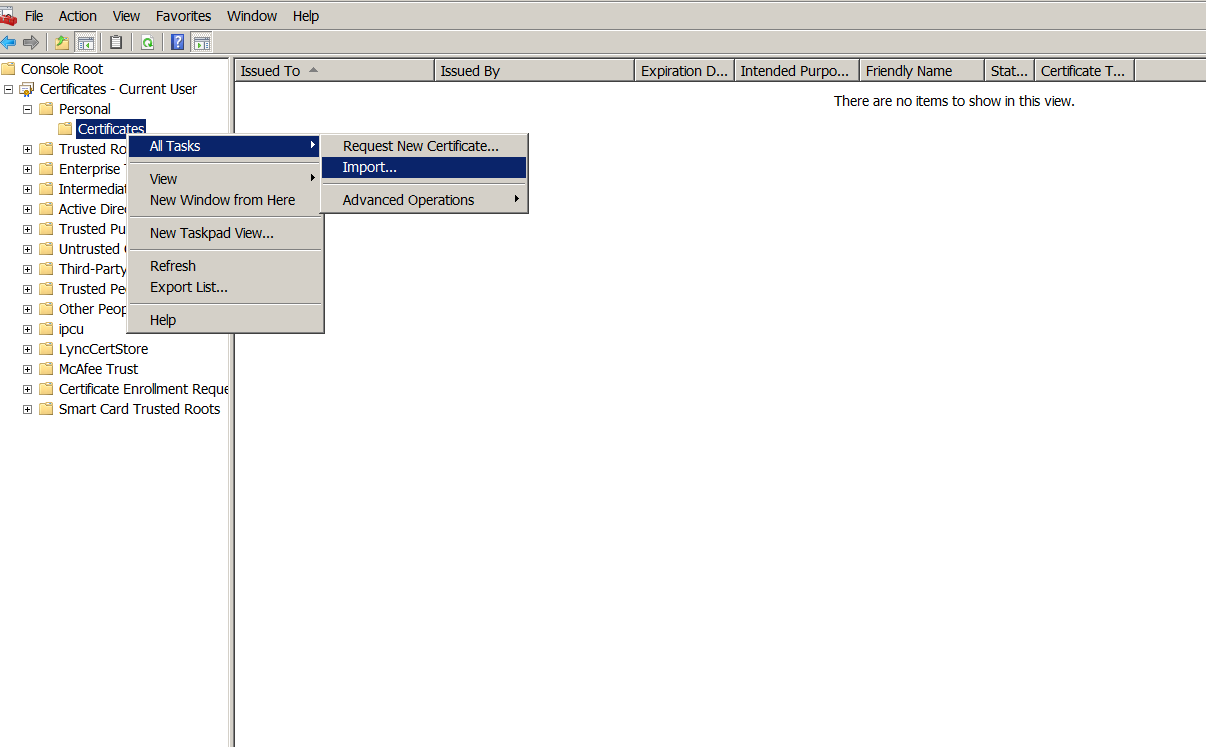
Open the Microsoft Management Console (MMC) and right-click Certificates > All Tasks > Import.
-
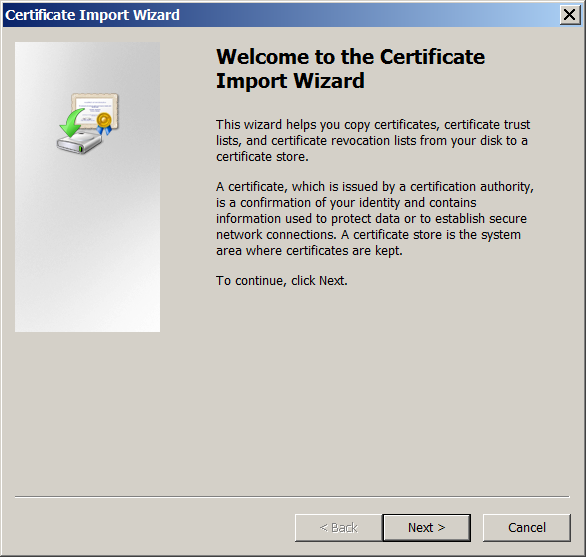
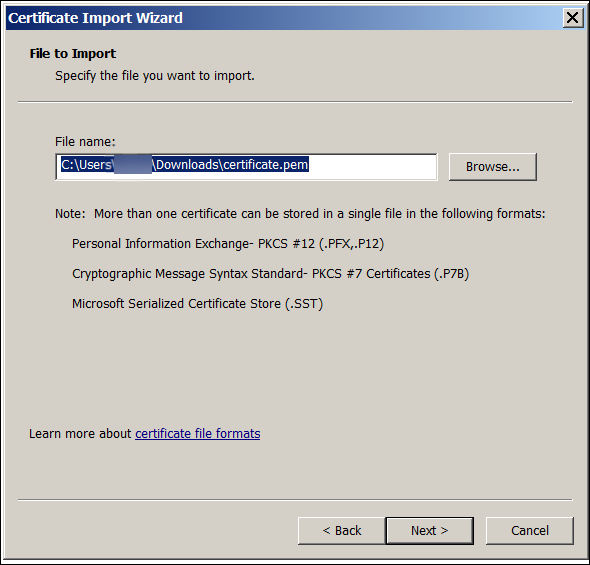
When the certificate import wizard appears, click Next.
-
Browse to the certificate in the download directory.
-
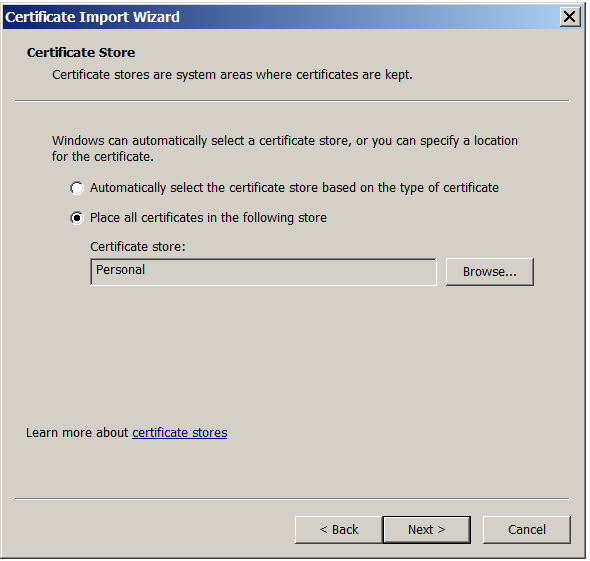
Select Place all certificates in the following store and select Personal as the certificate store. Click Next.
-
Review your selections and click Finish. Click OK to dismiss the confirmation window.
-
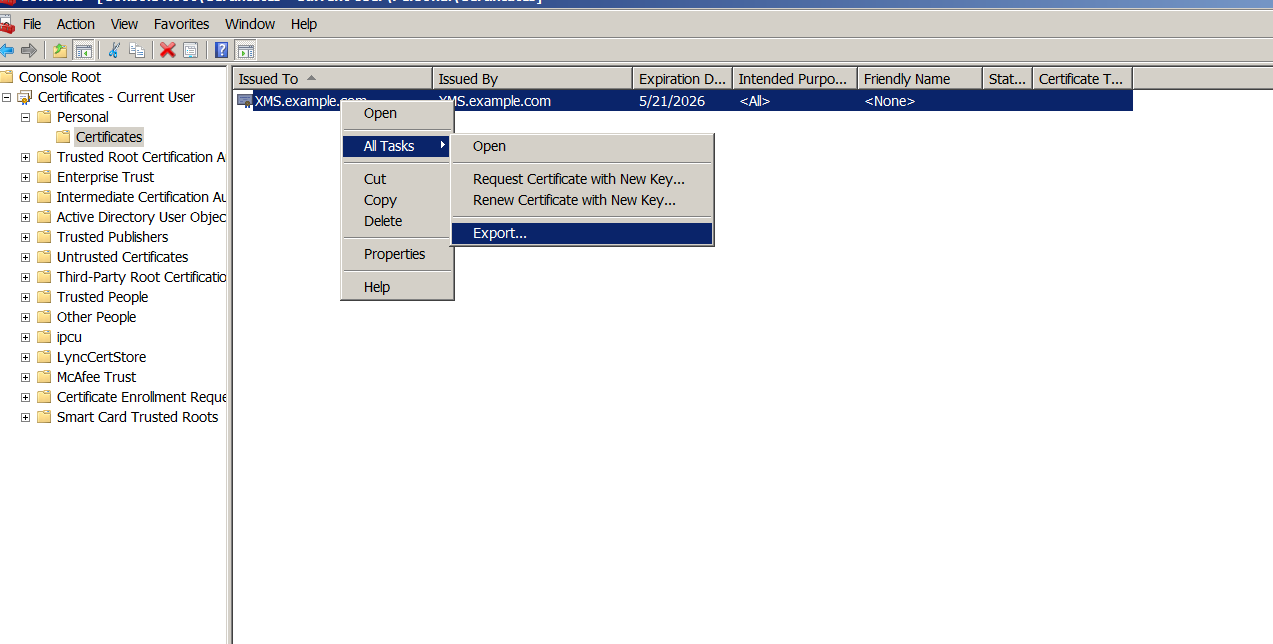
In the MMC, right-click the certificate and then choose All Tasks > Export.
-
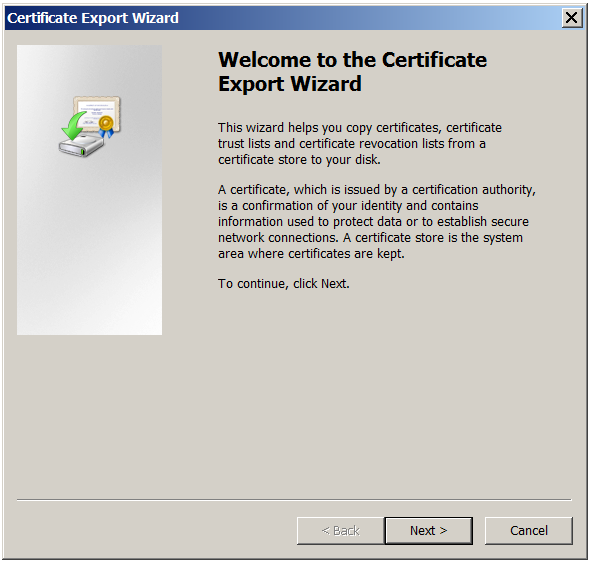
When the certificate export wizard appears, click Next.
-
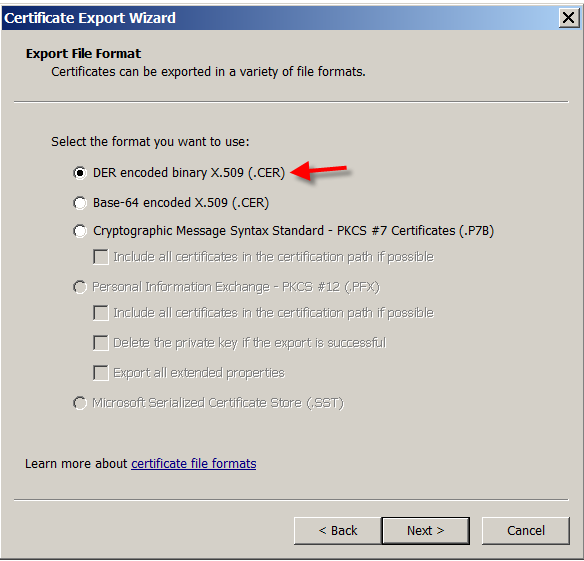
Choose the format DER encoded binary X.509 (.CER). Click Next.
-
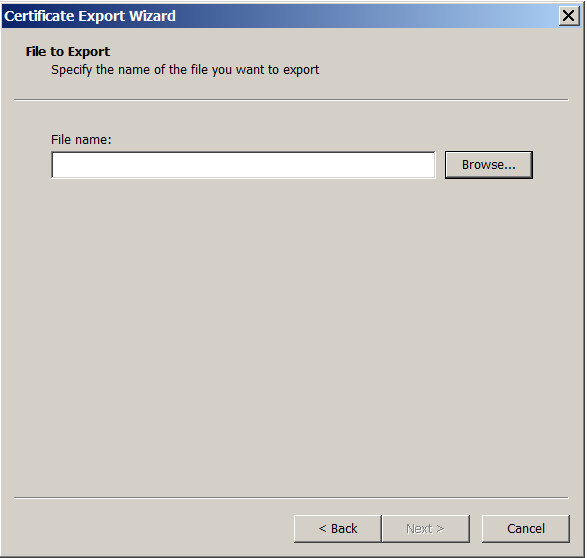
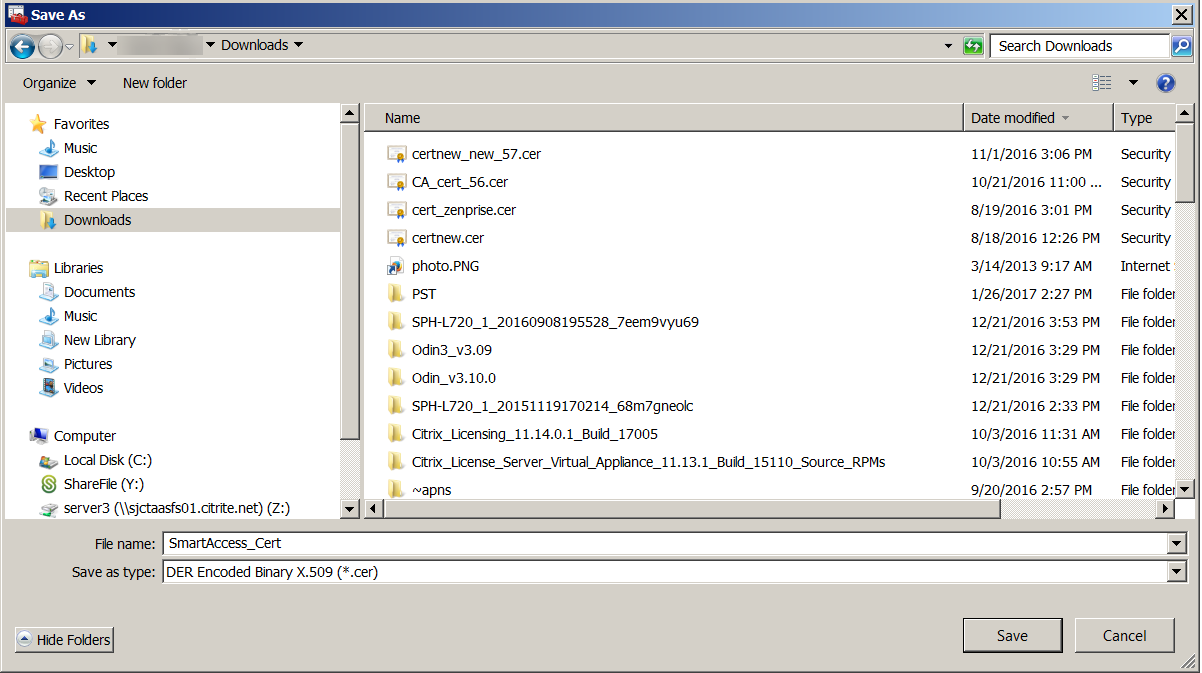
Browse to the certificate. Type a name for the certificate and then click Next.
-
Save the certificate.
-
Browse to the certificate and click Next.
-
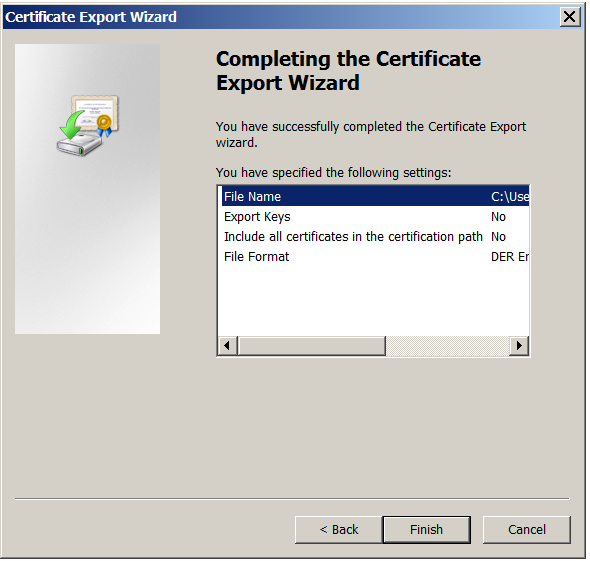
Review your selections and click Finish. Click OK to dismiss the confirmation window.
-
Locate the certificate in your download directory. The certificate is in CER format.
Copy the certificate to the StoreFront Server
-
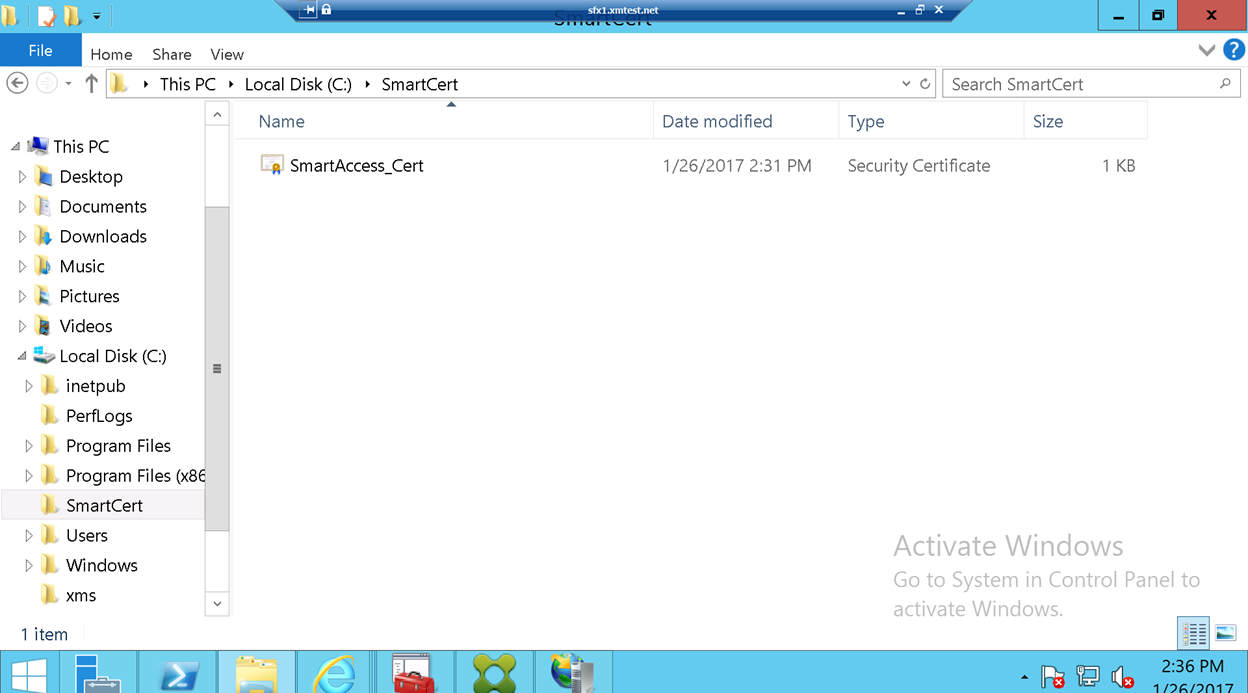
On the StoreFront server, create a folder called SmartCert.
-
Copy the certificate to the SmartCert folder.
Configure the certificate on the StoreFront store
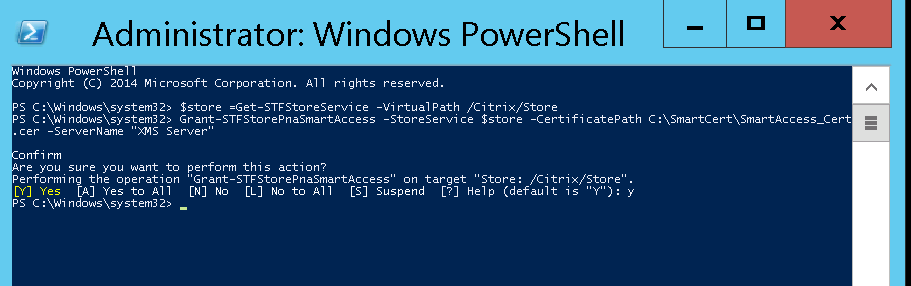
On the StoreFront server, run this PowerShell command to configure the converted XenMobile Server certificate on the store:
    Grant-STFStorePnaSmartAccess –StoreService $store –CertificatePath  “C:\xms\xms.cer” –ServerName “XMS server”
<!--NeedCopy-->
If there are any existing certificates on the StoreFront store, run this PowerShell command to revoke them:
    Revoke-STFStorePnaSmartAccess –StoreService $store –All
<!--NeedCopy-->

Alternatively, you can run any of these PowerShell commands on the StoreFront server to revoke existing certificates on the StoreFront store:
- Revoke by name:
    $store = Get-STFStoreService –VirtualPath /Citrix/Store

    Revoke-STFStorePnaSmartAccess –StoreService $store –ServerName “My XM Server"
<!--NeedCopy-->
- Revoke by thumbprint:
    $store = Get-STFStoreService –VirtualPath /Citrix/Store

    Revoke-STFStorePnaSmartAccess –StoreService $store –CertificateThumbprint “ReplaceWithThumbprint”
<!--NeedCopy-->
- Revoke by server object:
    $store = Get-STFStoreService –VirtualPath /Citrix/Store

    $access = Get-STFStorePnaSmartAccess –StoreService $store

    Revoke-STFStorePnaSmartAccess –StoreService $store –SmartAccess $access.AccessConditionsTrusts[0]
<!--NeedCopy-->
Configure the SmartAccess policy for Virtual Apps and Desktops
To add the required SmartAccess policy to the delivery group delivering the HDX app:
-
On the Virtual Apps and Desktops server, open Citrix Studio.
-
Select Delivery Groups in the Studio navigation pane.
-
Select a group delivering the app or apps that you want to control access to. Then select Edit Delivery Group in the Actions pane.
-
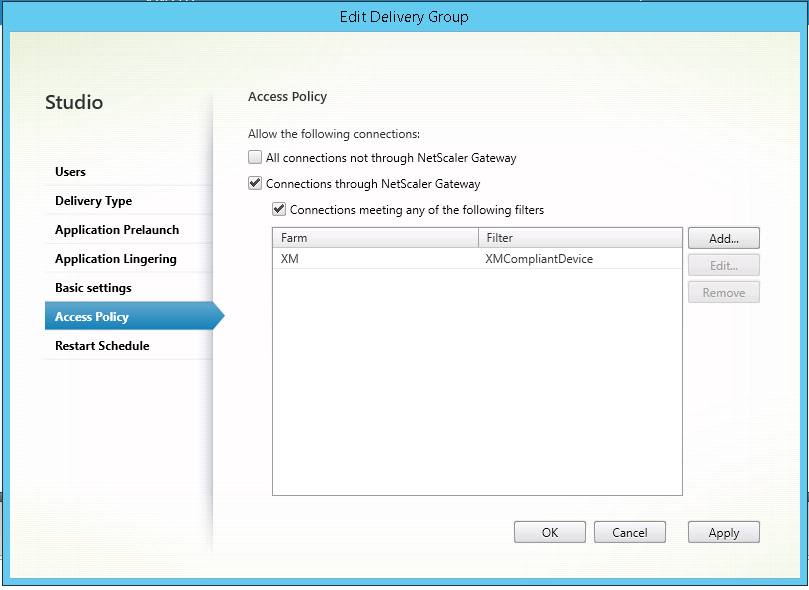
On the Access Policy page, select Connections through NetScaler® Gateway and Connection meeting any of the following.
-
Click Add.
-
Add an access policy where Farm is XM and Filter is XMCompliantDevice.
-
Click Apply to apply any changes you made and keep the window open, or click OK to apply changes and close the window.
Set automated actions in XenMobile
The SmartAccess policy that you set in the delivery group for an HDX app denies access to a device when the device in out of compliance. Use automated actions to mark the device as out of compliance.
-
From the XenMobile console, click Configure > Actions. The Actions page appears.
-
Click Add to add an action. The Action Information page appears.
-
On the Action Information page, type a name and description for the action.
-
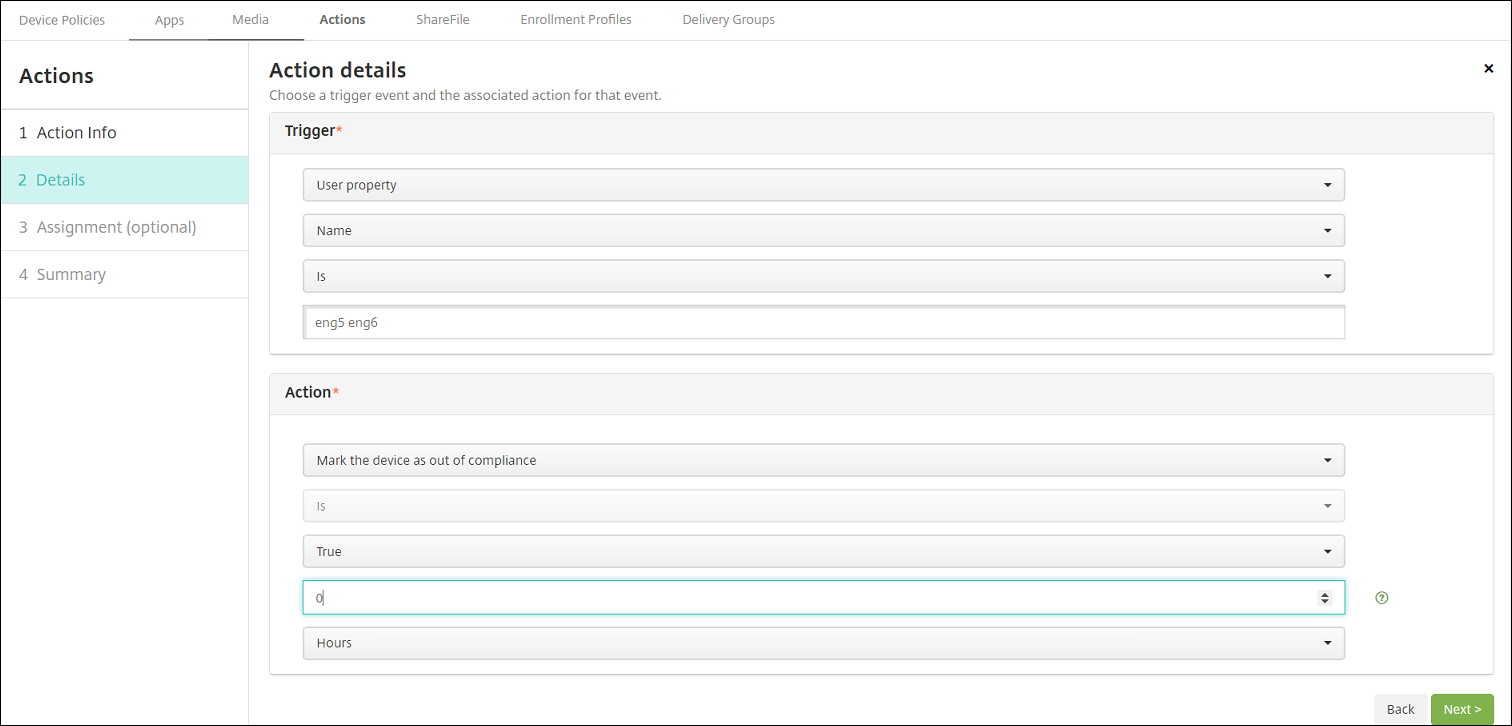
Click Next. The Action details page appears. In the following example, a trigger is created that immediately marks devices as out of compliance if they have the user property name eng5 or eng6.
-
In the Trigger list, choose Device property, User property, or Installed app name. SmartAccess doesn’t support event triggers.
-
In the Action list:
- Choose Mark the device as out of compliance.
- Choose Is.
- Choose True.
- To set the action to mark the device as out of compliance immediately when the trigger condition is met, set the time frame to 0.
-
Choose the XenMobile delivery group or groups to apply this action to.
-
Review the summary of the action.
-
Click Next and then click Save.
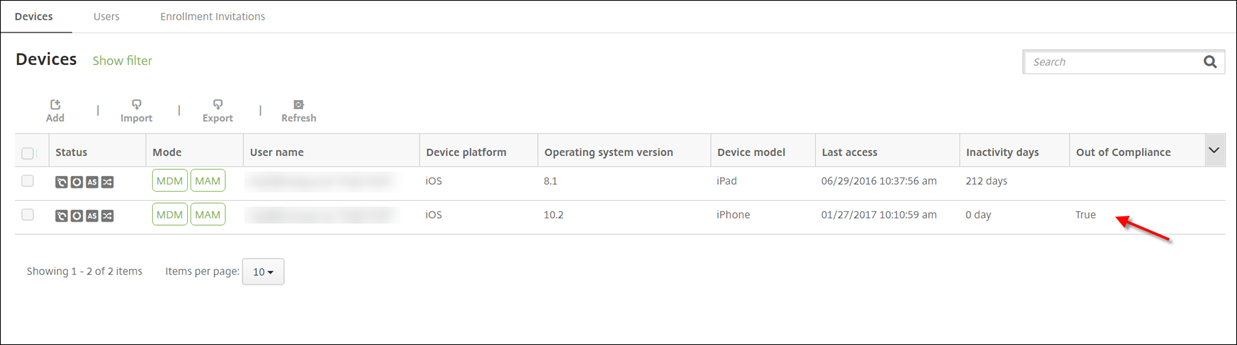
When the device is marked out of compliance, the HDX apps no longer appear in the Secure Hub store. The user is no longer subscribed to the app. No notification is sent to the device and nothing in the Secure Hub store indicates that the HDX apps were previously available.
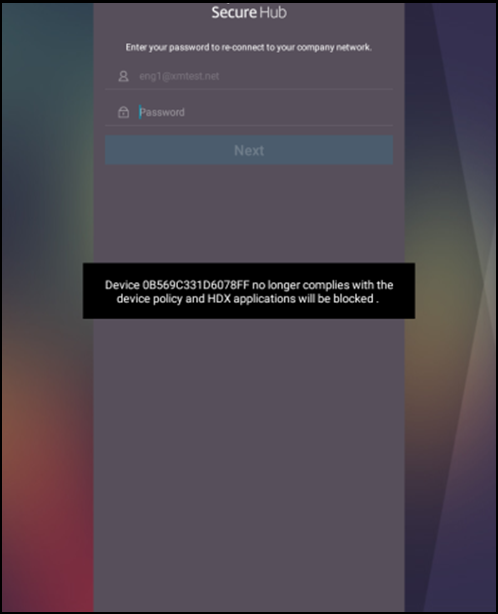
If you want users to be notified when a device is marked out of compliance, create a notification and then create an automated action to send that notification.
This example creates and sends this notification when a device is marked out of compliance: “Device serial number or telephone number no longer complies with the device policy and HDX applications are blocked.”
Create the notification users see when a device is marked as out of compliance
-
In the XenMobile console, click the gear icon in the upper-right corner of the console. The Settings page appears.
-
Click Notification Templates. The Notification Templates page appears.
-
Click Add to add on the Notification Templates page.
-
When prompted to set up the SMS server first, click No, set up later.

-
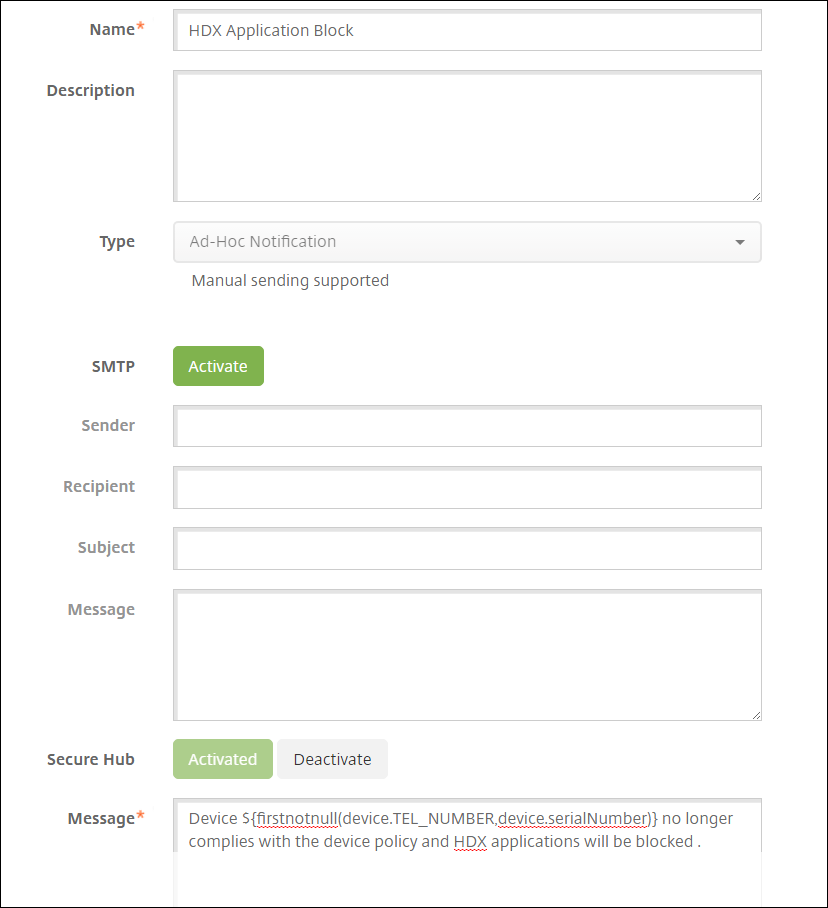
Configure these settings:
- Name: HDX Application Block
- Description: Agent notification when a device is out of compliance
- Type: Ad Hoc Notification
- Secure Hub: Activated
- Message: Device ${firstnotnull(device.TEL_NUMBER,device.serialNumber)} no longer complies with the device policy and HDX applications are blocked.
-
Click Save.
Create the action that sends the notification when a device is marked out of compliance
-
From the XenMobile console, click Configure > Actions. The Actions page appears.
-
Click Add to add an action. The Action Information page appears.
-
On the Action Information page, enter a name and description for the action:
- Name: HDX blocked notification
- Description: HDX blocked notification because device is out of compliance
-
Click Next. The Action details page appears.
-
In the Trigger list:
- Choose Device property.
- Choose Out of compliance.
- Choose Is.
- Choose True.
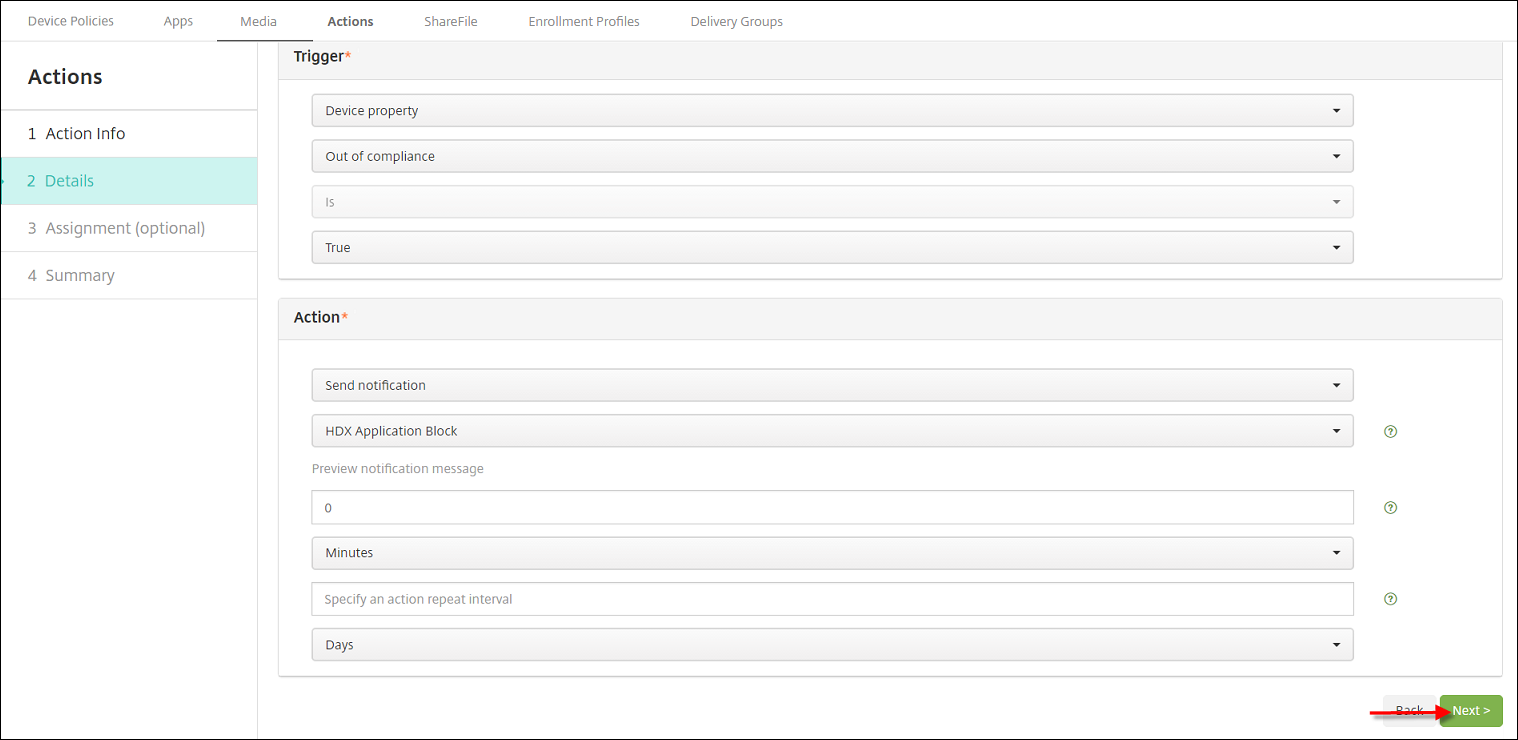
-
In the Action list, specify the actions that occur when the trigger is met:
- Choose Send notification
- Choose HDX Application Block, the notification you created.
- Choose 0. Setting this value to 0 causes the notification to be sent when the trigger condition is met.
-
Select the XenMobile delivery group or groups to apply this action to. In this example, choose AllUsers.
-
Review the summary of the action.
-
Click Next and then click Save.
For more information on setting automated actions, see Automated actions.
How users regain access to HDX apps
Users can gain access to HDX apps again after the device is brought back into compliance:
-
On the device, go to the Secure Hub store to refresh the apps in the store.
-
Go to the app and tap Add to the app.
After the app is added, it appears in My Apps with a blue dot next to it, because it is a newly installed app.
