Customize the appearance of workspaces
You can create themes to customize the logos and colors of your Workspace to match your corporate branding guidelines. You can configure a default theme along with additional theme overrides that apply to specific workspaces or user groups. To view and modify the appearance, from Workspace Configuration select Customize then Appearance.
Supported customizations
Sign in appearance
For the sign-in page, you can only replace the logo. The rest of the sign-in page, including the colors, isn’t affected.
Note:
Changes to the sign-in logo don’t impact users who authenticate to their workspace using third-party identity providers, such as Microsoft Entra ID and Okta.
For information on how to customize an Microsoft Entra ID sign-in page, see the Microsoft documentation. For information on how to customize the sign-in page hosted by Okta, see the Okta Developer documentation.
You can also customize the on-premises Citrix Gateway sign-in page, configured in the Citrix ADC appliance rather than in Workspace Configuration. For more information, see the Support Knowledge Center article.
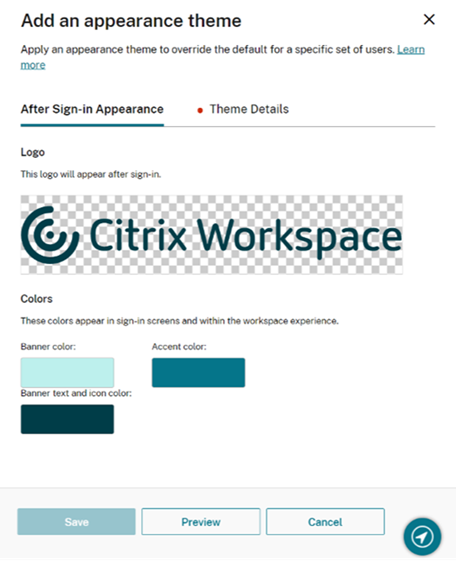
After log in appearance
You can customize the following elements
| Item | Description |
|---|---|
| Logo | The logo displayed in the banner at the top of the screen |
| Banner color | The color of the banner at the top of the screen |
| Banner text and icon color | The color of the activity manager and profile icons in the banner |
| Accent color | The color used to highlight selected items and for buttons |
Edit default theme
The default theme is used when no other theme applies. It also includes the log in screen logo which cannot be overridden.
To modify the default theme:
-
In the Default Appearance card, select Edit.

-
In the Sign-in/off Appearance section, optionally drag drop an image file to use as a logo. The logo should be 480 x 120 pixels, up to 2 MB size and have a file extension of JPEG, JPG, or PNG.
-
In the After Sign-in Appearance section, optionally drop drop an image file to use as a logo. The logo should be 340 x 80 pixels, up to 2 MB and have a file extension of JPEG, JPG, or PNG.
-
Click on the colors to change them. Either choose from the color picker or enter the color value. You can switch between hex, HSL and RGB values.
-
To preview the theme end users will see it, select Preview.
-
Select Save.
For users using a web browser, the change apply the next time the user logs in or refreshes the page. For users using Citrix Workspace™ app, changes take around five minutes to apply.
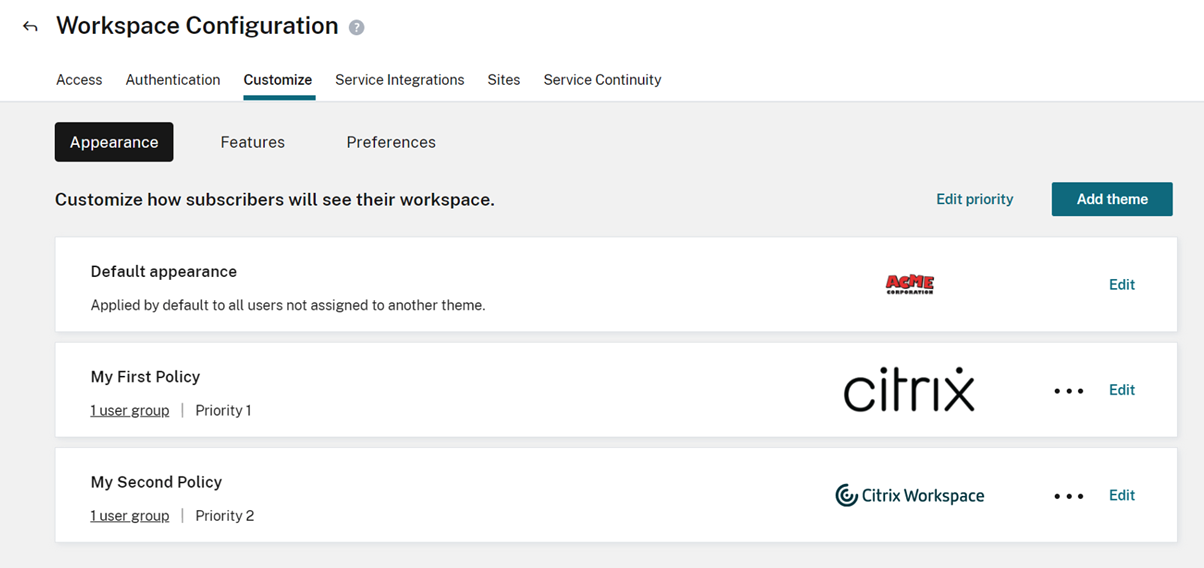
Custom themes
You can configure and prioritize additional themes that apply to specific Workspaces and user groups.
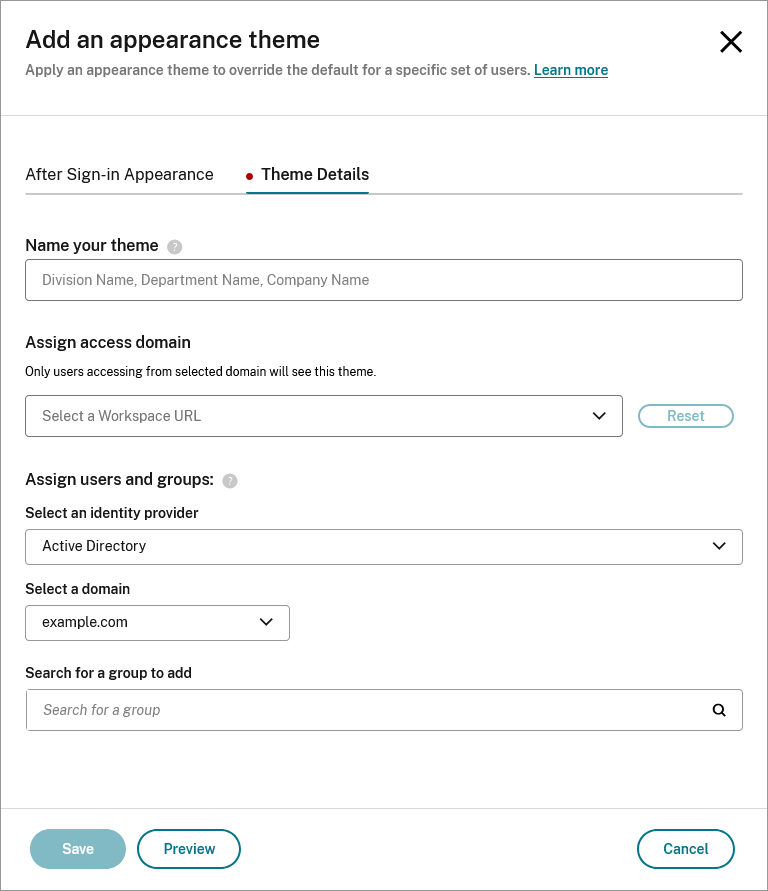
Add custom theme
-
Press Add theme.
-
Configure your custom theme, in the same way as the default theme.
-
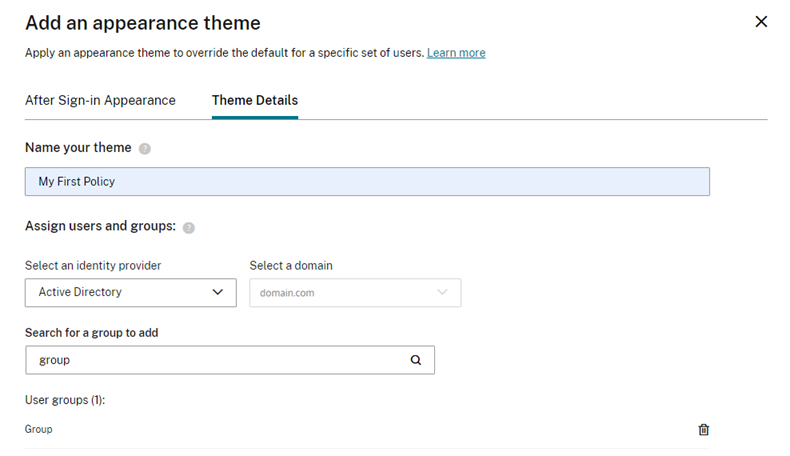
Select the Theme Details tab.
-
Enter a name for the theme.
-
Optionally specify which workspace the theme applies to.
- Assign user groups to the theme:
- Select an identity provider, and its domain if prompted.
- Search for the user group that you want to add to the custom theme.
- Select the plus sign (+) button next to that group.
- Repeat this process for each group that you want to use your theme.
-
Optionally select Preview to see how your workspace looks to your end-users.
- Press Save.
Edit custom theme
- On the theme card, select Edit.
- Make changes as required.
- Select Save.
Delete custom theme
- On the theme card, select … to open the menu.
- Select Delete.
- On the confirmation window, select Delete.
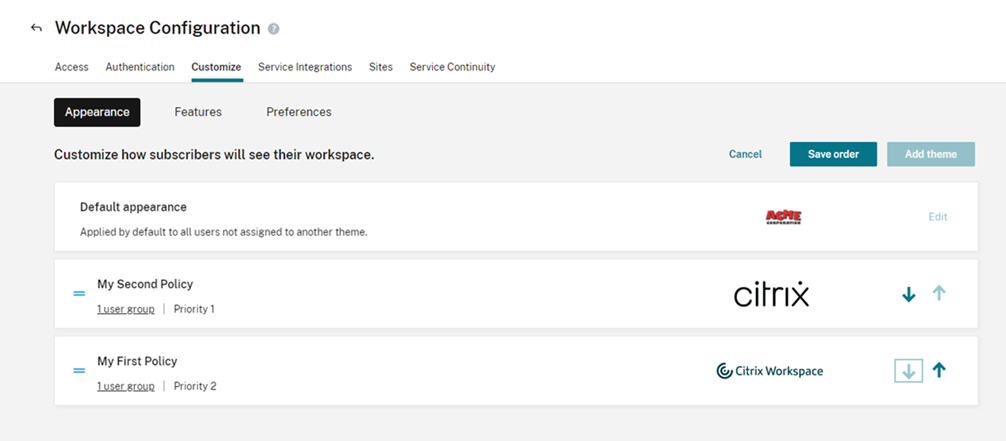
Prioritize custom themes
A user might belong to more than one user group, each of which might match to a different theme. You can define the order of precedence of themes. The first theme that matches the user’s Workspace and group applies. If no other themes apply then users see the default theme.
- Select Edit priority at the top right of the list of themes, next to Add theme.
- You can reorder the priority of themes in one of two ways:
- Use the arrows on the right-hand side of each theme.
- Drag individual themes up and down the list using the handle on the left-hand side of the card.
- Once you’ve reordered your items, select Save order.