PoC Guide: Getting Started with Citrix Desktops-as-a-Service (DaaS)
Overview
The Citrix Desktops-as-a-Service (DaaS) allows you to provide employees with a full workspace from any device while leaving most of the setup, upgrades, and monitoring to Citrix. IT will continue to manage and control the virtual machines, applications, and policies on the back end, while Citrix manages all the key infrastructure, installation, setup, and upgrades needed to maintain a Citrix environment. This reduces administrative overload and ensures you have all the latest features and functionality.
Conceptual Architecture
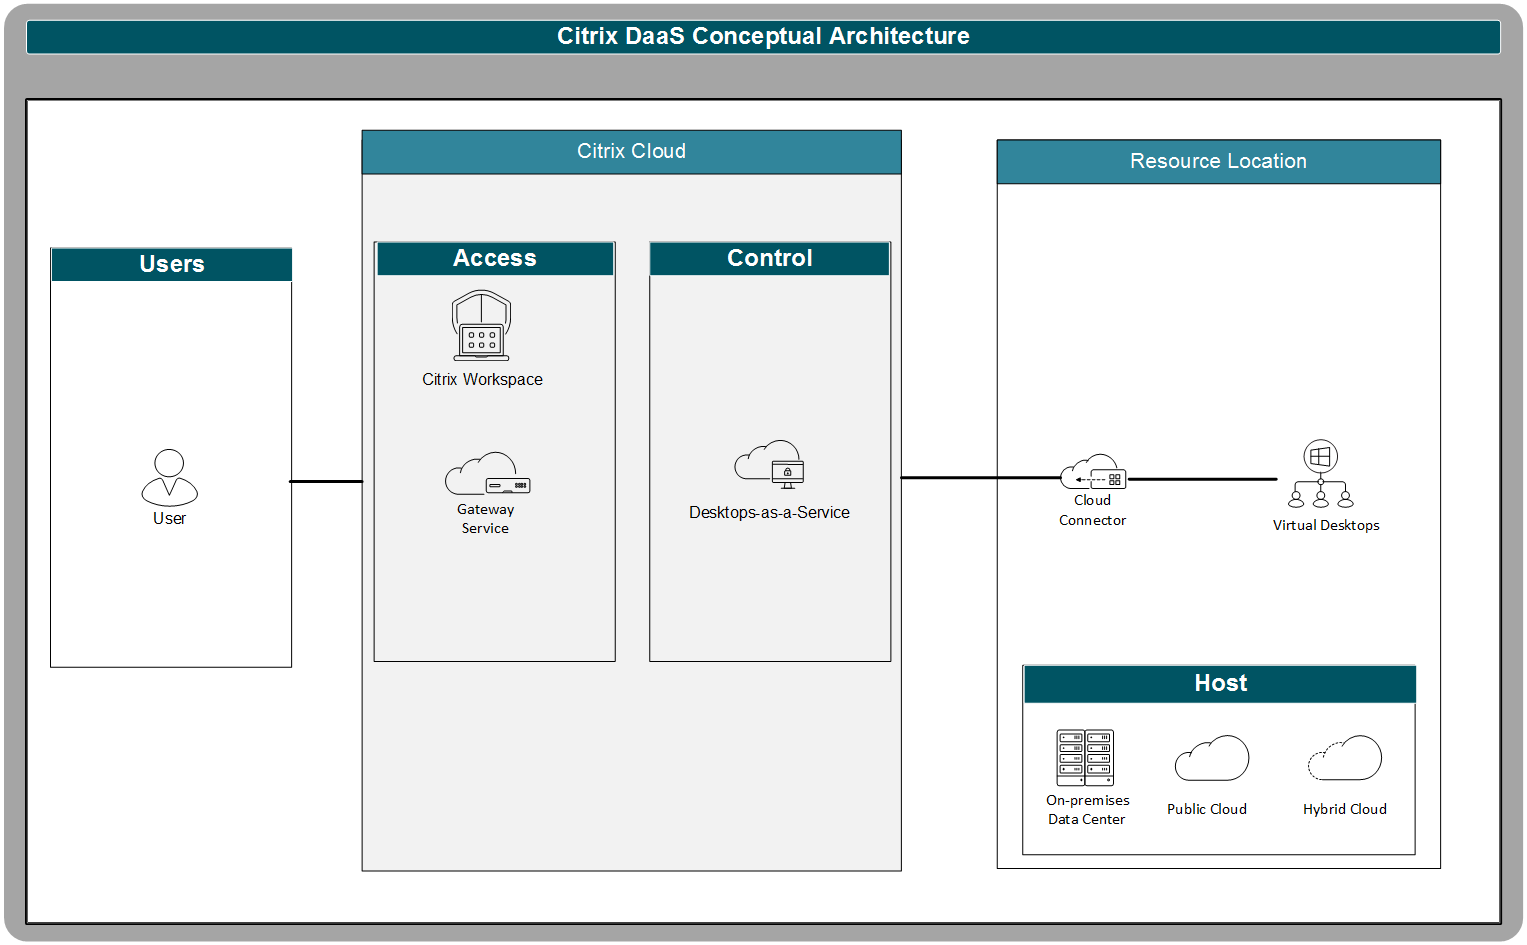
Components
Hosted by Citrix:
- Workspace: complete digital workspace that lets you securely deliver virtual apps, web and SaaS apps, and desktops, to your end-users.
- Gateway Service: allows secure, contextual remote access to apps and data
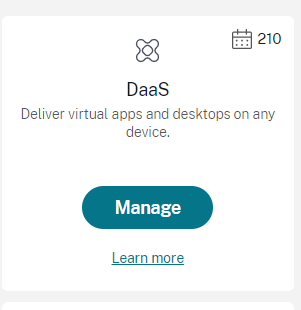
- DaaS: allows IT to provide virtual apps and desktops to their end users
Hosted by Customer:
- Cloud Connector: serves as a channel for communication between Citrix Cloud and your resource location. Although this is hosted within the customer’s resource location, it is managed by Citrix and kept evergreen. A minimum of two Cloud Connectors per resource location is recommended so that there is no loss in communication with Citrix Cloud.
- Virtual Delivery Agent: The VDA is used to register with the Cloud connector so connections can be brokered between the end-user’s device and the virtual machine
Scope
This proof-of-concept guide describes the following:
- Creating a Citrix Cloud account
- Requesting a Citrix DaaS trial
- Creating a Resource Location and installing the Citrix Cloud Connectors
- Installing Citrix Virtual Delivery Agent on the virtual machines
- Creating a Machine Catalog in Citrix DaaS
- Creating a Delivery Group
- Launching a session from Citrix Workspace™
Prerequisites
VM Requirements
Prior to starting this POC, you need to create an image and install any application you would like to deliver to your end users.
Virtual Delivery Agents (VDAs) are required on each physical or virtual machine that delivers applications and desktops and register with the cloud connectors. VDAs can be installed in either single-session or multi-session OS. The following operating systems are supported:
- Windows 10 (see CTX224843 for edition support) multi-session and single session
- Windows 7
- Windows Server 2012 R2 and newer
Cloud Connector Requirements
The cloud connectors act as the communication channel between the components hosted in Citrix Cloud and the components hosted in the resource location. The cloud connectors act as a proxy for the delivery controller™ in Citrix Cloud. To install the Citrix Cloud Connectors in your environment, you require (at least two) Windows Server 2012 R2 or later server machines/VMs. You require static IPs for these two machines. Windows installation and domain join of these machines must have been done in advance. The system requirements for the Cloud Connectors are here. Review the guidance on the cloud connector installation here. The machine the Citrix Cloud Connector™ runs on must have network access to all the virtual machines that are to be made available on the internet via the Citrix Workspace.
Some requirements for the Citrix Cloud Connector installation (installer performs checks for these) are:
The Citrix Cloud Connector machine must have outbound Internet access on port 443, and port 80 to only *.digicert.com. The port 80 requirement is for X.509 certificate validation. See more info here
Microsoft .NET Framework 4.7.2 or later must be pre-installed on the machine
Time on the machine must be synced with UTC
The Cloud Connector Connectivity Check Utility tool can be used to test the reachability of the Citrix Cloud and its related services
Deployment Steps
Create Citrix Cloud Account
If you are an existing Citrix Cloud customer, skip to the next section: Request Citrix DaaS Trial. Ensure that you have an active Citrix Cloud account. If your account has expired, contact your account manager to enable it.
If you need to sign up for a new Citrix Cloud account please follow the step by step instructions here: Signing up for Citrix Cloud
Request a Citrix DaaS Trial
You can evaluate Citrix DaaS by request through Citrix. From a trial, you can convert to a paid service subscription. To request a trial, follow these instructions.
Note For some services you must request a demo from a Citrix sales representative before you can try out the service. Requesting a demo allows you to discuss your organization’s cloud service needs with a Citrix sales representative. Also, the sales representative ensures you have all the information needed to use the service successfully.
When your trial is approved and ready to use, Citrix sends you an email notification.
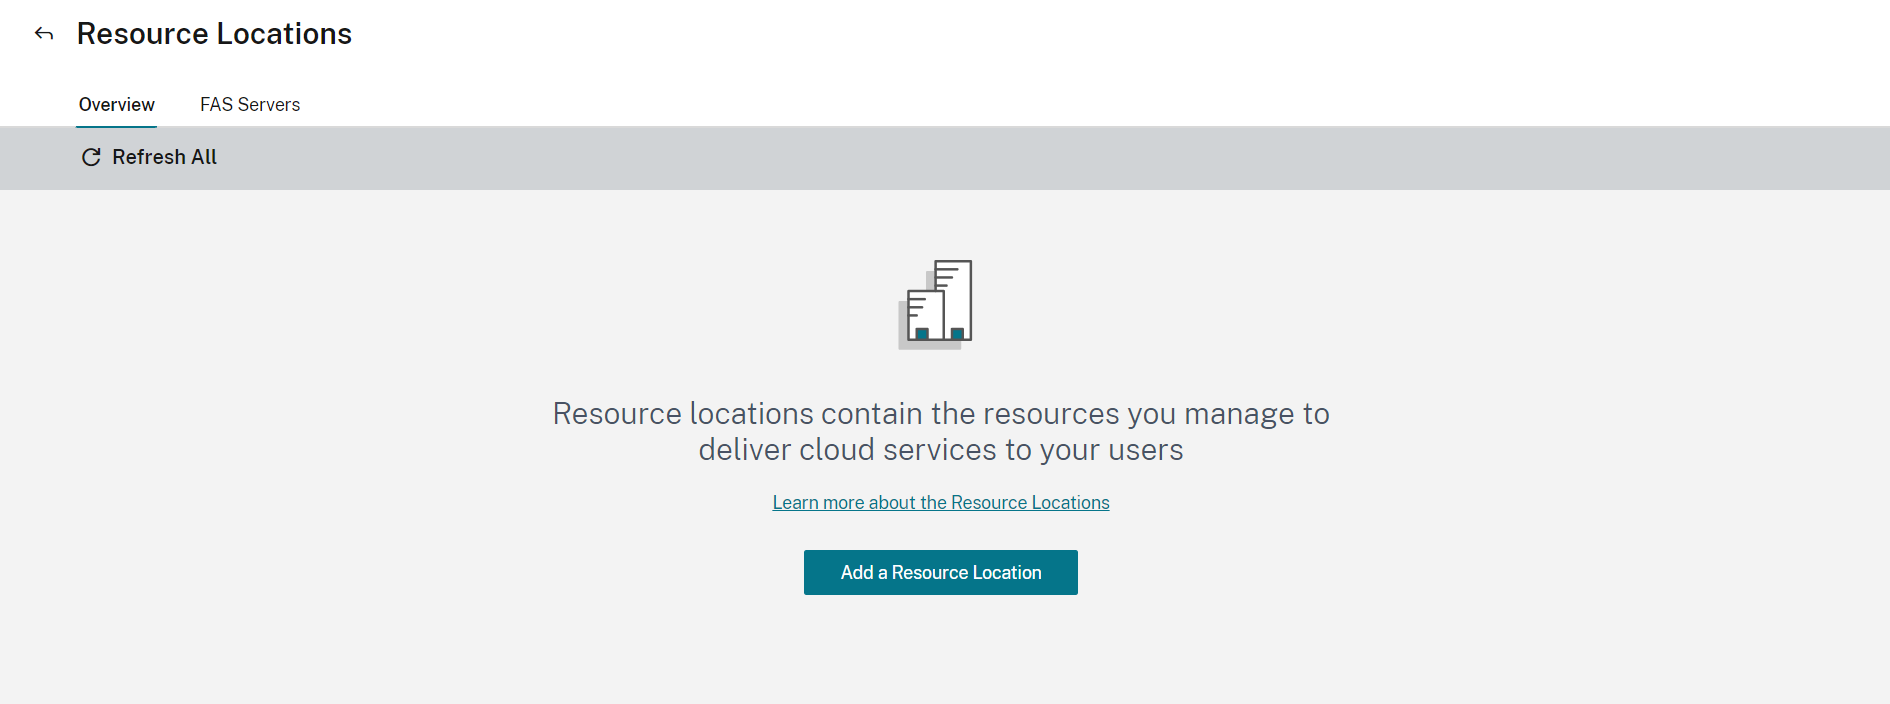
Create a Resource Location
Resource locations contain the resources required to deliver applications and desktops to your users. Your resource locations include your active delivery domain controller, your hypervisor or cloud services (hosts), your session hosts, and your cloud connectors.
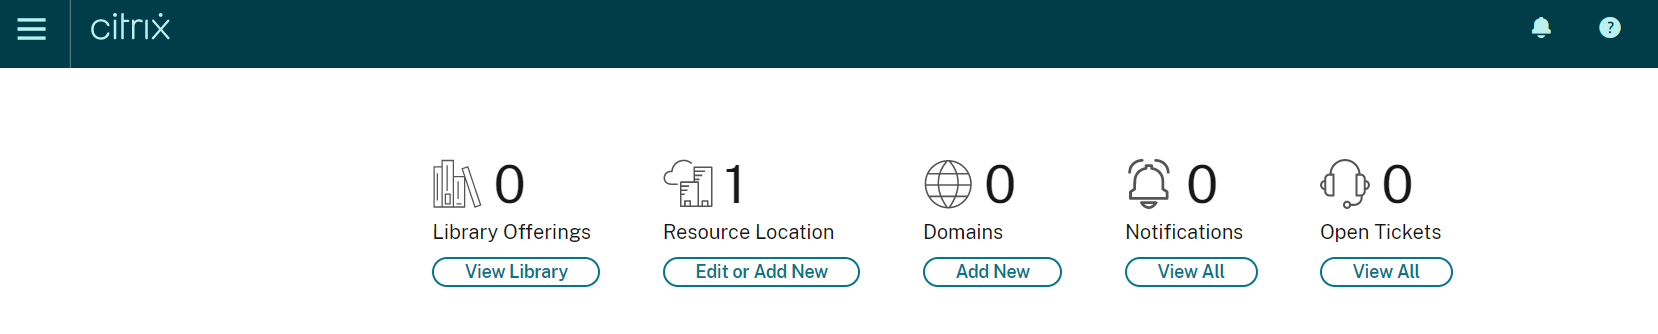
- Log in to your Citrix Cloud Console from your cloud connector (this can be done via RDP).
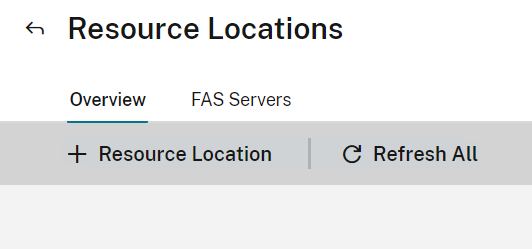
- Under Resource Locations Click Edit or Add New
- Click Add a Resource Location
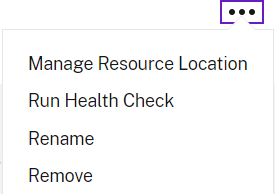
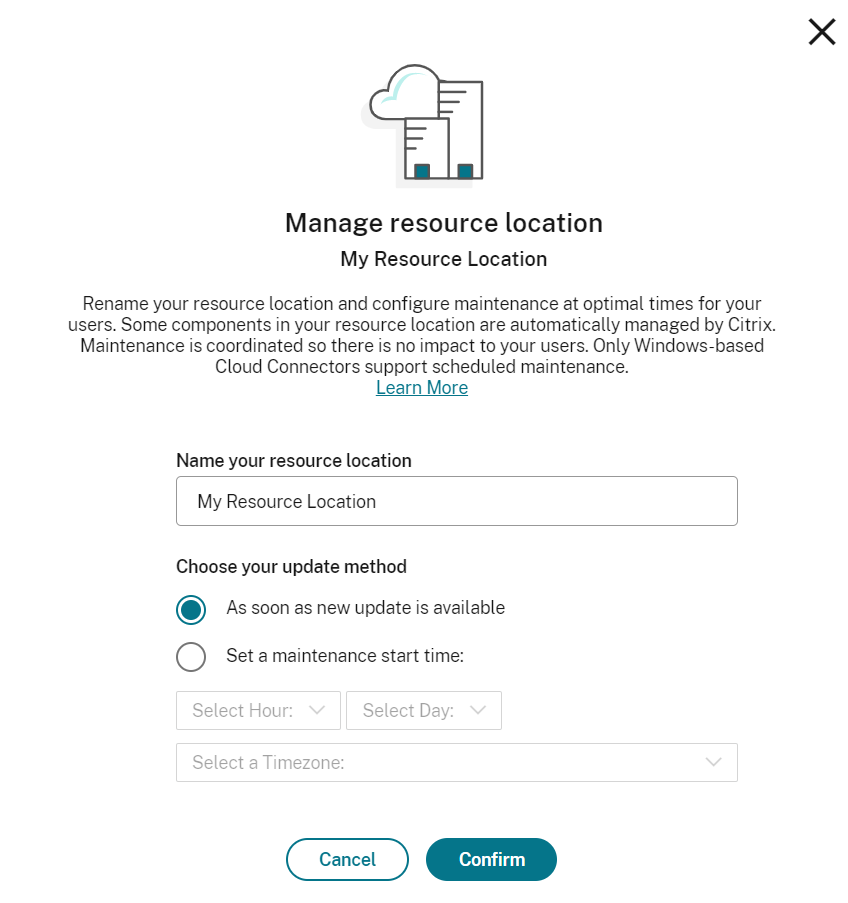
- Click the ellipses on the top right of the new resource location. Click Manage Resource Location.
- Enter a new name of the New Resource Location. Click Confirm
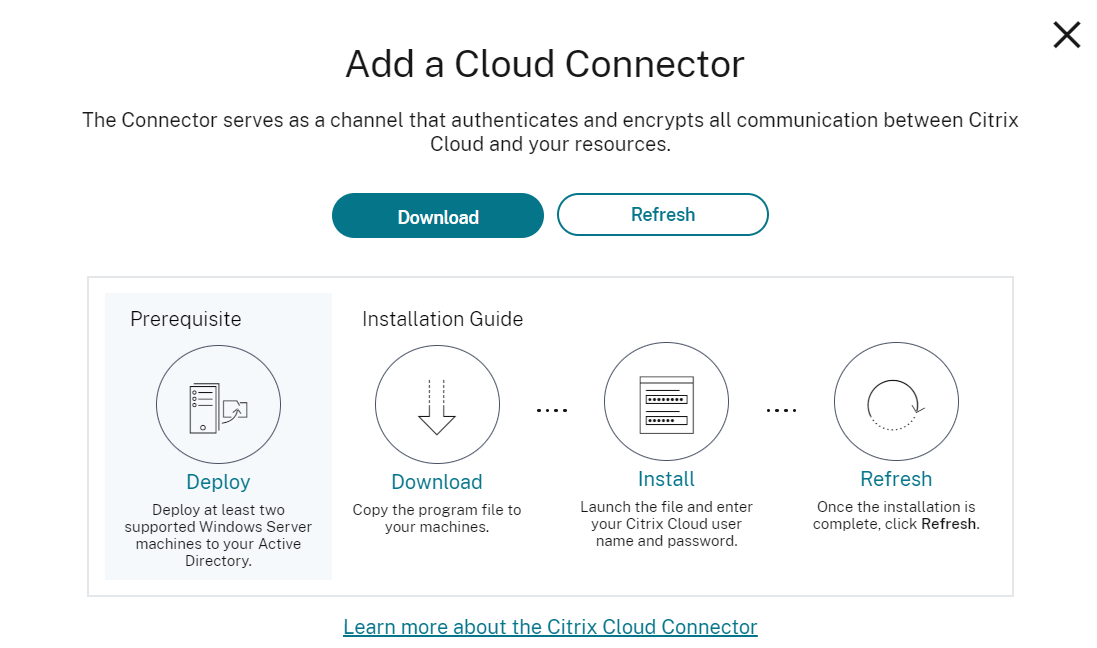
- Under the newly created resource location click + Cloud Connectors

- Click Download. Click Run once the download finishes
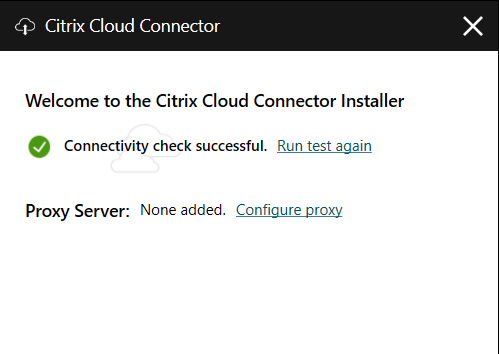
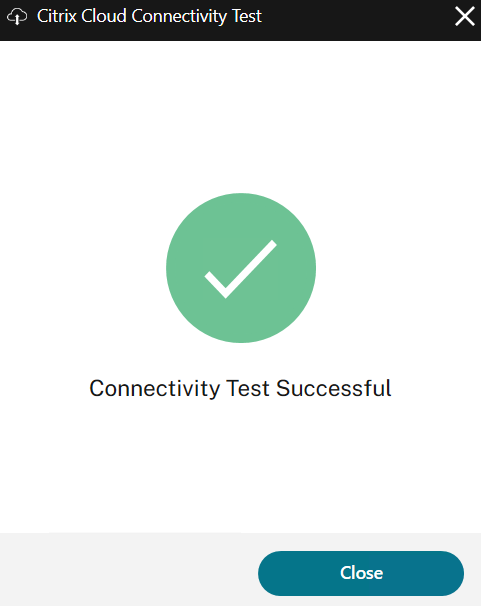
- Citrix Cloud connectivity test successful message is displayed. Click Close. If the test fails, check the following link to resolve the issue. You may also use the Cloud Connector Connectivity Check Utility tool to verify all addresses are reachable
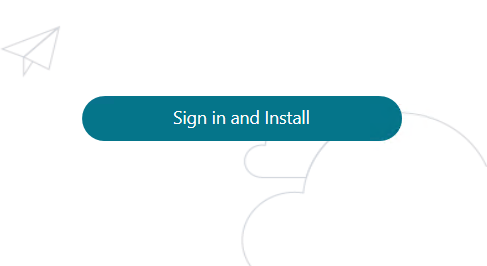
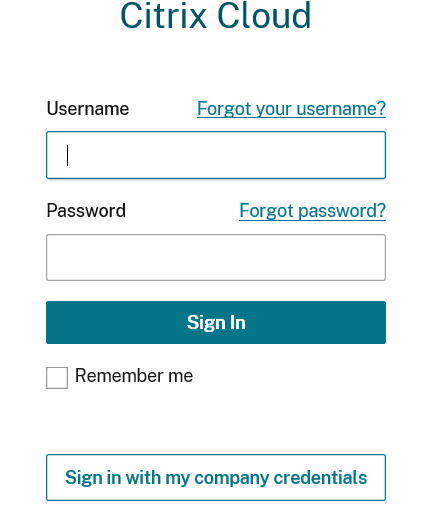
- Click Sign In and Install
- Sign in to your Citrix Cloud account using the user name and password combination you have previously setup.
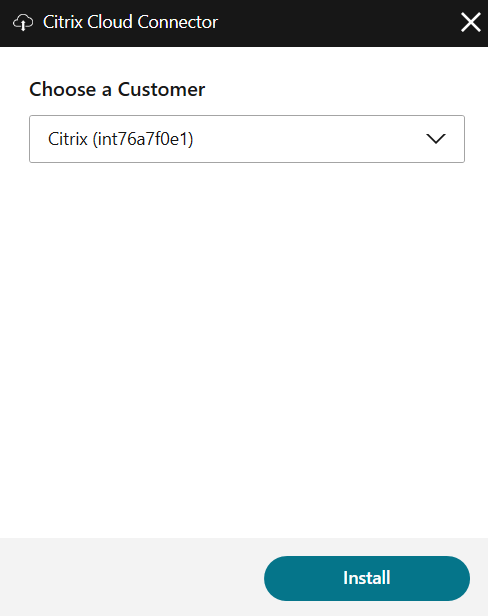
- From the drop-down menu select the appropriate Customer and Resource Location (Resource location drop-down menu will not be displayed if there is only one resource location). Click Install
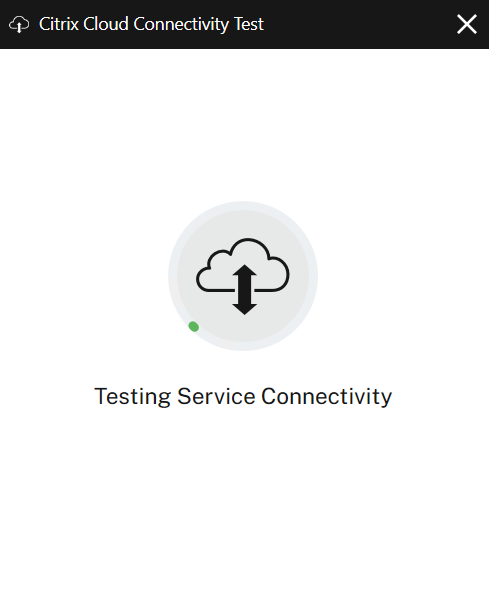
- Once the installation completes, a service connectivity test runs. Let it complete and you see a successful result. Click Close
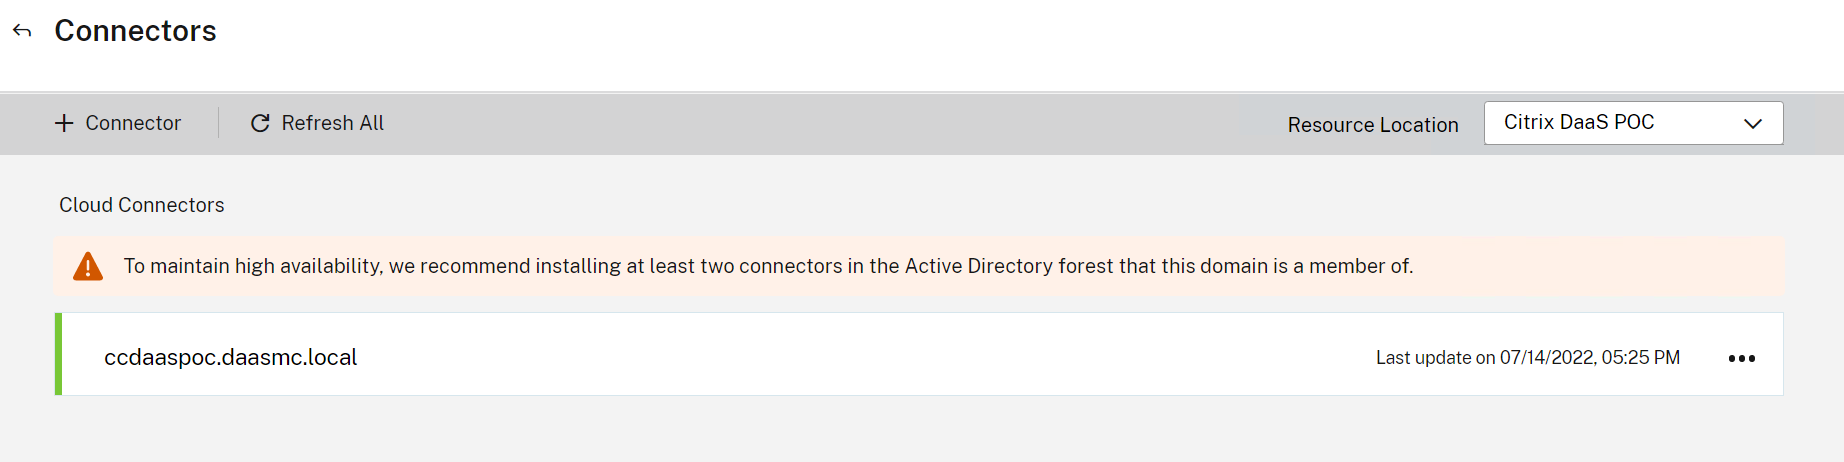
- Refresh the Resource Location page in Citrix Cloud.
- Click Cloud Connectors

- The newly added Cloud Connector is listed. Repeat to install another Cloud Connector in the Resource Location on the second Windows server machine that you prepared.
Install Citrix Virtual Delivery Agent
The Virtual Delivery Agent must be installed on all physical or virtual machines that are used to deliver applications or desktops. In this POC, we are going to be installing it on virtual machines. These can be single-session OS or multi-session OS depending on your organization’s needs.
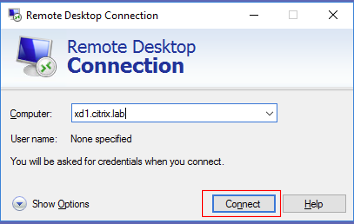
- Connect to the virtual machine the Domain admin. (for this POC, we are connecting via RDP) This will serve as the master image.
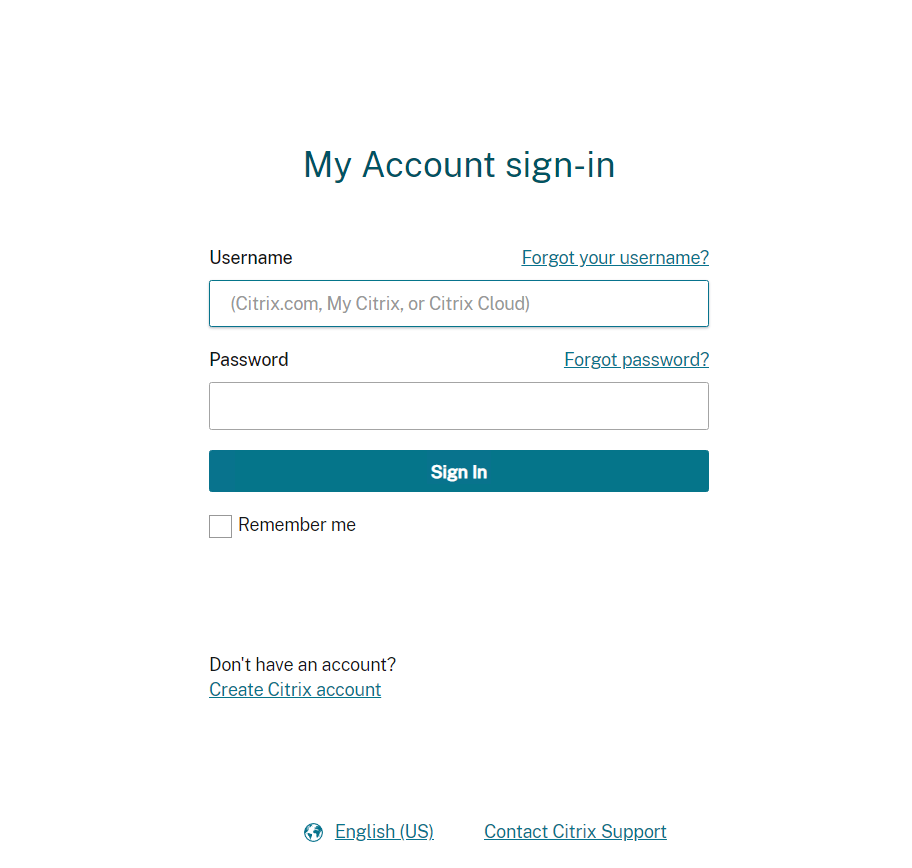
- Open Citrix.com on a browser. Hover over Sign In and click My Account
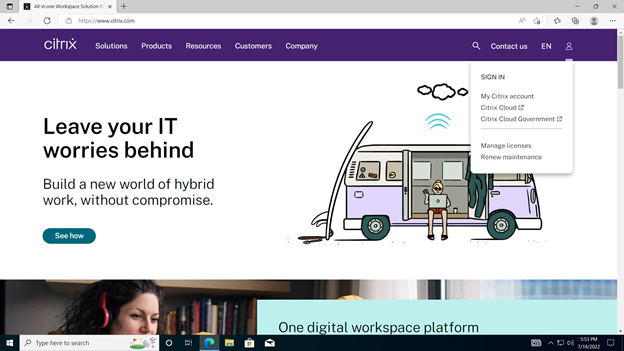
- Sign in with your username and password.
- Click Downloads in the top menu. From the Select a product drop-down menu, select Citrix Virtual Apps and Desktops™

- In the page that opens, select the latest version of Citrix Virtual Apps and Desktops 7
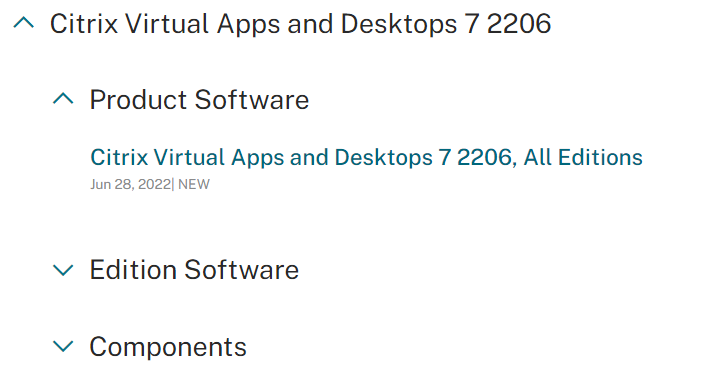
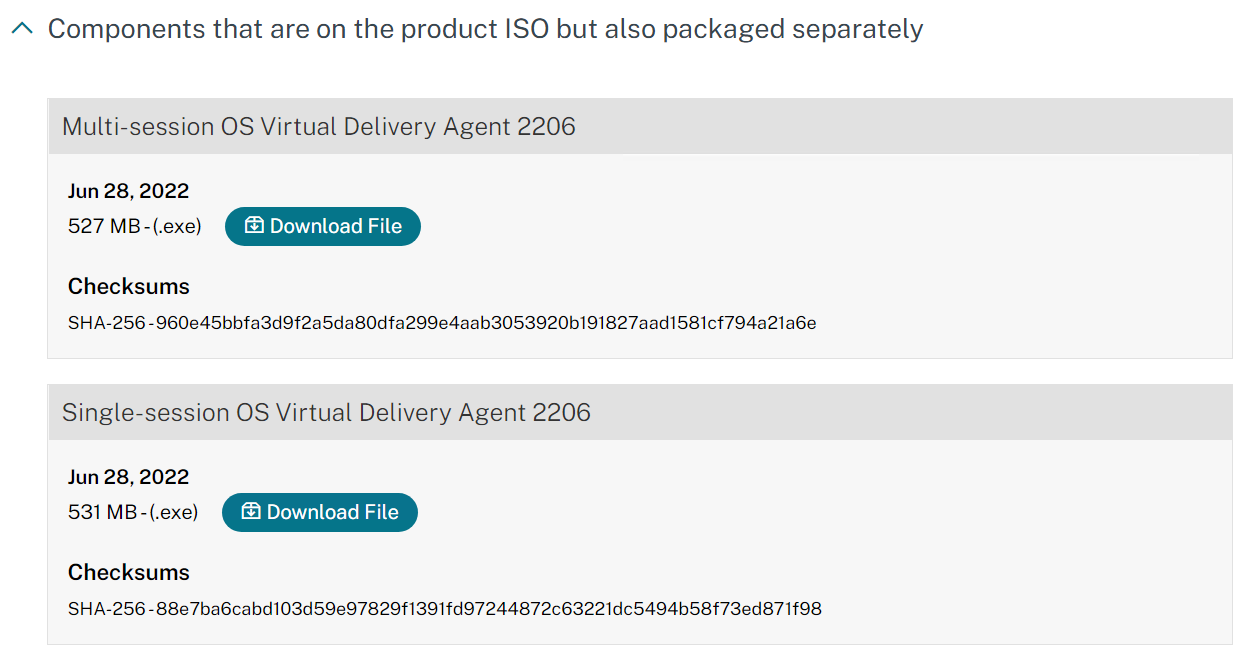
- Scroll down to Components that are on the product ISO but also packaged separately. Click the chevron to expand the section. Click Download File on the appropriate iso (depending on if you’re installing in a single or multi-session OS)
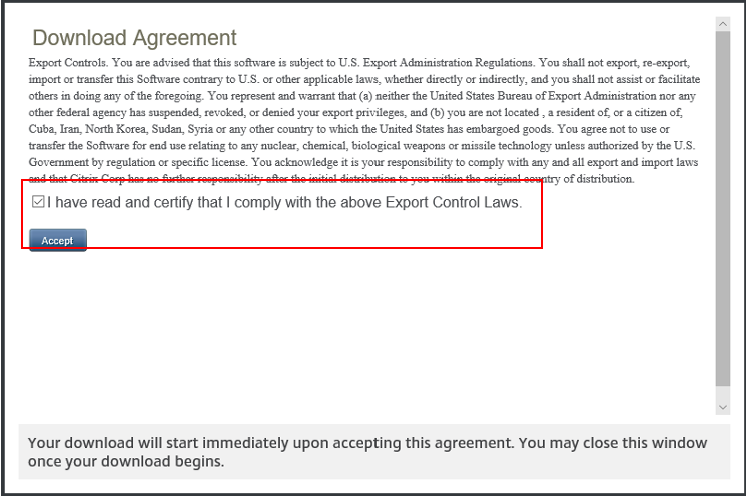
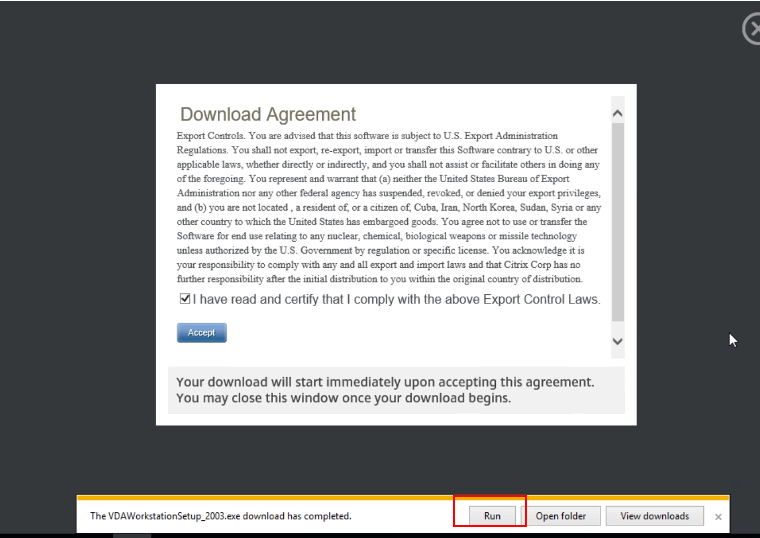
- Check “I have read and certify that I comply with the above Export Control Laws” check box, if you agree. Click Accept. The download begins.
-
Save the file. When the download completes, Click Open Folder

- Click Run
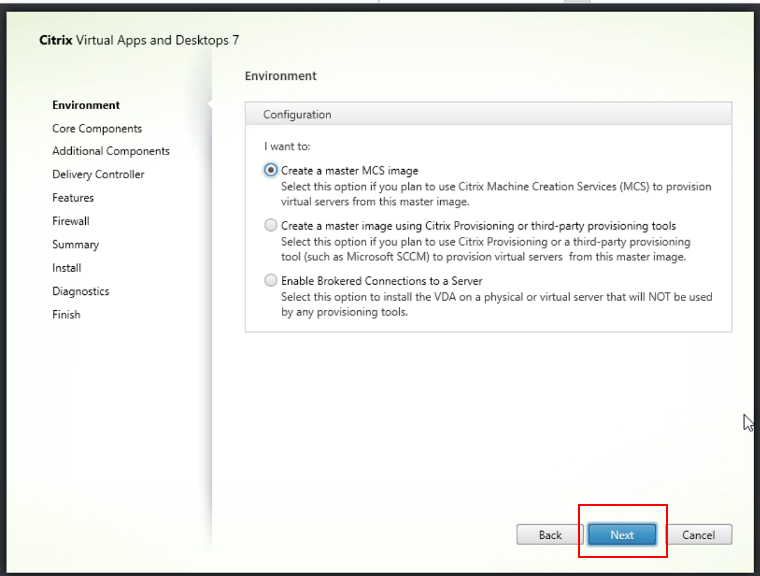
- Select Create a master MCS image and click Next
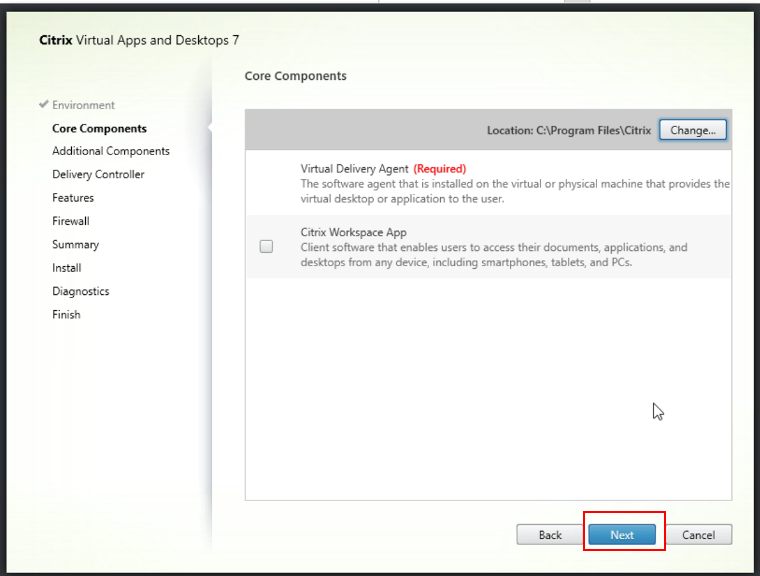
- Click Next
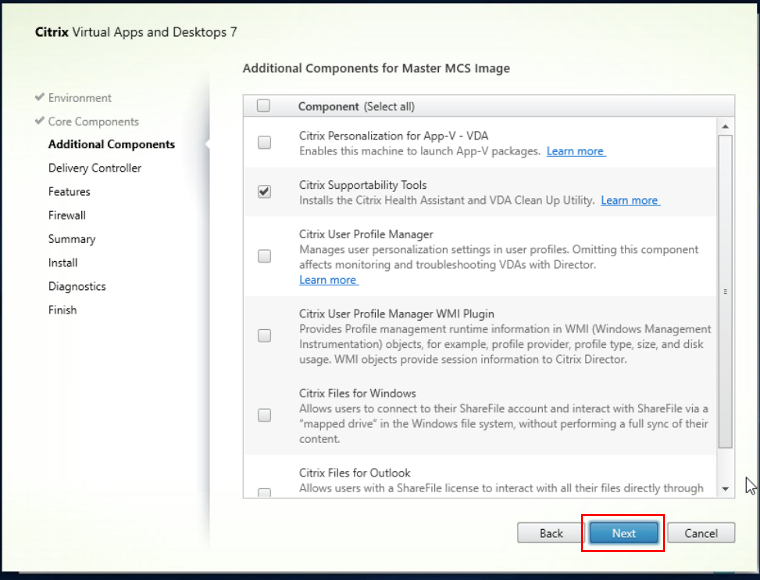
- Choose the additional components that you need and click Next
- Type in the name of your cloud connector. Click Test connection and then click Add
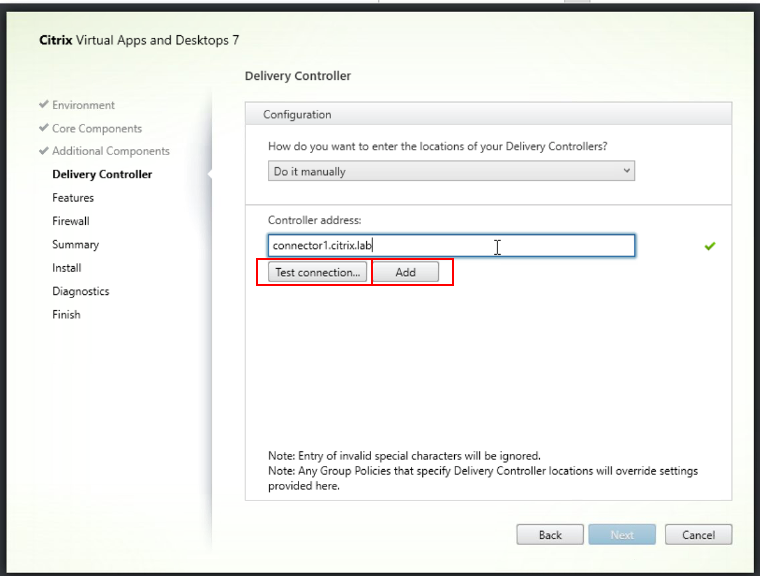
- Add the second cloud connector and select Next
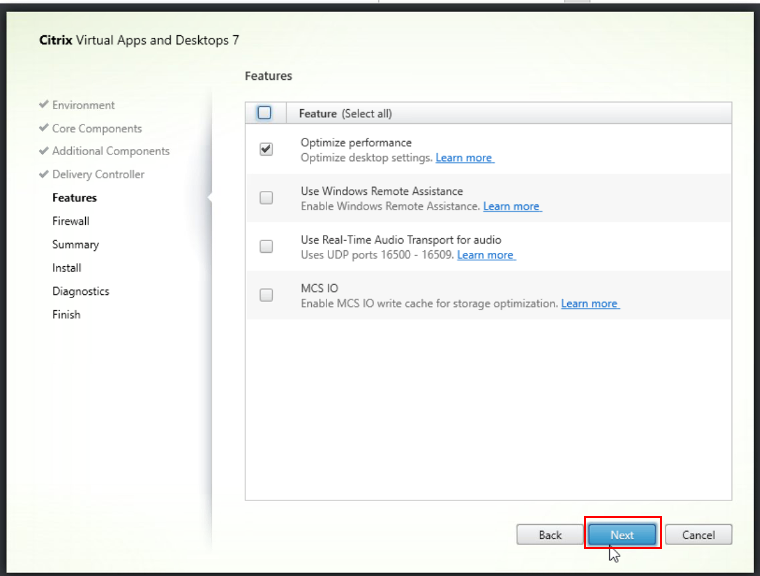
- Choose the appropriate features and click Next
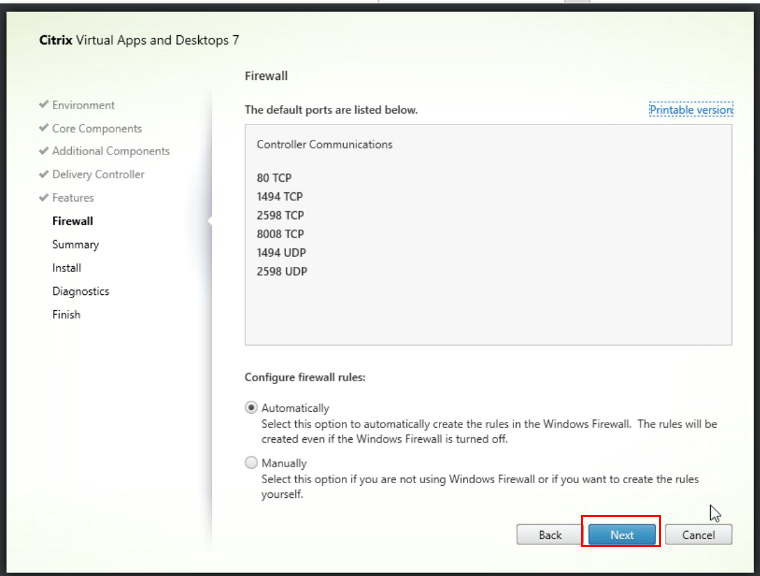
- Click the firewall and select Next
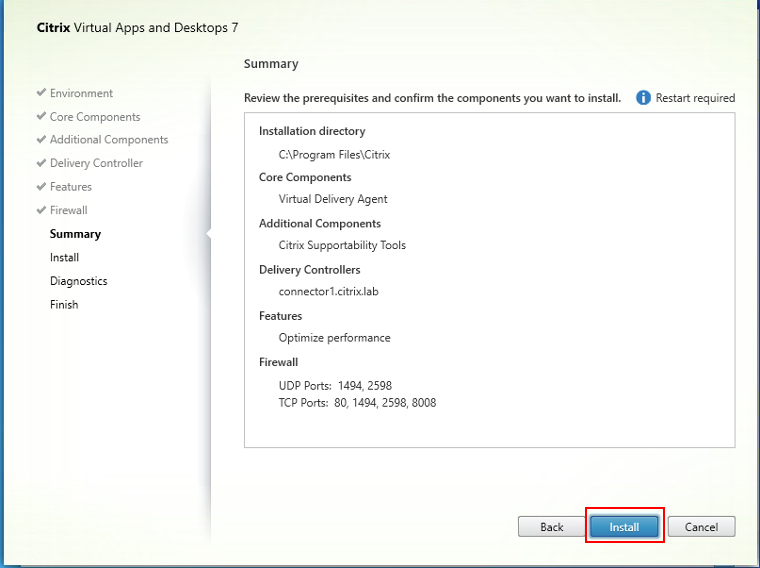
- Review the components and click Install
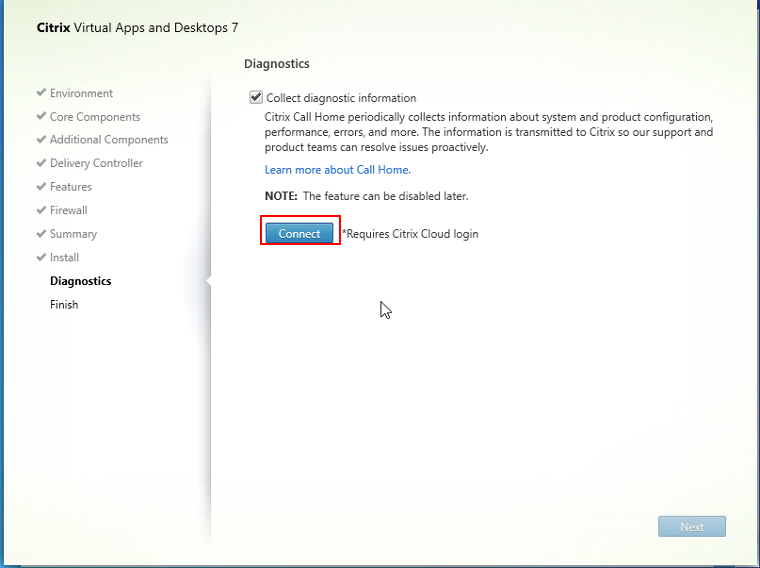
- If you want to collect diagnostic information click Connect, otherwise clear and click Next
- Type in your Citrix Cloud credentials and click Ok
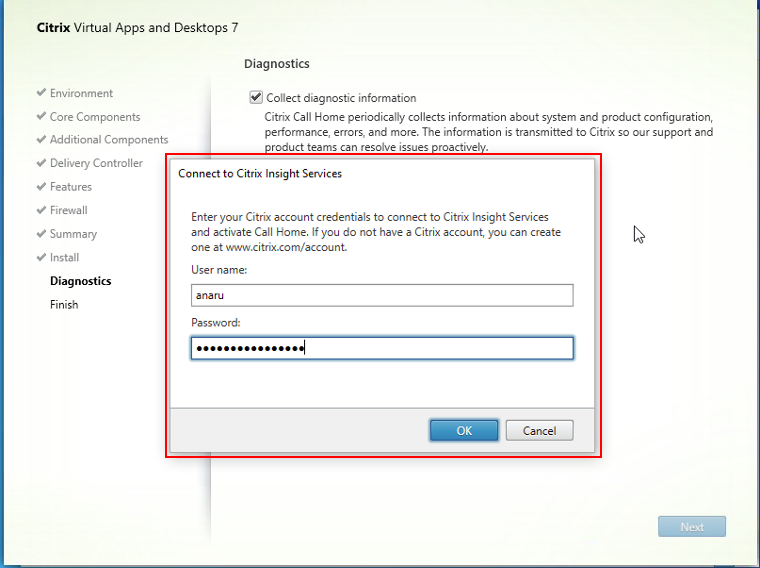
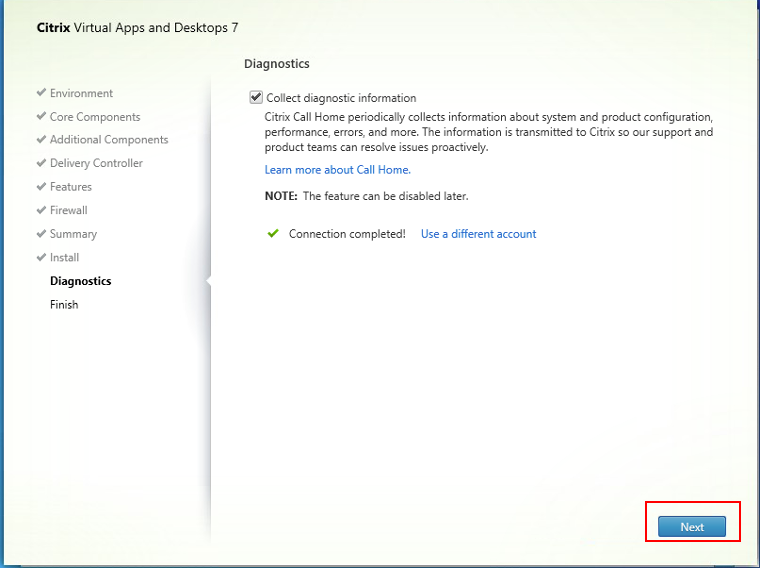
- Click Next
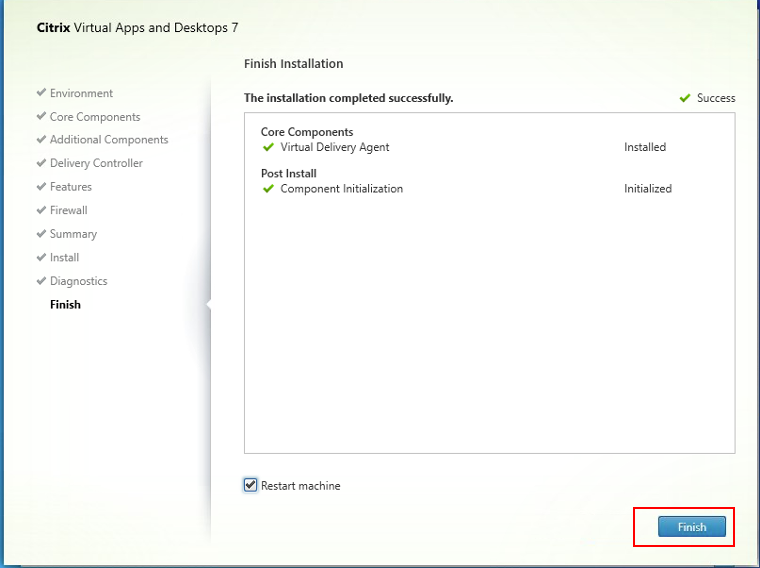
- Once the installation is completed click Finish (this might require the machine to restart)
 Repeat the procedure for all the master images you want to make. The same process applies for multi-session OS, except you would download the multi-session OS iso.
Create a Hosting Connection to the Citrix Cloud
Specific supported hypervisors can be found here
- Once the trial is approved, Login to Citrix Cloud from your local machine. Scroll to My Services, and locate DaaS service tile, click Manage
- The Full Configuration page is displayed.
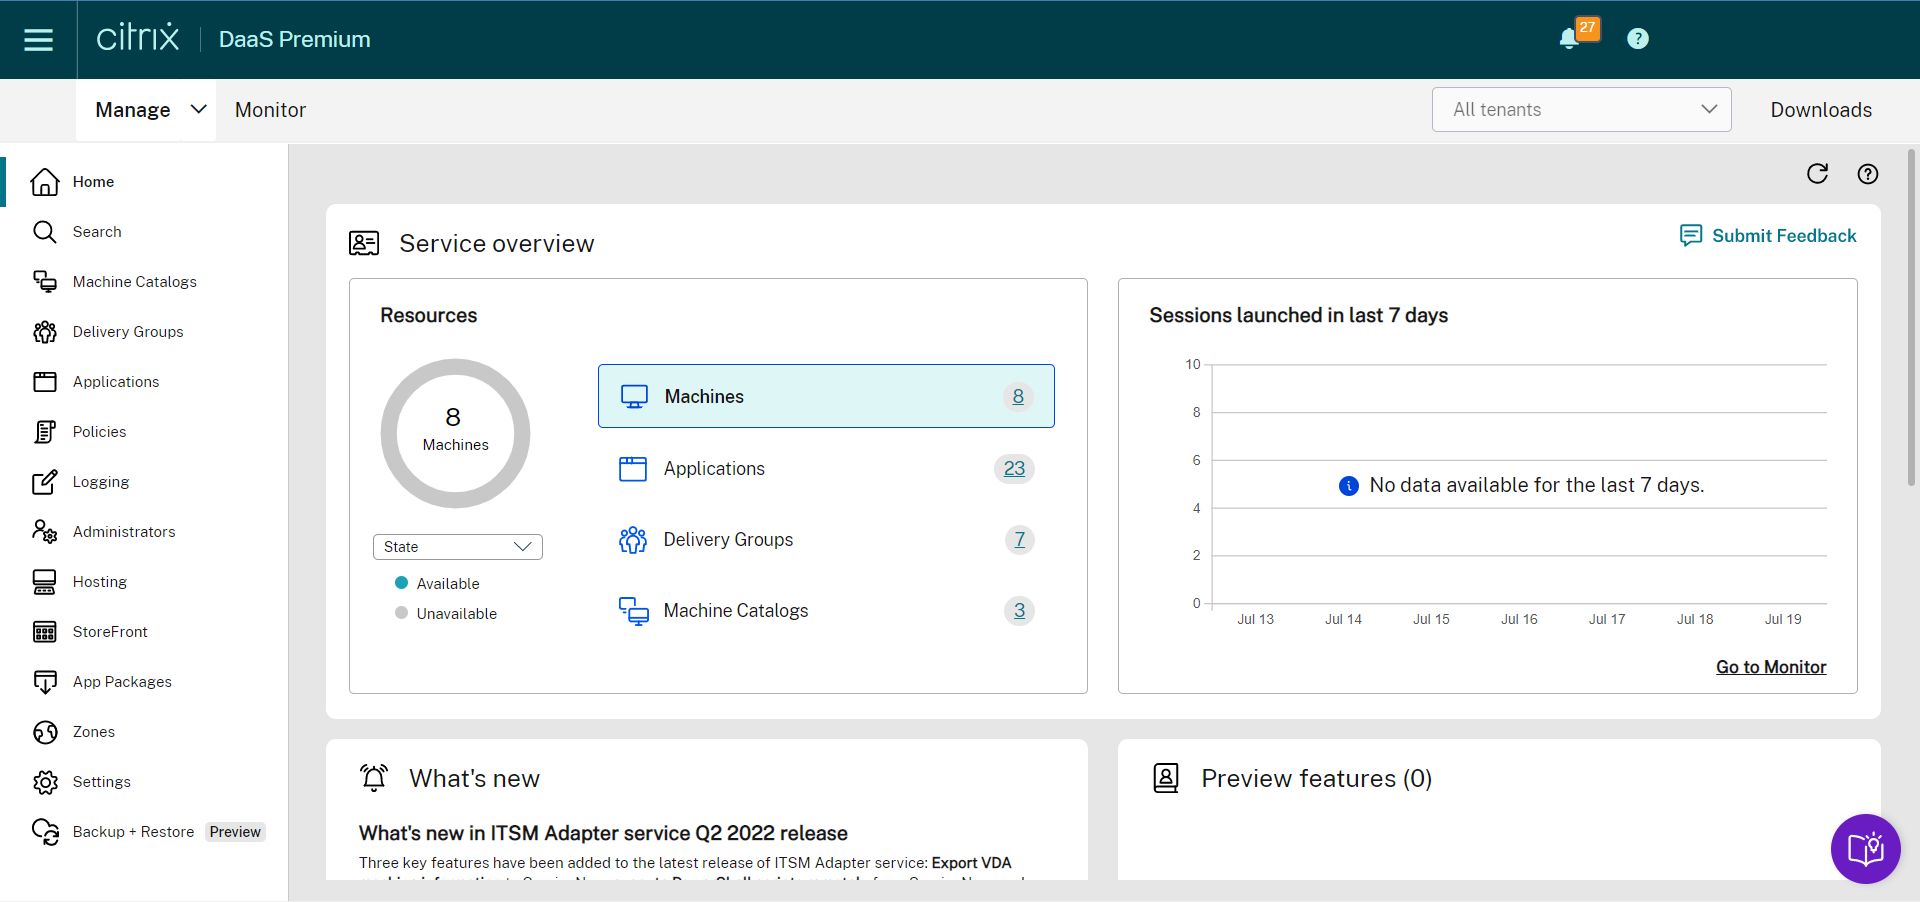
- In the Left navigation menu, click Zones and verify that Resource Location and Cloud Connector you have setup are visible.
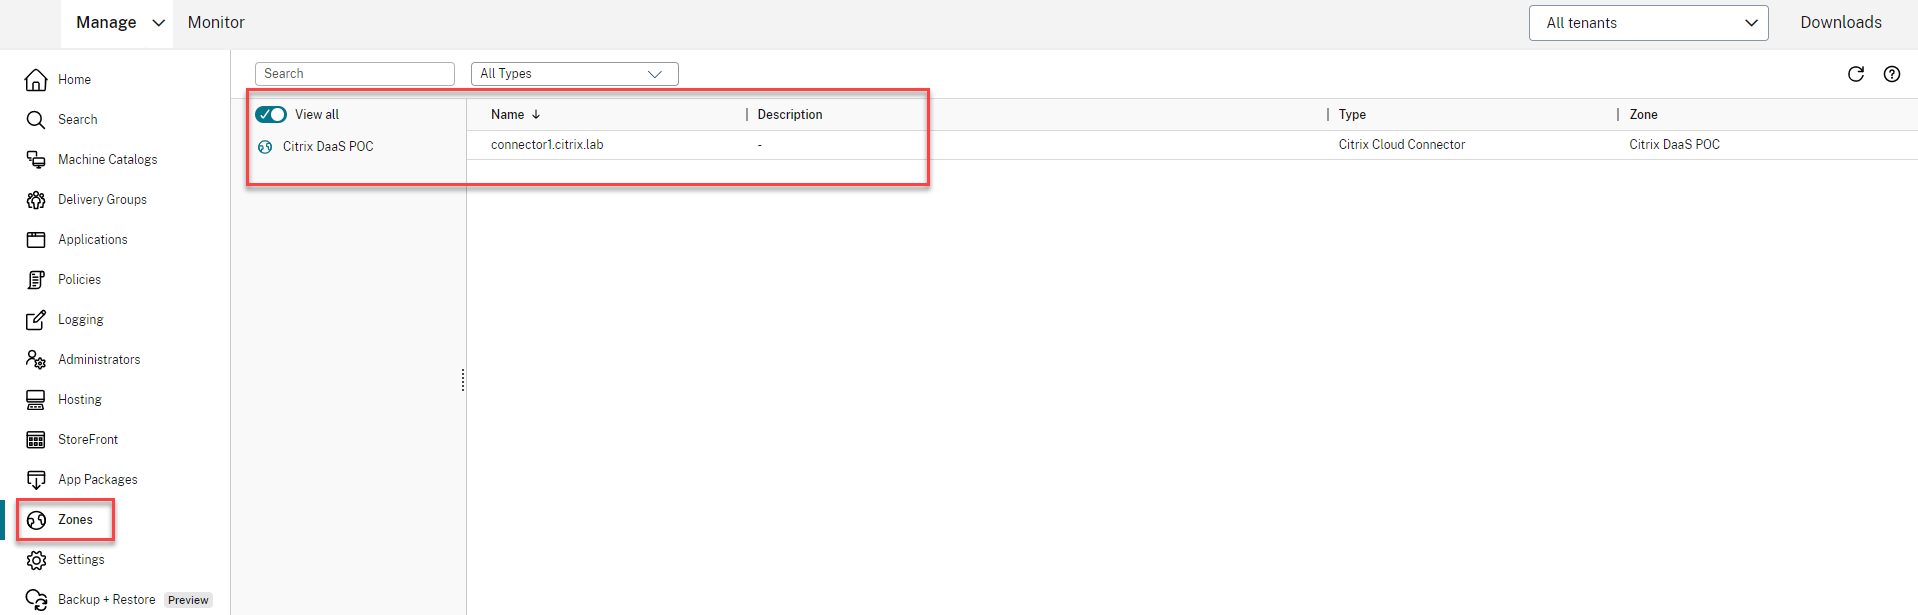
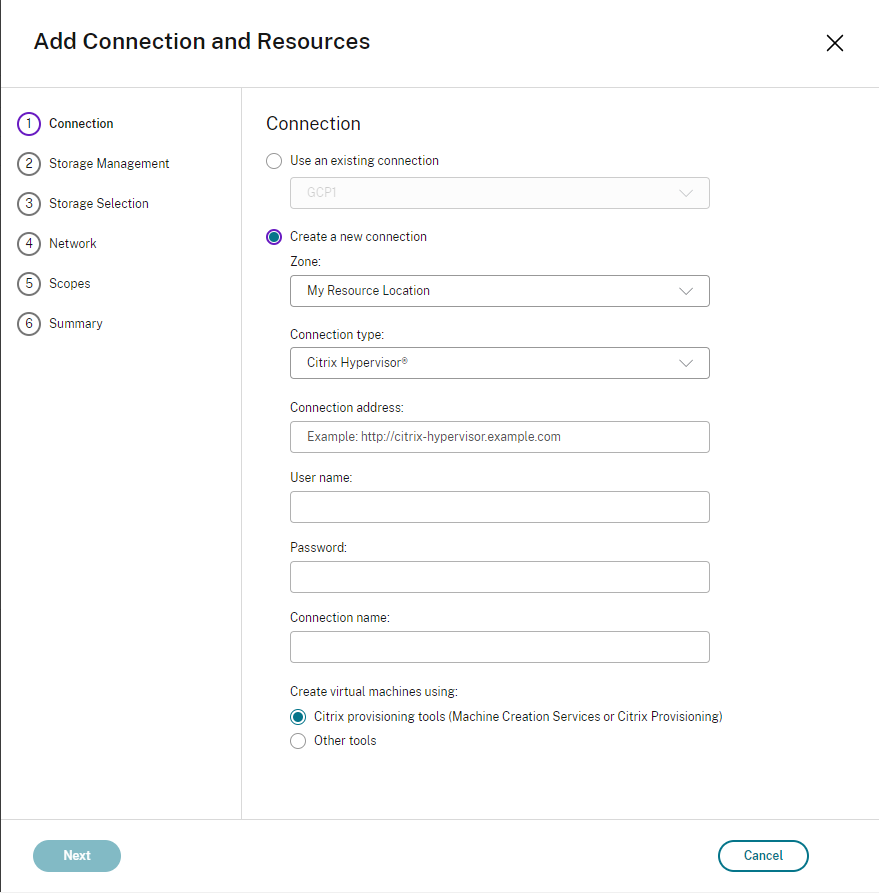
- In the Left navigation menu, click Hosting and then click Add Connection and Resources
- Select your connection type and input the necessary information
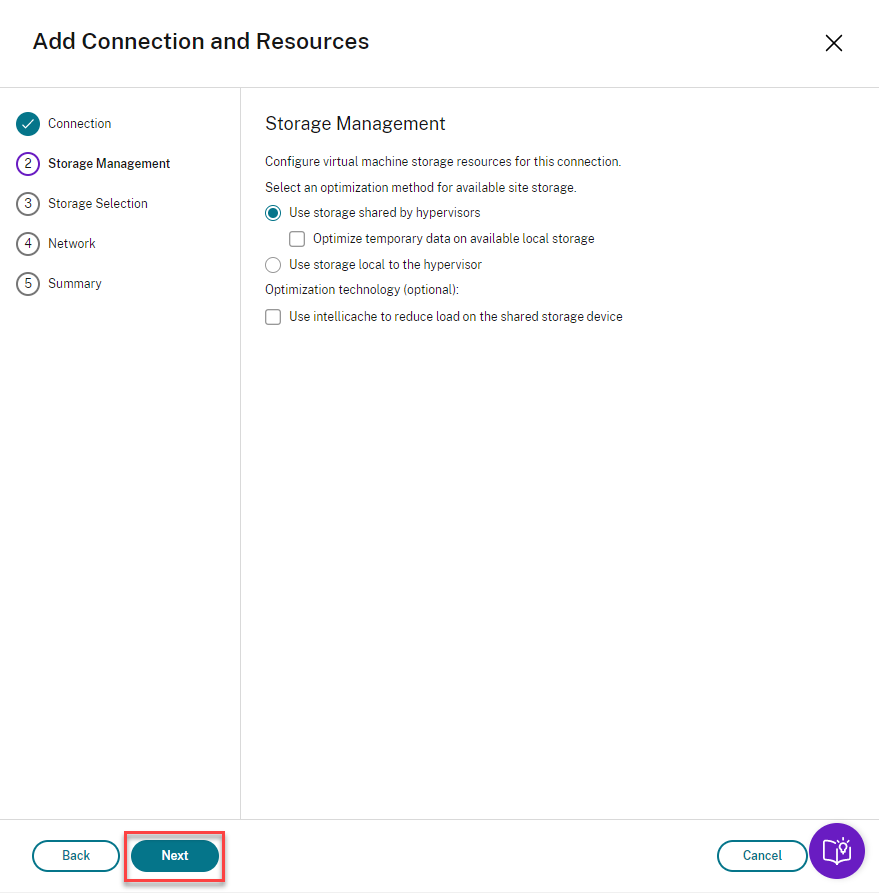
- Decide whether you are going to use shared storage or local storage and click Next
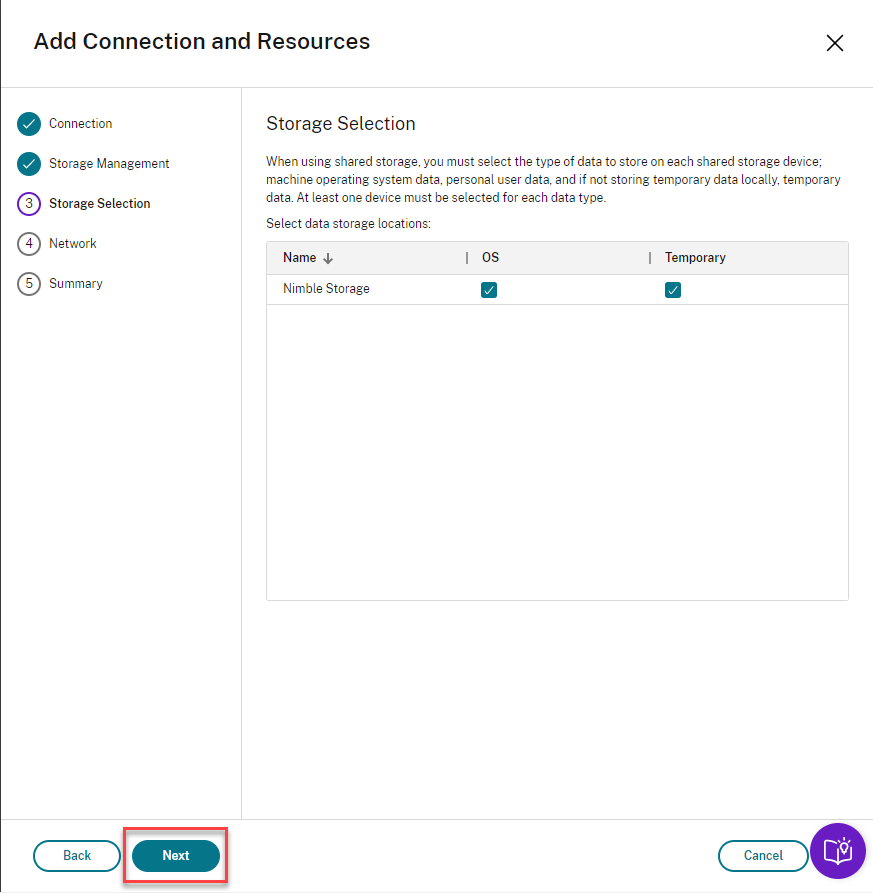
- Pick with where you want each storage type to be saved and click Next
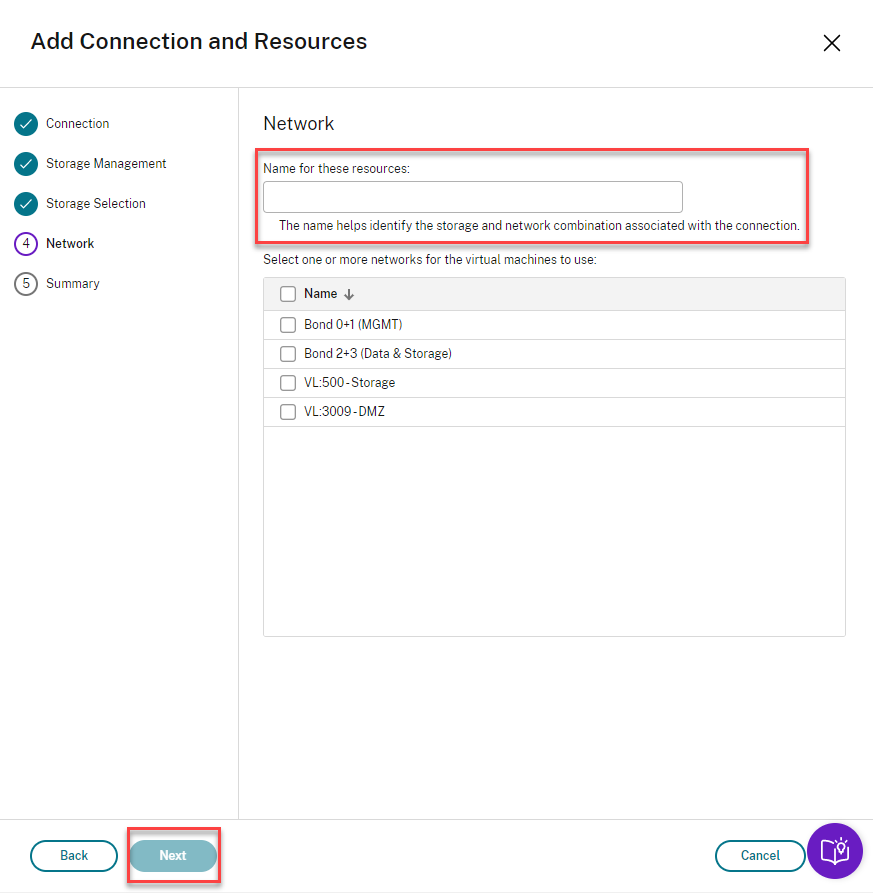
- Choose which network that you want your virtual machines to use in addition to a name for the resource and click Next
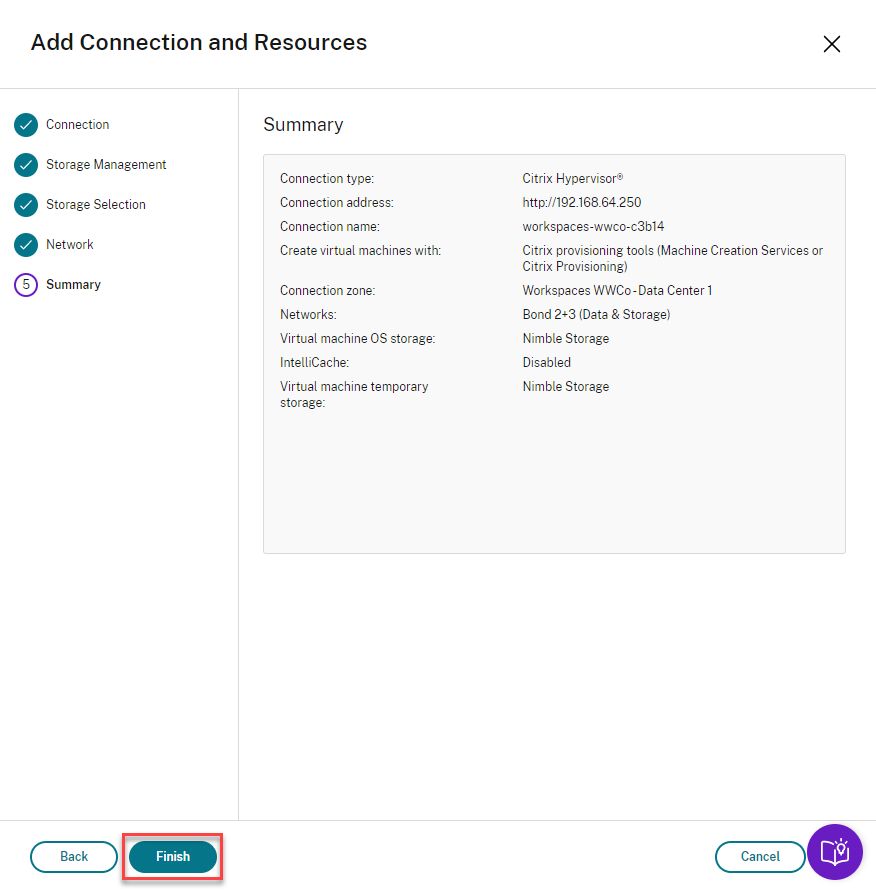
- Review the summary and if everything is accurate click Finish
Create a Machine Catalog in Citrix DaaS
Use Citrix DaaS to create a catalog of the virtual machines. We are going to be creating copies of the machine we installed the VDA agent.
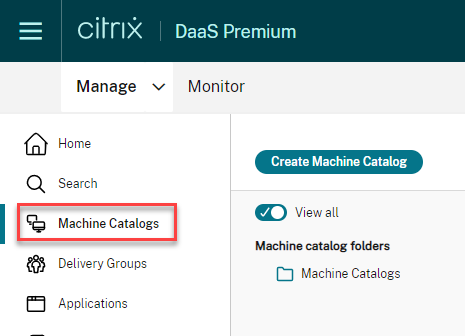
- In the left menu under Citrix Studio. Click Machine Catalogs
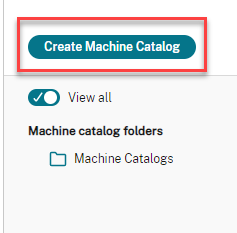
- In the Actions menu (right side). Click Create Machine Catalog
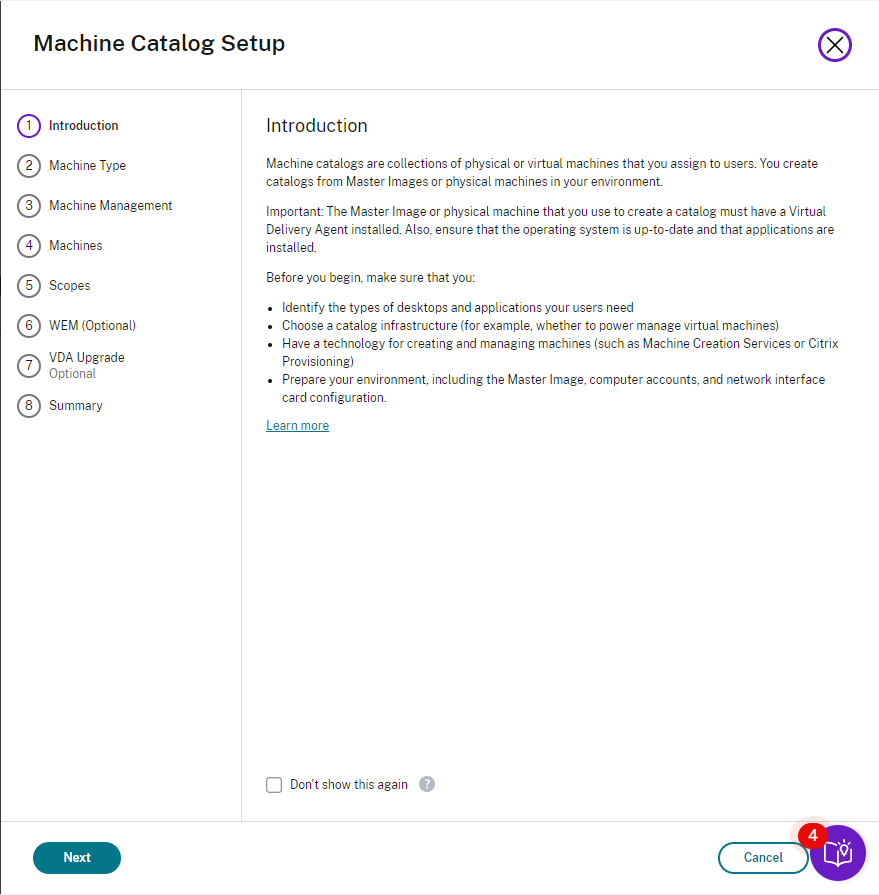
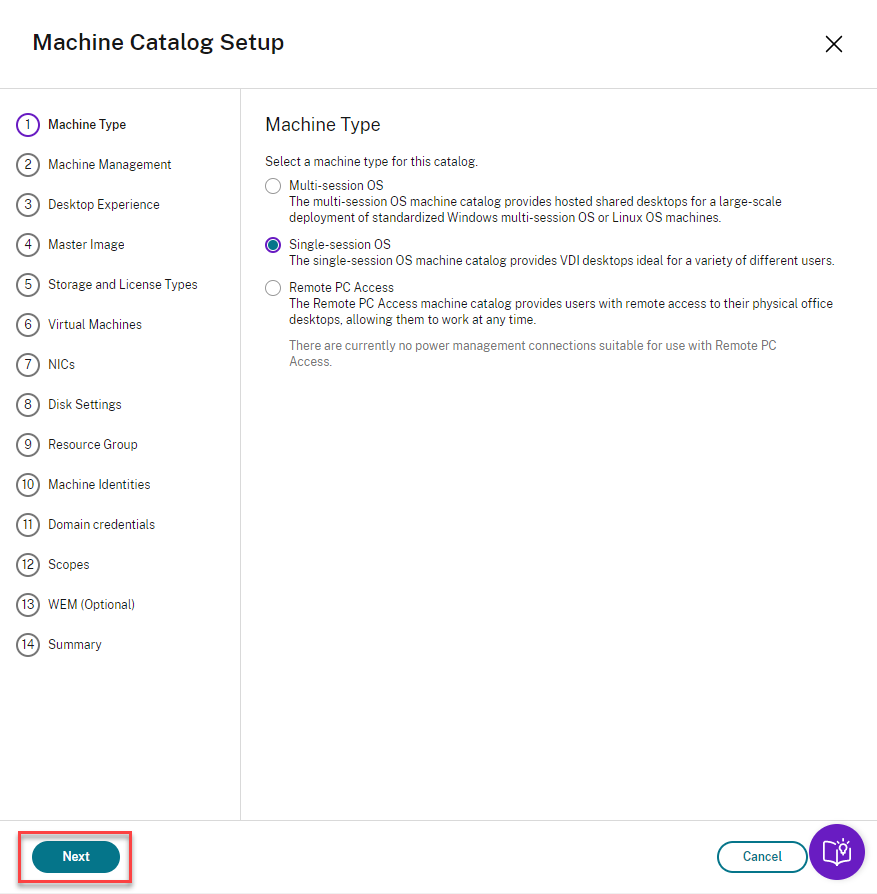
- In the Machine Catalog Setup dialog, click Next
- Select the appropriate operating system for your machine catalog. This needs to match the operating system of the virtual machine where you installed the VDA
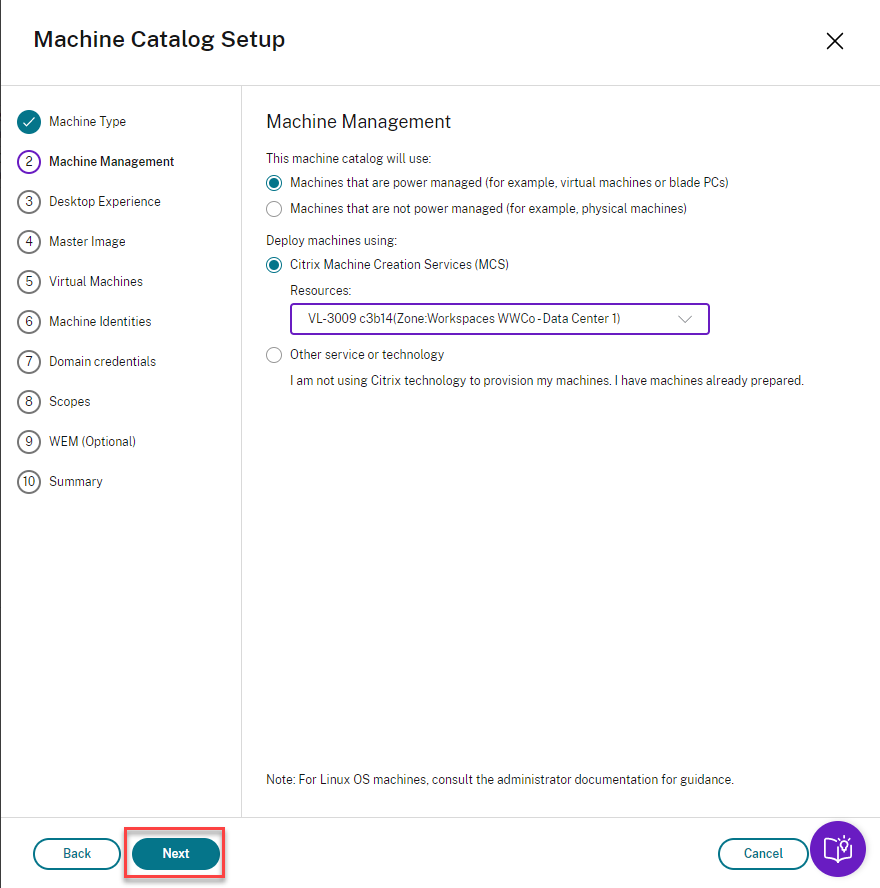
- Choose how you want to deploy your machines. In this POC guide, we are going to have Machines that are powered managed and deployed through Citrix Machine Creation Services™. Click Next
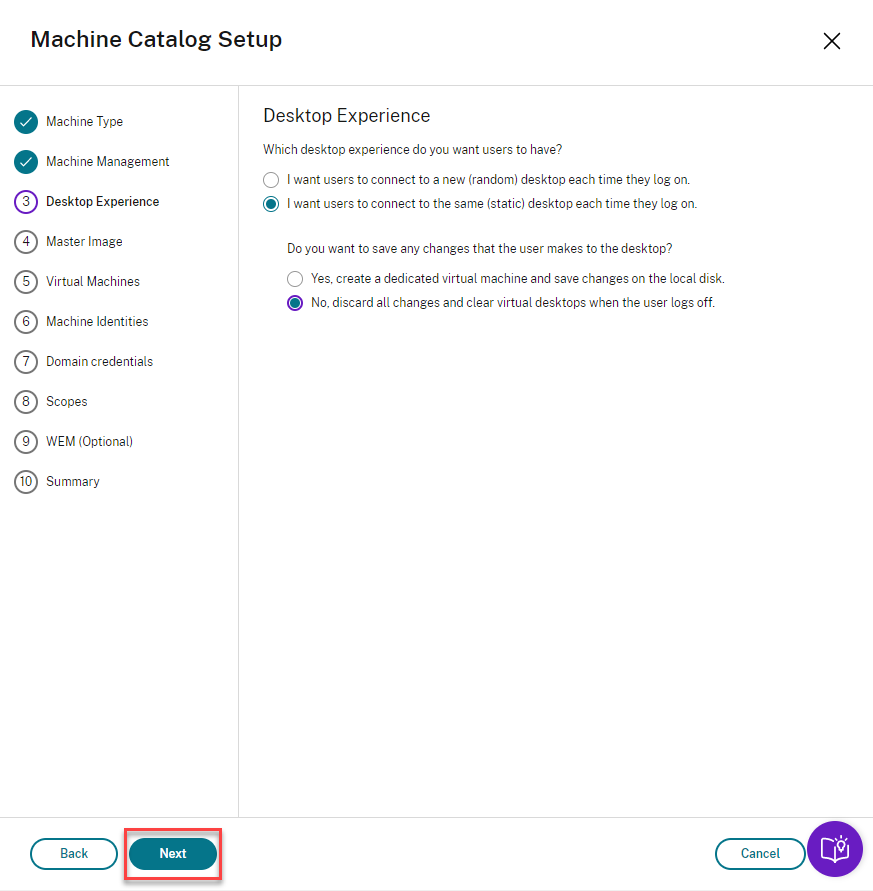
- Choose how you want users to connect. Click Next
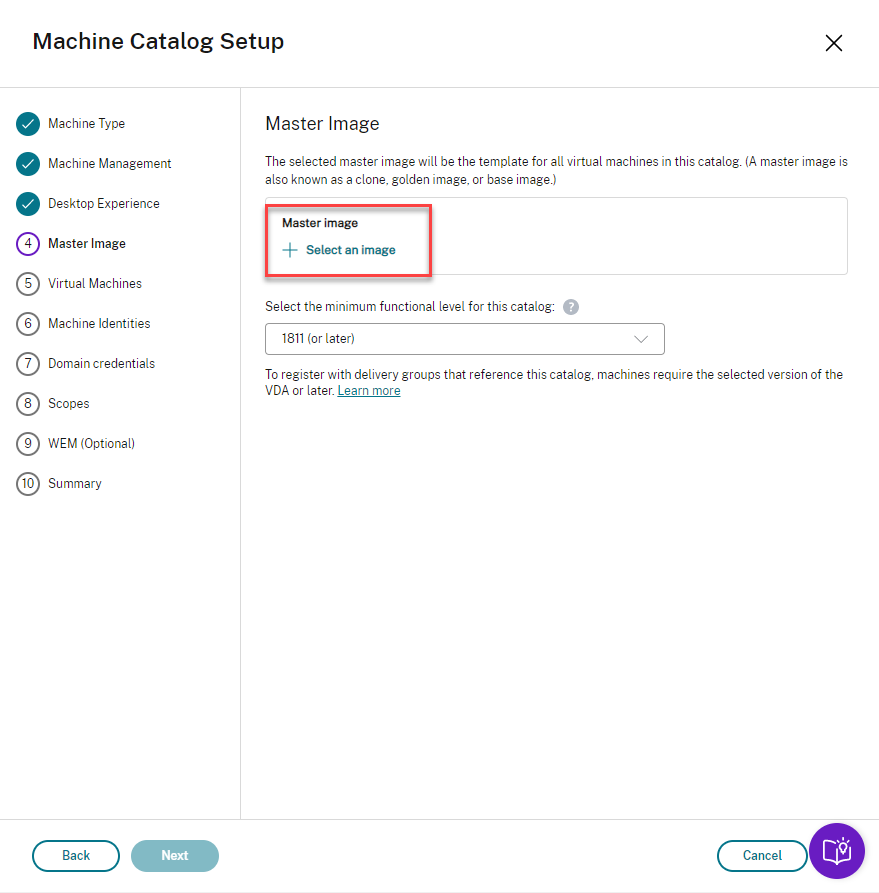
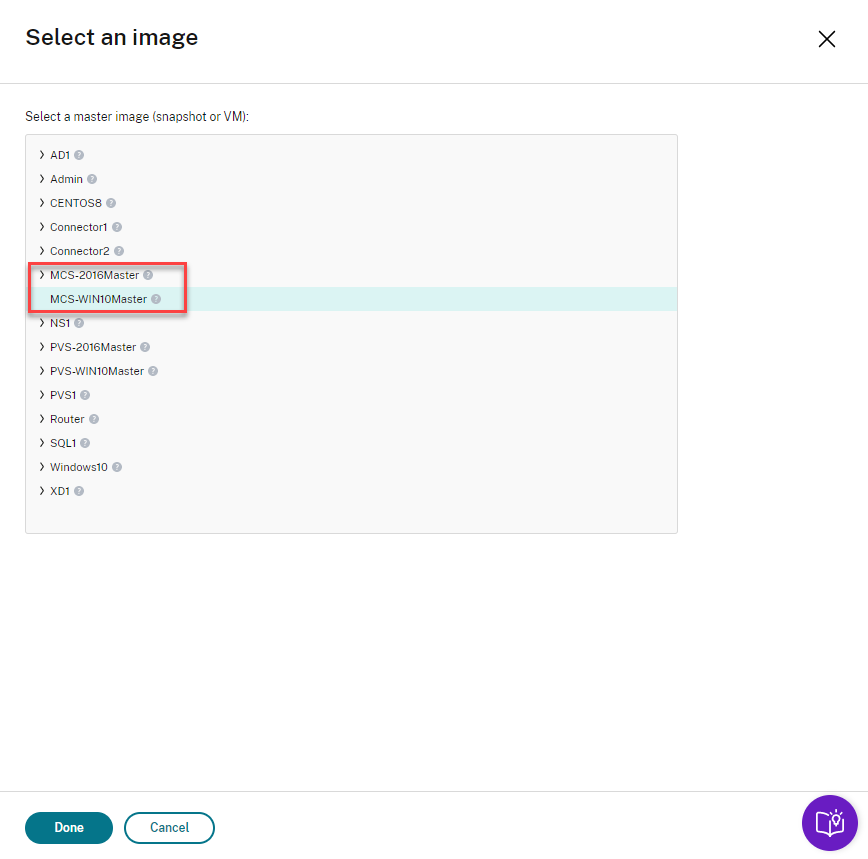
- Choose the VM in which you installed the VDA and click Done
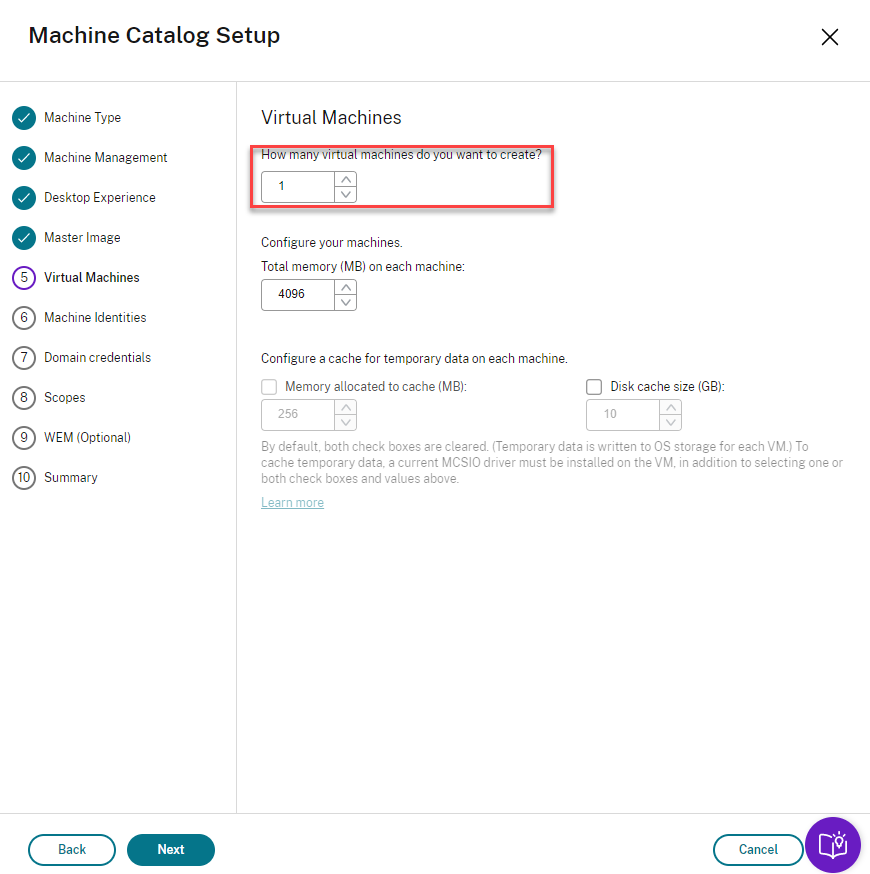
- Specify the number of machines that you want created and click Next
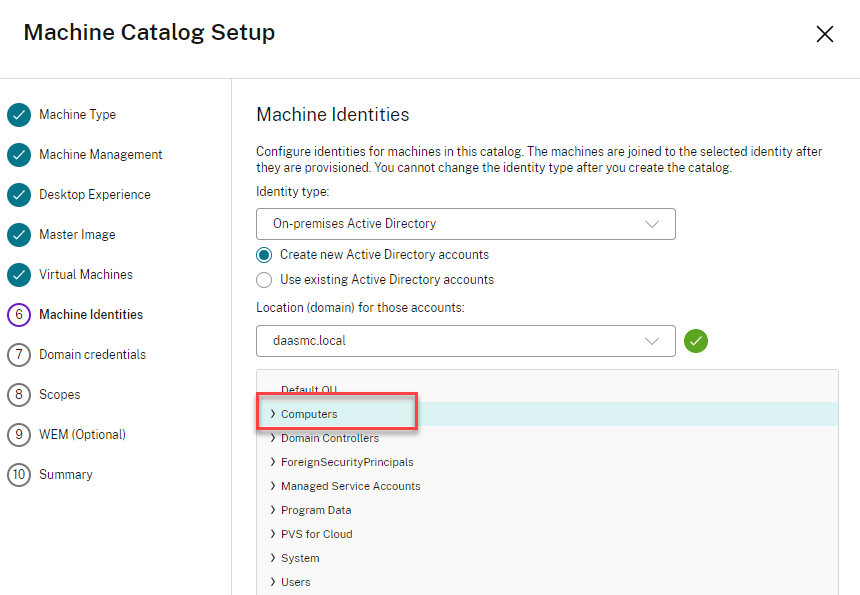
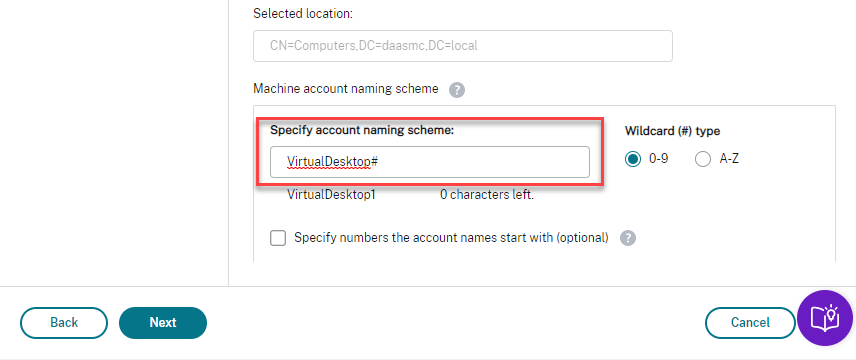
- Active Directory accounts for the new VM can be created beforehand or can be created automatically. Specify which OU that you want these new VMs to be a part of. Determine the naming scheme that you want these new machines to have and click Next
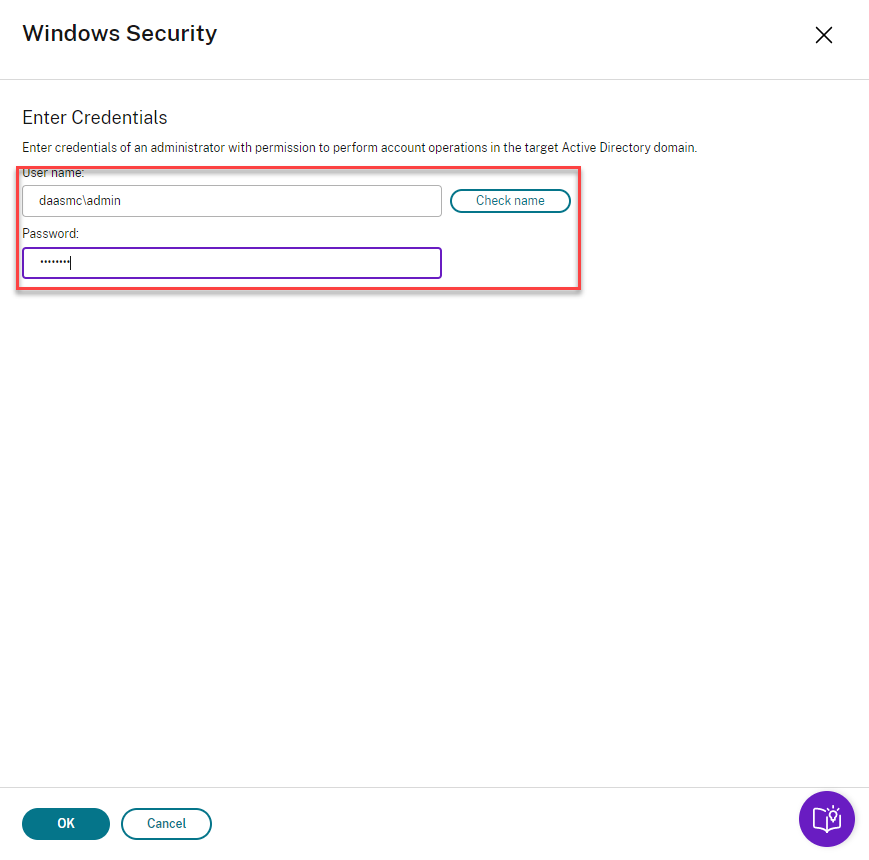
- Enter credentials that have sufficient permissions to create machine accounts in active directory and click Ok
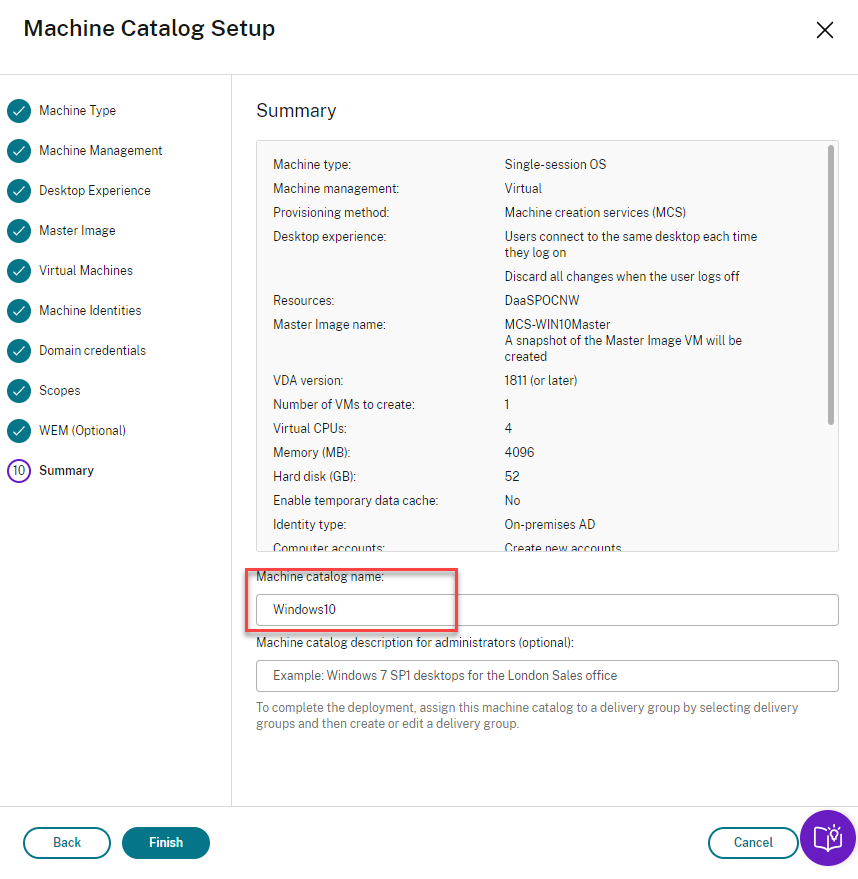
- Enter a Machine Catalog name. Review—and click Finish
- Leave Workspace Environment Management™ selection to default and click Next

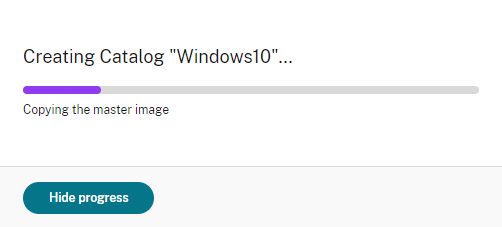
- This will now create a copy of the master image and create your machine catalog
- Once completed you see that your machine catalog appears in your Citrix Cloud console

Create Delivery Group
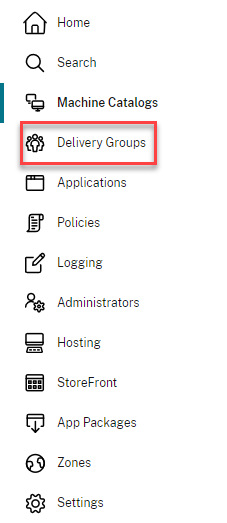
- From the left side menu click Delivery Groups to start creating your delivery group.
- Click Create Delivery Group.

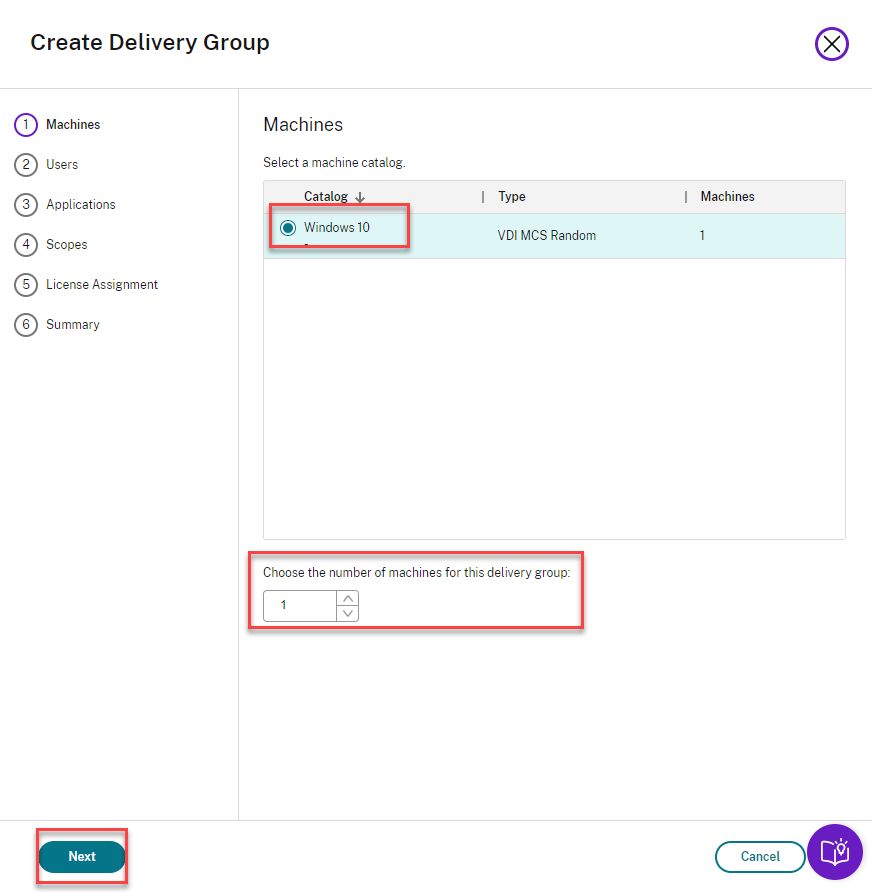
- In the Create Delivery Group dialog that opens Select the catalog you created earlier and choose the number of machines from the machine catalog that will be assigned to this delivery group. Click Next
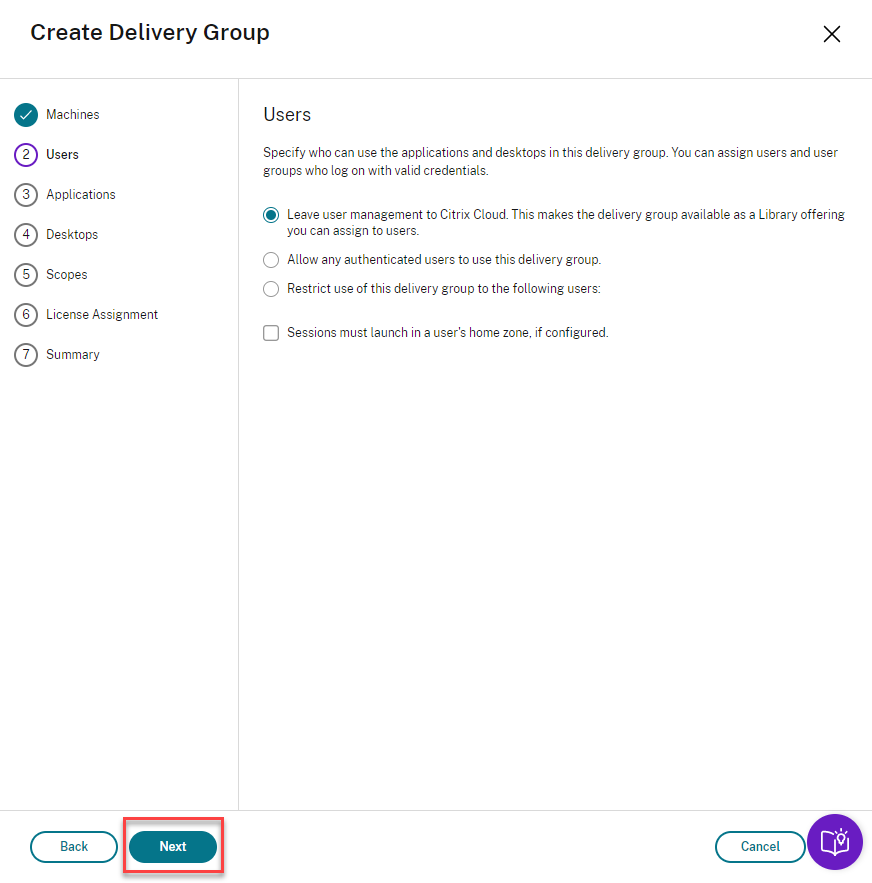
- You can choose to assign users at this stage, or leave the user management to Citrix Cloud and assign users through the Citrix Cloud library. Click Next
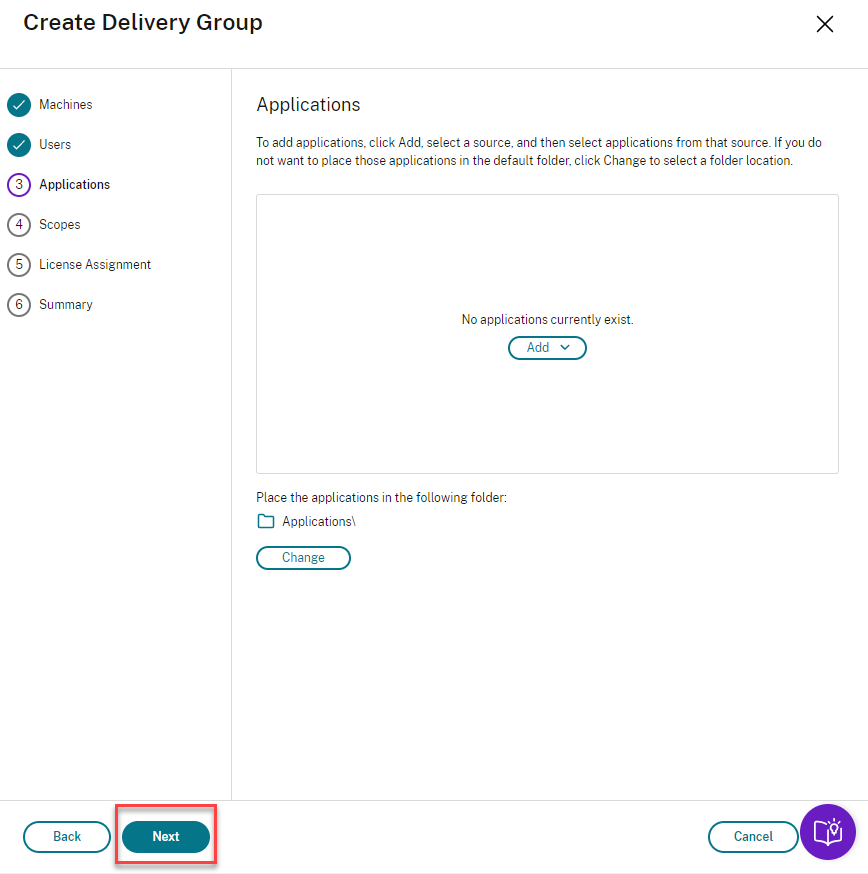
- You can specify applications that appear to the end users under their workspace or if you want to deliver only the desktop, leave this blank and click Next
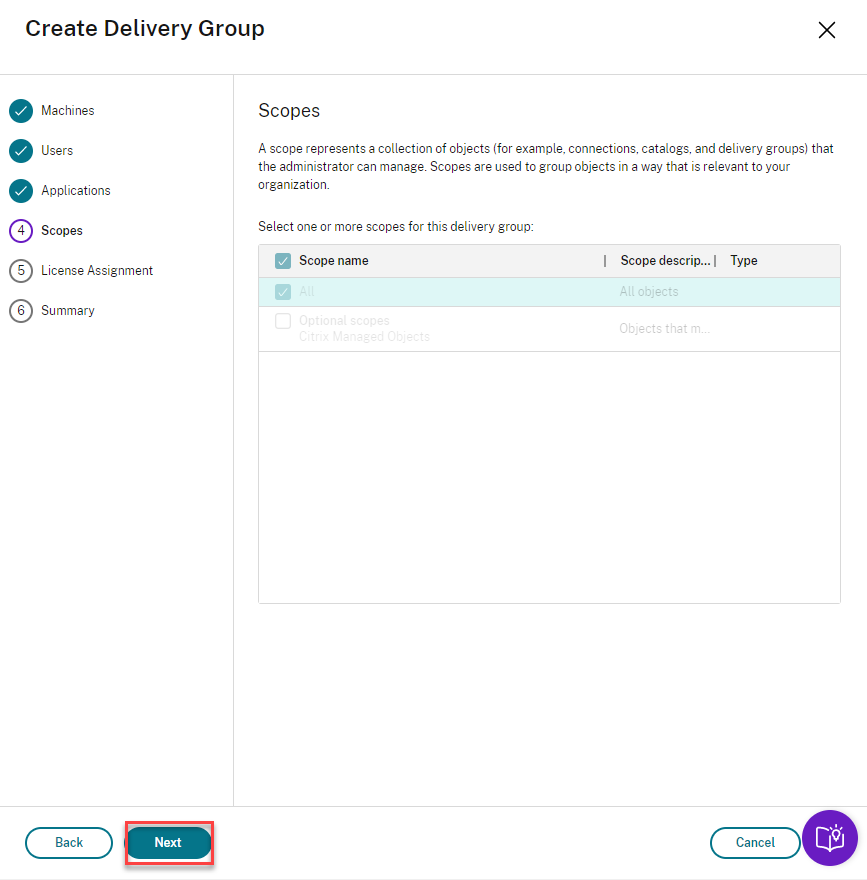
- Select Next on the Scopes screen
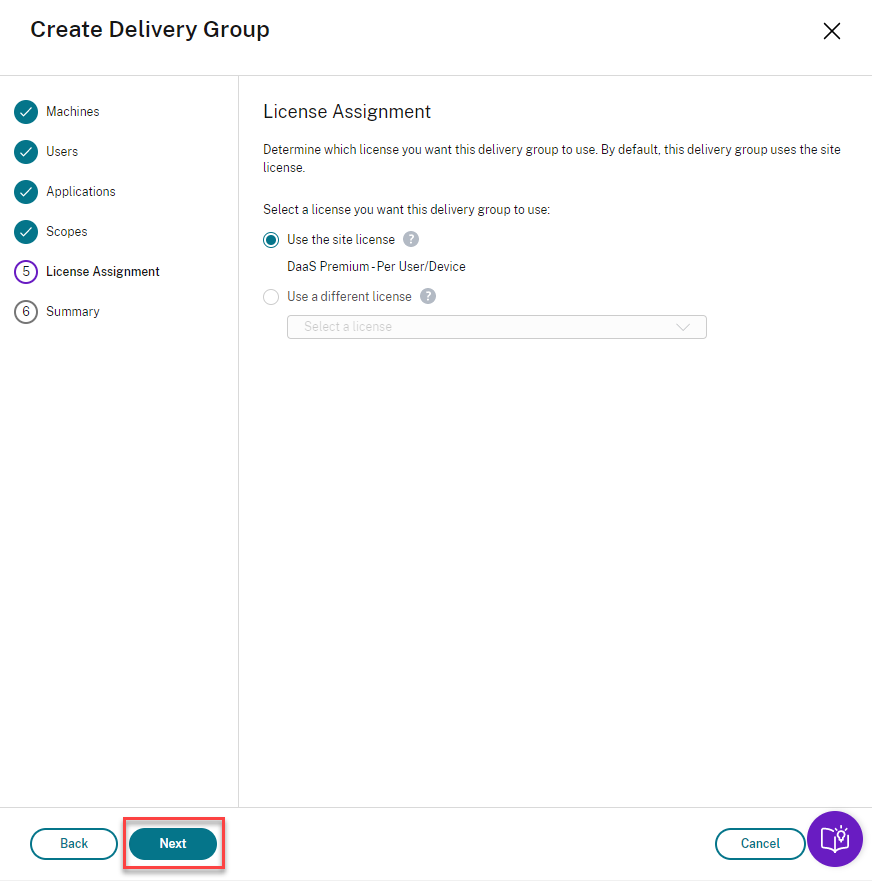
- Leave the default selected on License Assignment and click Next
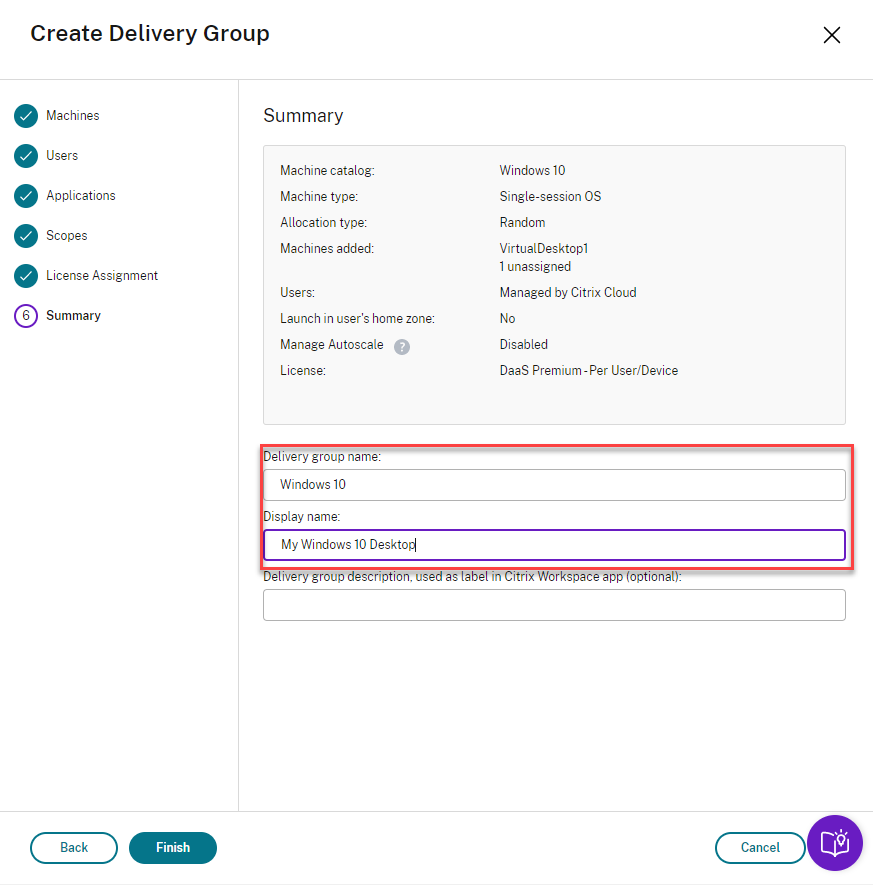
- Choose the name of your Delivery group and the display name that your users will see and click Finish
Add Users
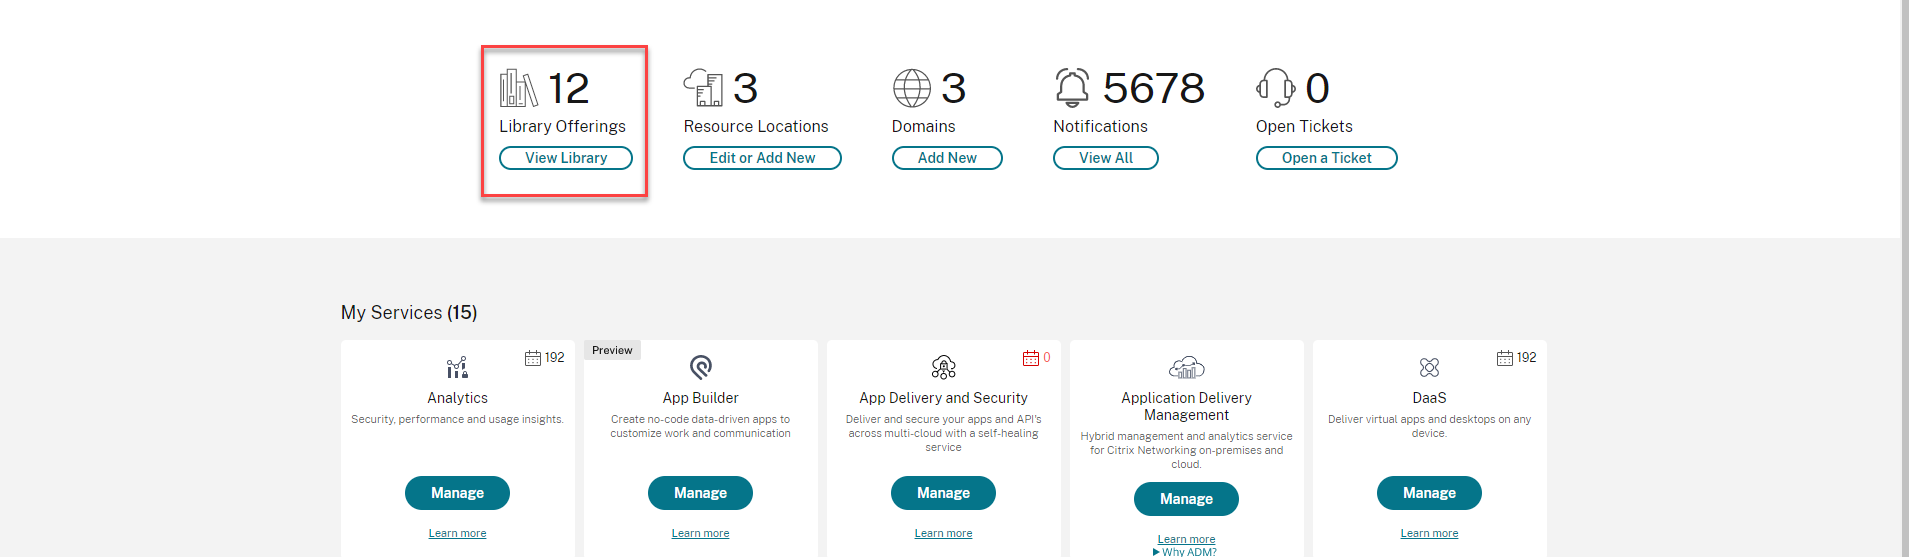
- Go back to main menu of Citrix Cloud and click View Library
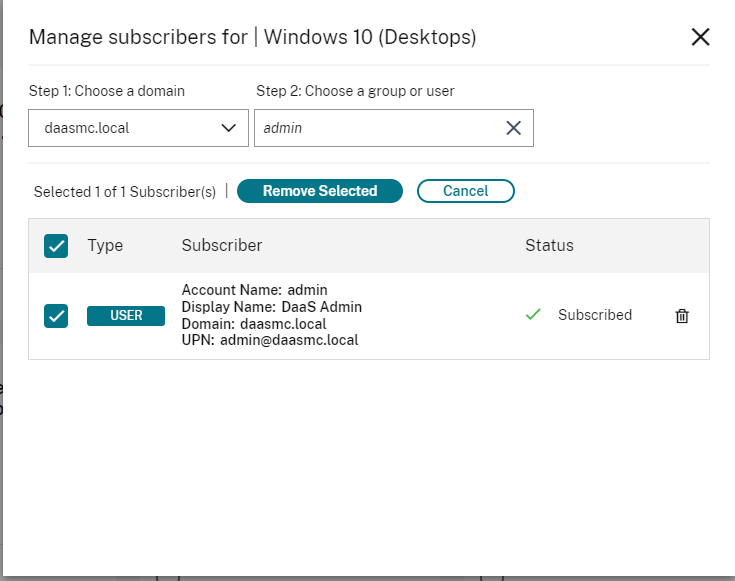
- You will now see your offerings available. Click the ellipses and click Manage Subscribers
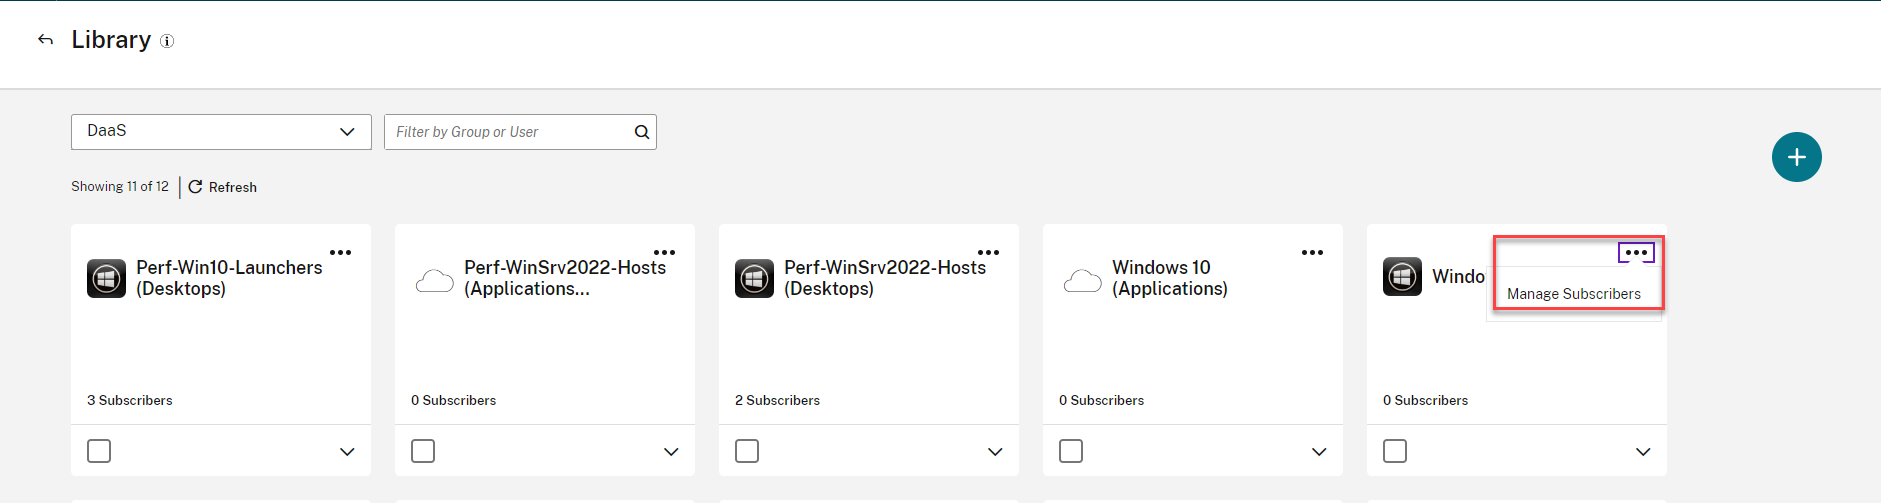
- Choose the user or group that you want to assign to those resources
Launch a Session from Citrix Workspace
-
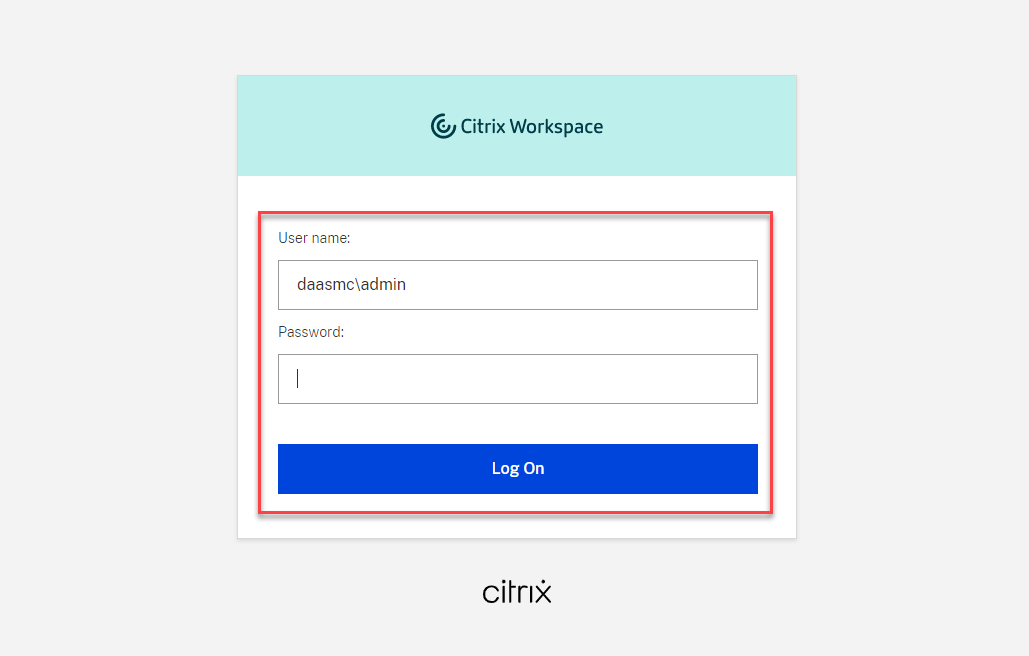
Open the Workspace URL you had saved earlier (from Citrix Cloud) to the gain access to the Citrix Workspace.
Login as a domain user you assigned the resources in the previous section
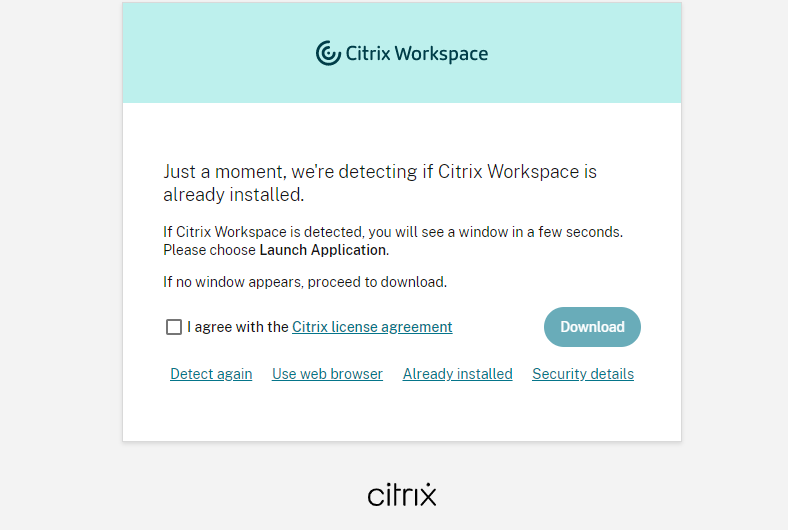
- If this is the first time you are launching a session from the browser, you may get the following pop-up. Ensure Citrix Workspace App is installed and click Detect Workspace
- Click View all Desktops. You will now see the desktop that we assigned in the previous section
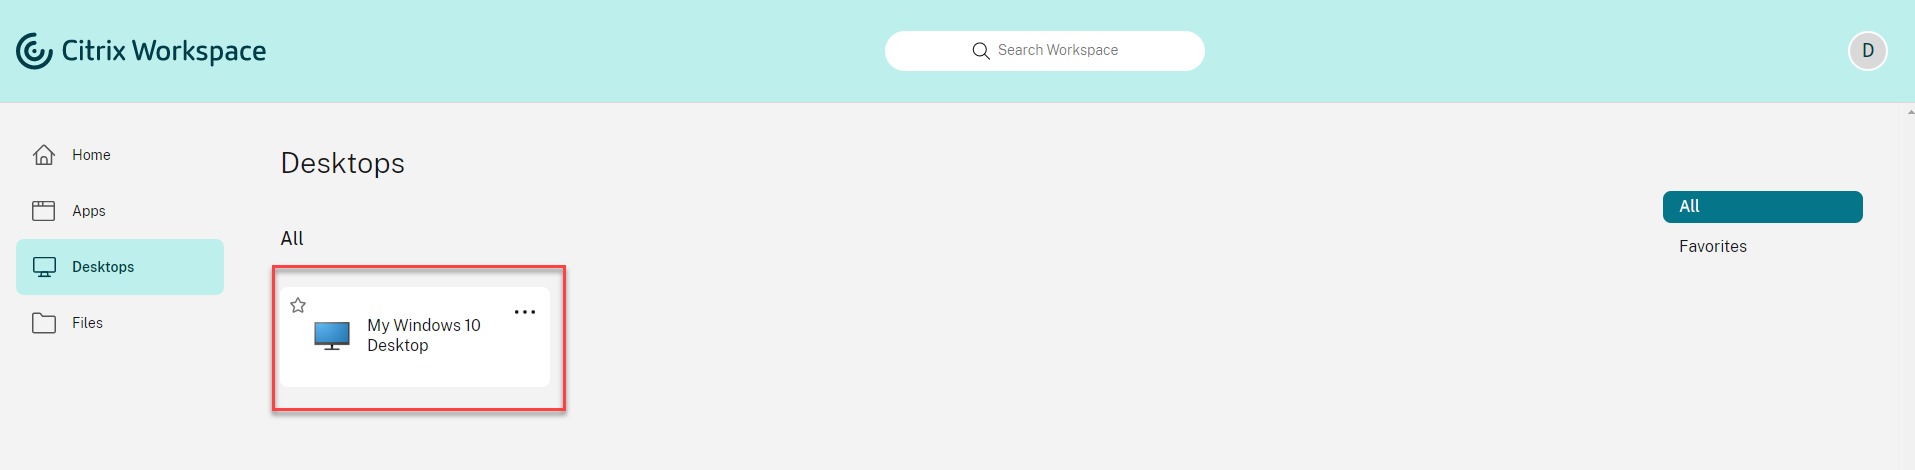
- The session launches giving the user access to their virtual desktop
Additional Information
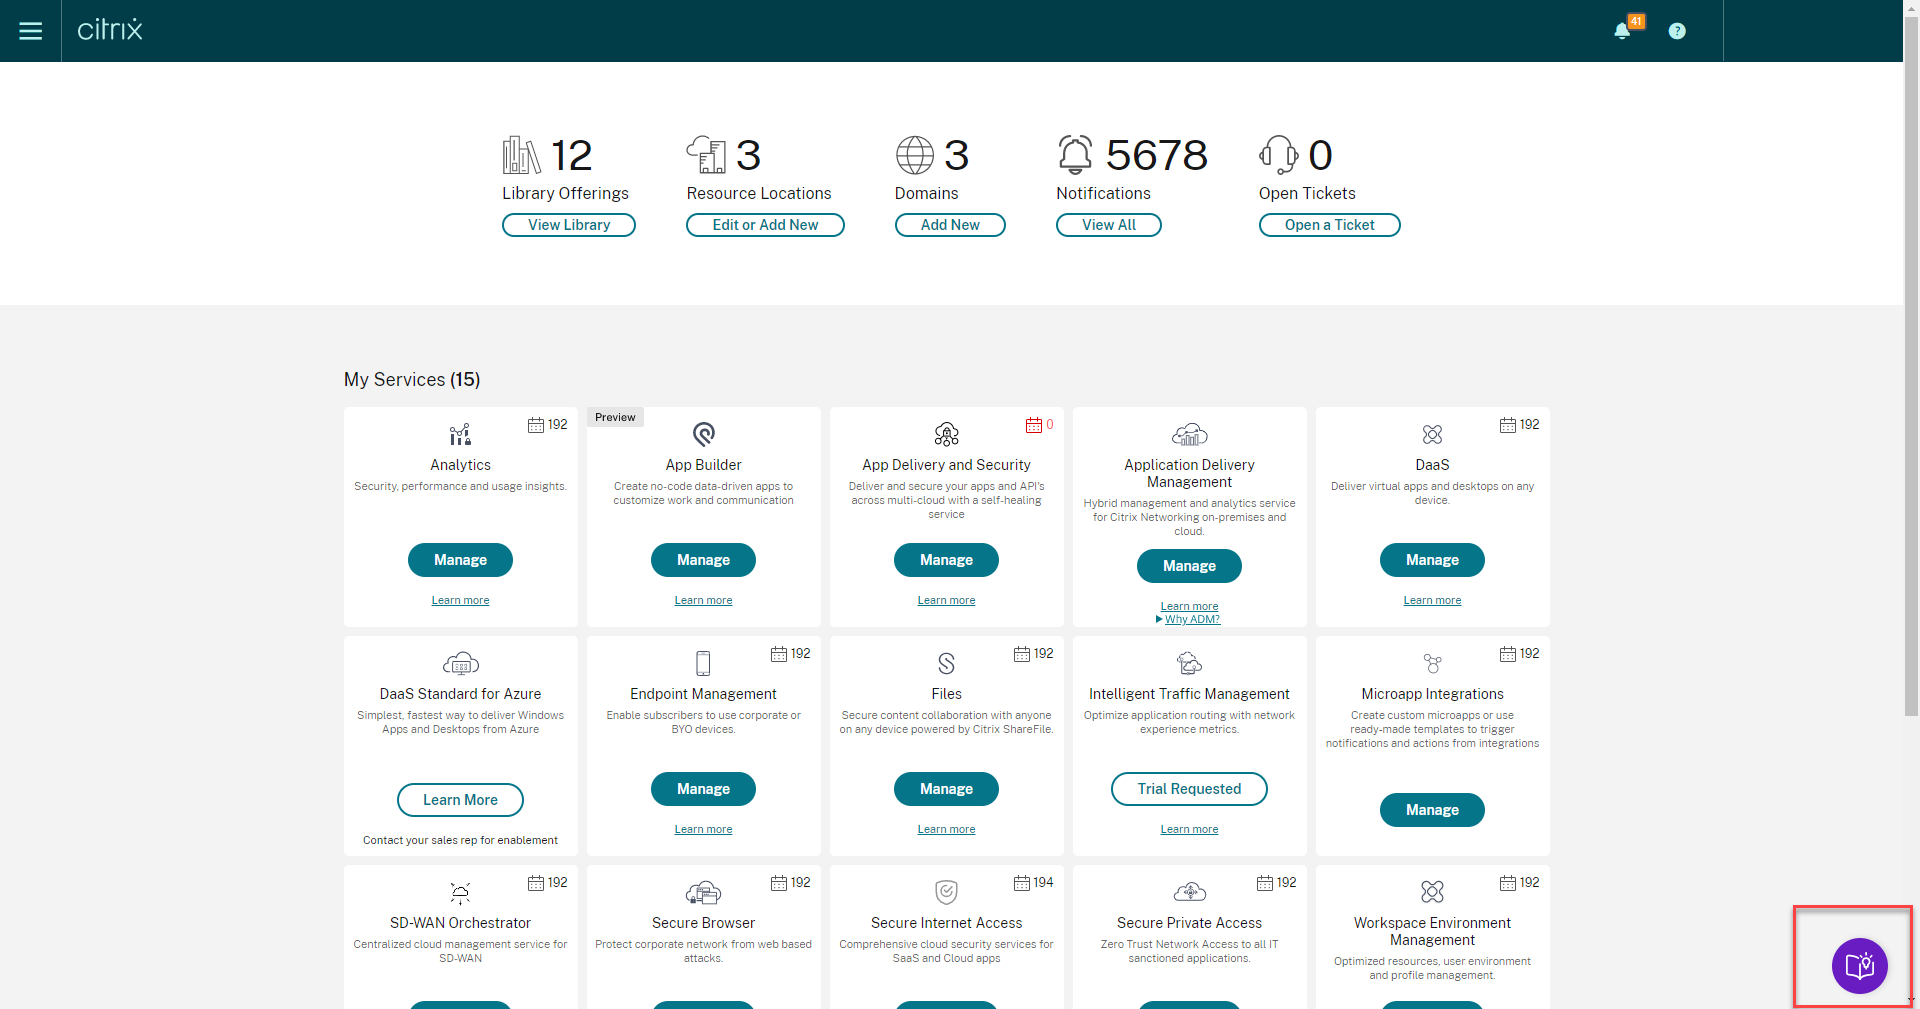
The Citrix Cloud Resource Center can help you learn more about features, and search to resolve issues.
- Click the blue compass arrow at the bottom of the Citrix Cloud page
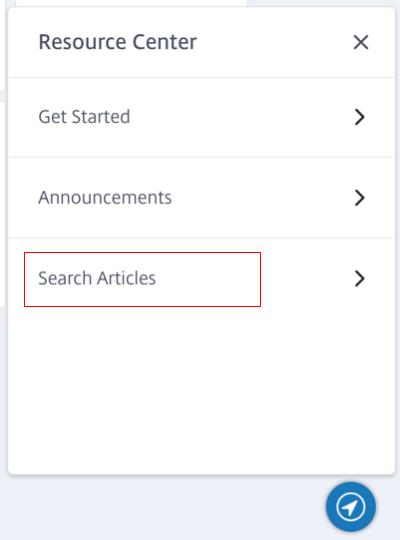
- Click Search Articles. This allows you to search through a list of product documentation and Knowledge Center Articles
- Enter a search query
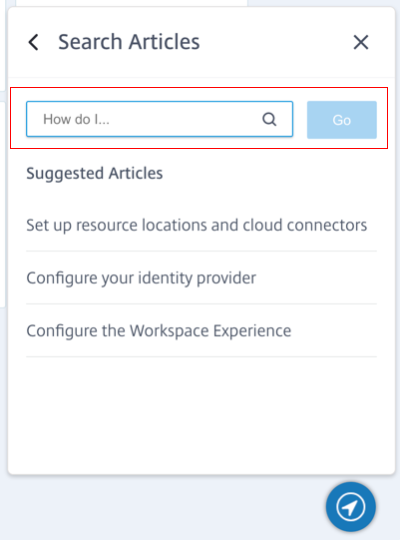
You have access to a list of product documentation and Knowledge Center articles for common tasks without leaving Citrix Cloud.