This content has been machine translated dynamically.
Dieser Inhalt ist eine maschinelle Übersetzung, die dynamisch erstellt wurde. (Haftungsausschluss)
Cet article a été traduit automatiquement de manière dynamique. (Clause de non responsabilité)
Este artículo lo ha traducido una máquina de forma dinámica. (Aviso legal)
此内容已经过机器动态翻译。 放弃
このコンテンツは動的に機械翻訳されています。免責事項
이 콘텐츠는 동적으로 기계 번역되었습니다. 책임 부인
Este texto foi traduzido automaticamente. (Aviso legal)
Questo contenuto è stato tradotto dinamicamente con traduzione automatica.(Esclusione di responsabilità))
This article has been machine translated.
Dieser Artikel wurde maschinell übersetzt. (Haftungsausschluss)
Ce article a été traduit automatiquement. (Clause de non responsabilité)
Este artículo ha sido traducido automáticamente. (Aviso legal)
この記事は機械翻訳されています.免責事項
이 기사는 기계 번역되었습니다.책임 부인
Este artigo foi traduzido automaticamente.(Aviso legal)
这篇文章已经过机器翻译.放弃
Questo articolo è stato tradotto automaticamente.(Esclusione di responsabilità))
Translation failed!
Deploy Microsoft Store for Business apps from XenMobile®
Microsoft Store for Business is a location where you can find and distribute free and paid apps in volume for your organization. By connecting the XenMobile Server to a Microsoft Store for Business, the Store for Business apps appear in the XenMobile Configure > Apps page. You can then deploy those apps to Windows 10 and Windows 11 devices.
XenMobile supports only online license app management which is the default licensing model supported by the Microsoft Store for Business. This model requires users and devices to connect to the Microsoft Store services to acquire an app and its license.
To learn more about the Microsoft Store for Business, see the Microsoft documentation at https://docs.microsoft.com/en-us/microsoft-store/microsoft-store-for-business-overview.
Prerequisites to access Microsoft Store for Business apps
-
Azure Active Directory
To access the Microsoft Store for Business apps, you must first configure Azure Active Directory as an Identity Provider (IdP). For more information about configure Azure Active Directory as IdP, see Azure Active Directory as IdP.
-
Microsoft Store for Business
Connect XenMobile Server to Microsoft Store for Business
-
In the XenMobile console Settings page, search for and click the link for Microsoft Store for Business.
-
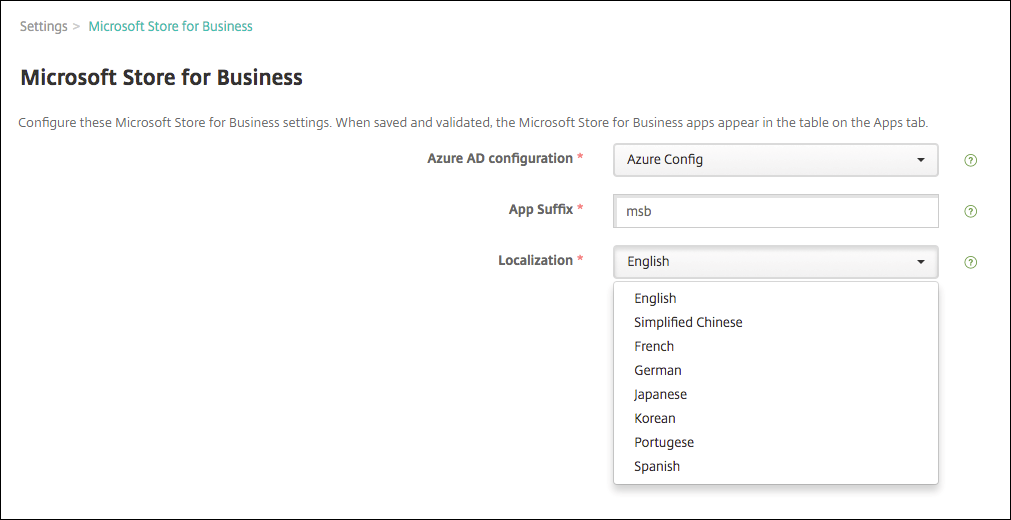
Configure these settings:
- Azure AD configuration: Select the Azure Active Directory instance you configured as part of the prerequisites.
- App Suffix: Enter a suffix added to all Microsoft Store for Business apps for easy identification.
- Localization: Select the language to use for the app details downloaded from Store for Business to XenMobile.
-
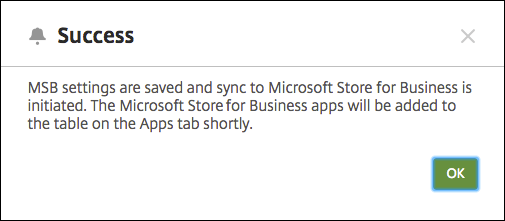
Click Save. XenMobile adds the Microsoft Store for Business apps to the Configure > Apps page.
-
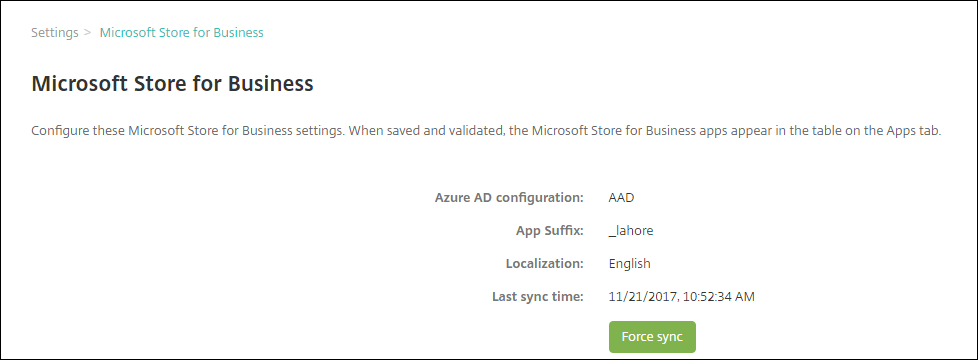
To resync the apps later, return to the Microsoft Store for Business settings page and click the Force Sync button.
Associate your Microsoft Store for Business account with XenMobile
- Log in to the Microsoft Business Store using the same tenant account that you use to sign in to Azure Active Directory.
- In the Business Store, choose Settings > Management tools.
- On the Management tools page, choose Add a management tool, and choose XenMobile.
Sync apps with the Store for Business
By default, XenMobile syncs with the Microsoft Store for Business every 24 hours. To force a sync, go to Settings > Microsoft Store for Business and click Force sync.

To change the sync interval, go to Settings > Server Properties and update the value for the Minimum MSB baseline interval server property.
Assign Store for Business apps to delivery groups
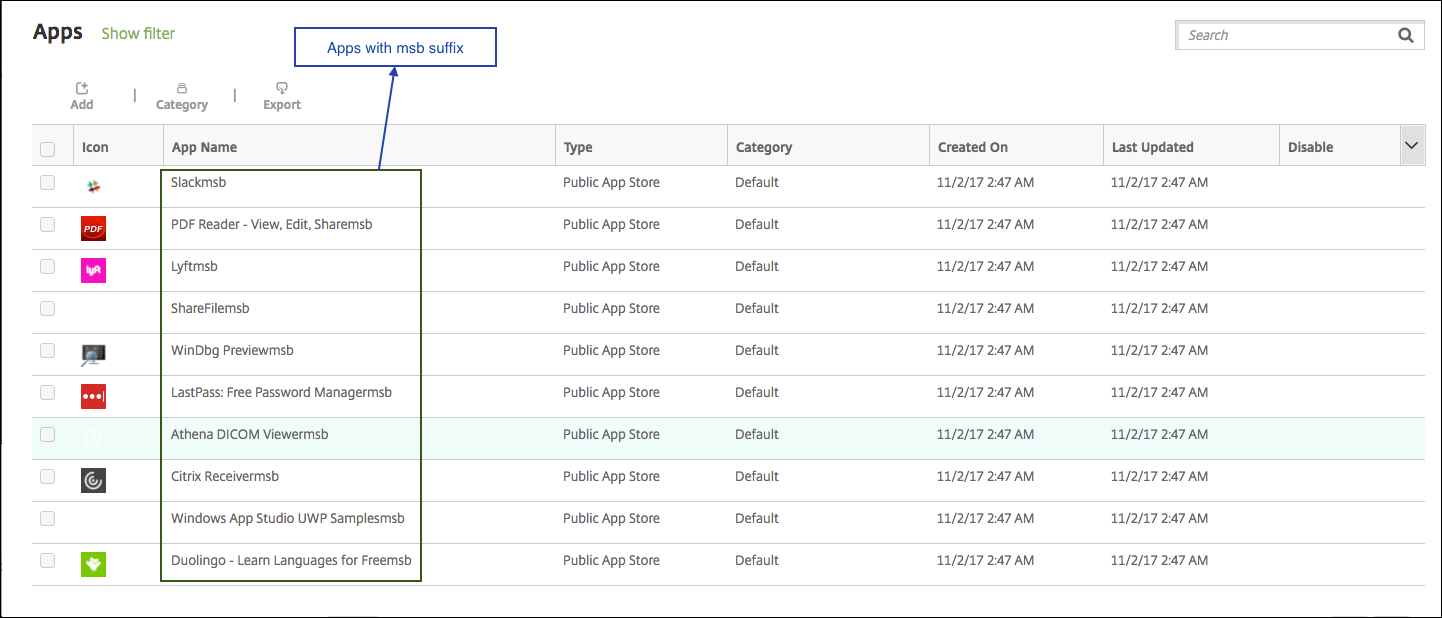
Apps synced from the Microsoft Store for Business have the suffix you configured on the Settings > Microsoft Store for Business page.
- To add those apps to delivery groups: Go to Configure > Delivery Groups, select a group, click Edit, and then click Apps. Move the apps to the Required Apps list.
- Go to Configure > Apps. Select one or more apps, click Edit, and then click Delivery Group Assignments.
Revoke a user license for an app
-
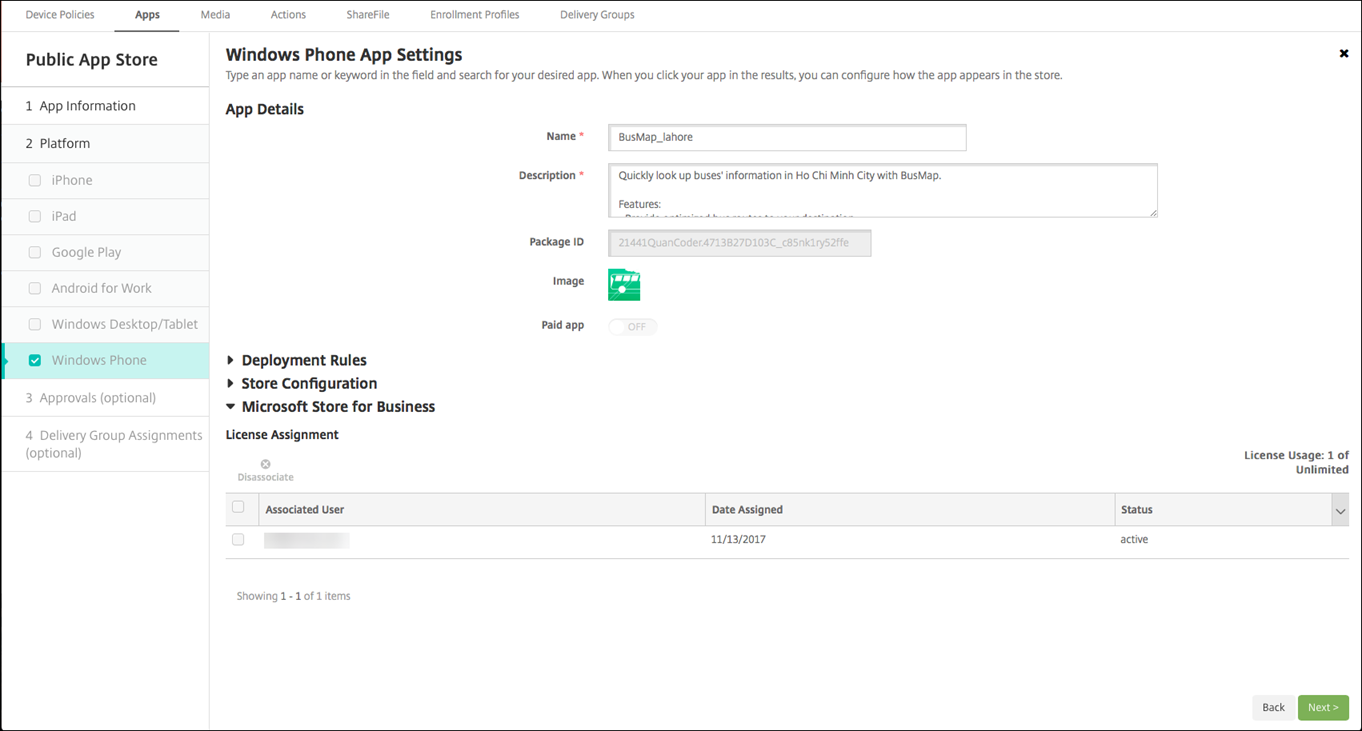
Go to Configure > Apps, select the Store for Business app, and then click Edit.
-
Under Platform, click Windows Desktop/Tablet.
-
Scroll down and expand Microsoft Store for Business.
-
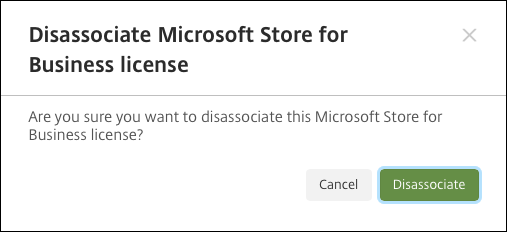
Select the user and click Disassociate.
Share
Share
In this article
- Prerequisites to access Microsoft Store for Business apps
- Connect XenMobile Server to Microsoft Store for Business
- Associate your Microsoft Store for Business account with XenMobile
- Sync apps with the Store for Business
- Assign Store for Business apps to delivery groups
- Revoke a user license for an app
This Preview product documentation is Citrix Confidential.
You agree to hold this documentation confidential pursuant to the terms of your Citrix Beta/Tech Preview Agreement.
The development, release and timing of any features or functionality described in the Preview documentation remains at our sole discretion and are subject to change without notice or consultation.
The documentation is for informational purposes only and is not a commitment, promise or legal obligation to deliver any material, code or functionality and should not be relied upon in making Citrix product purchase decisions.
If you do not agree, select I DO NOT AGREE to exit.