Configure ERP Cloud
Citrix Gateway SaaS Application
Users can securely log on to ERP Cloud using their enterprise credentials.
To configure ERP Cloud for SSO through SAML, perform the following:
-
In a browser, type:
https://<organizationid>.identity.oraclecloud.com/ui/v1/adminconsole/?root=security&security=external-idpand press Enter. -
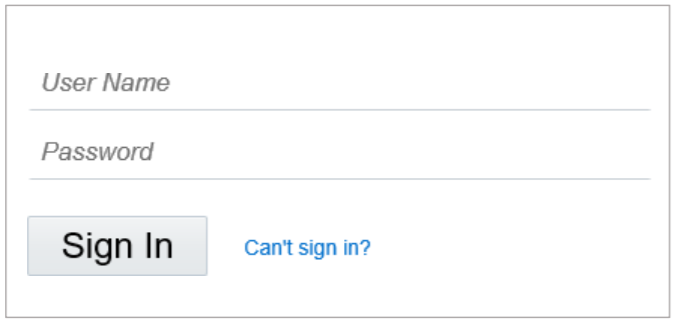
Log on to your ERP Cloud account.
-
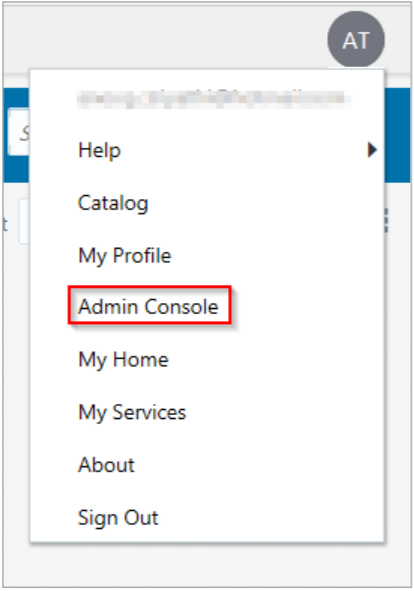
On the home page, in the upper right corner, click your profile initials and click Admin Console.
-
In the upper left corner, click the ellipses.
-
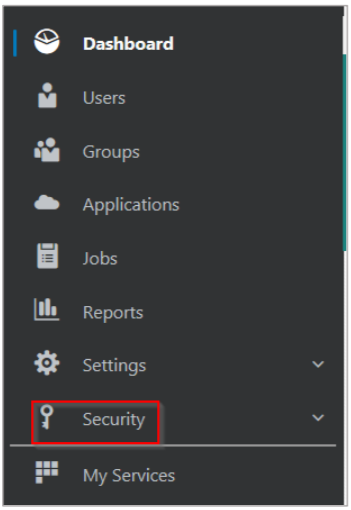
Click Security.
-
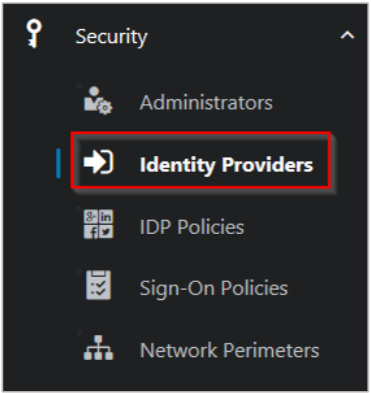
Click Identity Providers.
-
On the Identity Providers page, click Add SAML IdP.

-
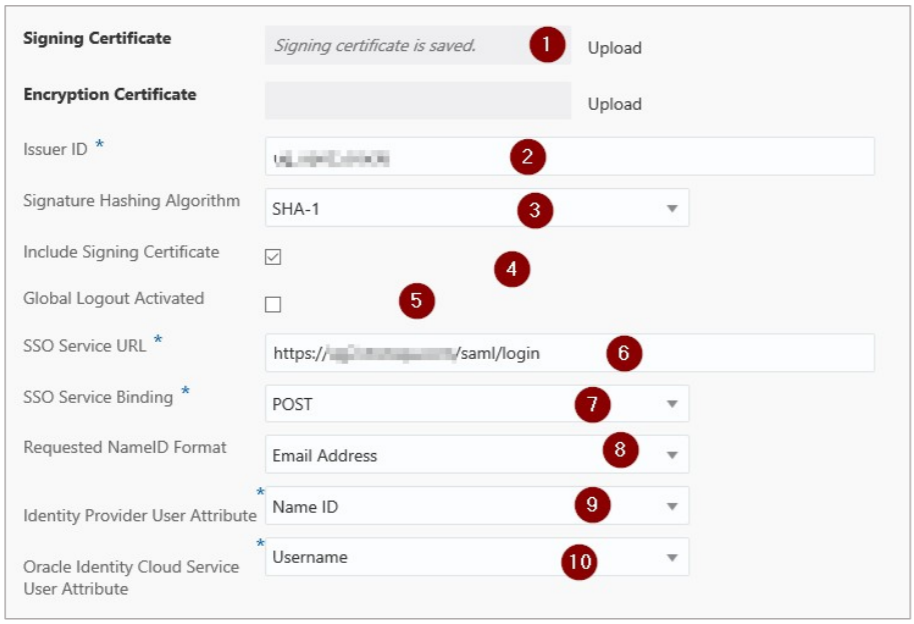
On the Identity Providers page, specify the following information:
-
Signing Certificate– paste the PEM certificate.
To obtain your IdP certificate, perform the following:
-
Remotely access your NetScaler® instance using PuTTY.
-
Navigate to /nsconfig/ssl folder (using shell command
cd/nsconfig/ssl) and press Enter. -
Type cat
<certificate-name>and press Enter. -
Copy the text from —–BEGIN CERTIFICATE—– to —–ENDCERTIFICATE—–
-
Paste the text in a text editor and save the file in an appropriate format such as
your organization name.pem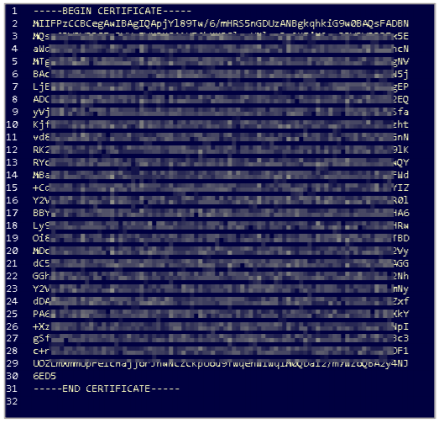
-
-
Issuer ID – type a unique name.
- Signature Hashing Algorithm – select hashing algorithm used to sign SAML messages.
- Include Signing Certificate - select the check box if you want to include signing certificate to verify the signature of the messages for the IdP.
- Global Logout Activated - select the check box if you want to activate SAML global logouts.
-
SSO Service URL – enter the IdP URL followed by /saml/ login. For example:
https://<netscalerinstance>.com/saml/ login -
SSO Service Binding– click the appropriate option to send an authentication request.
-
Requested NameID Format – click the appropriate format for mapping the user’s attribute value in IdP to the corresponding attribute in Oracle Identity CloudService.
-
Identity Provider User Attribute – click the appropriate attribute value received from IdP to uniquely identify the user.
- Oracle Identity Cloud Service User Attribute– click the appropriate attribute that you use to map the attribute received from IdP.
-
-
Click Save Changes.