Secure Private Access onboarding and set up
The Secure Private Access™ admin console enables administrators to onboard and manage SaaS, web, and TCP/UDP applications, and define granular access policies that govern how users interact with those applications.
Citrix Secure Private Access is integrated with Google Chrome Enterprise Premium, which allows customers to securely access private web and SaaS applications using Google Chrome Enterprise Premium as their enterprise browser.
The high-level steps to onboard and set up Secure Private Access are:
- Setup Google Chrome integration.
- Configure Connector Appliance
- Add apps for your users.
- Assign permissions for app access by creating the required access policies.
Important:
You can set Google Chrome as your enterprise browser. For details, see the following topics.
Onboard users to Secure Private Access
Perform the following steps to onboard your users to Secure Private Access.
- Log in to Citrix Cloud™ and then click Secure Private Access.
- Select Setup for cloud and then click Continue.
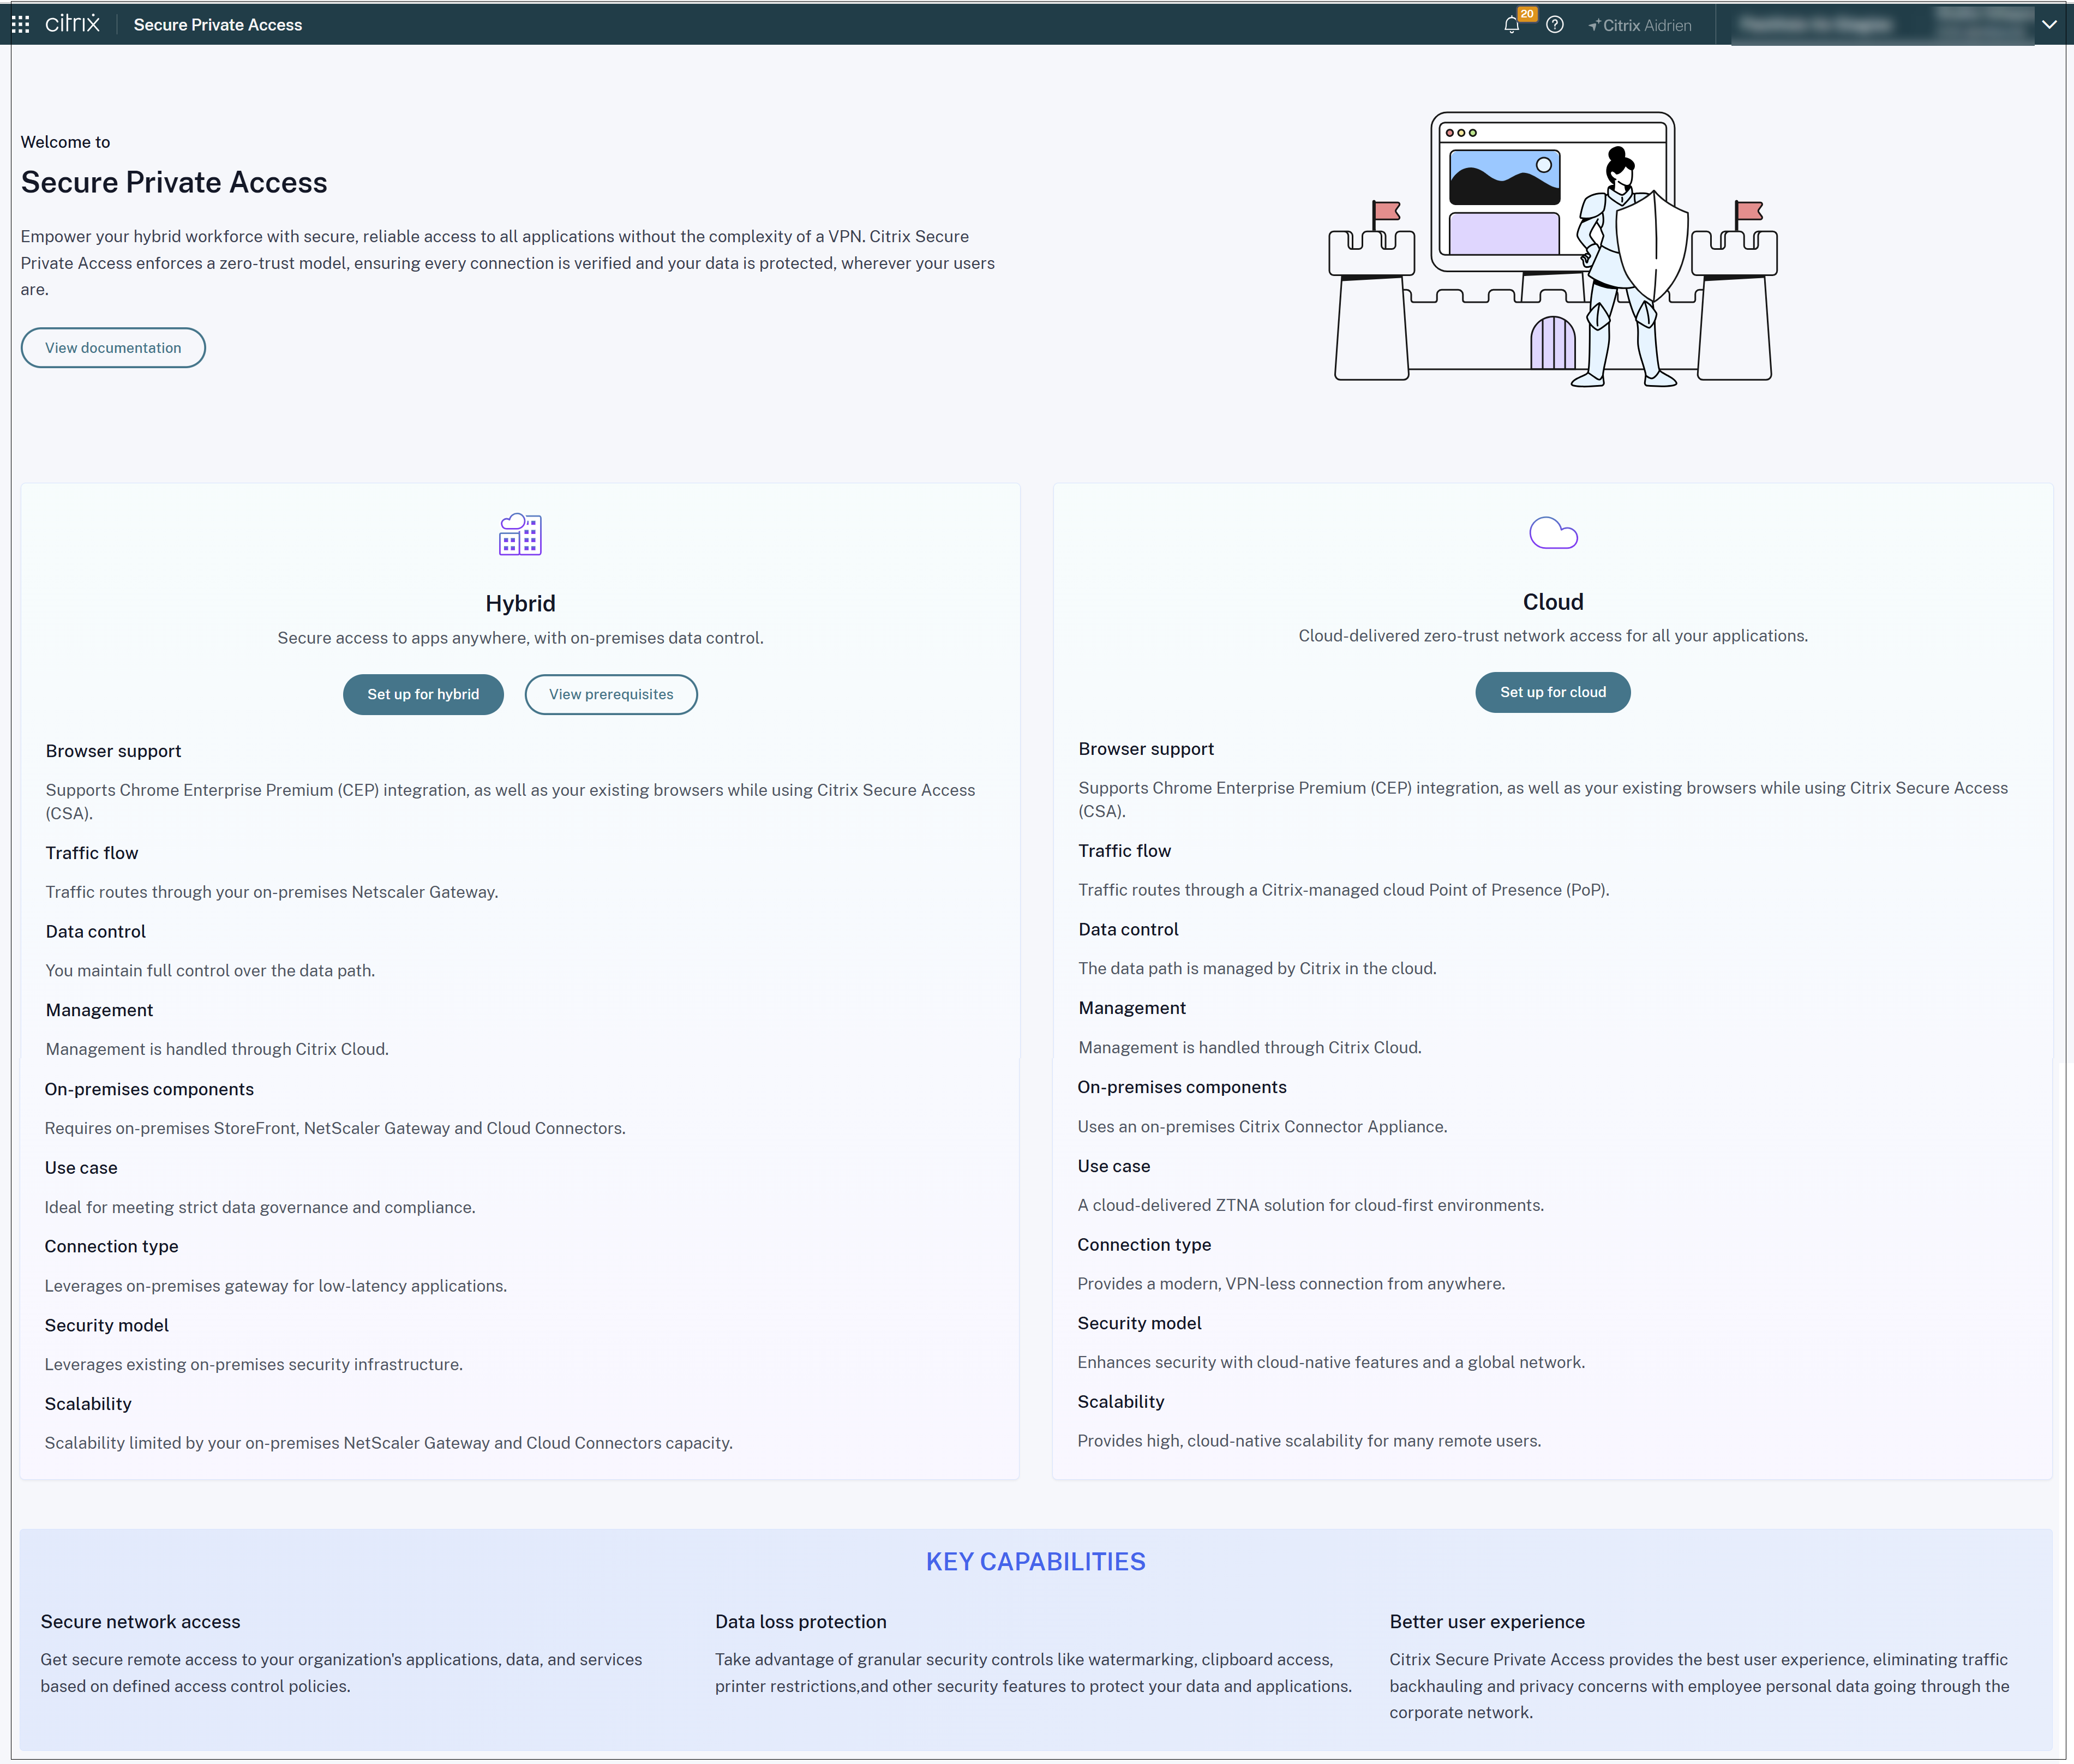
The topology diagram shows the components used in Secure Private Access cloud deployments. You can click the help icon to view a short description of each component in the flow.

-
For new customers, selecting the Secure Private Access service in the Citrix Cloud console opens the setup page, allowing them to configure Connector Appliance and CEP.
- To configure Connector Appliance, click Add in the Connector Appliance Configuration pane. For details, see Configure Connector Appliance.
- To configure Google Chrome Enterprise Premium (CEP), click Set up in the Google Chrome Enterprise Premium pane and follow the on-screen instructions. For details, see Setup Google Chrome integration.
Once the setup is completed, during the subsequent visits, the administrators are redirected to the Secure Private Access dashboard when they click Secure Private Access in the Citrix Cloud console.
-
For existing customers, the system checks:
- Connector Appliance availability
- Chrome Enterprise Premium status
Connector Appliance check: The system checks whether one or more Connector Appliances are configured and how many are available. This check helps administrators understand that configuring a Connector Appliance is mandatory for users to successfully connect to internal corporate applications (Web, TCP/UDP). The Connector Appliance enables end-user connectivity through the native Citrix Secure Access client, supporting any browser of the customer’s choice.
Chrome Enterprise Premium configuration check: The Chrome Enterprise Premium configuration check helps administrators determine whether the integration between Citrix Secure Private Access and Chrome Enterprise Premium is enabled. This integration allows end users to securely access corporate web applications through the Chrome browser, without requiring the native Citrix Secure Access client.
Note:
The Google Chrome Enterprise Premium setup is optional and can be skipped.
Setup Google Chrome integration
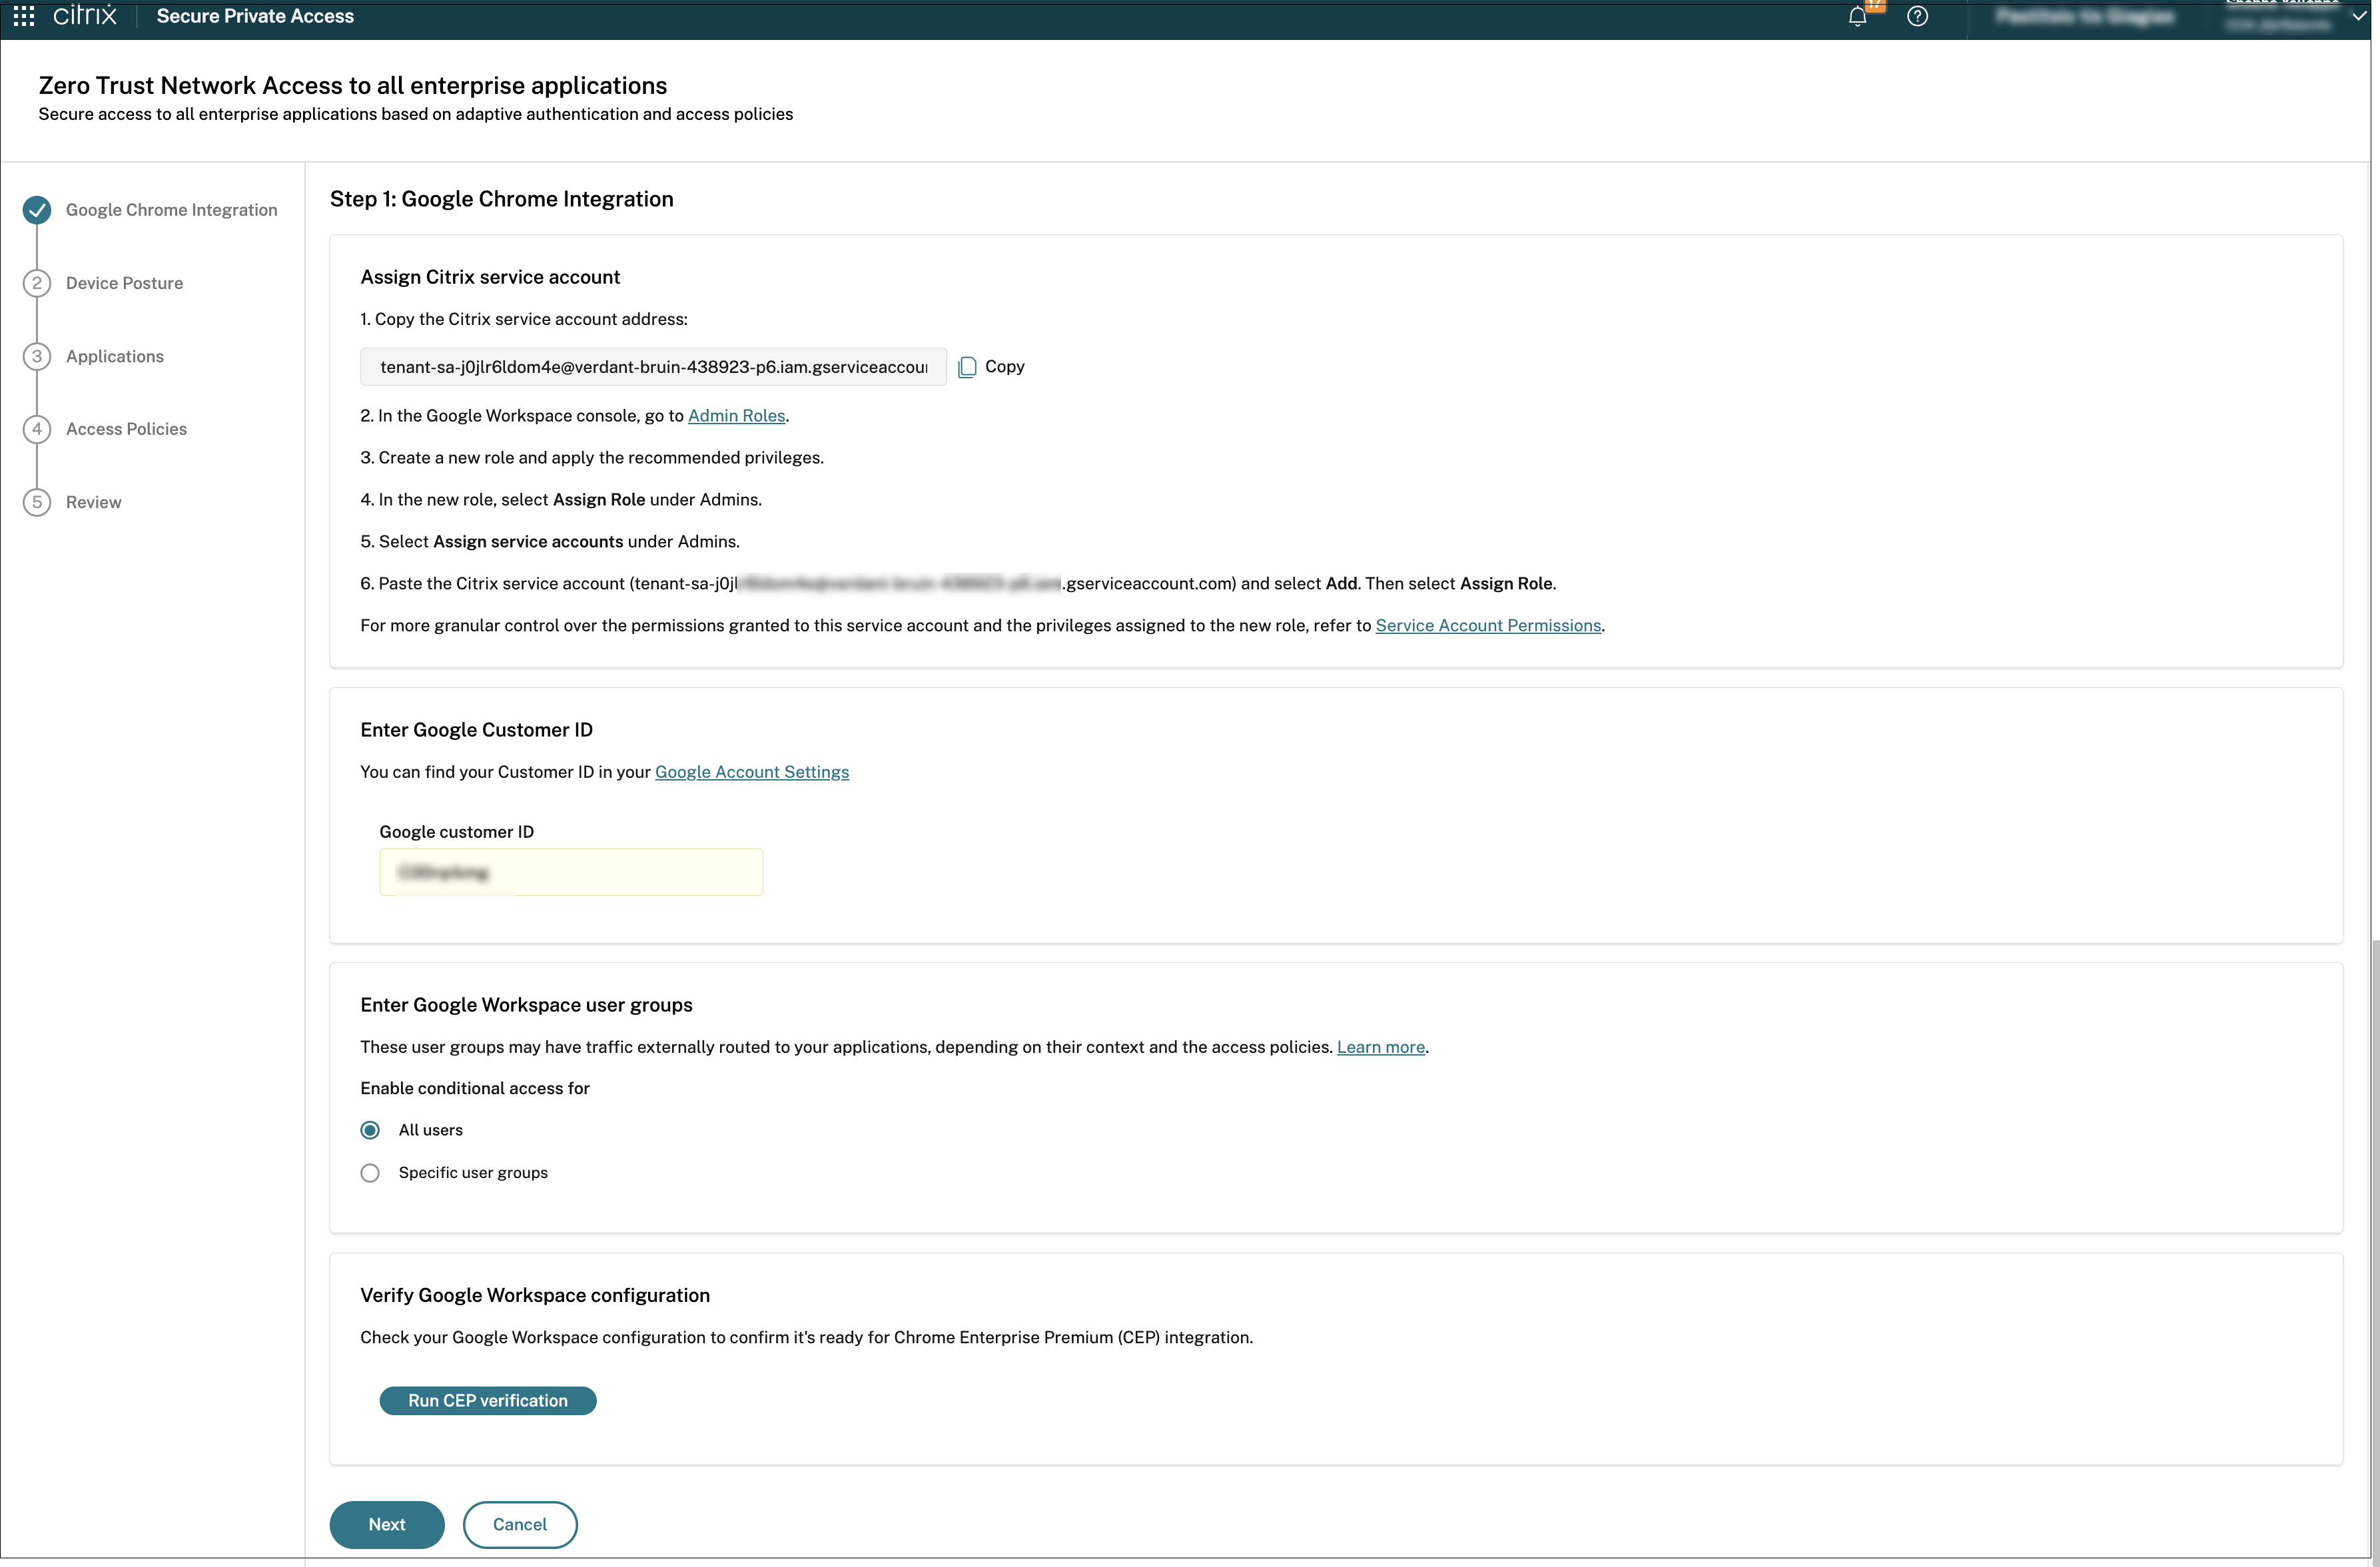
In the Google Chrome Integration page, perform the following steps:
-
Copy the autogenerated service account email and paste it into the appropriate field in the Google Admin console.
- In the Google Admin console, go to Admin Roles.
- Select the role that is created for the Secure Private Access service and apply the recommended privileges. For the list of privileges, see Admin roles and privileges.
- Under Admins, select Assign service accounts.
-
Paste the Citrix service account (
tenant-sa-<random-string>.iam.gserviceaccount.com) and select Add. Then select Assign Role.For details about roles, see About administrator roles.
- In the Google Admin console, navigate to Directory > Users.
- Click Add new user and create a new user (First name: Citrix Service, Last name: Account, Primary email: caccount). Keep the email of the newly created user.
- Once the new user is created, select it and go to User details. In the Admin roles and privileges select and assign to this user the same role.
- Go to Security > Access and data control > API controls and click Manage Domain Wide Delegation.
- On API clients, click Add new and fill in the Client ID and OAuth scopes with the respective information provided in the Google Chrome Integration page.
- Copy the Google Customer ID that is available in Google Account Settings within the Google Admin console into the Google Customer ID field in the Google Chrome Integration page.
- Fill in the User email field in the Google Chrome Integration page with the email of the previously created user.
-
Click Run CEP verification to verify your Google Workspace configuration to ensure that it is ready for Chrome Enterprise Premium integration before proceeding with the next step.
- If the verification returns a failure or a warning, see Known verification failures and warnings for troubleshooting guidance.
- Once the CEP verification is successful, the Secure Private Access service successfully connects to the Google customer ID and a Secure Gateway is created.
- Upon successful creation of the Secure Gateway, the system displays the egress IP addresses assigned to it. Administrators can select the egress regions that Chrome Enterprise Premium uses for SaaS application traffic. For details, see Configure Egress hub regions.
- When a user attempts to access a SaaS application, the request does not go directly to the SaaS provider. Instead, the traffic is first routed through the Secure Gateway, which functions as a partner connector. This gateway acts as an intermediary, inspecting and securing all traffic before it reaches the destination application.
-
Click Save.
Important:
- You can also update the integration details after the customer is onboarded to CEP. For details, see Update Google integration details post onboarding.
- For more details about Secure Private Access integration with Google Chrome Enterprise Premium, see Integration with Google Chrome Enterprise Premium.
Add IP addresses of SaaS apps
After onboarding customers to Secure Private Access and Chrome Enterprise Premium, you must allow the list of the IP addresses used by your SaaS applications. This step is critical to ensure that:
- Users can access SaaS applications without connectivity issues or blocks caused by network security controls.
- Traffic from Citrix Secure Private Access and Chrome Enterprise Premium is recognized as legitimate and not inadvertently filtered or denied.
Note:
For an application routed via Connector Appliance using the “Internal via Connector” routing type, customers must use the Citrix IP allow list.
Principal access boundary policies configuration
Principal access boundary policies can prevent end users from accessing the Citrix-managed Google Secure Gateway.
If your GCP organization has a principal access boundary policy that blocks access to cross-tenant resources by default, create a principal access boundary policy that allows access to the Google Secure Gateway. You can retrieve the Secure Gateway identifier from the Browser settings > Browser page. For details on configuring an appropriate policy, see Google Cloud IAM - Principal access boundary policies documentation.
Update Google integration details post onboarding
Once customers are successfully onboarded to Chrome Enterprise Premium, Secure Private Access allows for post-onboarding management of their integration details. This includes the ability to update critical identifiers such as the customer ID and to modify associated user groups.
Perform the following steps to update the integration details post onboarding:
-
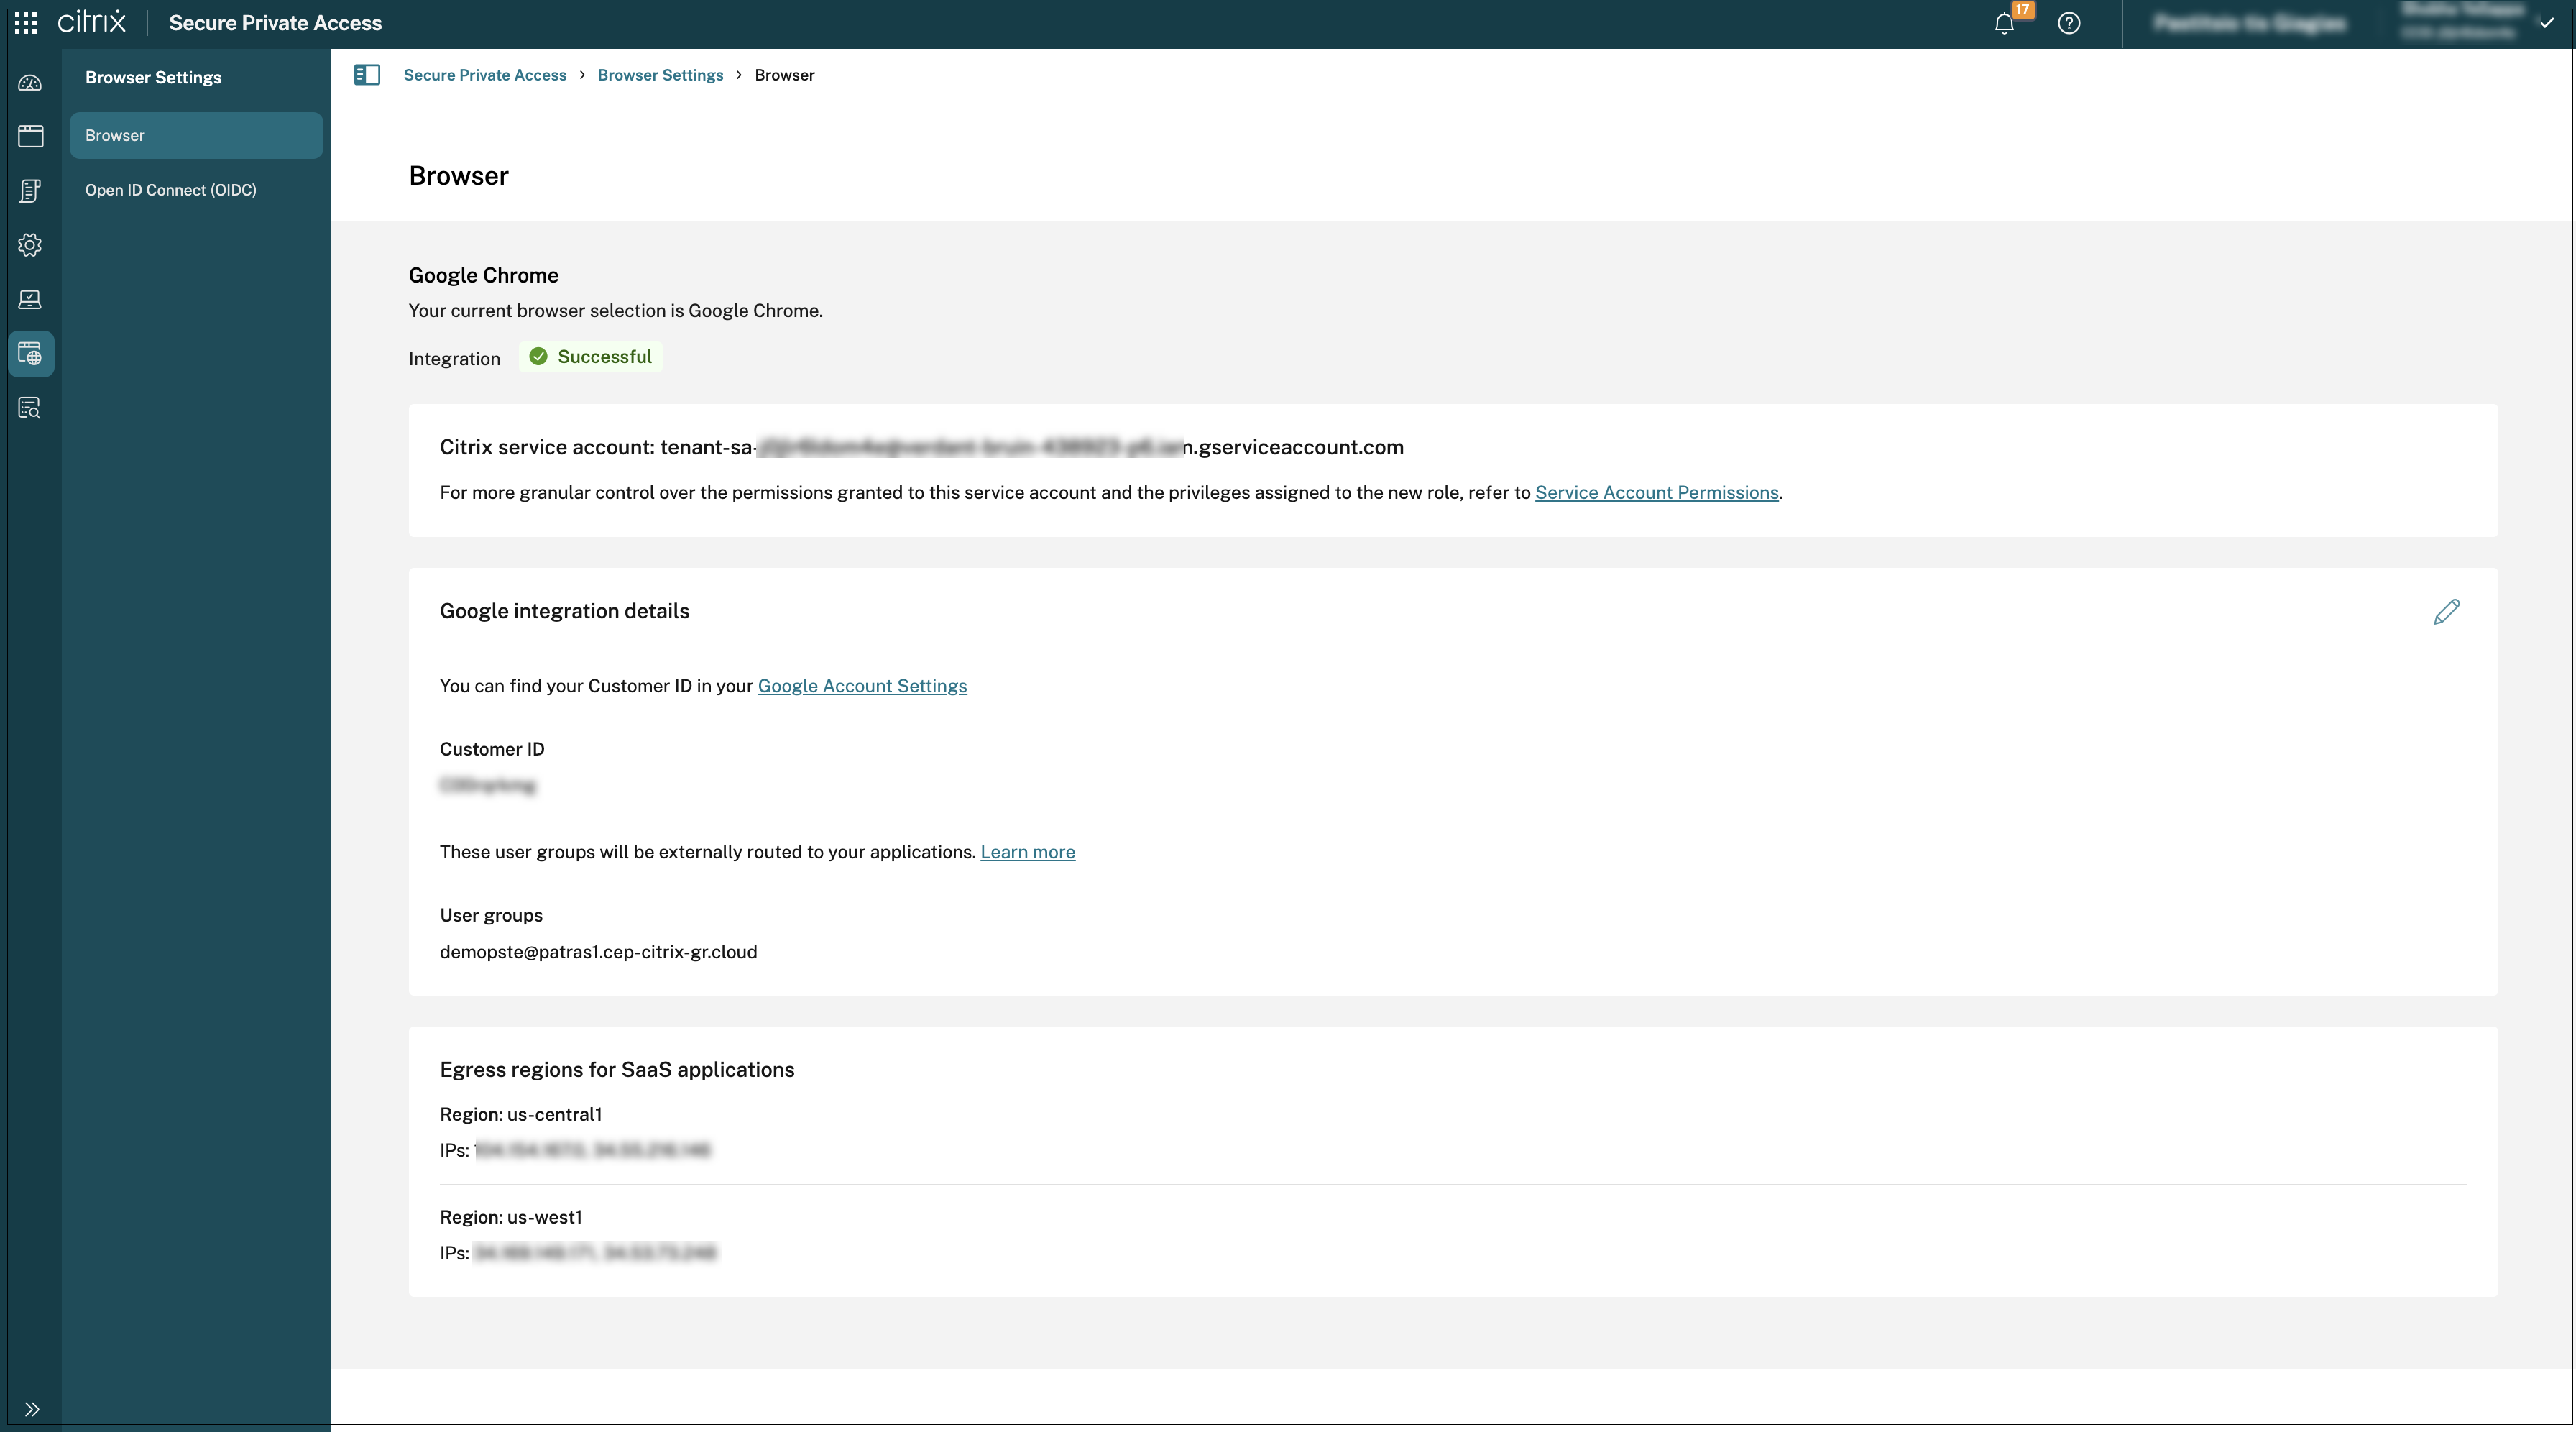
In the Secure Private Access admin console, go to Browser settings > Browser.
The Browser page displays the Google Chrome integrations details.
The system also displays the egress IP addresses associated with the Secure Gateway. Each time a user tries to access a Software as a Service (SaaS) application within this integration, traffic is routed through the Google Secure Gateway, which acts as a partner connector, instead of directly connecting to the SaaS application. This gateway inspects and secures the traffic, enforcing security policies and access controls, and ensuring compliance with the organization’s security posture.
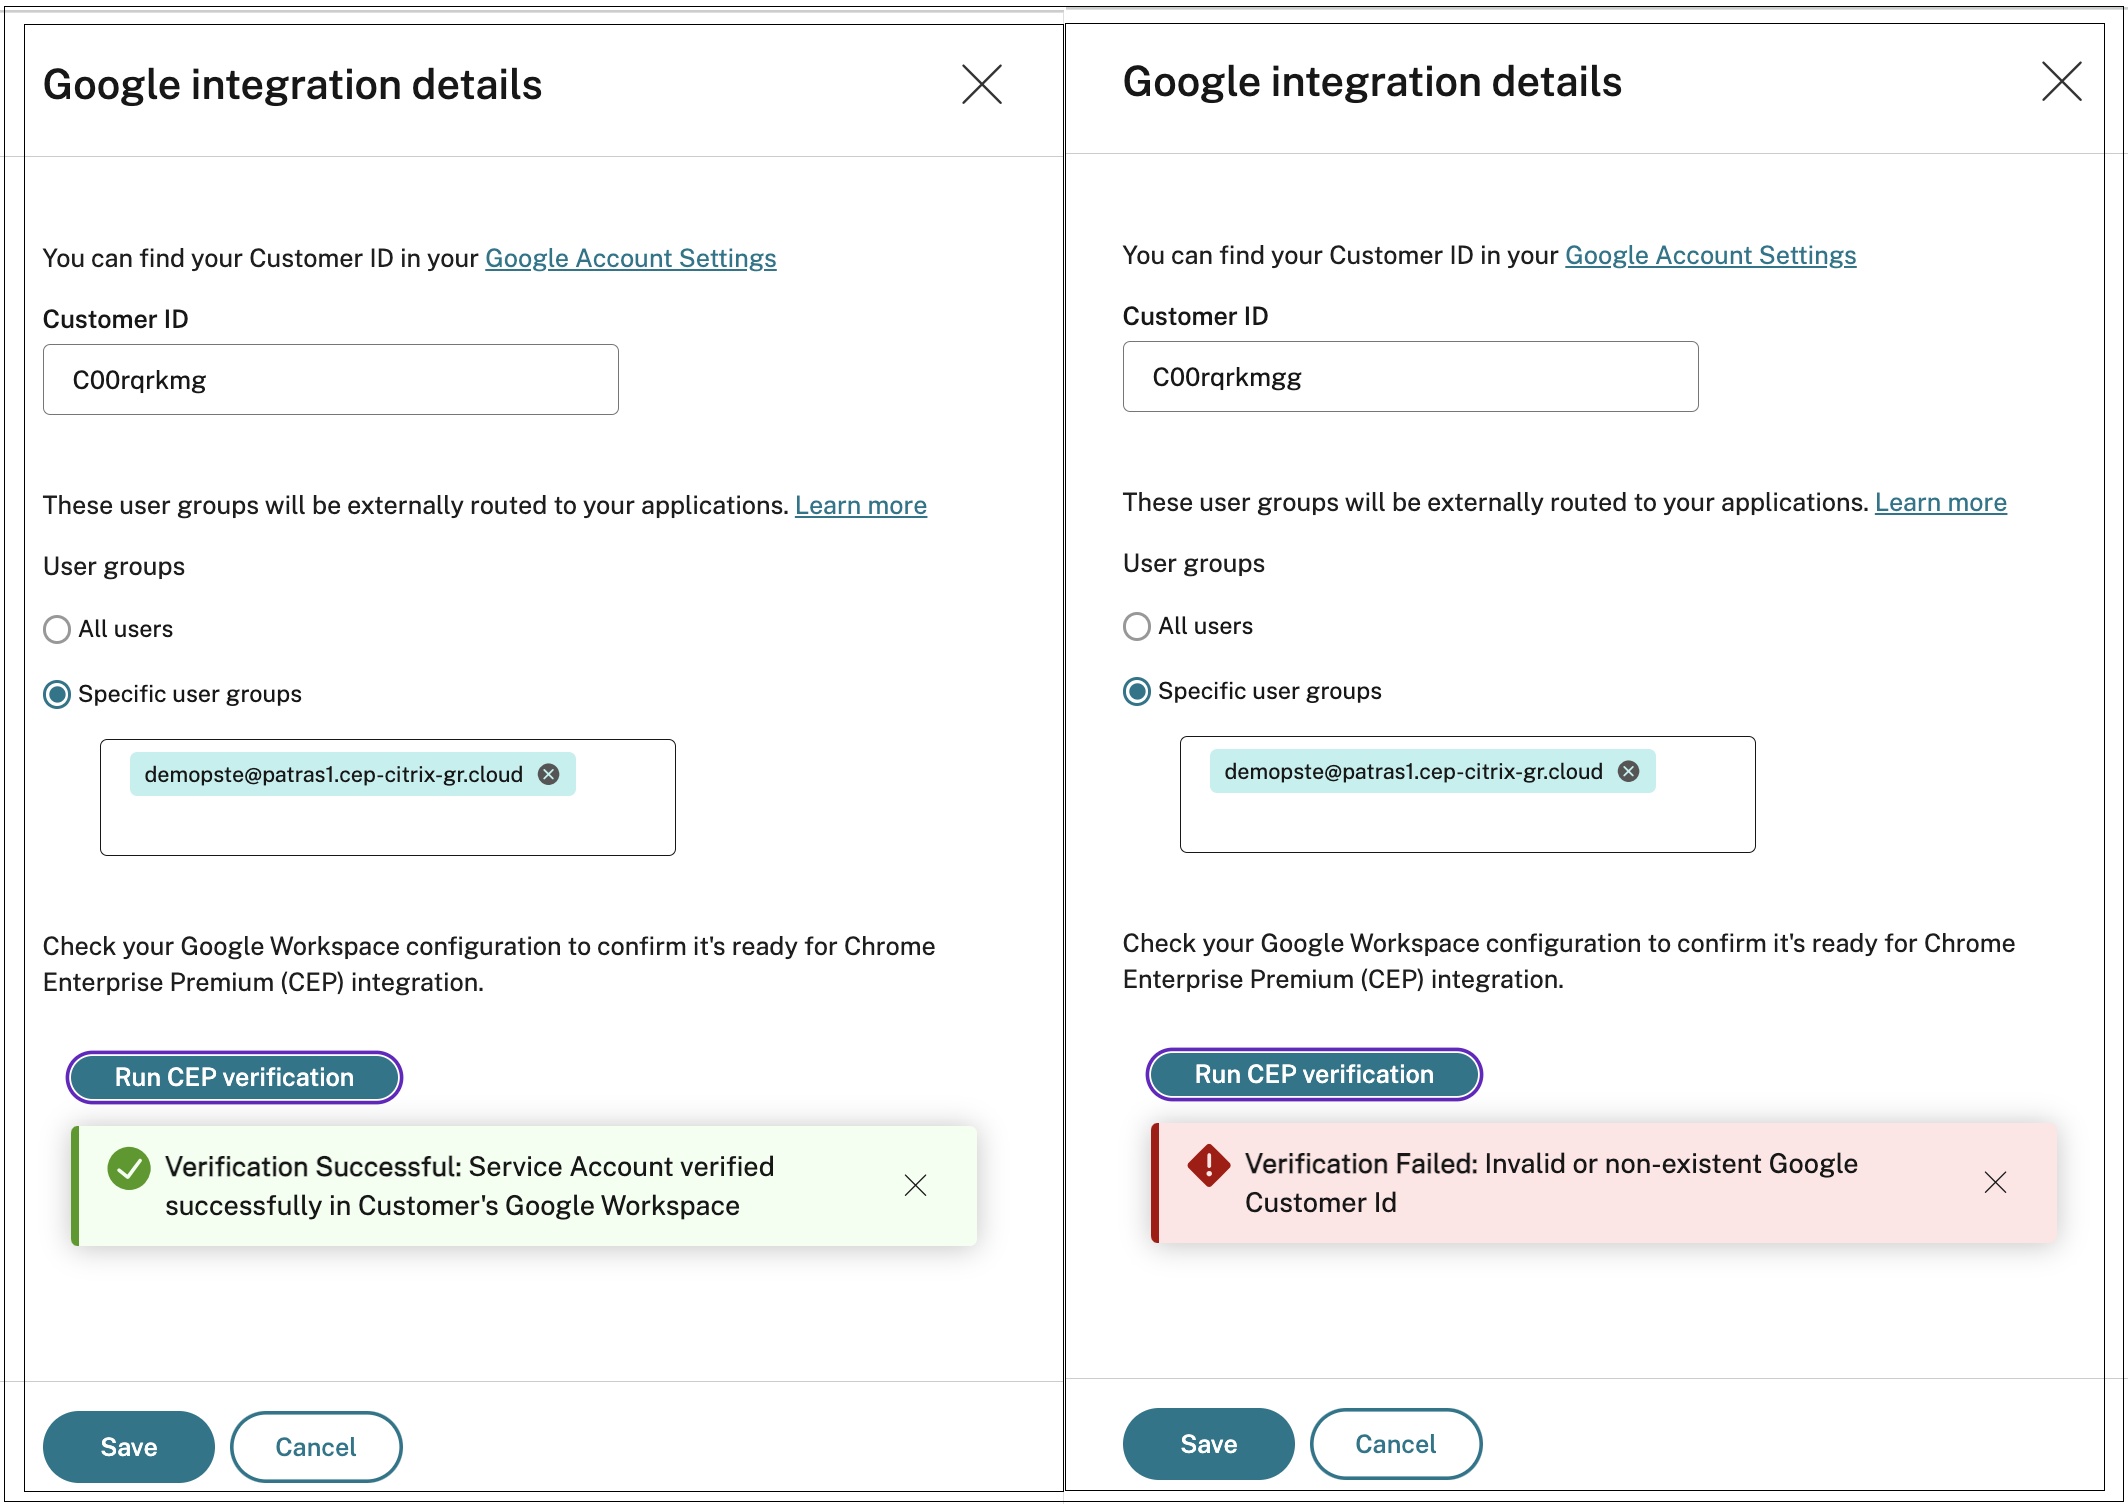
- Click the edit icon and update the customer ID or the user groups or both.
-
Click Run CEP verification to verify your Google Workspace configuration is ready for Chrome Enterprise Premium integration.
If there are issues with the integration details, CEP verification displays a failure or warning message with details to help you resolve them. For guidance, see Known verification failures and warnings.
Known verification failures and warnings
When verifying the CEP configuration, Secure Private Access flags any failures or warnings identified for the selected setup before allowing the configuration to be completed.
You must resolve all identified failures before continuing with the configuration. Use the following table to identify and fix specific failures detected during verification:
| Failure message | Action |
|---|---|
| Invalid Google Customer ID or service account lacks permissions to access Google Workspace.
|
Verify that the Google Customer ID is correct. |
| Ensure that the required privileges are assigned to the service account. For details, see Admin roles and privileges. | |
| Service account lacks permissions to access Chrome Extension Policies.
Service account lacks permissions to access Chrome Extension Policies for User Group. Service account lacks permissions to access Chrome Client Certificates Policy. |
Ensure that the required privileges are assigned to the service account. For details, see Admin roles and privileges.
|
| Null or Empty User Group ID found in Google Workspace.
|
This can be a temporary issue. If it persists, there might be a problem with the Google group. |
| If the issue continues for multiple Google groups, contact Citrix Support. | |
| Invalid or non-existent User Group
|
Check for spelling errors in the Google group name. |
| Verify in the Google Admin console that the group still exists. |
Any identified warnings must be noted and investigated, but they do not prevent the configuration from being completed. The following list describes common warnings and how to address them:
| Warning message | Action |
|---|---|
| Google Customer ID is already in use | Your organization has multiple Citrix Secure Private Access tenants using the same Google Customer ID for Chrome Enterprise Premium integration. Configure this carefully, because overlapping Google groups (including selecting ‘All users’ for one or more tenants) can override or partially override existing Chrome Enterprise Premium settings in your other Citrix tenants. |
| Overlapping Google Directory user groups detected
|
Review the Chrome Enterprise Premium integration on your other Citrix tenants for the given Google groups. |
| Decide which Citrix tenant must have the Chrome Enterprise Premium set up for each of the relevant Google groups. | |
| Remove the respective setup from the other Citrix tenants. | |
| Reapply the Google group setup for the selected Citrix tenant if it was removed during cleanup. | |
| The ‘All users’ option may interfere with other customers linked to this Google Customer ID
|
Configuring Chrome Enterprise Premium for ‘All users’ (the root Google organizational unit) can override other Secure Private Access setups that use the same Google Customer ID. |
| Use this setting only if the other Citrix tenants are not actively used by users. | |
| The ‘All users’ option is used by at least one customer linked to this Google Customer ID
|
If another Citrix tenant has configured Chrome Enterprise Premium for ‘All users’ (the root Google organizational unit), it can override Google group integrations planned for this Citrix tenant. |
| Confirm whether the other Citrix tenant requires the ‘All users’ integration. If not, change that tenant to a specific Google group. |
Provisioning failure issue with multiple user groups
When configuring Chrome Enterprise Integration in Secure Private Access (while onboarding or from the Browser settings page), specifying more than eight user groups might cause provisioning failures. As a workaround, do the following:
- Use a dedicated directory parent group that encompasses all required groups.
- Configure this parent group during onboarding.
- If group membership changes in the directory, repeat the synchronization process to Google’s Directory.
Next steps
After you configure Connector Appliance and Chrome Enterprise Premium, you can configure the applications and policies for your users.