Configure ServiceNow
Users can securely log on to ServiceNow using their enterprise credentials.
To configure ServiceNow for SSO through SAML, perform the following:
-
In a browser, type
https://<your-organization>.service-now.com/and press Enter.For example, if the URL you use to access ServiceNow is
https://myserver.servicenow.com, then you must replace<your-organization>withmyserver.NOTE:
-
Ensure that the following details are provided in the Citrix Gateway service user interface when adding the ServiceNow app.
-
Assertion URL:
https://<your-organizaton>.service-now.com/navpage.do -
Relay State:
https://<your-organizaton>.service-now.com/ -
Audience:
https://<your-organizaton>.service-now.com/ -
Name ID Format: Select “Email Address”
-
Name ID: Select “User Principal Name (UPN)”
-
-
The Name ID format and Name ID attributes depend on the method of authentication chosen for ServiceNow.
-
-
Log on to your ServiceNow account as an administrator.
-
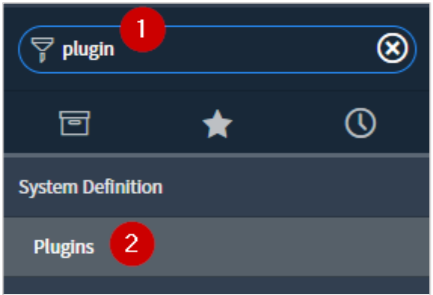
In the upper-left corner, using the Filter Navigator, search for plug-ins, and click Plugins in the search results.
-
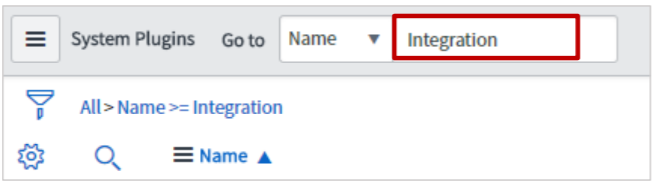
In the right pane, in System Plugins section, search for integration.
-
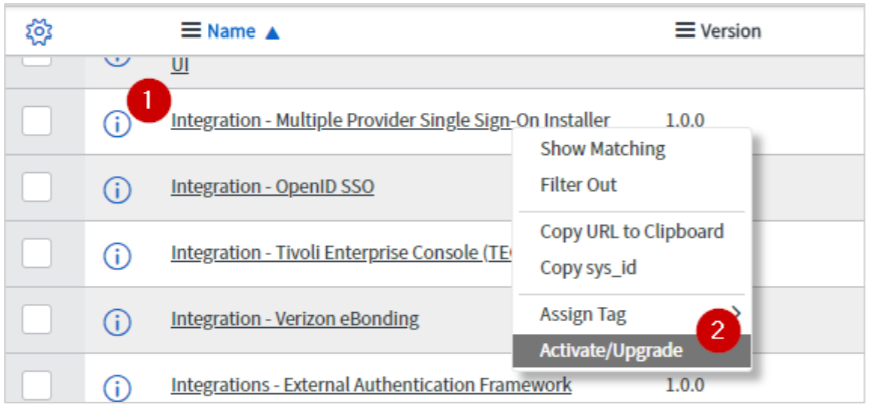
In the search results, right-click Integration - Multiple Provider Single Sign-OnInstaller and click Activate/Upgrade.
-
Click Activate.
A progress bar indicates the completion of the activation process.
-
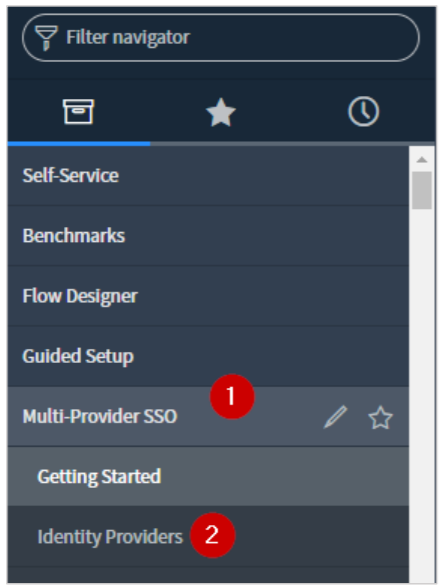
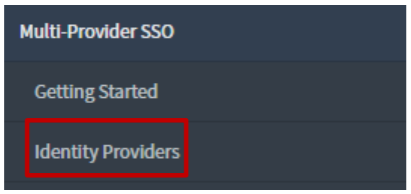
In the left pane, scroll down to the Multi-Provider SSO section and click Multi-ProviderSSO > Identity Providers.
-
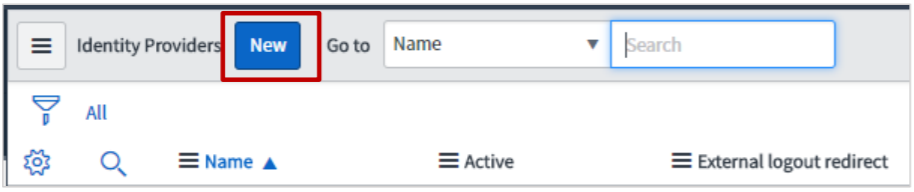
In the right pane, click New.
-
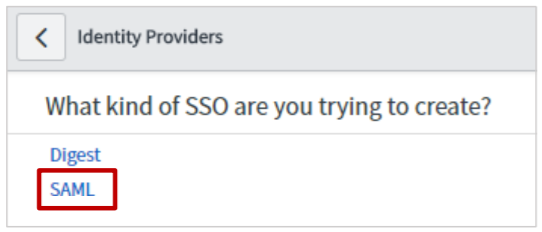
Click SAML.
-
If you have the metadata URL, in the Identity Provider New Record section, in the Import Identity Provider Metadata pop-up window, click URL and enter the metadata URL and click Import.
The values for the Identity Provider record fields are automatically populated.
If you have the metadata XML file, click the XML. Copy the Identity Provider Metadata XML data and paste in the box. Click Import.
The values for the Identity Provider record fields are automatically populated. You can update the values if necessary.

Important:
-
Citrix recommends that you import the metadata XML file instead of configuring it manually. You can import the metadata XML file from the Citrix Cloud wizard (Citrix Gateway Service > Add a Web/SaaS App > Single sign on > SAML Metadata).
-
While configuring the parameters in the Advanced tab, ensure that the User Field value matches with the value that is configured for the Name ID field in the Citrix Gateway service user interface.

-
-
Click Submit.
-
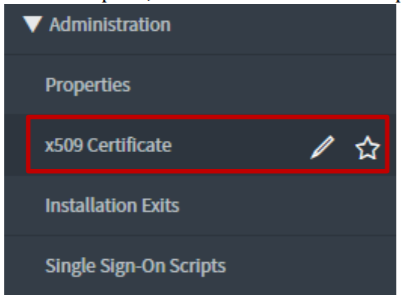
In the left pane, click x509 Certificate to upload x509 certificate.
-
In the right pane, click New.

-
In the X.509 Certificate New record section, specify the following information:
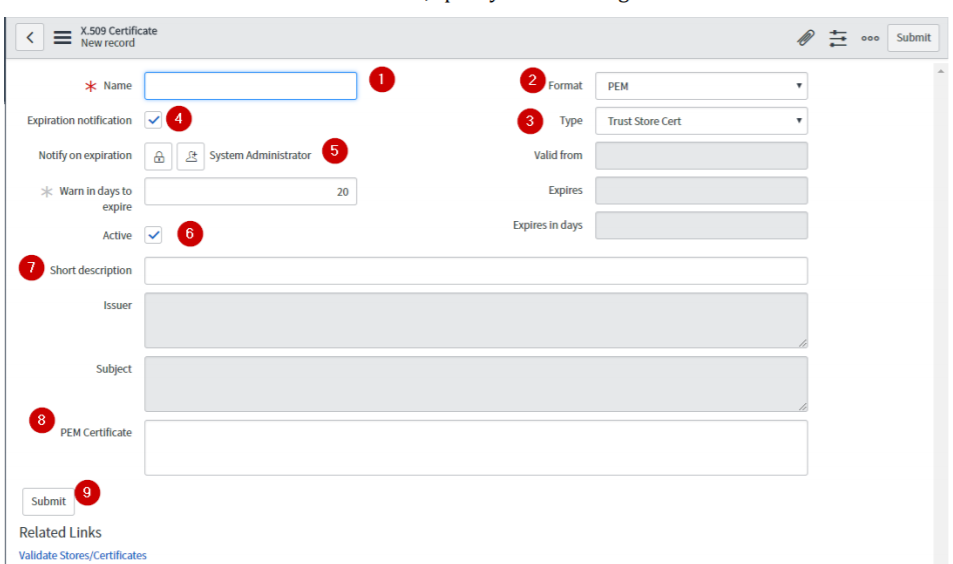
Name – type a certificate name.
-
Format – click the appropriate format: for example PEM.
-
Expiration notification – select the check box.
-
Type – click the appropriate type.
-
Notify on expiration – click the Add me icon to get notified. Click the Unlock Notify on expiration to add more users.
-
Active – select the check box.
-
Short Description – type description for the certificate.
-
PEM Certificate – paste the PEM certificate.
-
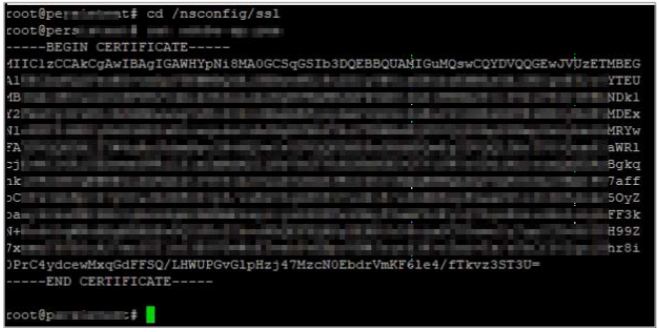
Download the certificate from the Citrix Cloud wizard (Citrix Gateway Service > Add a Web/SaaS App > Single sign on > Certificate).
-
Copy the text from —–BEGIN CERTIFICATE—– to —–ENDCERTIFICATE—–
-
Paste the text in a text editor and save the file in an appropriate format such as
<your organization name>.
Note: If you have used an XML file to configure the IdP, you do not have to configure the certificate.
Click Submit.
-
-
-
In the left pane, click Identify Providers.
-
Click the Identity Provider that you have added.

-
On the identity Provider details page, scroll down to the Related Links section. In the X.509 Certificate row, search for the X.509 certificate, and add the appropriate certificate for the identity provider by clicking Edit.
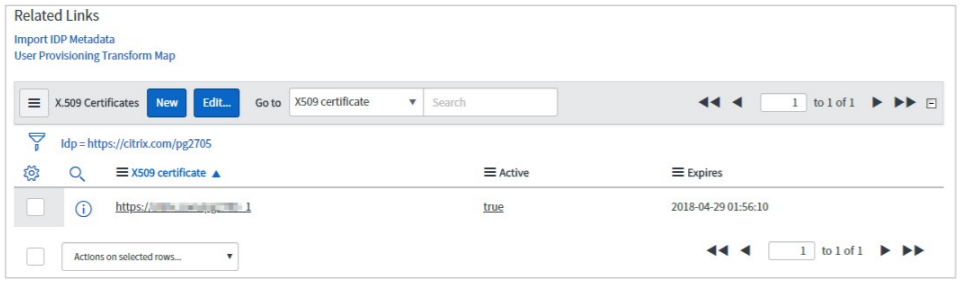
To add a new x.509 certificate, click New and to add or remove the certificates, click Edit.
-
Click Update on the identity provider details page to save the changes.

-
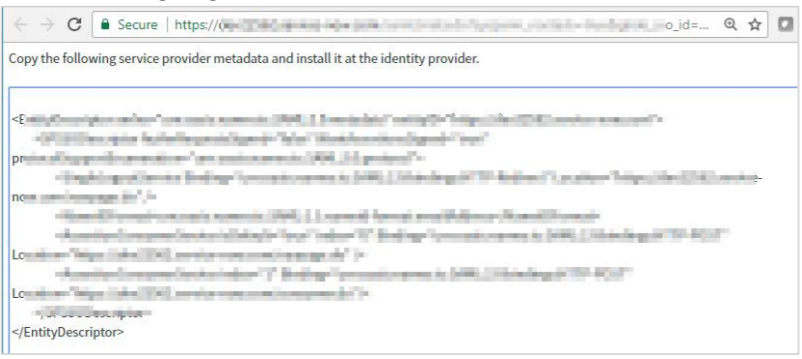
To obtain metadata to be used for IdP configuration, click Generate Metadata.
Note: You must click Generate Metadata to complete the updates.

The service provider metadata appears in a new window. You can use the metadata to validate the entities across both, SP and IdP.