Create store
You can create as many stores as you need; for example, you can create a store for a particular group of users or to group together a specific set of resources.
Important:
In multiple server deployments, use only one server at a time to make changes to the configuration of the server group. Ensure that the Citrix StoreFront management console is not running on any of the other servers in the deployment. Once complete, propagate your configuration changes to the server group so that the other servers in the deployment are updated.
To create a store, you identify and configure communications with the servers providing the resources that you want to make available in the store. Then, optionally, you configure remote access to the store through Citrix Gateway.
-
From the actions pane click Create Store.
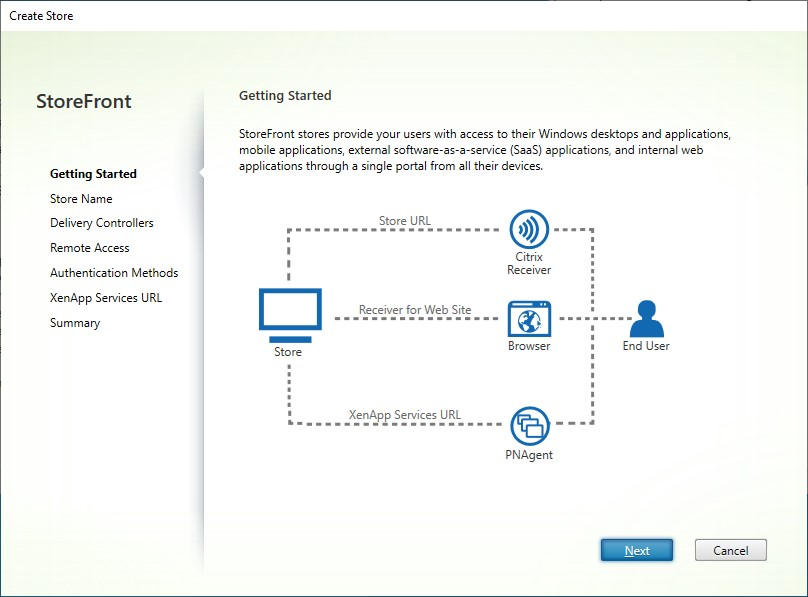
Click Next
-
On the Store Name tab fill out the following:
-
Enter a store name
-
If you wish to allow users to access the store anonymously, or unauthenticated, tick Allow only unauthenticated users to access this store. When you create an unauthenticated store, Authentication Methods and Remote Access pages are not available, and Server Group Node in the left and Action panes are replaced by Change Base URL. (This is the only option available because server groups are not available in nondomain-joined servers.)
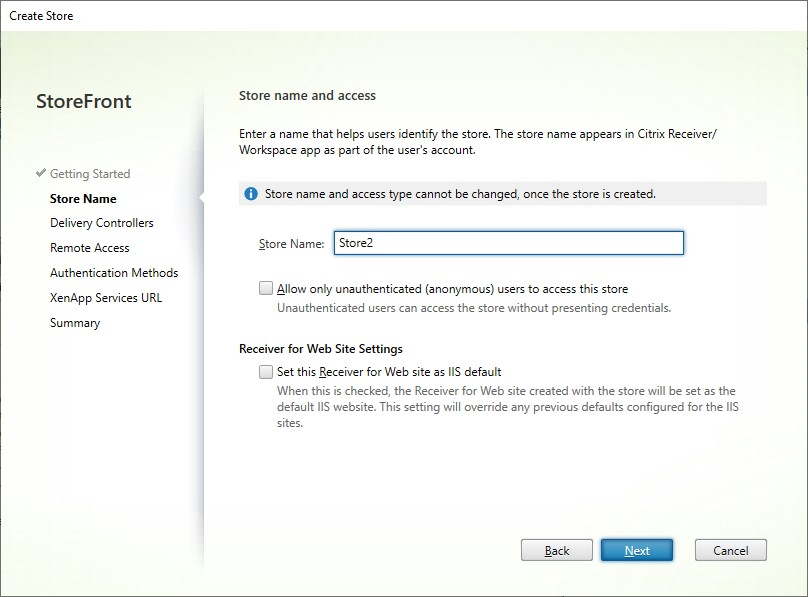
Click Next
-
-
On the Delivery Controllers tab, add resource feeds for your virtual desktops and applications. For more details, see Manage the resources made available in stores
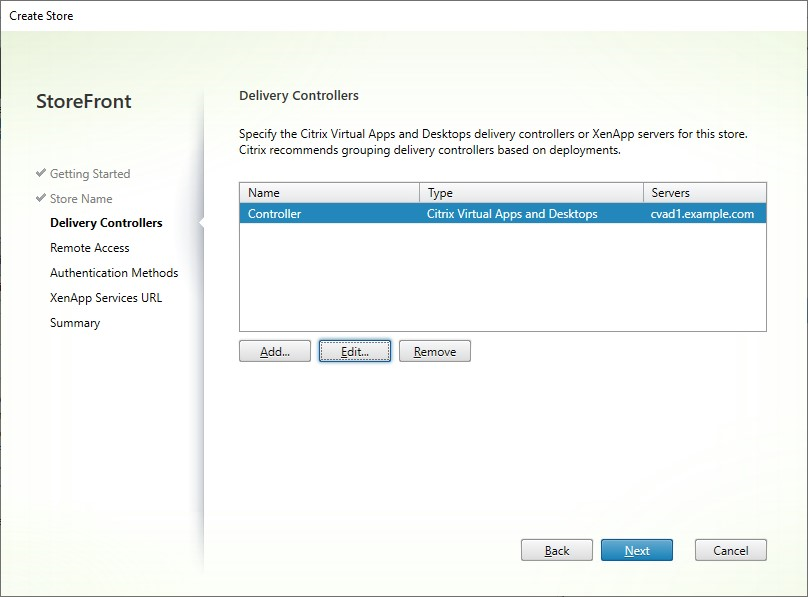
Click Next.
-
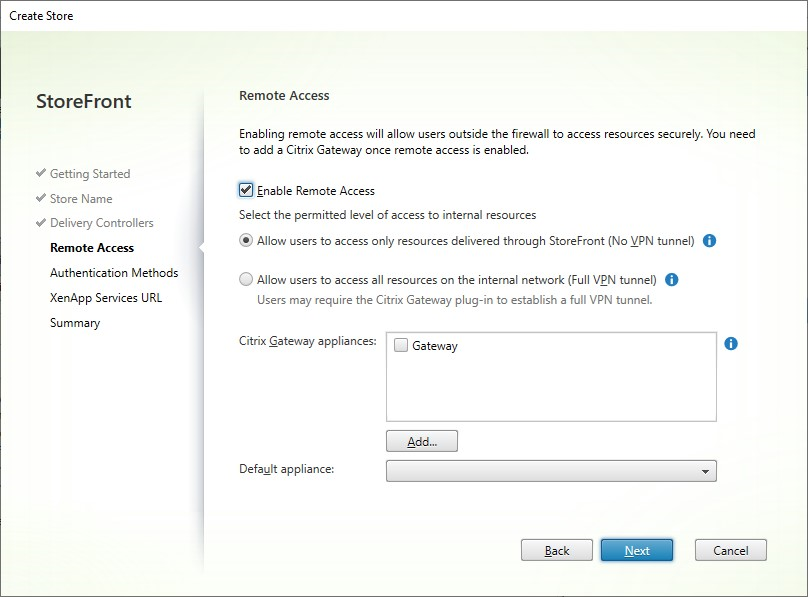
On the Remote Access tab choose whether you want make the store available via a Citrix Gateway. For more details see Manage remote access to stores through Citrix Gateway.
-
On the Authentication Methods tab, select the methods your users will use to authenticate to the store and click Next.
For more details of the available authentication methods, see Configure authentication.
Rather than configuring authentication methods separately for this store, it is possible to share the authentication configuration with another store. To do this, tick Use a shared authentication service then choose an existing store.
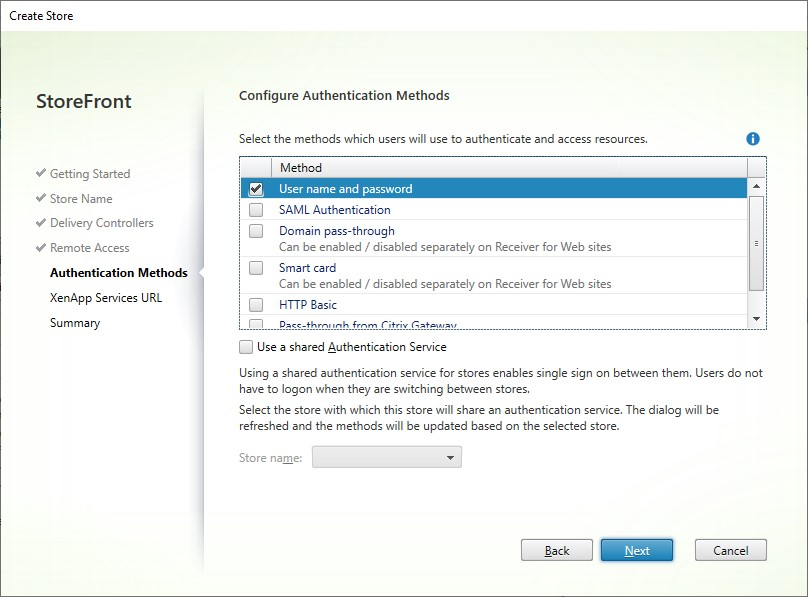
Click Next
-
On the XenApp Services URL tab, if you have legacy devices requiring PNAgent select Enable XenApp Services URL, otherwise clear it.
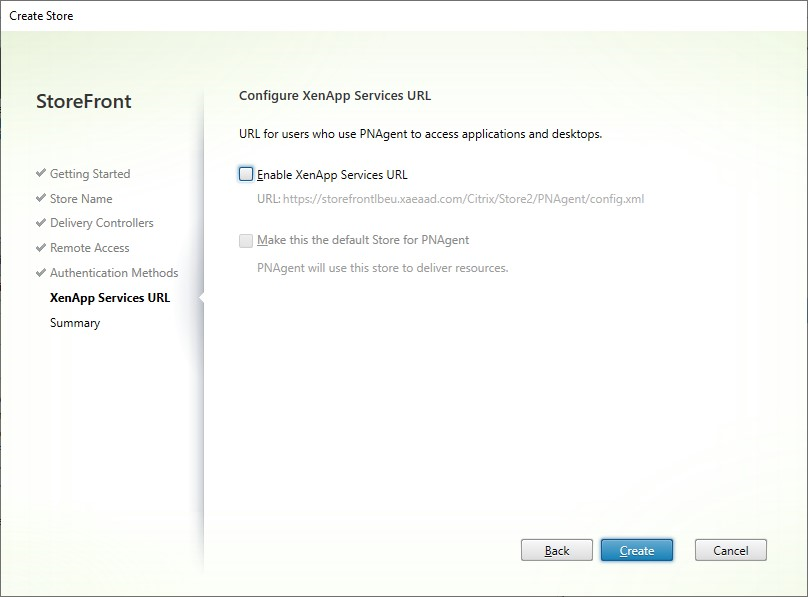
Click Create
Note:
XenApp services is deprecated and will be removed from a future release.
-
When the store has been created, click Finish.
When a new store is created it also creates a new website to allow users to access the store. You can configure this website or create additional websites.
PowerShell SDK
To create a store using the PowerShell SDK:
-
Create an authentication service using Add-STFAuthenticationService. By convention, the virtual path is typically
/Citrix/[StoreName]Auth. Alternatively you can get an existing authentication service using Get-STFAuthenticationService. This step is not required for an anonymous store. -
Configure the authentication service as required. See Configure authentication.
-
Call Add-STFStoreService.
- Choose a virtual path for the store and set this as the
-VirtualPathparameter. Typically this is /Citrix/[StoreName]. - Set
-AuthenticationServiceto the authentication service created in step 1. Alternatively for an anonymous store set-Anonymous $True - You can include the details of one resource feed. Further resource feeds must be configured separately.
- Choose a virtual path for the store and set this as the