Licensing
XenMobile Server now supports the License Activation Service (LAS) licensing mechanism. LAS is a new cloud-based licensing solution that offers a modern alternative to traditional file-based licensing across the suite of Citrix products. Register your Citrix License Server with Citrix Cloud to use the licenses and entitlements that your License Activation Service holds. For more information, see License Activation Service.
Important:
- Please adopt the new licensing model by April 15, 2026. For more information, see Citrix Modern Licensing Announcement.
- The process for returning and modifying Citrix® licenses changed as of November 4, 2020. For more information, see the following articles:
XenMobile® uses Citrix Licensing to manage licenses. XenMobile Server and Citrix Gateway require licenses.
For more information about Citrix Gateway licensing, see the Citrix Gateway documentation. For more information about Citrix Licensing, see The Citrix Licensing System.
When you purchase XenMobile Server, you receive an order confirmation email message containing instructions for activating your license. New customers must register for a license program before placing an order. For more information about XenMobile licensing models and programs, see XenMobile licensing.
Requirements
- Update your Citrix License Server to 11.16.x or later before updating to the latest version of XenMobile Server. Older license server versions do not support the latest version of XenMobile.
- You must install Citrix Licensing before downloading your XenMobile licenses. The name of the server on which you installed Citrix Licensing is required to generate the license file. When you install XenMobile, Citrix Licensing is installed on the server by default. Alternatively, you can use an existing Citrix Licensing deployment to manage your XenMobile licenses. For more information about installing, deploying, and managing Citrix Licensing, see Licensing Your Product.
- If you intend to cluster nodes, or instances, of XenMobile, you must use Citrix Licensing on a remote server.
- Citrix recommends that you keep local copies of all license files you receive. When you save a backup copy of the configuration file, all license files are included in the backup. If however, you reinstall XenMobile without first backing up the configuration file, you need the original license files.
XenMobile licensing considerations
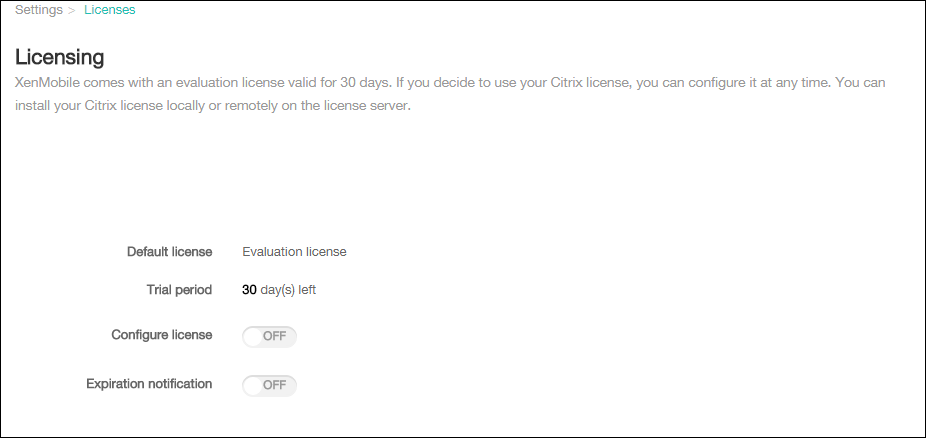
In the absence of a license, XenMobile operates fully featured in trial mode for a grace period of 30 days. This trial mode can be used only one time, with the 30-day period beginning when you install XenMobile. Access to the XenMobile web console is never blocked whether a valid XenMobile license is available or not. In the XenMobile console, you can see how many days are left in your trial period.
Although XenMobile allows you to upload multiple licenses, only one license can be activated at a time.
When a XenMobile license expires, you can no longer do any device management functions. For example, new users or devices cannot be enrolled, and apps and configurations deployed to enrolled devices cannot be updated. For more information about XenMobile licensing models and programs, see XenMobile licensing.
To find the Licensing page on the XenMobile console
When the Licensing page first appears after you install XenMobile, the license is set for the default 30-day trial mode and is not yet configured. You can add and configure licenses on this page.
-
On the XenMobile console, click the gear icon in the upper right-hand corner. The Settings page appears.
-
Click Licensing. The Licensing page appears.
To add a local license
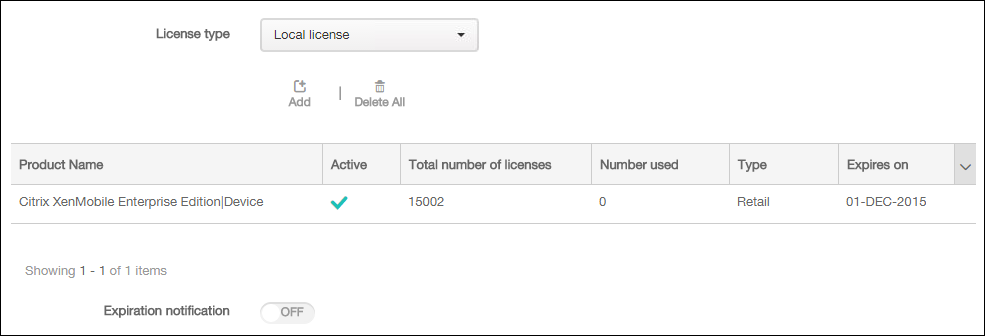
When adding new licenses, they appear in the table. The first license added is automatically activated. If you add multiple licenses of the same category, such as Enterprise and type, these licenses appear in a single row of the table. In these cases, the Total number of licenses and Number used reflect the combined amount for the common licenses. The Expires on date shows the latest expiration date among the common licenses.
You manage all local licenses through the XenMobile console.
-
Get a license file from the Simple License Service, through the License Administration Console, or directly from your account on Citrix.com. For details, see the Citrix Licensing documentation.
-
On the XenMobile console, click the gear icon in the upper right corner. The Settings page appears.
-
Click Licensing. The Licensing page appears.
-
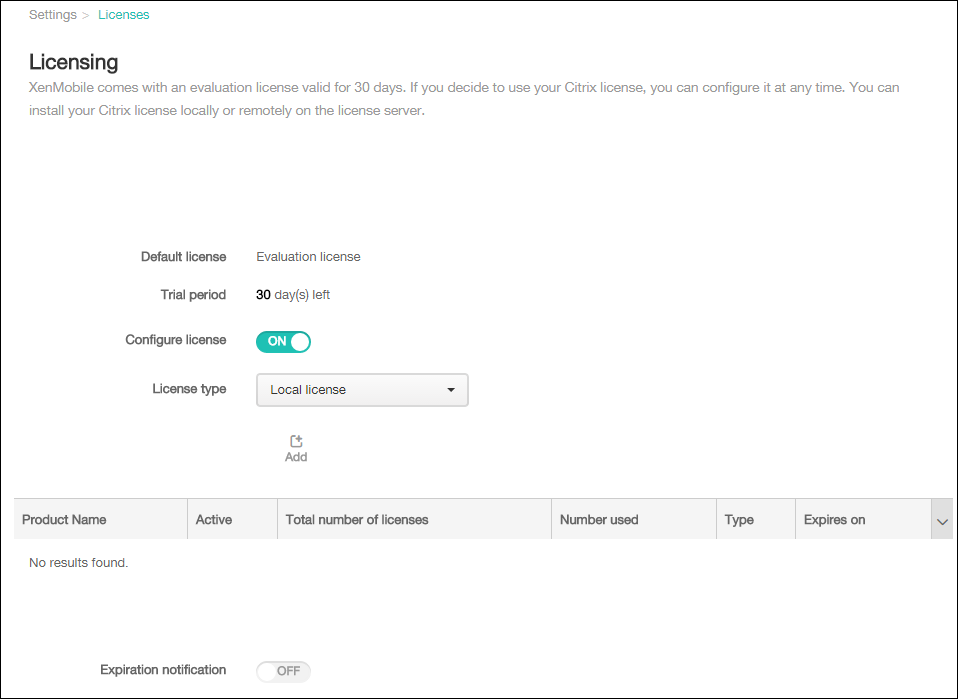
Set Configure license to On. The License type list, the Add button, and the Licensing table appear. The Licensing table has licenses that you have used with XenMobile. If you have not added a Citrix license yet, the table is empty.
-
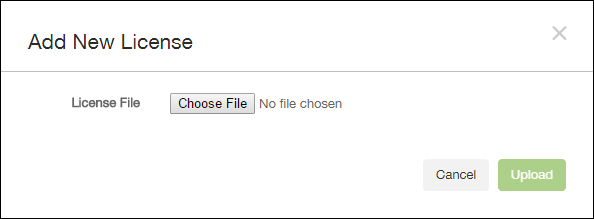
Make sure that License type is set to Local license and then click Add. The Add New License dialog box appears.
-
In the Add New License dialog box, click Choose File and then browse to your license file location.
-
Click Upload. The license is uploaded locally and appears in the table.
-
When the license appears in the table on the Licensing page, activate it. If the license is first in the table, the license is activated automatically.
To add a remote license
If you are using the remote Citrix Licensing server, you use the Citrix Licensing server to manage all licensing activity. For details, see Licensing Your Product.
-
Import the License server certificate into XenMobile Server (Settings > Certificates).
-
By default, host name verification is enabled on outgoing connections except for the Microsoft PKI server. If host name verification breaks your deployment, change the server property disable.hostname.verification to true. The default value of this property is false.
When host name verification fails, the server log includes errors such as: “Unable to connect to the volume purchase Server: Host name ‘192.0.2.0’ does not match the certificate subject provided by the peer”
-
On the Licensing page, set Configure license to On. The License type list, the Add button, and the Licensing table appear. The Licensing table has licenses that you have used with XenMobile. If you have not added a Citrix license yet, the table is empty.
-
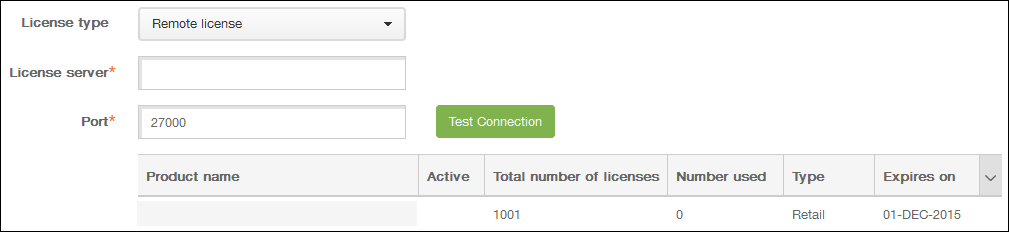
Set License type to Remote license. The License server and Port fields and the Test Connection button replace the Add button.
-
Configure these settings:
- License server: Type the IP address or fully qualified domain name (FQDN) of your remote licensing server.
- Port: Accept the default port or type the port number used to communicate with the licensing server.
-
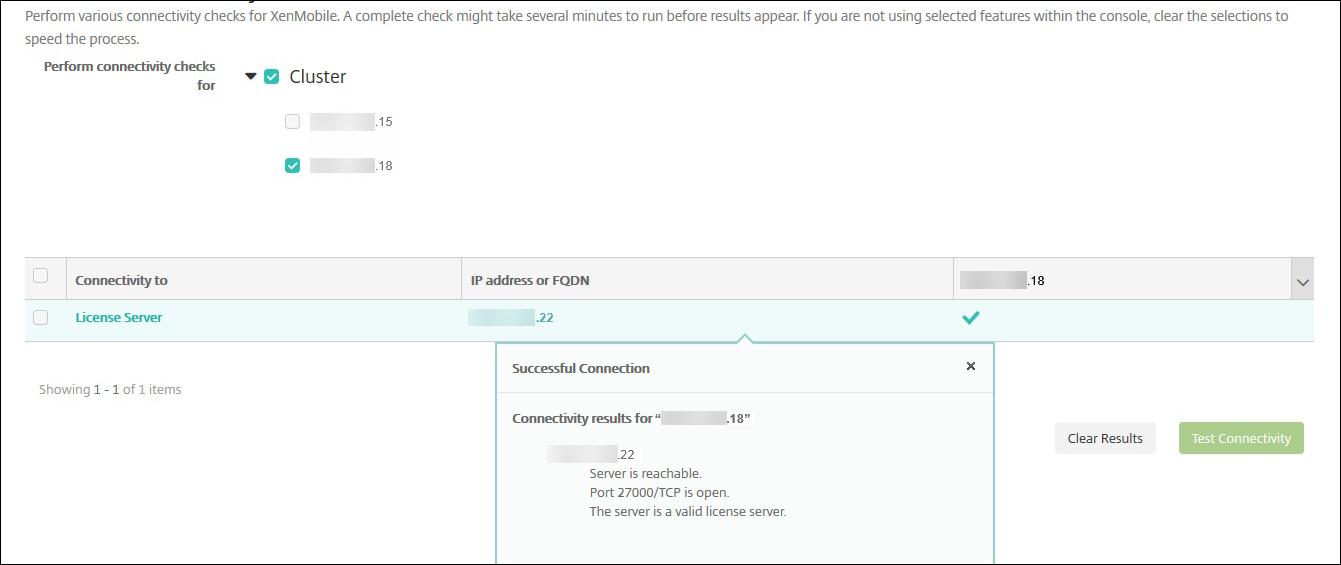
Click Test Connection. If the connection is successful, XenMobile connects with the Licensing server and the Licensing table is filled with available licenses. If there is only one license, it is activated automatically.
When you click Test Connection, XenMobile confirms the following:
- XenMobile can communicate with the license server.
- Licenses on the license server are valid.
- The license server is compatible with XenMobile.
If the connection is unsuccessful, review the displayed error message, make the necessary corrections, and then click Test Connection.
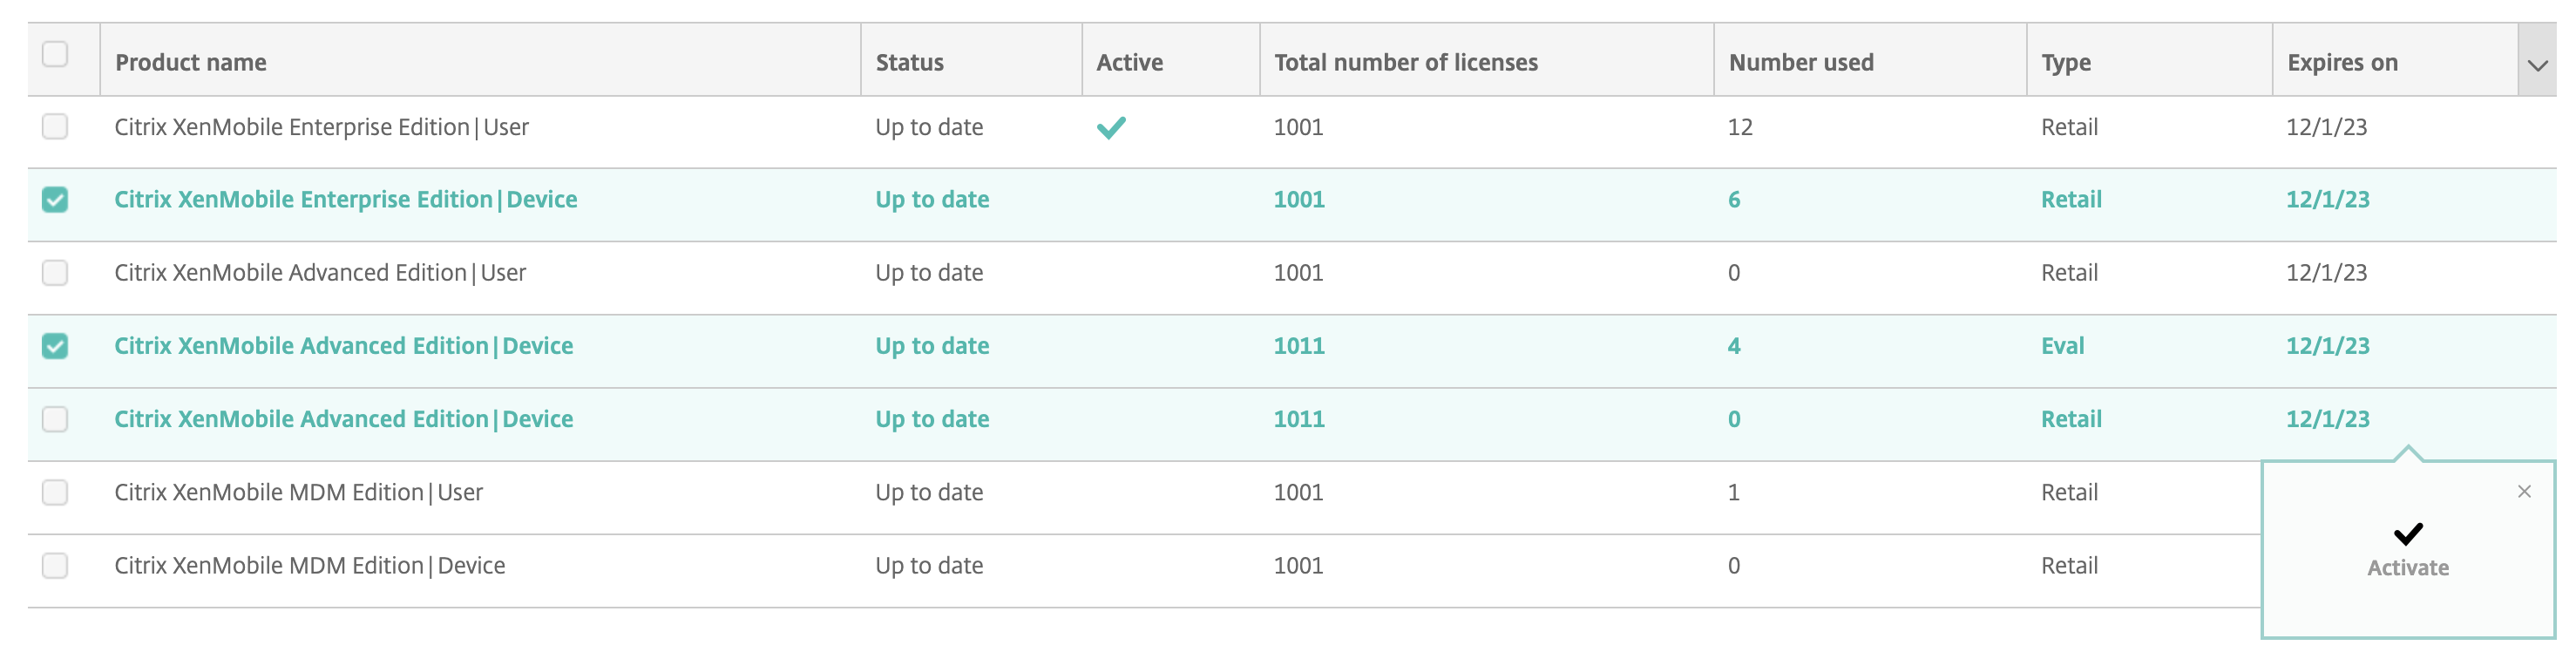
To activate a different license
If you have multiple licenses, you can choose the licenses you want to activate.
-
On the Licensing page in the Licensing table, select the licenses that you want to activate. Click any row in the list, the Activate dialog box appears.
-
Click Activate.
-
When you see a check mark in the Active row against the licenses, click Save.
Important:
- The per User license and per Device license are mutually exclusive, and can’t be activated simultaneously.
- Only ADV Edition and ENT Edition licenses can be mixed. MDM Edition licenses can’t mix with ADV Edition or ENT Edition licenses.
- Make sure that the license files in the same edition have the same status. For example, if one ADV edition file is activated, then the rest of the ADV files are automatically activated.
- For versions before XenMobile Server 10.15 Rolling Patch 3, you can have only one license active at a time. When you activate the selected license, the currently active license is deactivated.
To automate an expiration notification
After you have activated remote or local licenses, you can configure XenMobile to notify you or a designate when the license expiration date approaches.
-
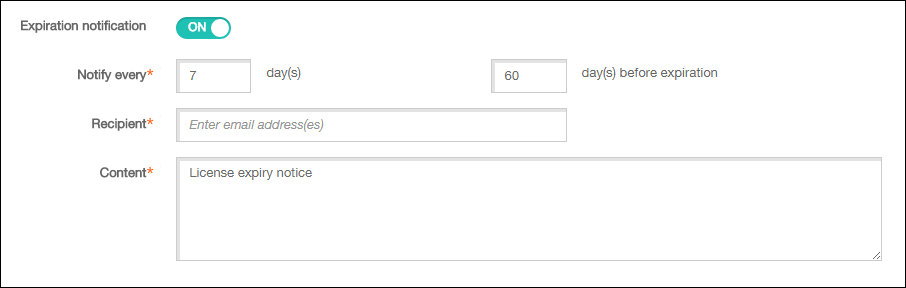
On the Licensing page, set Expiration notification to On. New notification-related fields appear.
-
Configure these settings:
- Notify every: Type:
- The frequency with which the notifications are sent, such as every 7 days.
- When to begin sending the notification, such as 60 days before the license expires.
- Recipient: Type your email address or the email address of the person responsible for the license.
- Content: Type an expiration notification message that the recipient sees in the notification.
-
Click Save. Based on your settings, XenMobile begins sending email messages that has the text you typed in Content to the recipient you typed in Recipient. The notifications are sent with the frequency that you set.