Citrix Cloud Gateway Connector™ availability in Azure
Applications hosted in an enterprise’s data center are securely accessed and connected to cloud using the Citrix Cloud™ Gateway connector. The Citrix Cloud Gateway connector is a virtual machine based on the Citrix ADC appliance hosted within the company’s data center. The Citrix Cloud Gateway connector creates a secure connection and registers to Citrix Cloud services to form a secure tunnel. The Citrix Cloud Gateway connector is hosted on public cloud for customers to purchase and deploy.
Note:
The Gateway Connector can be deployed through the Azure Marketplace. However the instructions in this topic can also be followed.
Citrix Gateway Connector is deprecated. Citrix recommends that you migrate to Connector Appliance. For details on Connector Appliance, see Connector Appliance for Cloud Services.
To migrate your Gateway Connector to Connector Appliance, see Migrate Gateway Connector to Connector Appliance.
Deploy a gateway connector in Azure
The high-level steps involved in deploying a gateway connector in Azure are as follows:
- Upload VHD to Azure Storage
- Create an image
- Create a virtual machine.
A fixed size VHD image is used as a connector image. These images are published with the regular build artifacts. The following are the steps to create a VHD from an HyperV image.
-
Extract the HyperV zip file CONNECTOR-HyperV-.zip, and copy the dynamic.vhd file to your working folder.
-
Run the following Azure CLI commands.
- Convert-VHD -Path C:\Users\Administrator\Downloads\Dynamic.vhd -DestinationPath C:\Users\Administrator\Downloads\Fixed.vhd -VHDType >Fixed
- Resize-VHD -Path C:\Users\Administrator\Downloads\Fixed.vhd -SizeBytes 20481 MB This step is necessary if the VHD generated is not greater than the whole number size.
Upload VHD to Azure Storage
-
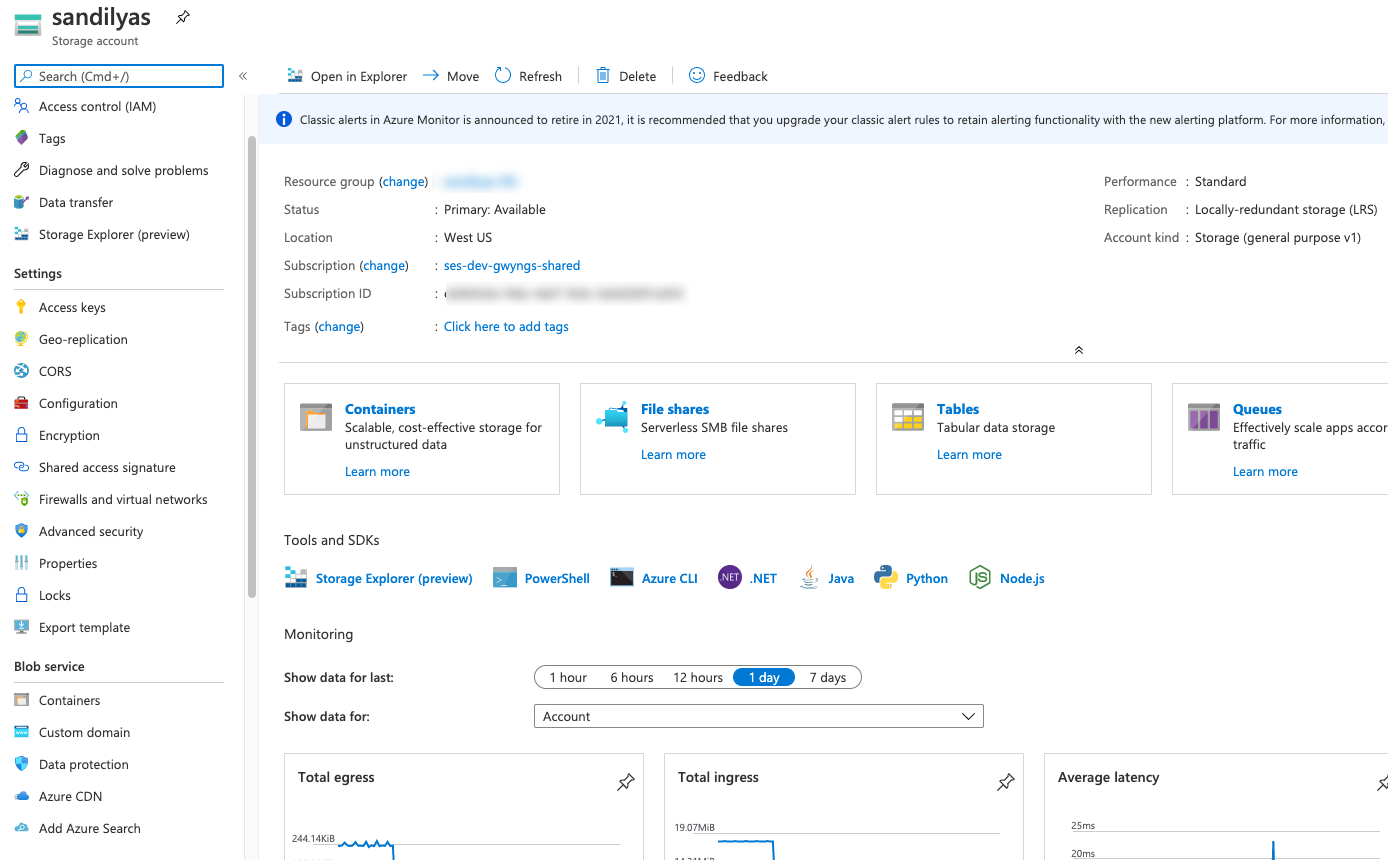
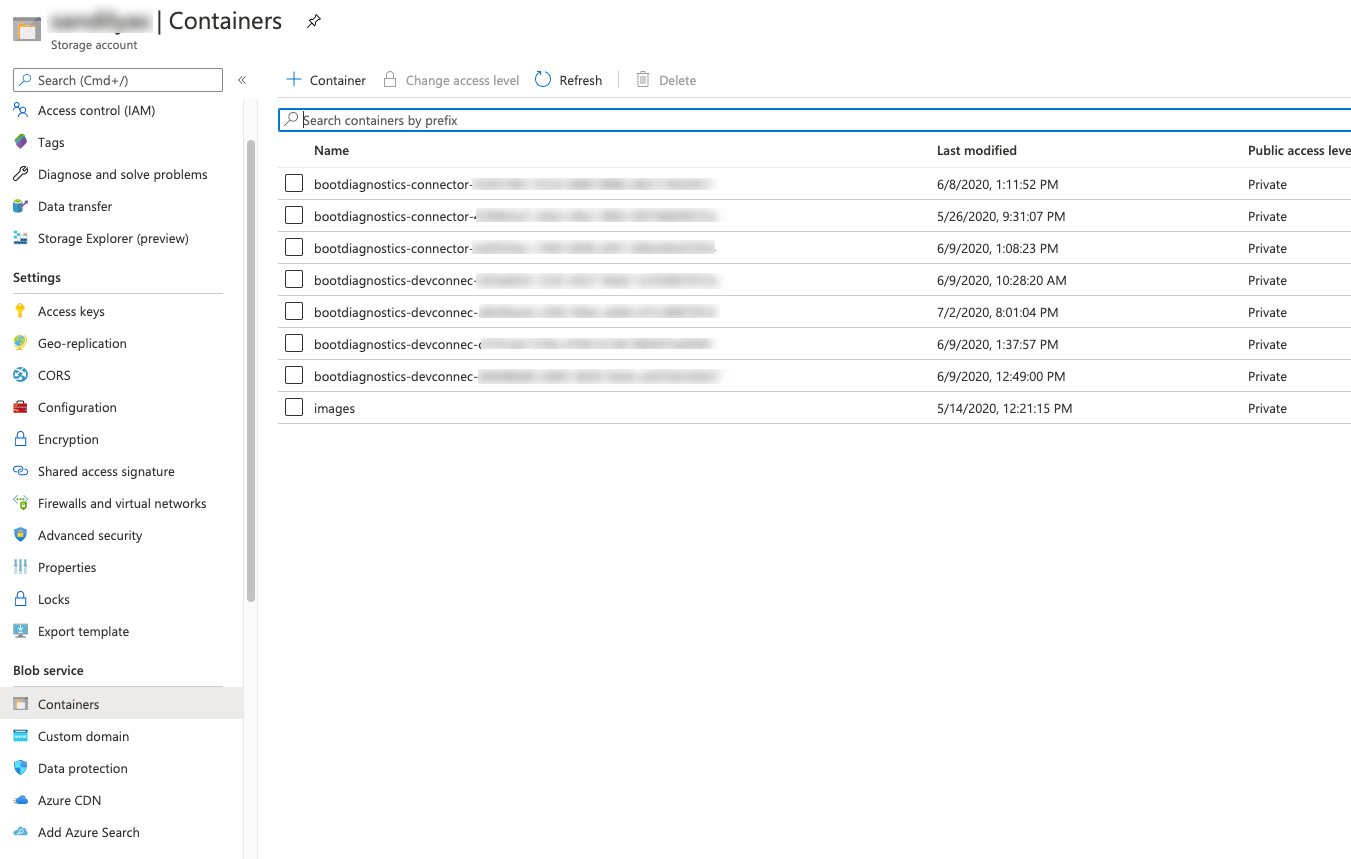
Create a storage account. If you already have a storage account, in the left pane, under Blob Service, click Containers.
-
Create a container or click an existing container.
-
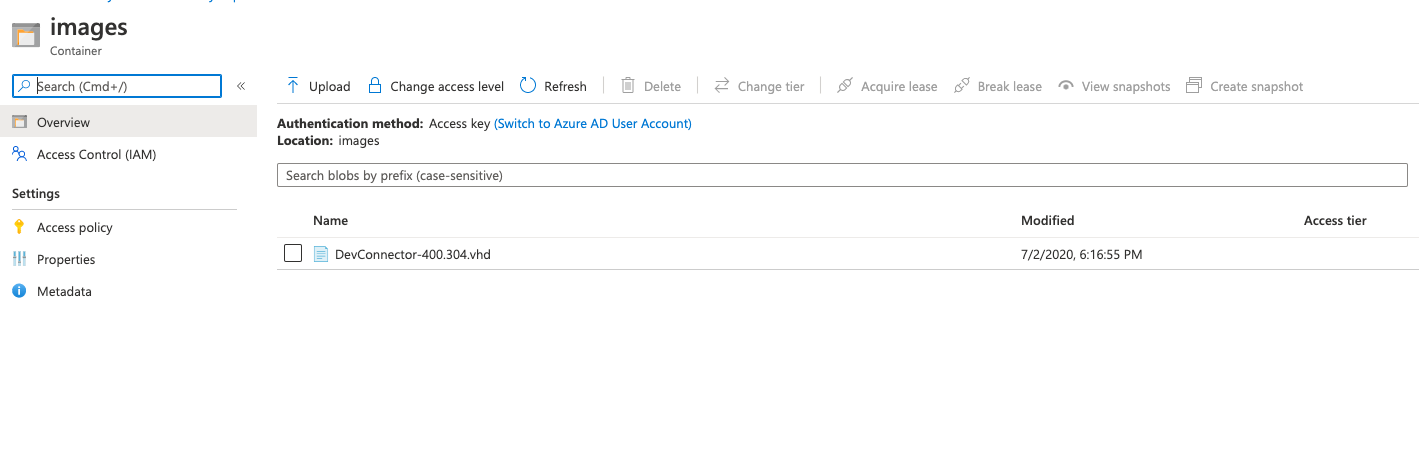
On the Container page, click Upload.
-
Use the Upload form to upload your VHD.

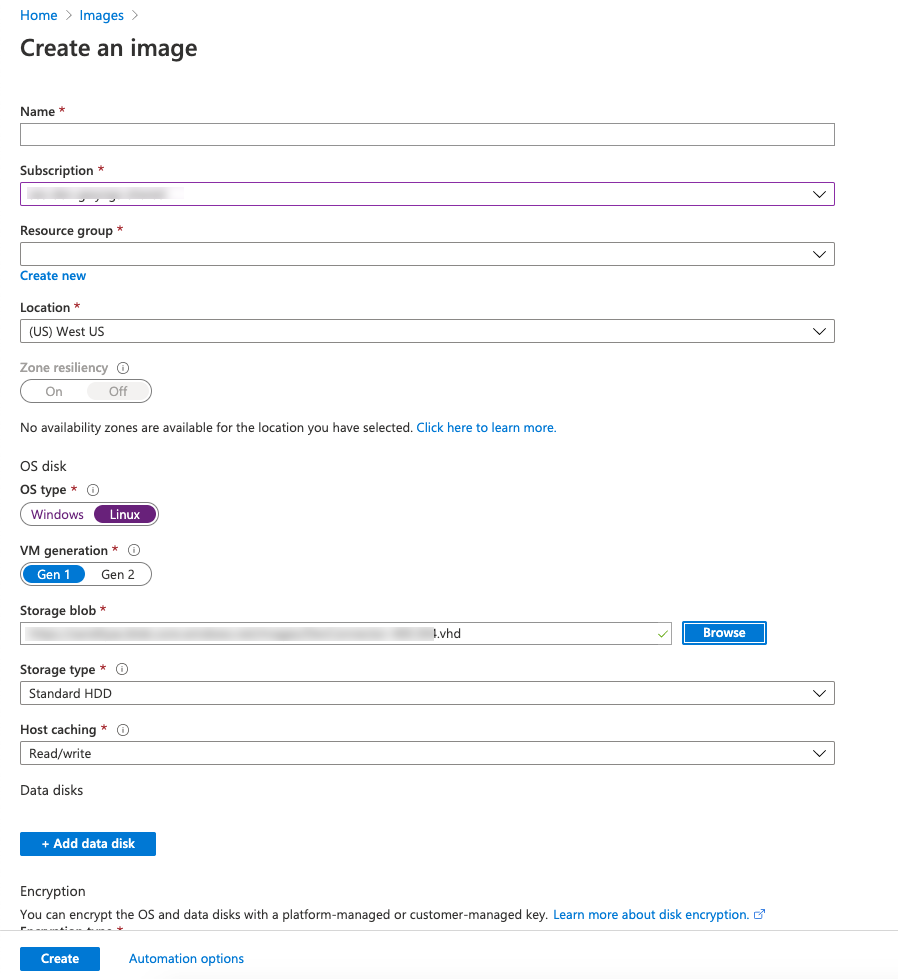
Create an Image
-
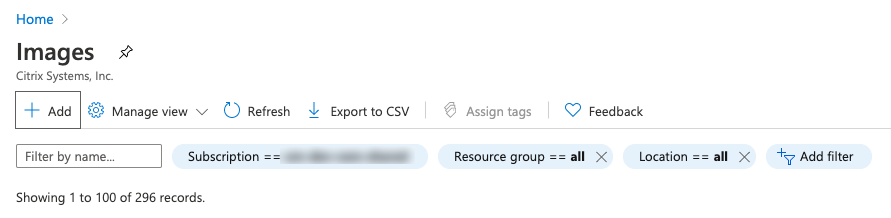
Go to Azure > Images and then click Add.
-
Create an image using the uploaded VHD.
Create a virtual machine
-
Go to the image you created in the previous step and click Create VM. Choose a size that has 2 vCPUs and 4 GB RAM minimum.
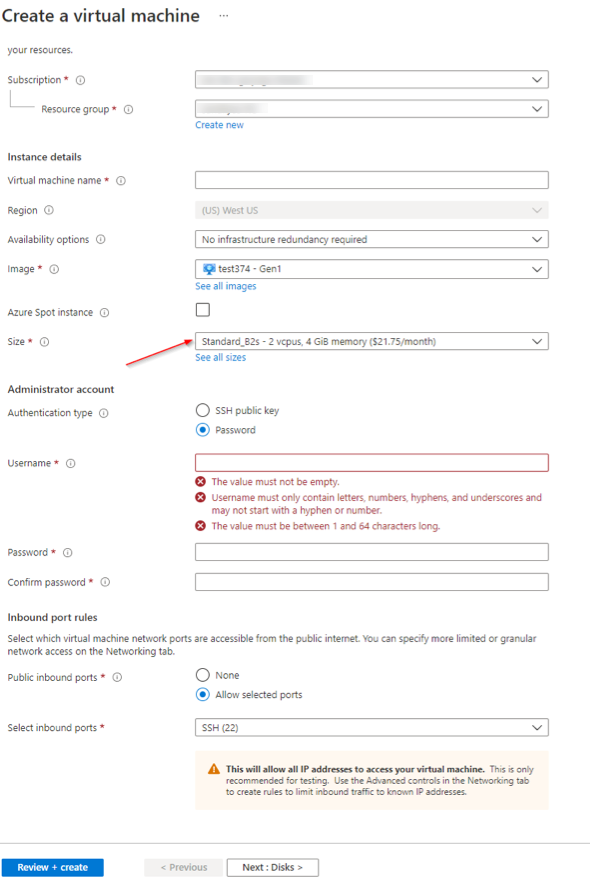
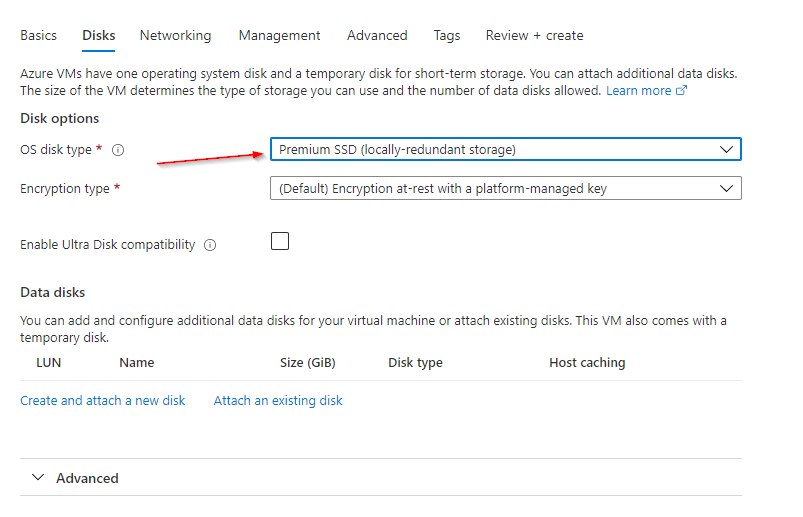
Note: The default OS disk is Premium SSD and minimum storage needed is 20 GB.
- After the VM is created, update the Networking and Inbound Port Rules to allow ports 22 and 8443. You can access the admin UI at
<https://<ip>:8443>. - Log on with default connector credentials and complete the registration.