-
-
-
JFrog
-
-
How to install and use JetBrains IntelliJ Gateway as a Citrix published application
-
Use Citrix Secure Access and Citrix Secure Developer Spaces with VS Code
-
Configure AI Gateway routing in Citrix Secure Developer Spaces
-
Configure external MongoDB with X.509 authentication in Citrix Secure Developer Spaces
-
This content has been machine translated dynamically.
Dieser Inhalt ist eine maschinelle Übersetzung, die dynamisch erstellt wurde. (Haftungsausschluss)
Cet article a été traduit automatiquement de manière dynamique. (Clause de non responsabilité)
Este artículo lo ha traducido una máquina de forma dinámica. (Aviso legal)
此内容已经过机器动态翻译。 放弃
このコンテンツは動的に機械翻訳されています。免責事項
이 콘텐츠는 동적으로 기계 번역되었습니다. 책임 부인
Este texto foi traduzido automaticamente. (Aviso legal)
Questo contenuto è stato tradotto dinamicamente con traduzione automatica.(Esclusione di responsabilità))
This article has been machine translated.
Dieser Artikel wurde maschinell übersetzt. (Haftungsausschluss)
Ce article a été traduit automatiquement. (Clause de non responsabilité)
Este artículo ha sido traducido automáticamente. (Aviso legal)
この記事は機械翻訳されています.免責事項
이 기사는 기계 번역되었습니다.책임 부인
Este artigo foi traduzido automaticamente.(Aviso legal)
这篇文章已经过机器翻译.放弃
Questo articolo è stato tradotto automaticamente.(Esclusione di responsabilità))
Translation failed!
Register JFrog as Third Party App
You can follow these steps to connect your JFrog instance and the Strong Network™ Platform.
At the moment this configuration can only be done in self-hosted JFrog instances or by asking the JFrog support team in the SaaS version.
Log in to your JFrog deployment as the admin go to Platform Management, then Manage Integrations. Go to the tab called “Application”. You can also follow the link: ` https://[your_domain_name].jfrog.io/ui/admin/configuration/integrations `
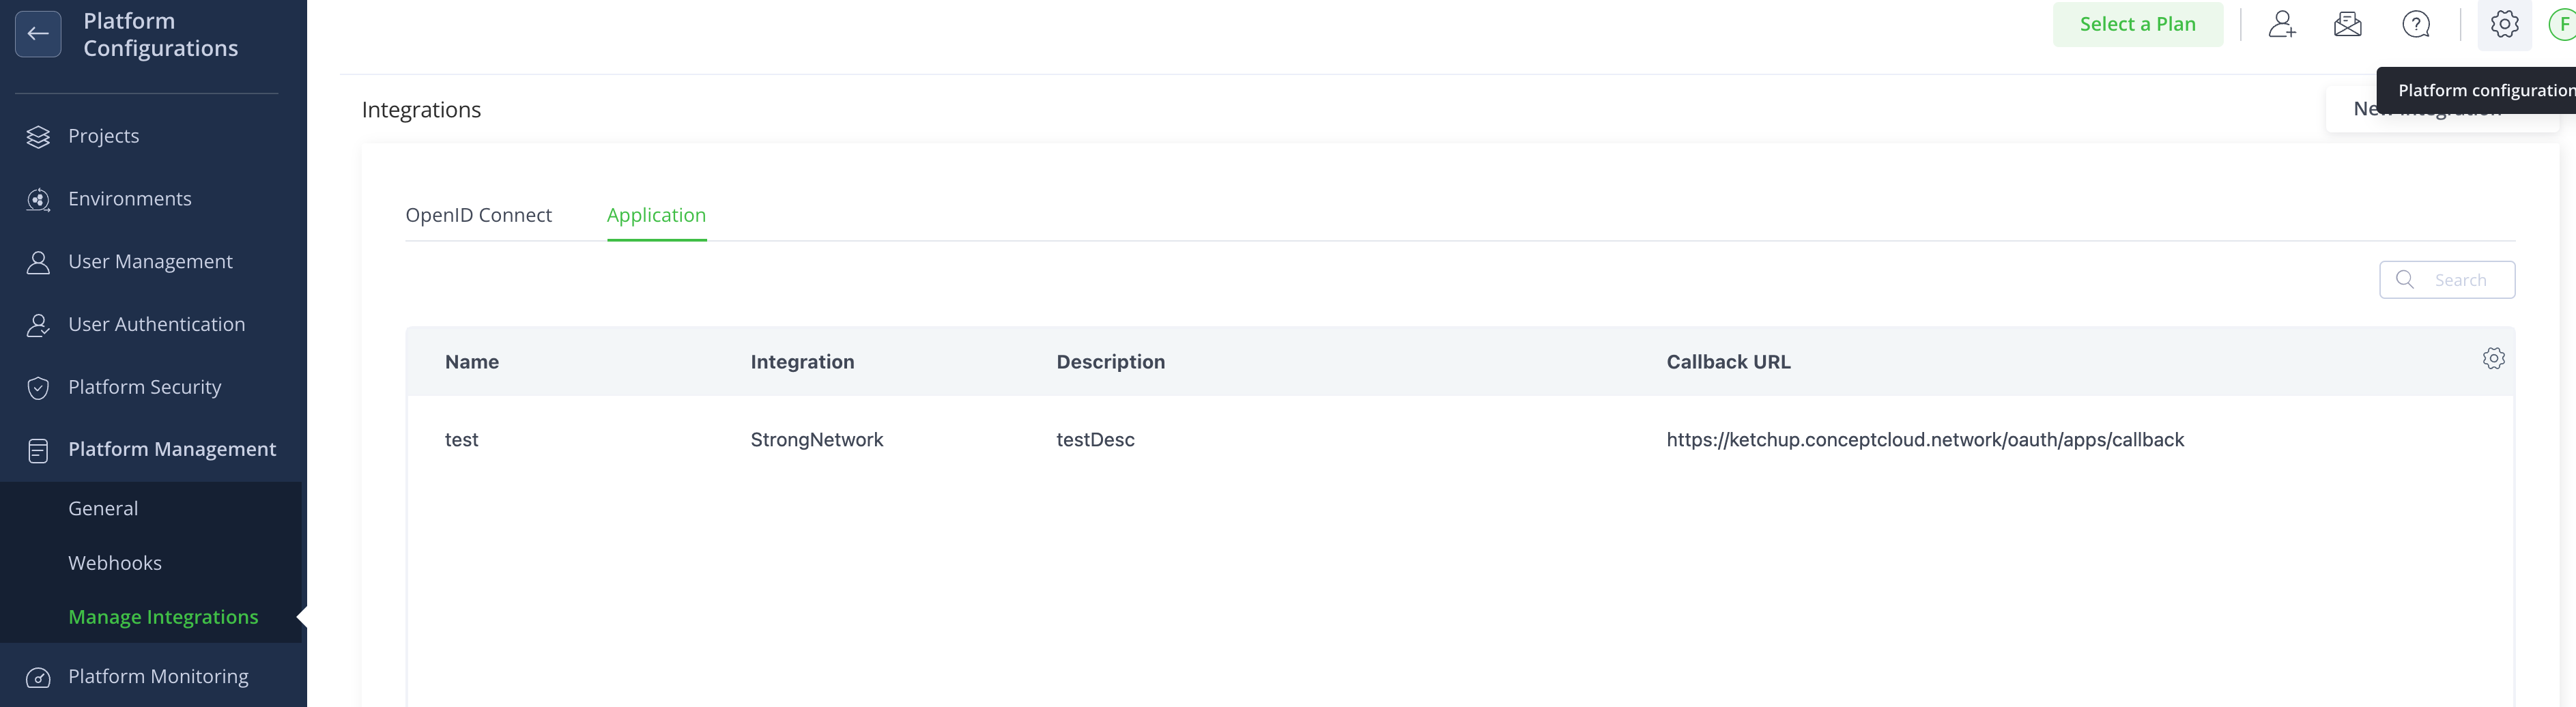
Click on “New Integration” of type “Application” and fill in the following fields:
- Application Name: Up to you.
- Application Type: Select the template you added in the values.yaml file.
- Description: Up to you.
-
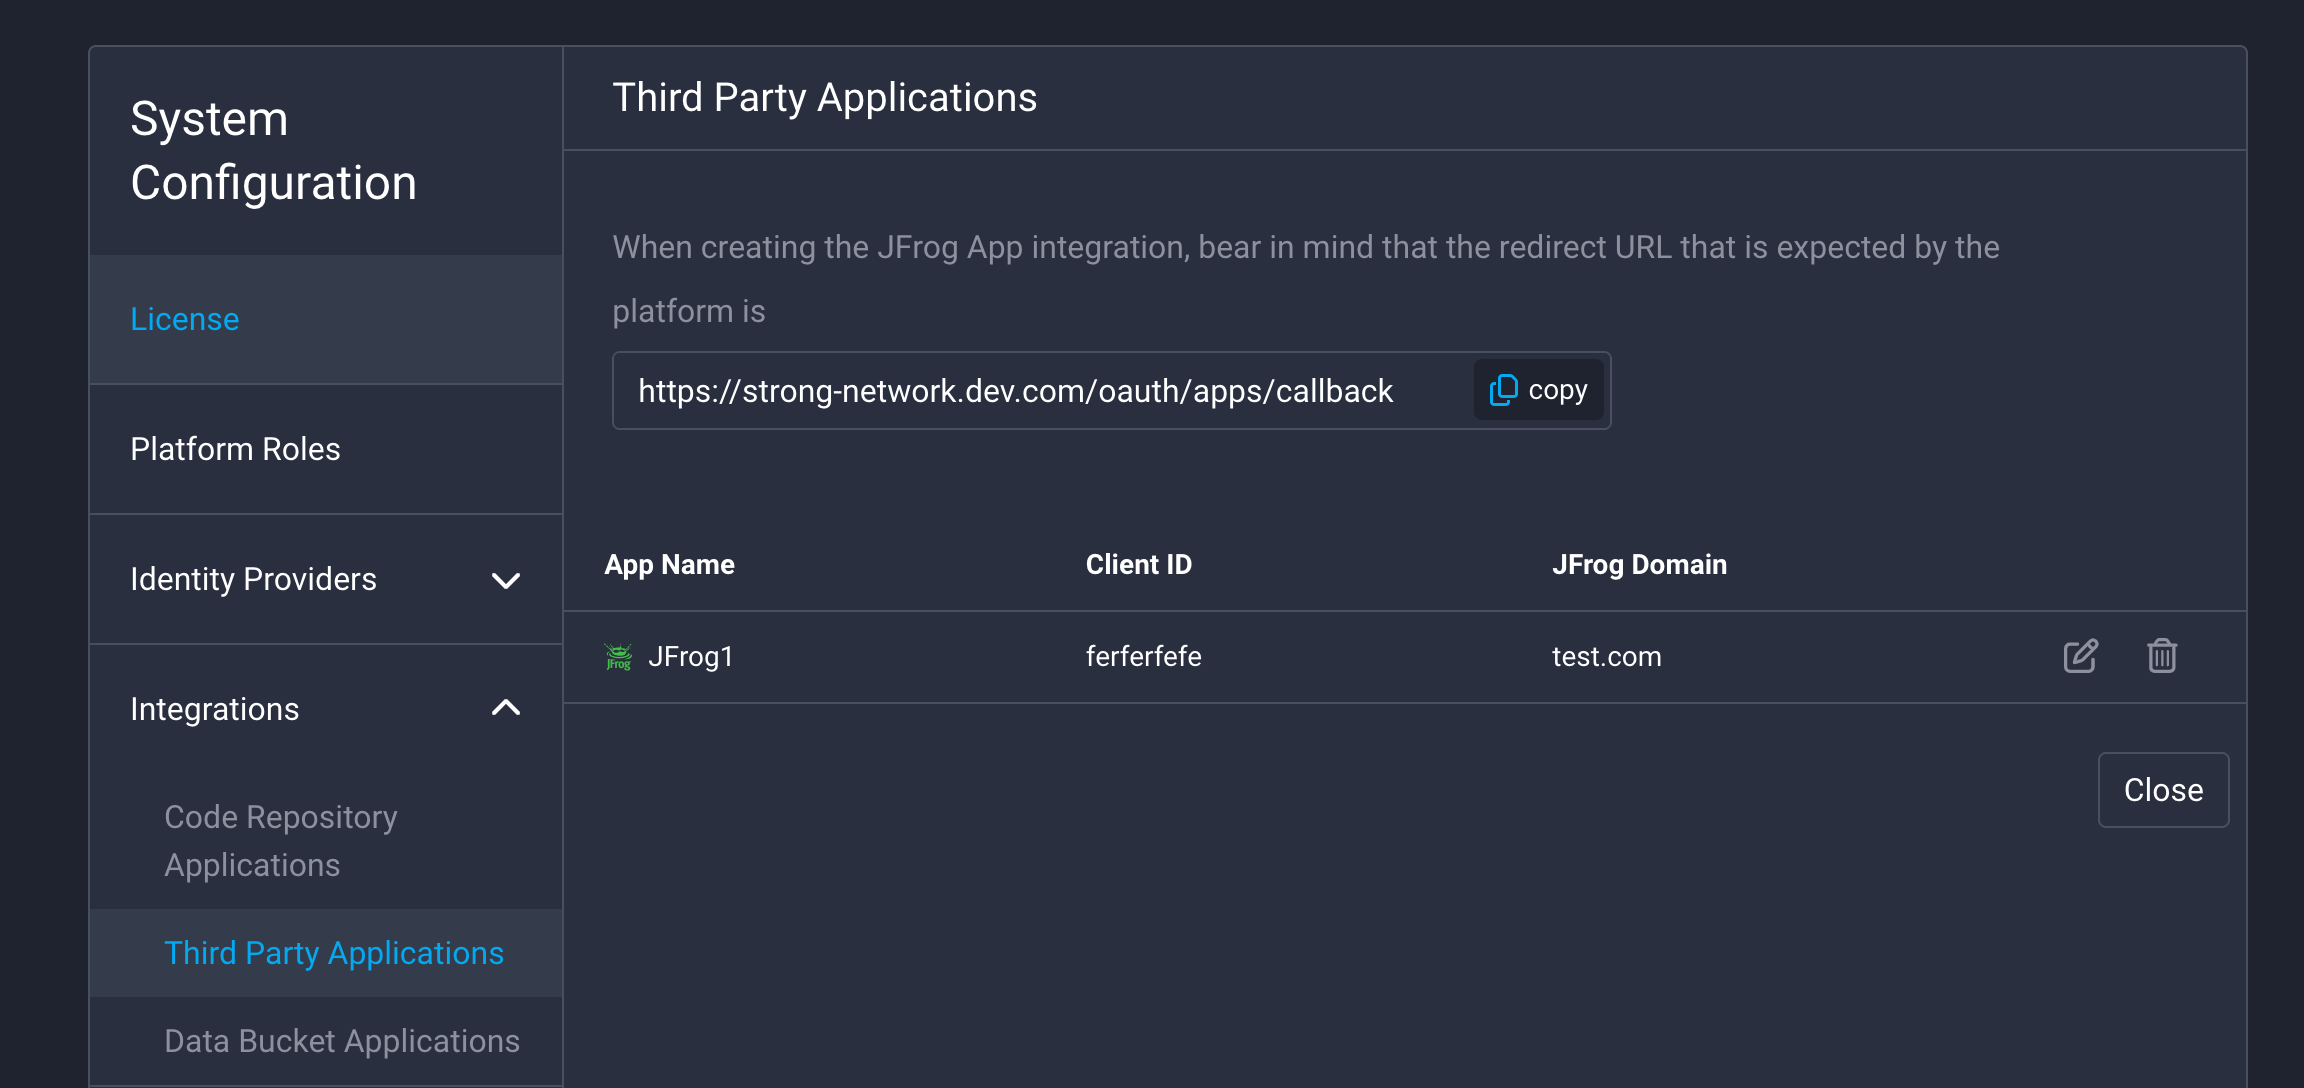
Callback URL: You can find it in the Third Party Applications admin menu in the Strong Network platform and has the format of
https://[your_strong_network_domain]/oauth/apps/callback

Click on Generate Client ID & Secret and copy the values.
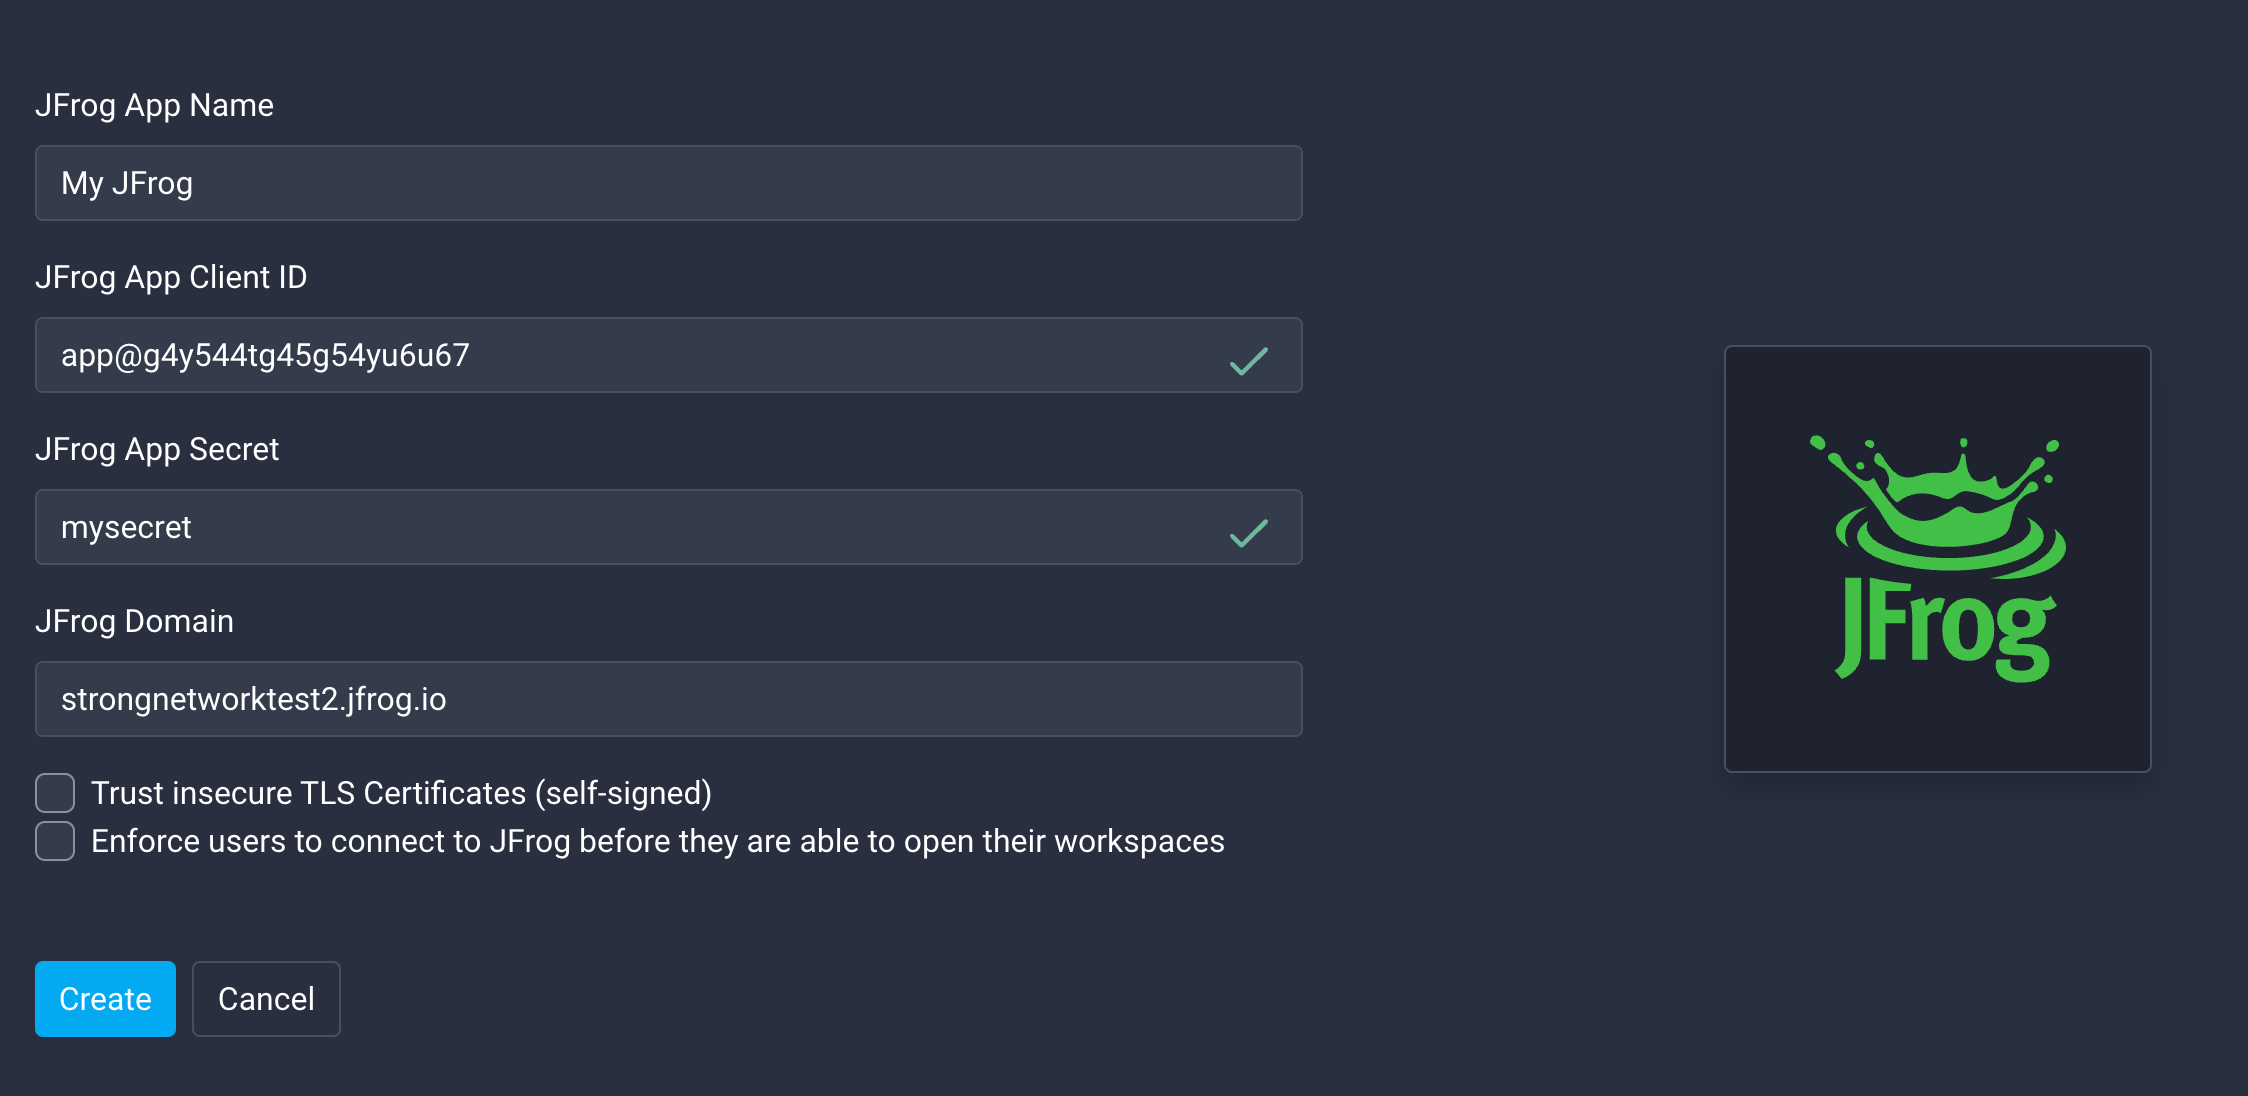
Lastly, log in as admin in the Strong Network Platform, go to System Configuration → Third Party Applications, and select JFrog. You will need to introduce:
- Name: Up to you, it will be displayed to the platform users
- Client ID and Secret: Values copied from JFrog
- Domain: Your JFrog domain
You can choose if you want the platform to trust insecure TLS certificates in case your JFrog deployment doesn’t have a valid certificate. You may also want users to always connect to JFrog before they access their workspaces, in this case, they will get a popup where they have to connect before opening them. If you don’t select this option they will get the popup but can dismiss it.
When the application is configured you can edit it by clicking on the edit icon on the right side.
You will see a menu in which you can change some settings. In said menu, you may change the default JFrog startup script. This is a script that will run in every workspace that is owned by a user who has connected their JFrog account. It can be useful to set up specific configurations in all workspaces, for example, to configure the different programming languages to fetch the dependencies from your JFrog platform. Each user can build on top of this script, to customize it to their own needs.
If this default script is updated it will be automatically changed for users who haven’t defined their custom script.

Finally, if you want to save the changes click on “Save”. Now JFrog is configured across the Strong Network Platform, ready to be used seamlessly by the users.
Share
Share
In this article
This Preview product documentation is Citrix Confidential.
You agree to hold this documentation confidential pursuant to the terms of your Citrix Beta/Tech Preview Agreement.
The development, release and timing of any features or functionality described in the Preview documentation remains at our sole discretion and are subject to change without notice or consultation.
The documentation is for informational purposes only and is not a commitment, promise or legal obligation to deliver any material, code or functionality and should not be relied upon in making Citrix product purchase decisions.
If you do not agree, select I DO NOT AGREE to exit.