
Create a network policy
You create and edit policies from a Workspace settings > Network policy page at the scope you manage: platform, organization, or project.
You need the Security permission set to Manage. See Who can manage network policies.
Create the policy
-
Go to Workspace settings > Network policy for your scope.
-
Select Create policy.
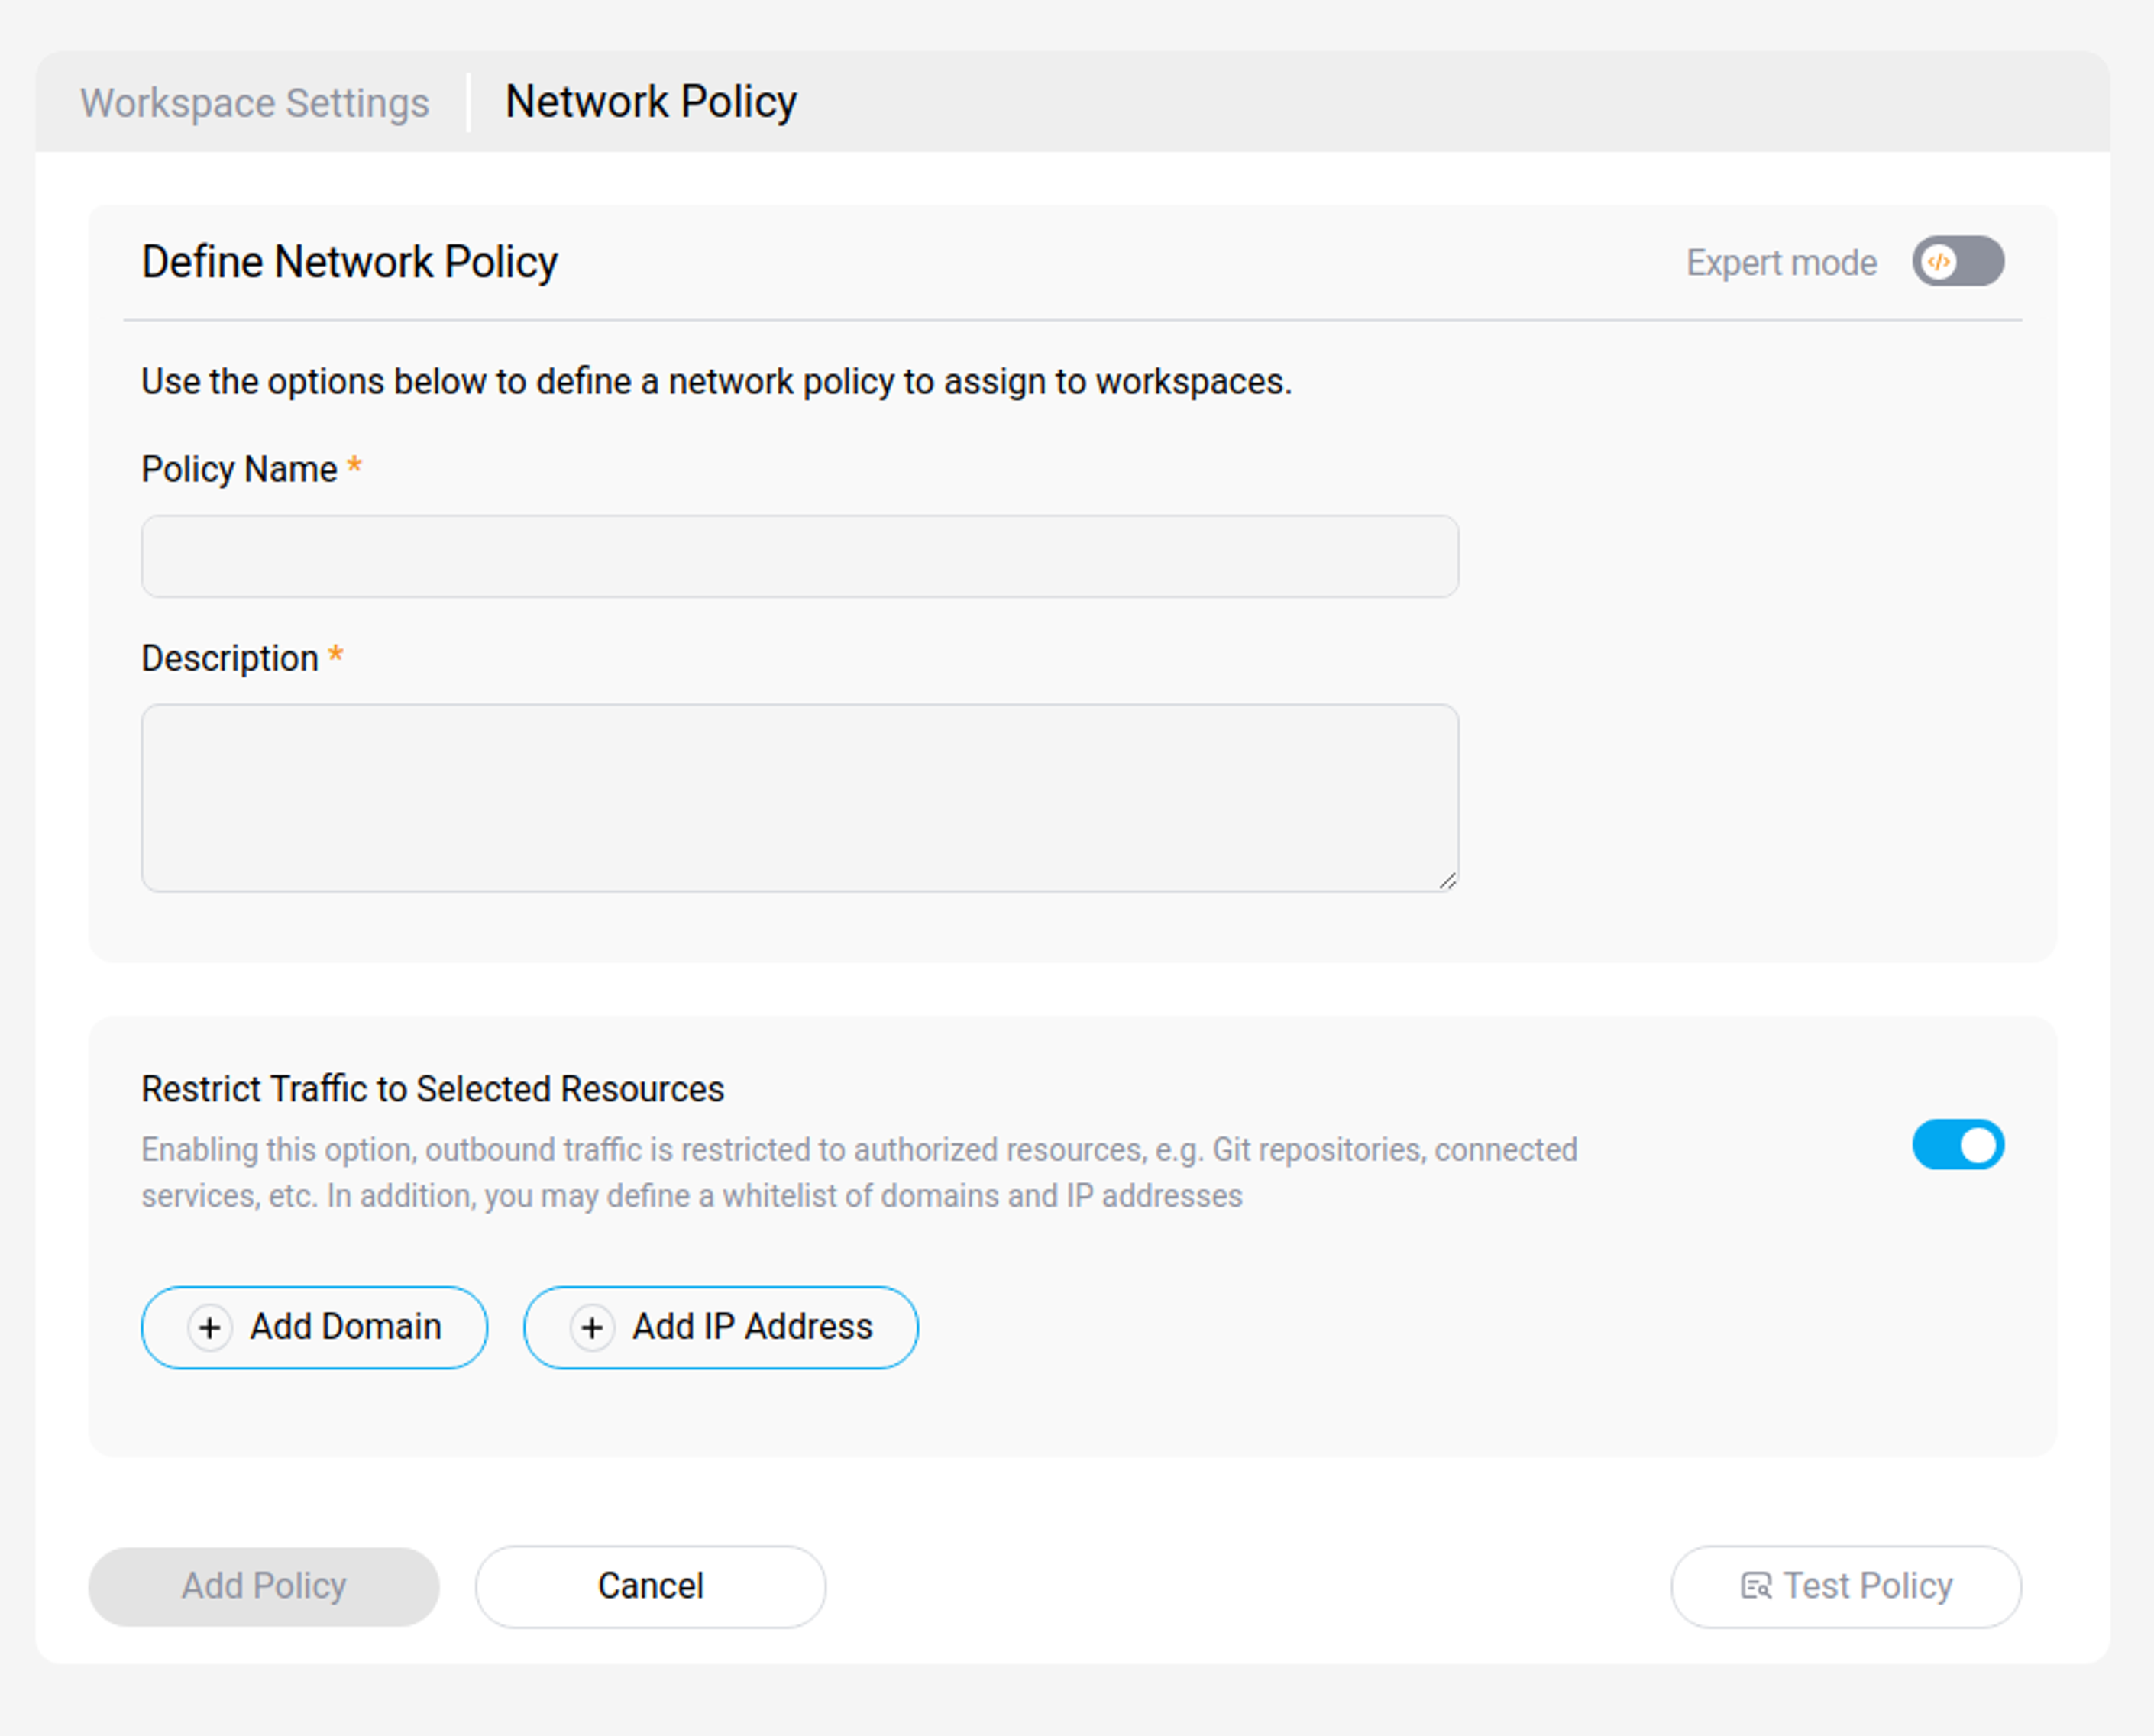
-
Enter a Policy name and a Description. Both are required. Use a description that explains what the policy allows or blocks, so other administrators understand its intent.
-
Choose how to configure the rest of the policy:
-
Leave the Expert mode toggle off to use the guided form. See Basic mode.
-
Turn the Expert mode toggle on to edit the policy as YAML. See Expert mode.
-
-
(Optional) Select Test policy to validate the policy before you save it. See Test a policy.
-
Save the policy.
The basic form and the expert YAML editor describe the same policy. You can switch between them with the Expert mode toggle while you work.
Basic mode
Basic mode gives you a guided form for the most common settings.
-
Set Restrict traffic to selected resources:
-
Off — The policy monitors traffic. Everything is allowed and logged.
-
On — The policy blocks all outbound traffic except attached resources and the resources on your allow list.
-
-
If you turned restriction on, build the allow list:
-
Select Add domain to allow a domain. Optionally turn on Include subdomains to also allow every subdomain of that domain.
-
Select Add IP address to allow a single IPv4 address or a CIDR range, for example
10.0.0.0/24.
-
-
If your platform uses an external proxy, a custom endpoints via proxy section appears. Use it to list the domains and IP addresses that the workspace can reach through the proxy. This section is hidden when no external proxy is configured.
-
Save the policy.
Expert mode
Expert mode replaces the form with a YAML editor, giving you control over every field. Turn on the Expert mode toggle to use it.
For every field, its type, and its validation rules, see Network policy fields.
name: Backend services policy
 description: Restrict workspaces to internal package mirrors and the corporate API.
 restrictedTraffic: true
 whitelistedDomains:
   - domain: pypi.internal.example.com
     includeSubdomains: false
   - domain: example.com
     includeSubdomains: true
 whitelistedIps:
   - 10.0.0.0/24
   - 192.168.1.50
Build the allow list
When a policy restricts traffic, the workspace can reach only:
-
Attached resources — Any resource attached to the workspace, such as repositories, SSH services, and HTTP services, is always reachable. Attached resources keep working without extra configuration.
-
Allowed domains — Every domain on the allow list.
-
Allowed IP addresses — Every IPv4 address or CIDR range on the allow list.
How domains are matched
-
A domain entry with Include subdomains turned off matches only that exact domain.
-
A domain entry with Include subdomains turned on matches the domain itself and any subdomain. For example,
example.comwith subdomains enabled allowsexample.comand*.example.com, such asapi.example.com.
How IP addresses are matched
Enter a single IPv4 address, for example
192.168.1.50, or a CIDR range, for example 10.0.0.0/24. The policy editor validates the format before you can save. IPv6 addresses are not accepted.