Managed configurations policy
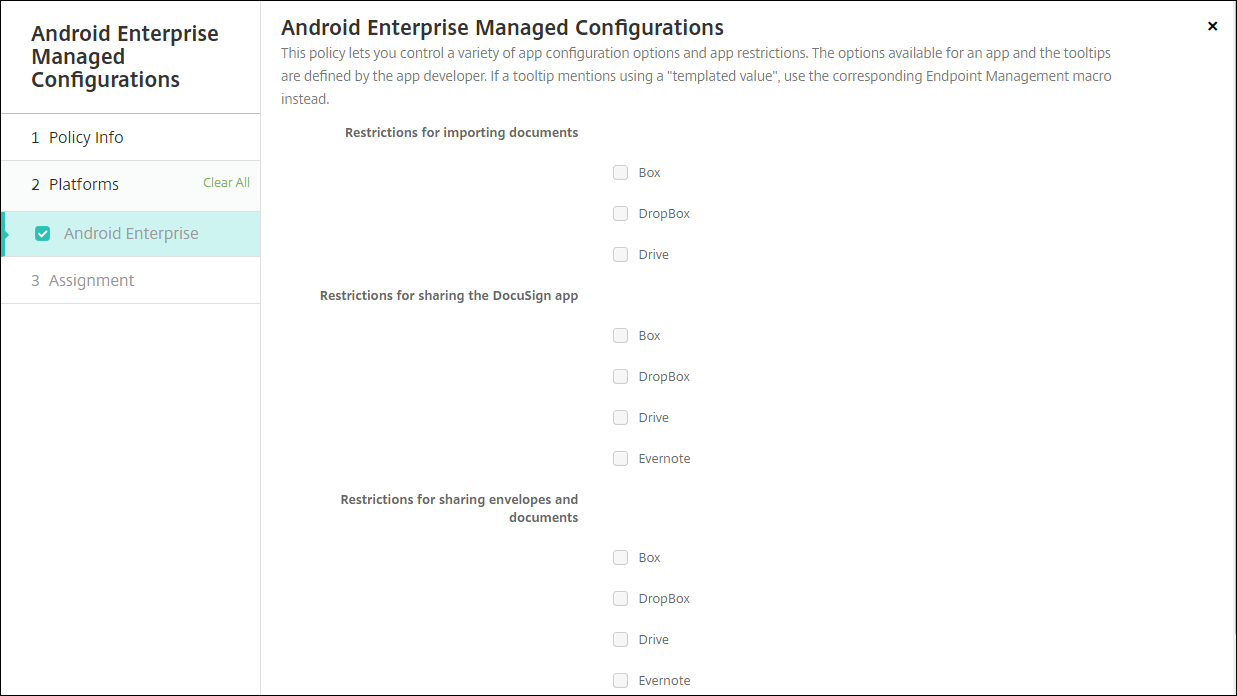
The Managed configurations device policy controls various app configuration options and app restrictions. You create this policy for each Android Enterprise app that you want to control.
The app developer defines the options and tooltips available for an app. If a tooltip mentions using a “templated value,” use the corresponding Citrix Endpoint Management macro instead. For more information, see Remote configuration overview (on the Android developer site) and Macros.
The app configuration settings can include items such as:
- Email app settings
- Allow or block URLs for a web browser
- Option to control app content sync through a cellular connection or only by a Wi-Fi connection
For information about the settings that appear for your apps, contact the app developer.
Note:
Citrix SSO for Android is now called Citrix Secure Access. We are updating our documentation to reflect this name change.
Prerequisites
- Complete Android Enterprise setup tasks on Google and connect Android Enterprise to managed Google Play. For more information, see Android Enterprise.
- Add Android Enterprise apps to Citrix Endpoint Management. For more information, see Adding Apps to Citrix Endpoint Management.
To add or configure this policy, go to Configure > Device Policies. For more information, see Device policies.
Requirements for per-app VPNs
To create a per-app VPN for AE, you need to do extra steps in addition to configuring the Managed configurations device policy. Also, you must verify that the following prerequisites are met:
- On-premises NetScaler Gateway
- The following applications are installed on the device:
- Citrix SSO
- Citrix Secure Hub
A general workflow to configure a per-app VPN for AE devices is as follows:
-
Configure a VPN profile as described in this article.
-
Configure Citrix ADC to accept traffic from the per-app VPN. For details, see Full VPN setup on NetScaler Gateway.
Limitations
The following are the limitations for per-app VPN in the Android Enterprise environment on Android 11+ devices because of package visibility restrictions introduced in Android 11:
-
If an app that is part of the allowed/denied list is deployed to a device after the VPN session has started, the end user must restart the VPN session for the app to route its traffic through the VPN session.
-
If a per-app VPN is used via an Always On VPN session, then after installing a new app on the device, the end user must restart the work profile or reboot the device for the app’s traffic to be routed via the VPN session.
Note:
These limitations aren’t applicable if you’re using Citrix SSO for Android 23.8.1 or later versions. For more information, see Automatic restart of Always On VPN.
Android Enterprise settings
After you choose to add a Managed configurations device policy, a prompt to select an app appears. If there are no Android Enterprise apps added to Citrix Endpoint Management, you can’t continue.
After you select an app, then configure the policy settings. The settings are specific to each app.
Configure VPN profiles for Android Enterprise
Make VPN profiles available to Android Enterprise devices using the Citrix SSO app with the Managed configurations device policy.
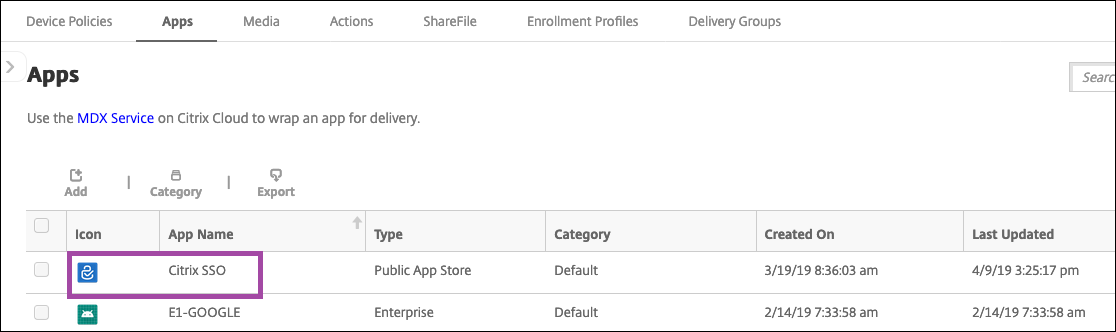
Start by adding Citrix SSO to the Citrix Endpoint Management console as a Google Play store app. See Add a public app store app.
Watch this video to learn more:

Create an Android Enterprise managed configuration for Citrix SSO
Configure the Managed configurations device policy for Citrix SSO to create VPN profiles. Devices that have the Citrix SSO app installed and the policy deployed can access the VPN profiles you create.
Citrix Endpoint Management uses the user certificate in the device keystore if:
- NetScaler Gateway is configured for certificate-based authentication.
- Deliver user certificate for authentication is enabled in the Citrix Endpoint Management page Settings > NetScaler Gateway.
You need your NetScaler Gateway FQDN and port.
-
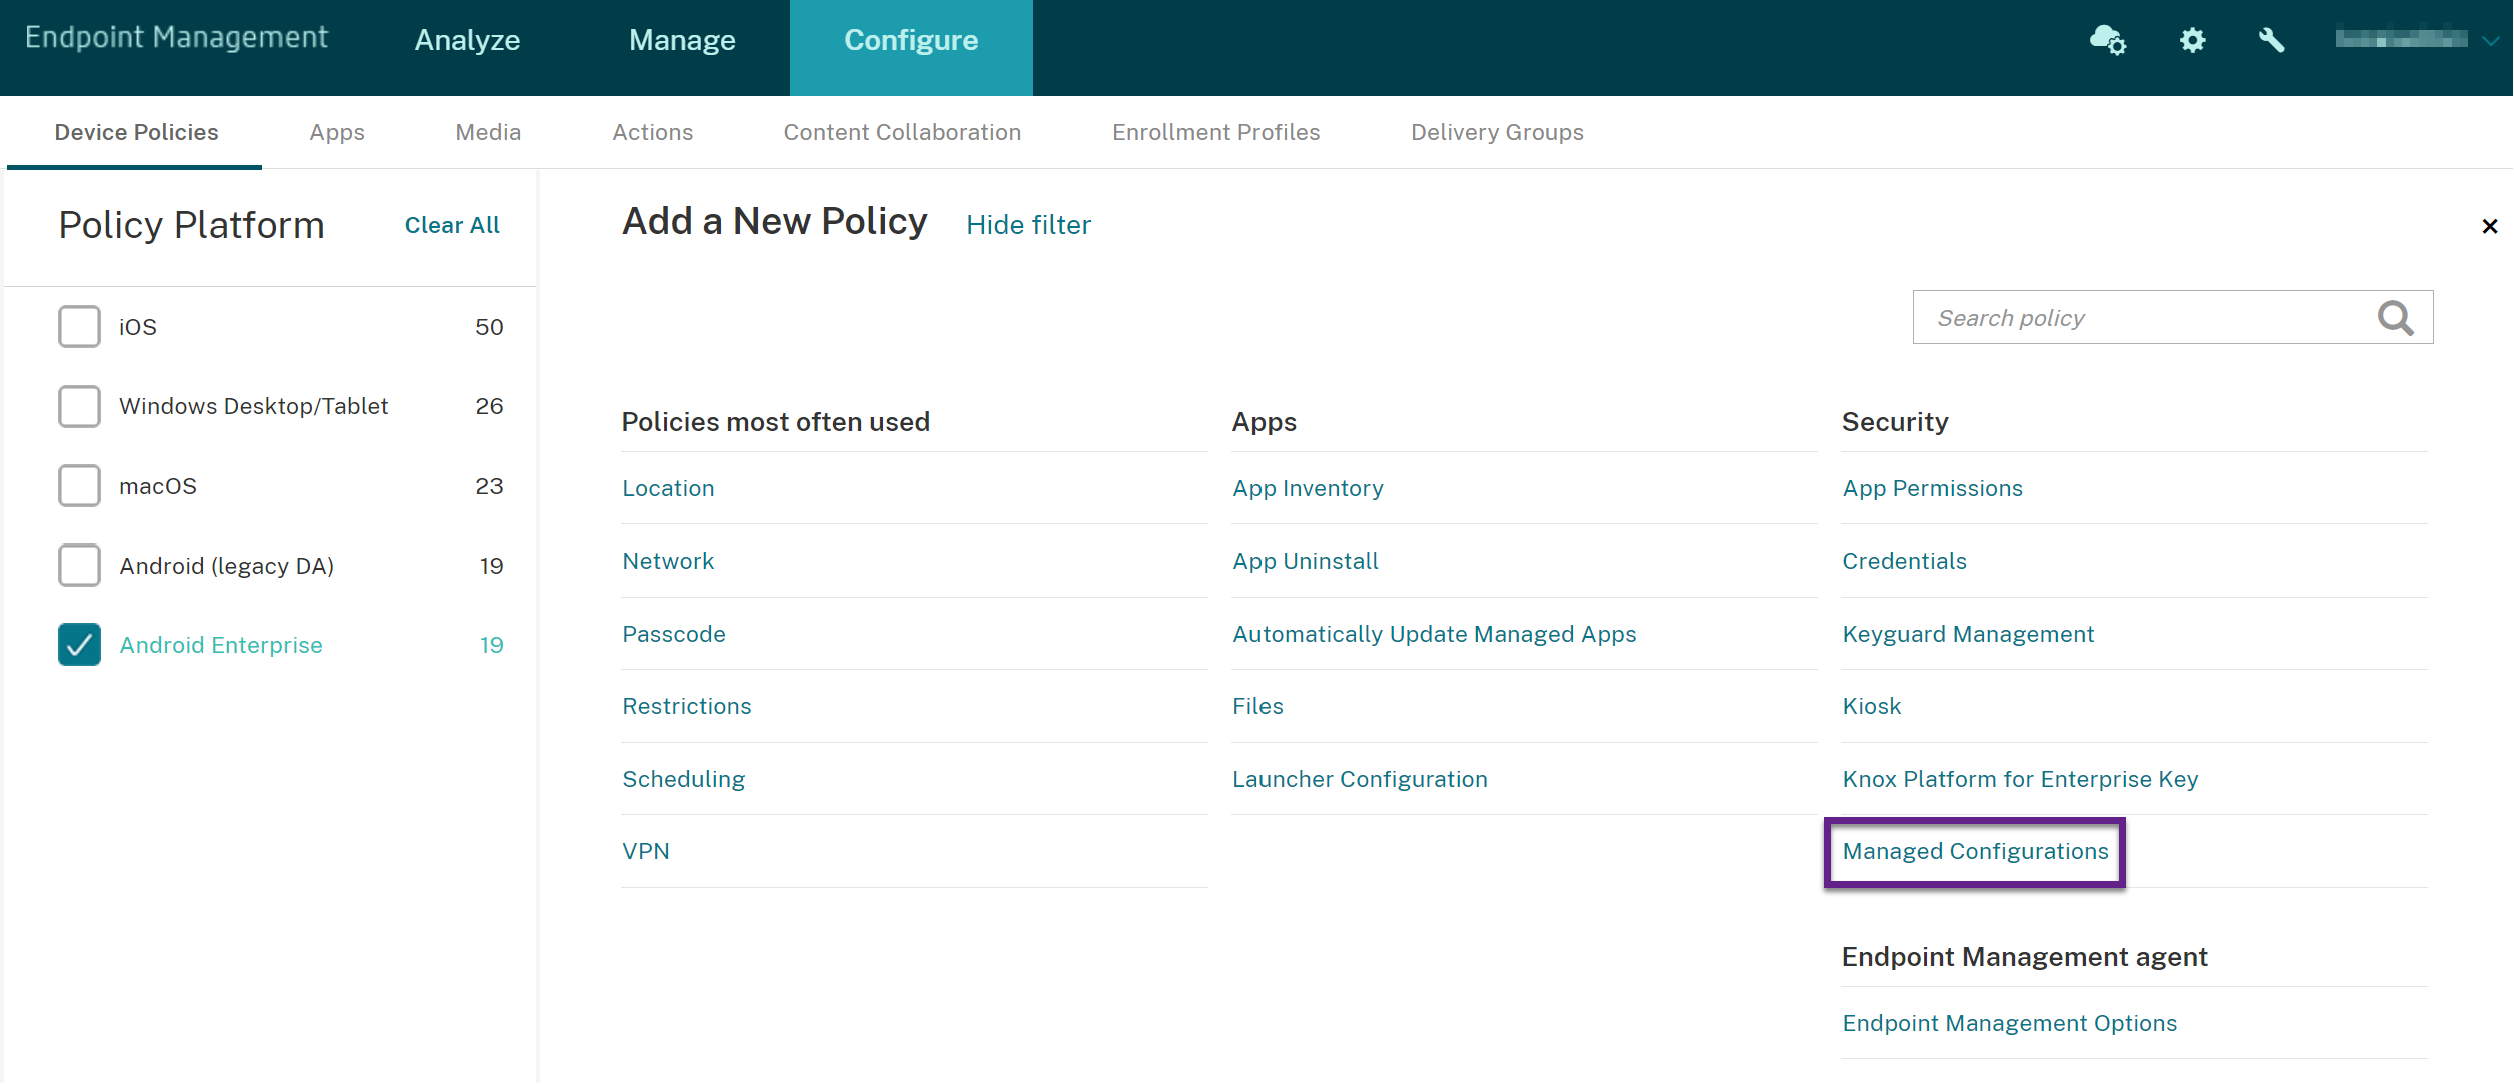
In the Citrix Endpoint Management console, click Configure > Device Policies. Click Add.
-
Select Android Enterprise. Click Managed configurations.
-
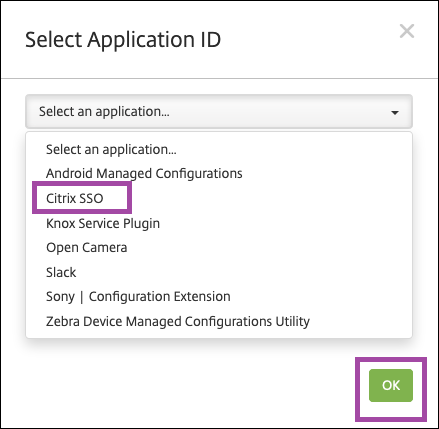
When the Select Application ID window appears, choose Citrix SSO from the list and click OK.
-
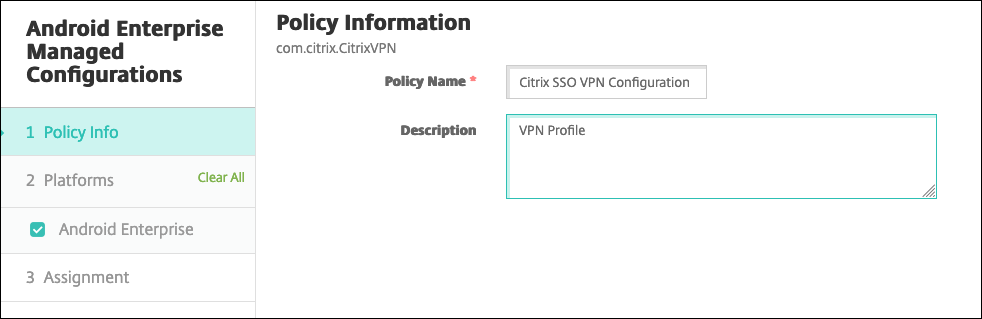
Type a name and description for your Citrix SSO VPN configuration. Click Next.
-
Configure VPN profile parameters.
-
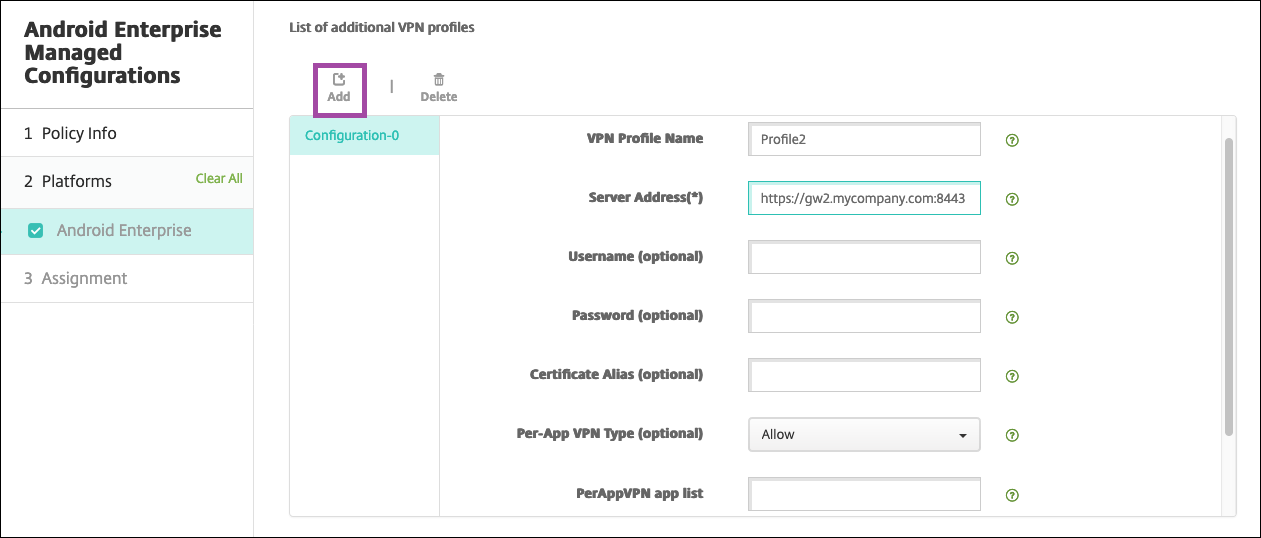
VPN Profile Name: Type a name for the VPN profile. If you’re creating more than one VPN profile, use a unique name for each. If you don’t provide a name, the address you put in the Server Address field is used as the VPN profile name.
-
Server Address(*): Type your NetScaler Gateway FQDN. If your NetScaler Gateway port isn’t 443, also type your port. Use URL format. For example,
https://gateway.mycompany.com:8443. -
Username (optional): Provide the user name that end users use to authenticate to the NetScaler Gateway. You can use the Citrix Endpoint Management macro {user.username} for this field. (See Macros.) If you don’t provide a user name, users are prompted to provide a user name when the connect to NetScaler Gateway.
-
Password (optional): Provide the password that end users use to authenticate to the NetScaler Gateway. If you don’t provide a password, users are prompted to provide a password when the connect to NetScaler Gateway.
-
Certificate Alias (optional): Type a certificate alias. The certificate alias makes it easier for the app to access the certificate. When the same certificate alias is used with the Credentials device policy, the app retrieves the certificate and authenticates the VPN without any action by users.
-
Gateway Certificate Pins (optional): JSON object describing certificate pins used for NetScaler Gateway. Example value:
{"hash-alg" : "sha256", "pinset" : ["AAAAAAAAAAAAAAAAAAAAAAAAAAAAAAAAAAAAAAAAAAA=", "BBBBBBBBBBBBBBBBBBBBBBBBBBBBBBBBBBBBBBBBBBB="]}. For more information, see NetScaler Gateway certificate pinning with Android Citrix SSO. -
Per-App VPN Type (optional): If you’re using a per-app VPN to restrict which apps use this VPN, you can configure this setting. If you select Allow, network traffic for the app package names listed in the PerAppVPN app list are routed through the VPN. The network traffic of all other apps is routed outside the VPN. If you select Disallow, network traffic for the app package names listed in the PerAppVPN app list are routed outside the VPN. The network traffic of all other apps is routed through the VPN. Default is Allow.
-
PerAppVPN app list: A list of apps whose traffic is allowed or blocked on the VPN, depending on the value of Per-App VPN Type. List the app package names separated by commas or semicolons. App package names are case sensitive and must appear on this list exactly as they appear in the Google Play store. This list is optional. Keep this list empty for provisioning device-wide VPN.
-
Default VPN profile: Type the name of the VPN profile to use when users tap the connect switch in the Citrix SSO app instead of a specific profile. If this field is left empty, the main profile is used for the connection. If only one profile is configured, it is marked as the default profile. For always-on VPN, this field must be set to the name of the VPN profile to be used for establishing an always-on VPN.
-
Always On VPN (optional): This attribute indicates whether the VPN profile is configured as an Always On VPN profile. When set to true, it signifies that the VPN profile is an Always On VPN profile. The default value is false. This property can only be assigned to the main VPN profile. Enabling this property is essential for ensuring the reliable functioning of Always On VPN.
-
Disable User Profiles: If this setting is On, users can’t create their own VPNs on their devices. If this setting is Off, users can create their own VPNs on their devices. Default is Off.
-
Block Untrusted Servers: This setting is Off during either of the following scenarios:
- When you use a self-signed certificate for NetScaler Gateway
- When the root certificate for the CA issuing the NetScaler Gateway certificate isn’t in the system CA list.
If this setting is On, the Android operating system validates the NetScaler Gateway certificate. If the validation fails, the connection isn’t allowed. The default value is On.
-
-
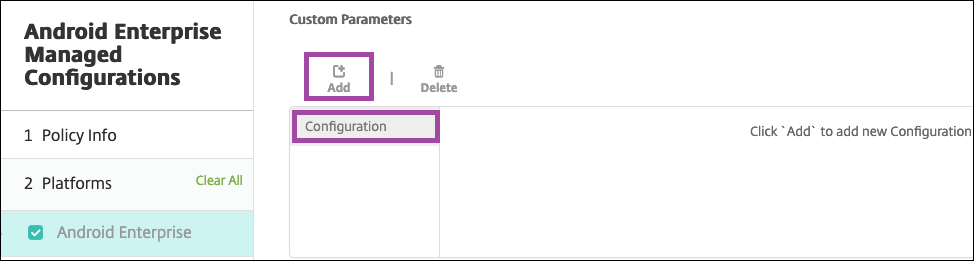
Optionally, create custom parameters. The custom parameters XenMobileDeviceId and UserAgent are supported. Select the current VPN configuration and click Add.
Parameter name Description Value XenMobileDeviceId This field is the device ID to use for Network Access Check based on device enrollment in Citrix Endpoint Management. If Citrix Endpoint Management enrolls and manages the device, the VPN connection is allowed. Otherwise, authentication is denied at the time of VPN establishment. For Citrix Endpoint Management to determine the enrollment and management state of the devices, the value of XenMobileDeviceID set to DeviceID_${device.id}.UserAgent This text appended to the User-Agent HTTP header for doing an extra check on NetScaler Gateway. The value of this text is appended to the User-Agent HTTP header by the Citrix SSO app while communicating with the NetScaler Gateway. Type the text that you want to append to the User-Agent HTTP header. This text must conform to the HTTP User-Agent specifications. EnableDebugLogging Enable debug logging on the Citrix SSO app to help troubleshoot VPN connectivity issues in case of Always On VPN. You can enable it in any one of the managed VPN configurations. The debug logging takes effect when the managed configurations are processed. True: Enables debug logging. Default value: False DisableLogoutFromStoreOnExplicitDisconnect Controls logout from the store when the end user explicitly disconnects the VPN session from the app UI. Applicable to Citrix Secure Private Access deployments only. True: Disables logout from Secure Private Access store and leaves the Secure Private Access session intact, just disconnects the Citrix Secure Access app session. Default value: False. 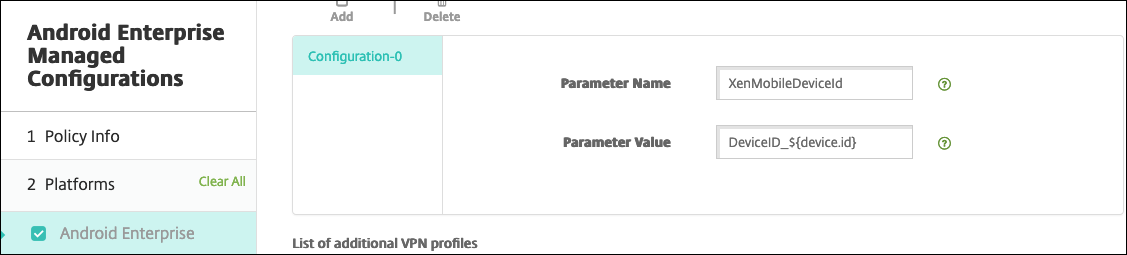
To create another custom parameter, click Add again.
-
Optionally, create more VPN profile configurations. Click Add under the list of configurations. A new configuration appears in the list. Select the new configuration and repeat step 5 and, optionally, step 6.
-
When you’ve created all the VPN profiles you want, click Next.
-
Configure deployment rules for this managed configuration for Citrix SSO.
-
Click Save.
This managed configuration for Citrix SSO now appears in your list of configured device policies.
To enable always-on for the VPN profiles you configured, set the Citrix Endpoint Management options device policy.
Note:
Citrix Secure Hub 19.5.5 or higher is required for always-on VPN for Android Enterprise.
Accessing VPN profiles from the device
To access the VPN profiles you created, Android Enterprise users install Citrix SSO from the managed Google Play store.
The VPN profile or profiles you configured appear in the Managed Connections area of the app. Users tap the VPN profile to connect using that VPN profile.
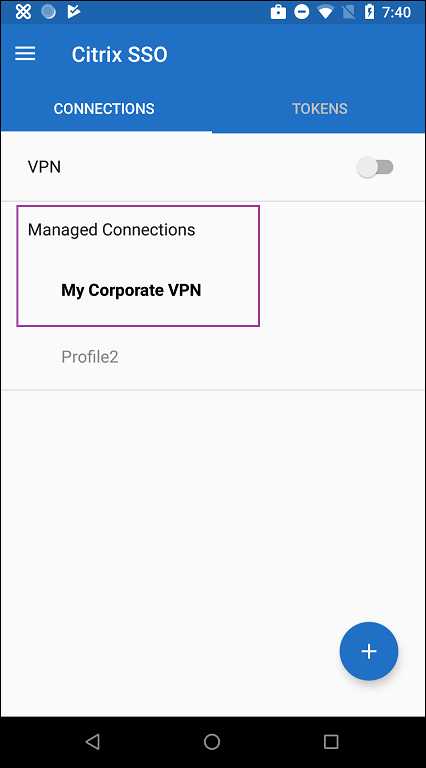
After users have authenticated and connected, a check mark appears next to the VPN profile. The key icon indicates that the VPN is connected.
Manage Zebra Android devices using Zebra OEMConfig
Manage Zebra Android devices using the Zebra Technologies OEMConfig administrative tool. For information about the Zebra OEMConfig app, see the Zebra Technologies website.
Citrix Endpoint Management supports Zebra OEMConfig version 9.2 and higher. For information about system requirements for installing Zebra OEMConfig on devices, see OEMConfig Setup on the Zebra Technologies website.
We currently support the following Zebra devices:
-
EC50, EC55, ET56
-
TC52x, TC52x-HC
-
TC52ax, TC52ax-HC
-
TC57x
To start: In the Citrix Endpoint Management console, add the Zebra OEMConfig app as a Google Play store app. See Add a public app store app.
Create an Android Enterprise managed configuration for the Zebra OEMConfig app
Configure the Managed configurations device policy for the Zebra OEMConfig app. The policy applies to Zebra devices that have the Zebra OEMConfig app installed and the policy deployed.
-
In the Citrix Endpoint Management console, click Configure > Device Policies. Click Add.
-
Select Android Enterprise. Click Managed configurations.
-
When the Select Application ID window appears, choose ZebraOEMConfig powered by MX from the list and click OK.
-
Type a name and description for your Zebra OEMConfig configuration. Click Next.
-
Type a name for the Zebra OEMConfig configuration.
-
Configure the available parameters. For example:
- To disable the camera on the front of the device, select Camera Configuration and set Use of Front Camera to Off.
- To change the devices time format, select Clock Configuration and set Time Format to 12 (12-hour) or 24 (24-hour).
For a list and descriptions of all available configurations, see Zebra Managed Configurations on the Zebra Technologies website.
-
Optionally, create more Zebra OEMConfig configurations. Click Add under the list of configurations. A new configuration appears in the list. Select the new configuration and configure the parameters.
-
When you’ve created all the Zebra OEMConfig configurations you want, click Next.
-
Configure deployment rules for this managed configuration for Zebra OEMConfig.
-
Click Save.
Manage Chrome Browser with predefined bookmarks
Here is an example of how to manage Chrome Browser with predefined bookmarks:
[

{ "toplevel_name": "My managed bookmarks folder" }
,

{ "name": "Google", "url": "[google.com|http://google.com/]" }
,

{ "name": "Youtube", "url": "[youtube.com|http://youtube.com/]" }
,
{
"nested_links": [

{ "name": "Chromium", "url": "[chromium.org|http://chromium.org/]" }
,

{ "name": "Chromium Developers", "url": "[dev.chromium.org|http://dev.chromium.org/]" }
],
"name": "Chrome links"
}
]
<!--NeedCopy-->
Support managed configurations feedback (Technical Preview)
For more information on Support managed configurations feedback feature, see Support managed configurations feedback.