SCIM Configuration
The Citrix Secure Developer Spaces™ (SDS) platform adheres to the SCIM 2.0 specification. It is used for the automatic provisioning, synchronization, and deprovisioning of users. The SDS platform supports both the /Users and /Groups endpoints.
- The Users endpoint is used to create, update, and delete users in the SDS platform.
- The Groups endpoint is used to create, update, and delete groups in the SDS platform. You can then map these groups to organization(s) and/or project(s) within the SDS platform.
Configure the SCIM Provider
A token is required to authorize requests between your SCIM provider of choice and the SDS platform. As an admin, you can obtain the token at: System Configuration → Identity Providers → SCIM Configuration
https://example.strong.network/system_configuration/identity_providers/scim
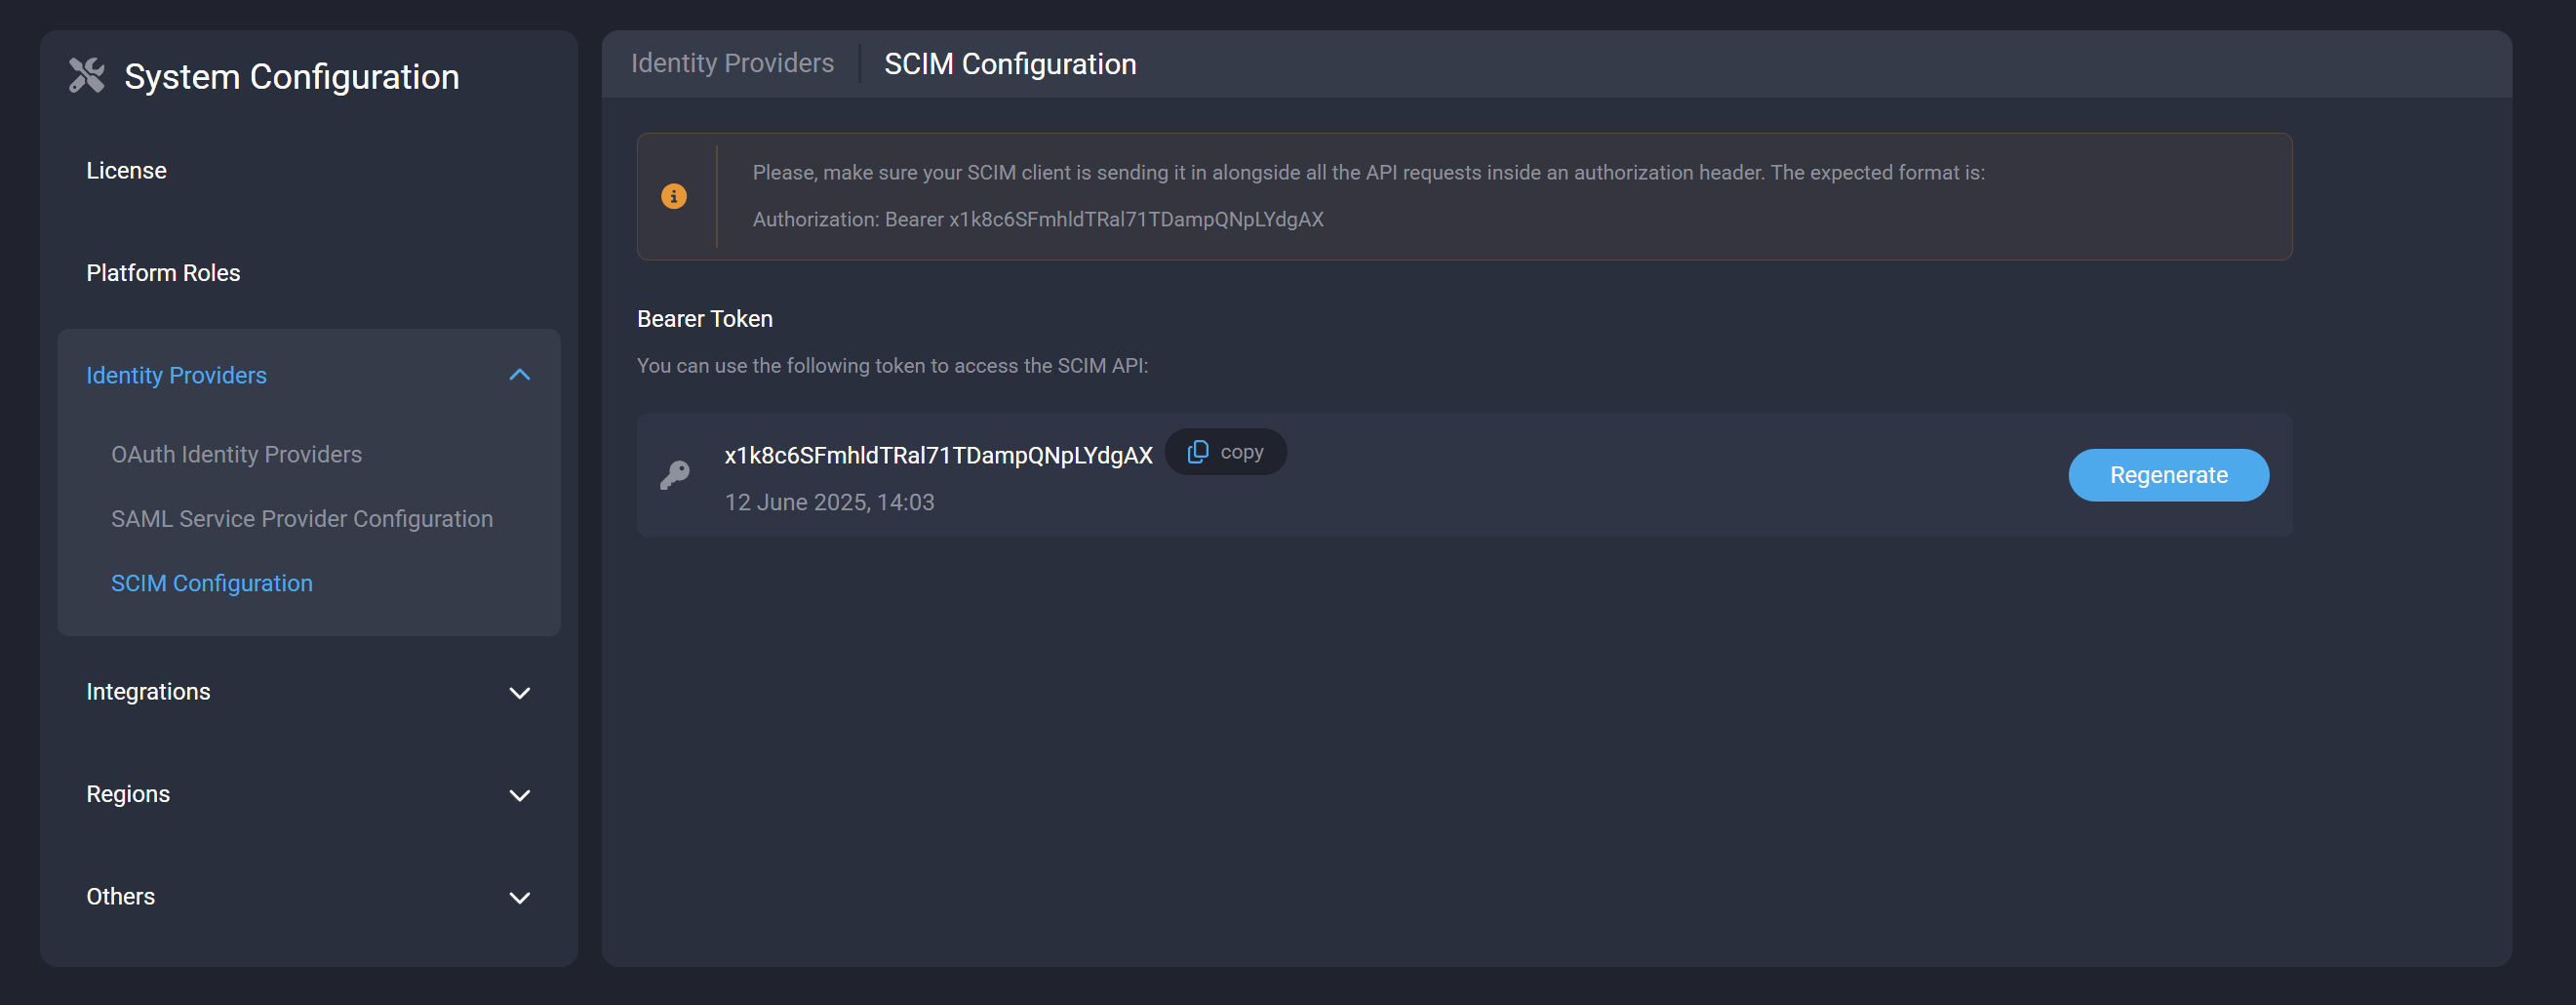
Please ensure that your SCIM provider of choice—such as Microsoft Entra, Okta, or any other SCIM 2.0-compliant provider—includes this token in all API requests, using the following authorization header format:
Authorization: Bearer <token>
Okta
To use Okta, you will need to set these two fields:
-
SCIM connector base URL:
https://example.strong.network/scim -
Unique identifier field for users:
userName
It will look similar to:
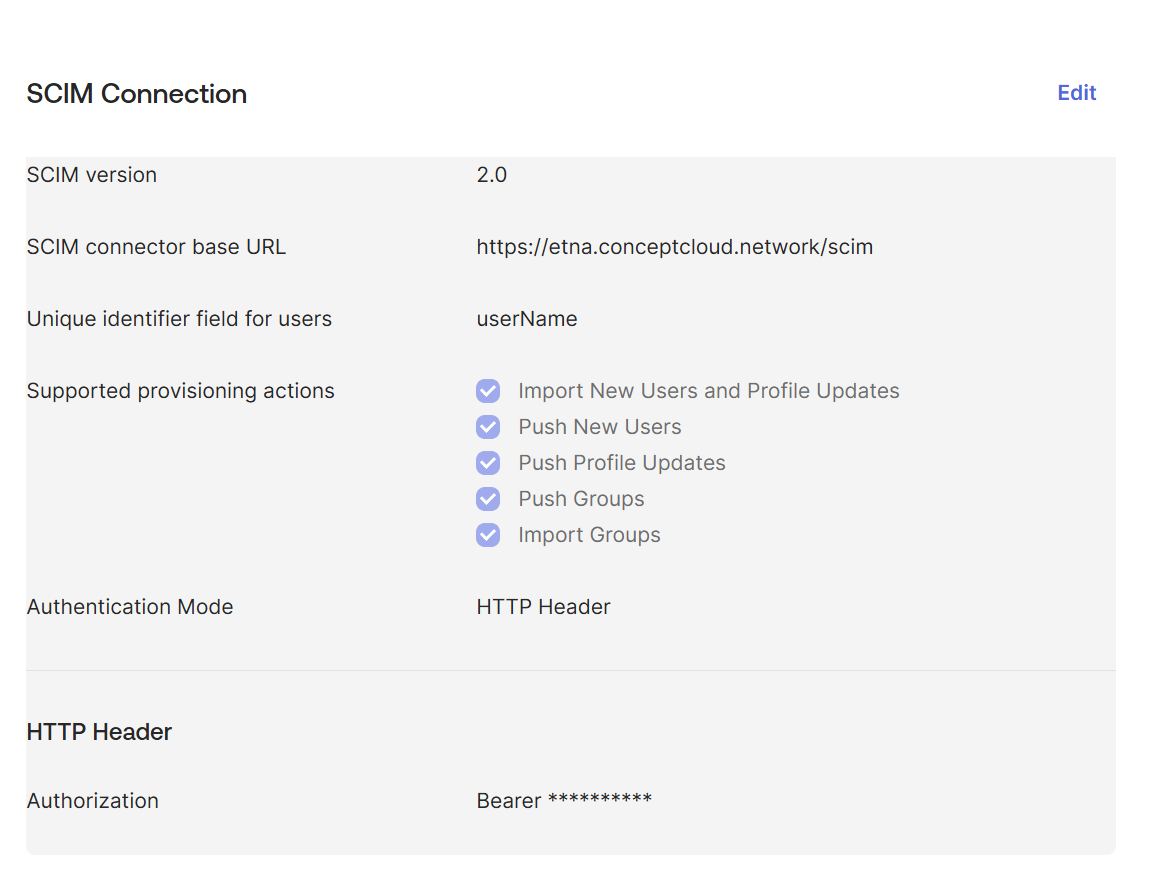
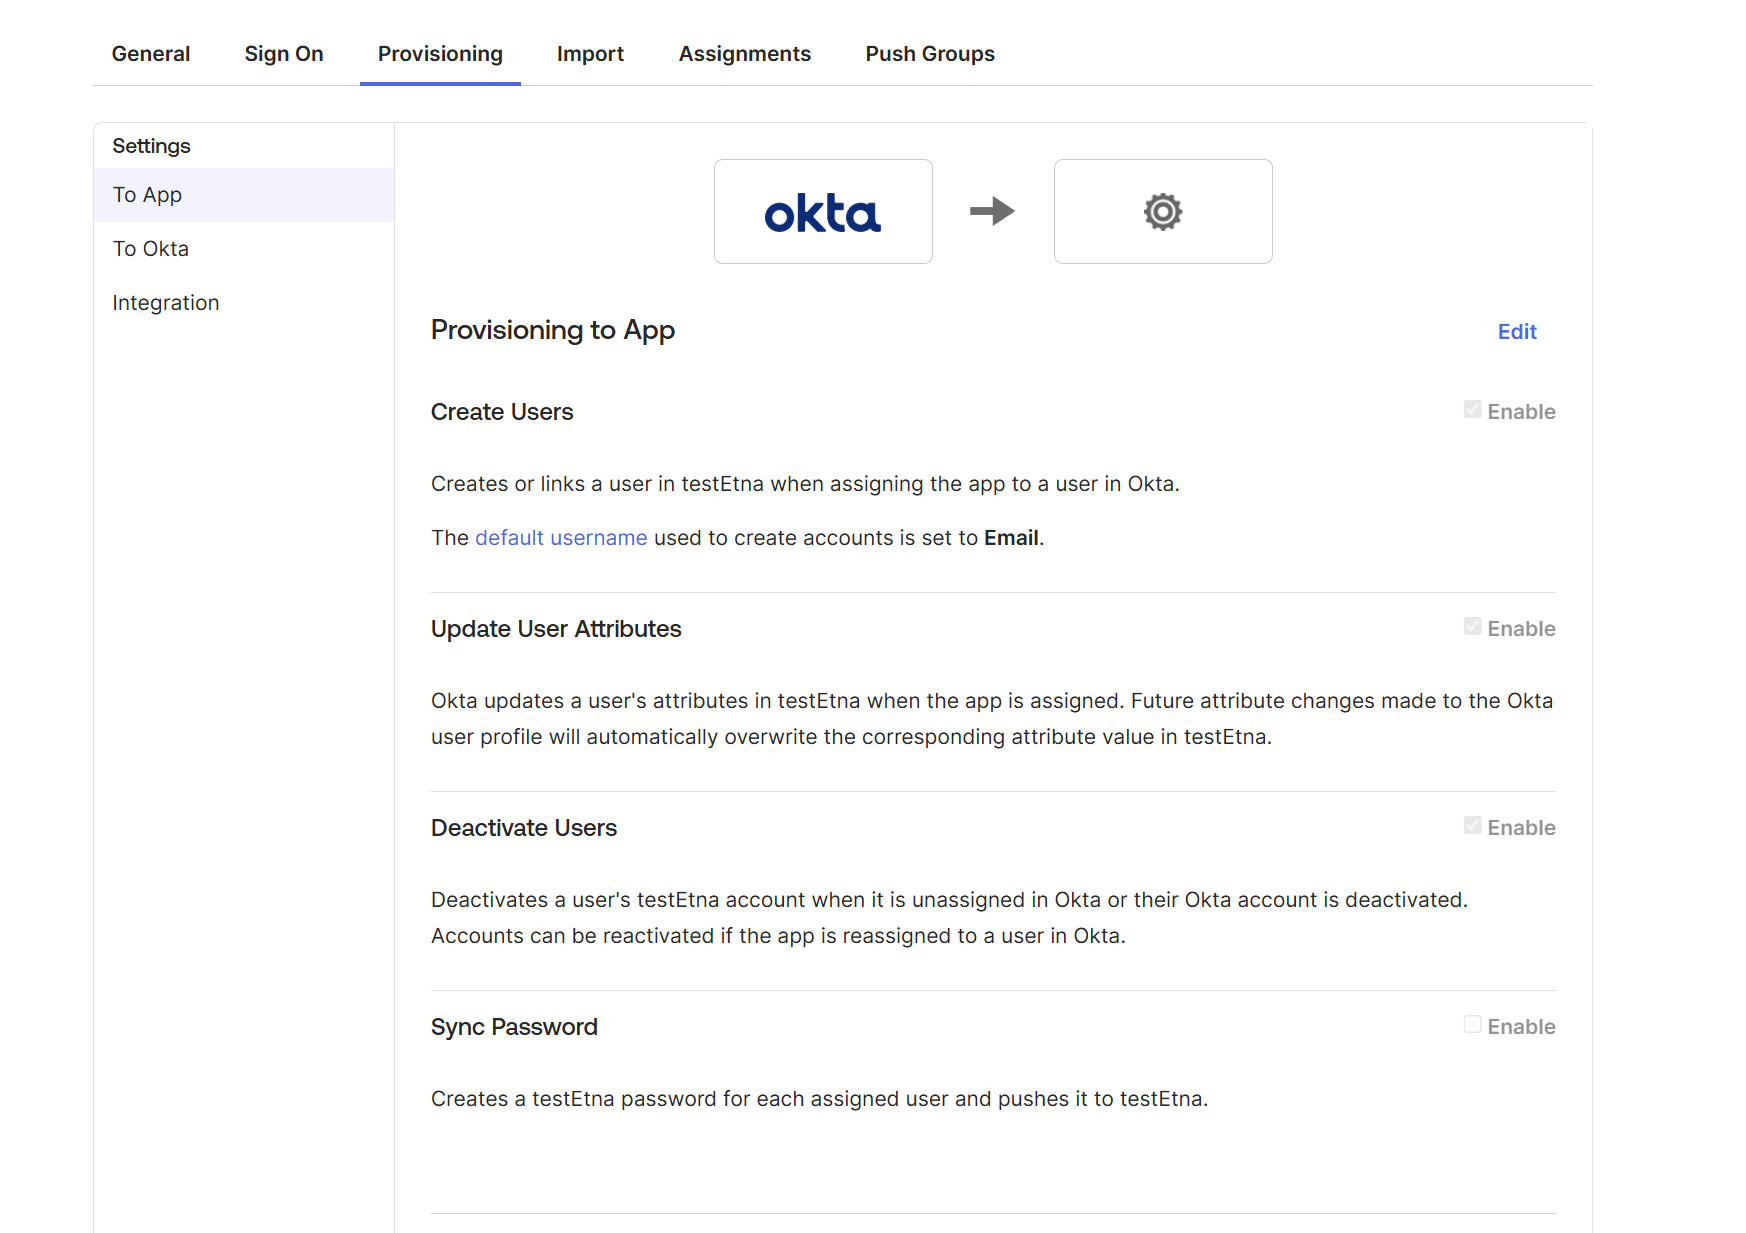
Under users you can enable the following options, as desired:
Microsoft Entra
To use Microsoft Entra, you must first congfigure a custom Enterprise Application within your Microsoft Entra tenant.
Add an Enterprise Application
- Sign in to the Microsoft Entra admin center with at least Cloud Application Administrator permissions.
- Navigate to Identity > Applications > Enterprise applications > All applications.
- Select + New application.
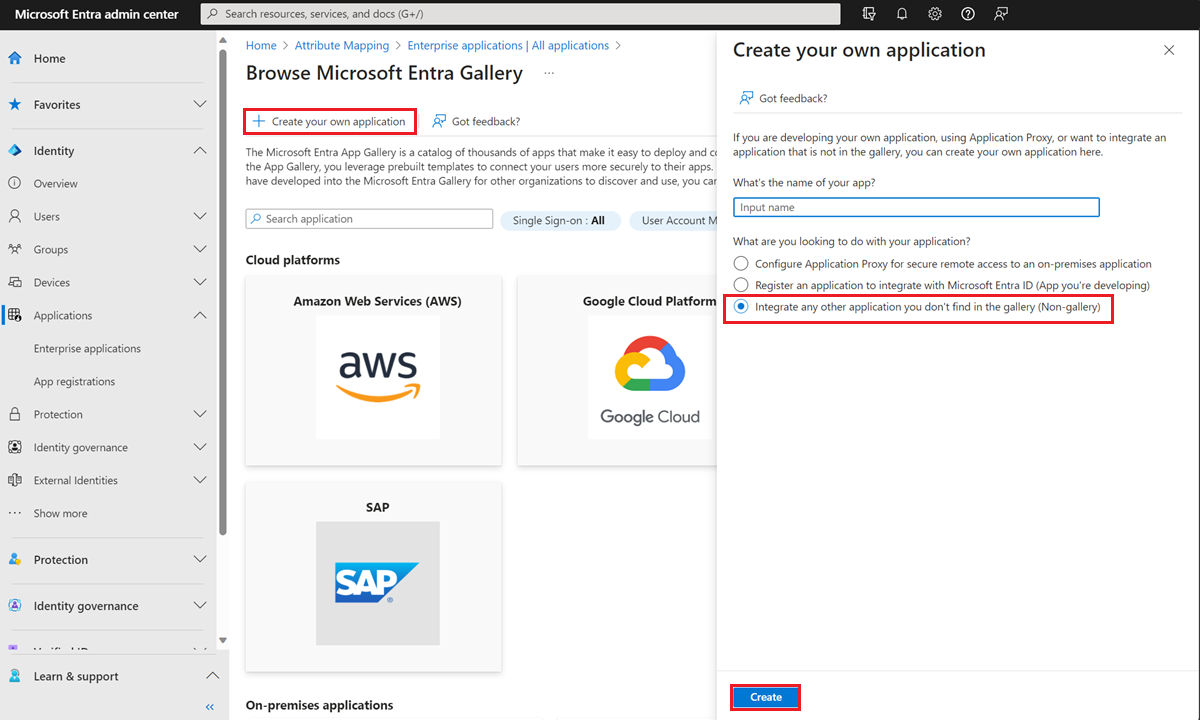
- Select Create your own application.
- Name: Enter a unique name to identify this application instance.
- Integration: Select Integrate any other application you don’t find in the gallary (non-gallary)
-
Select Create at the bottom of the pane.
Configure provisioning
Once the application is created, follow these steps to set up the SCIM connection:
- Navigate to *Identity > Applications > Enterprise applications and select your newly created application.
- Under the Manage section in the left sidebar, select Provisioning.
- Click + New configuration
- Select authenication method: Select Bearer authenication.
-
Tenant URL: Enter your SCIM endpoint URL. For example,
https://example.strong.network/scim - Secret token: Enter the bearer token provided by your service.
- Select Test Connection.
Note:
A successful test connection may be required to proceed.
- Select Save
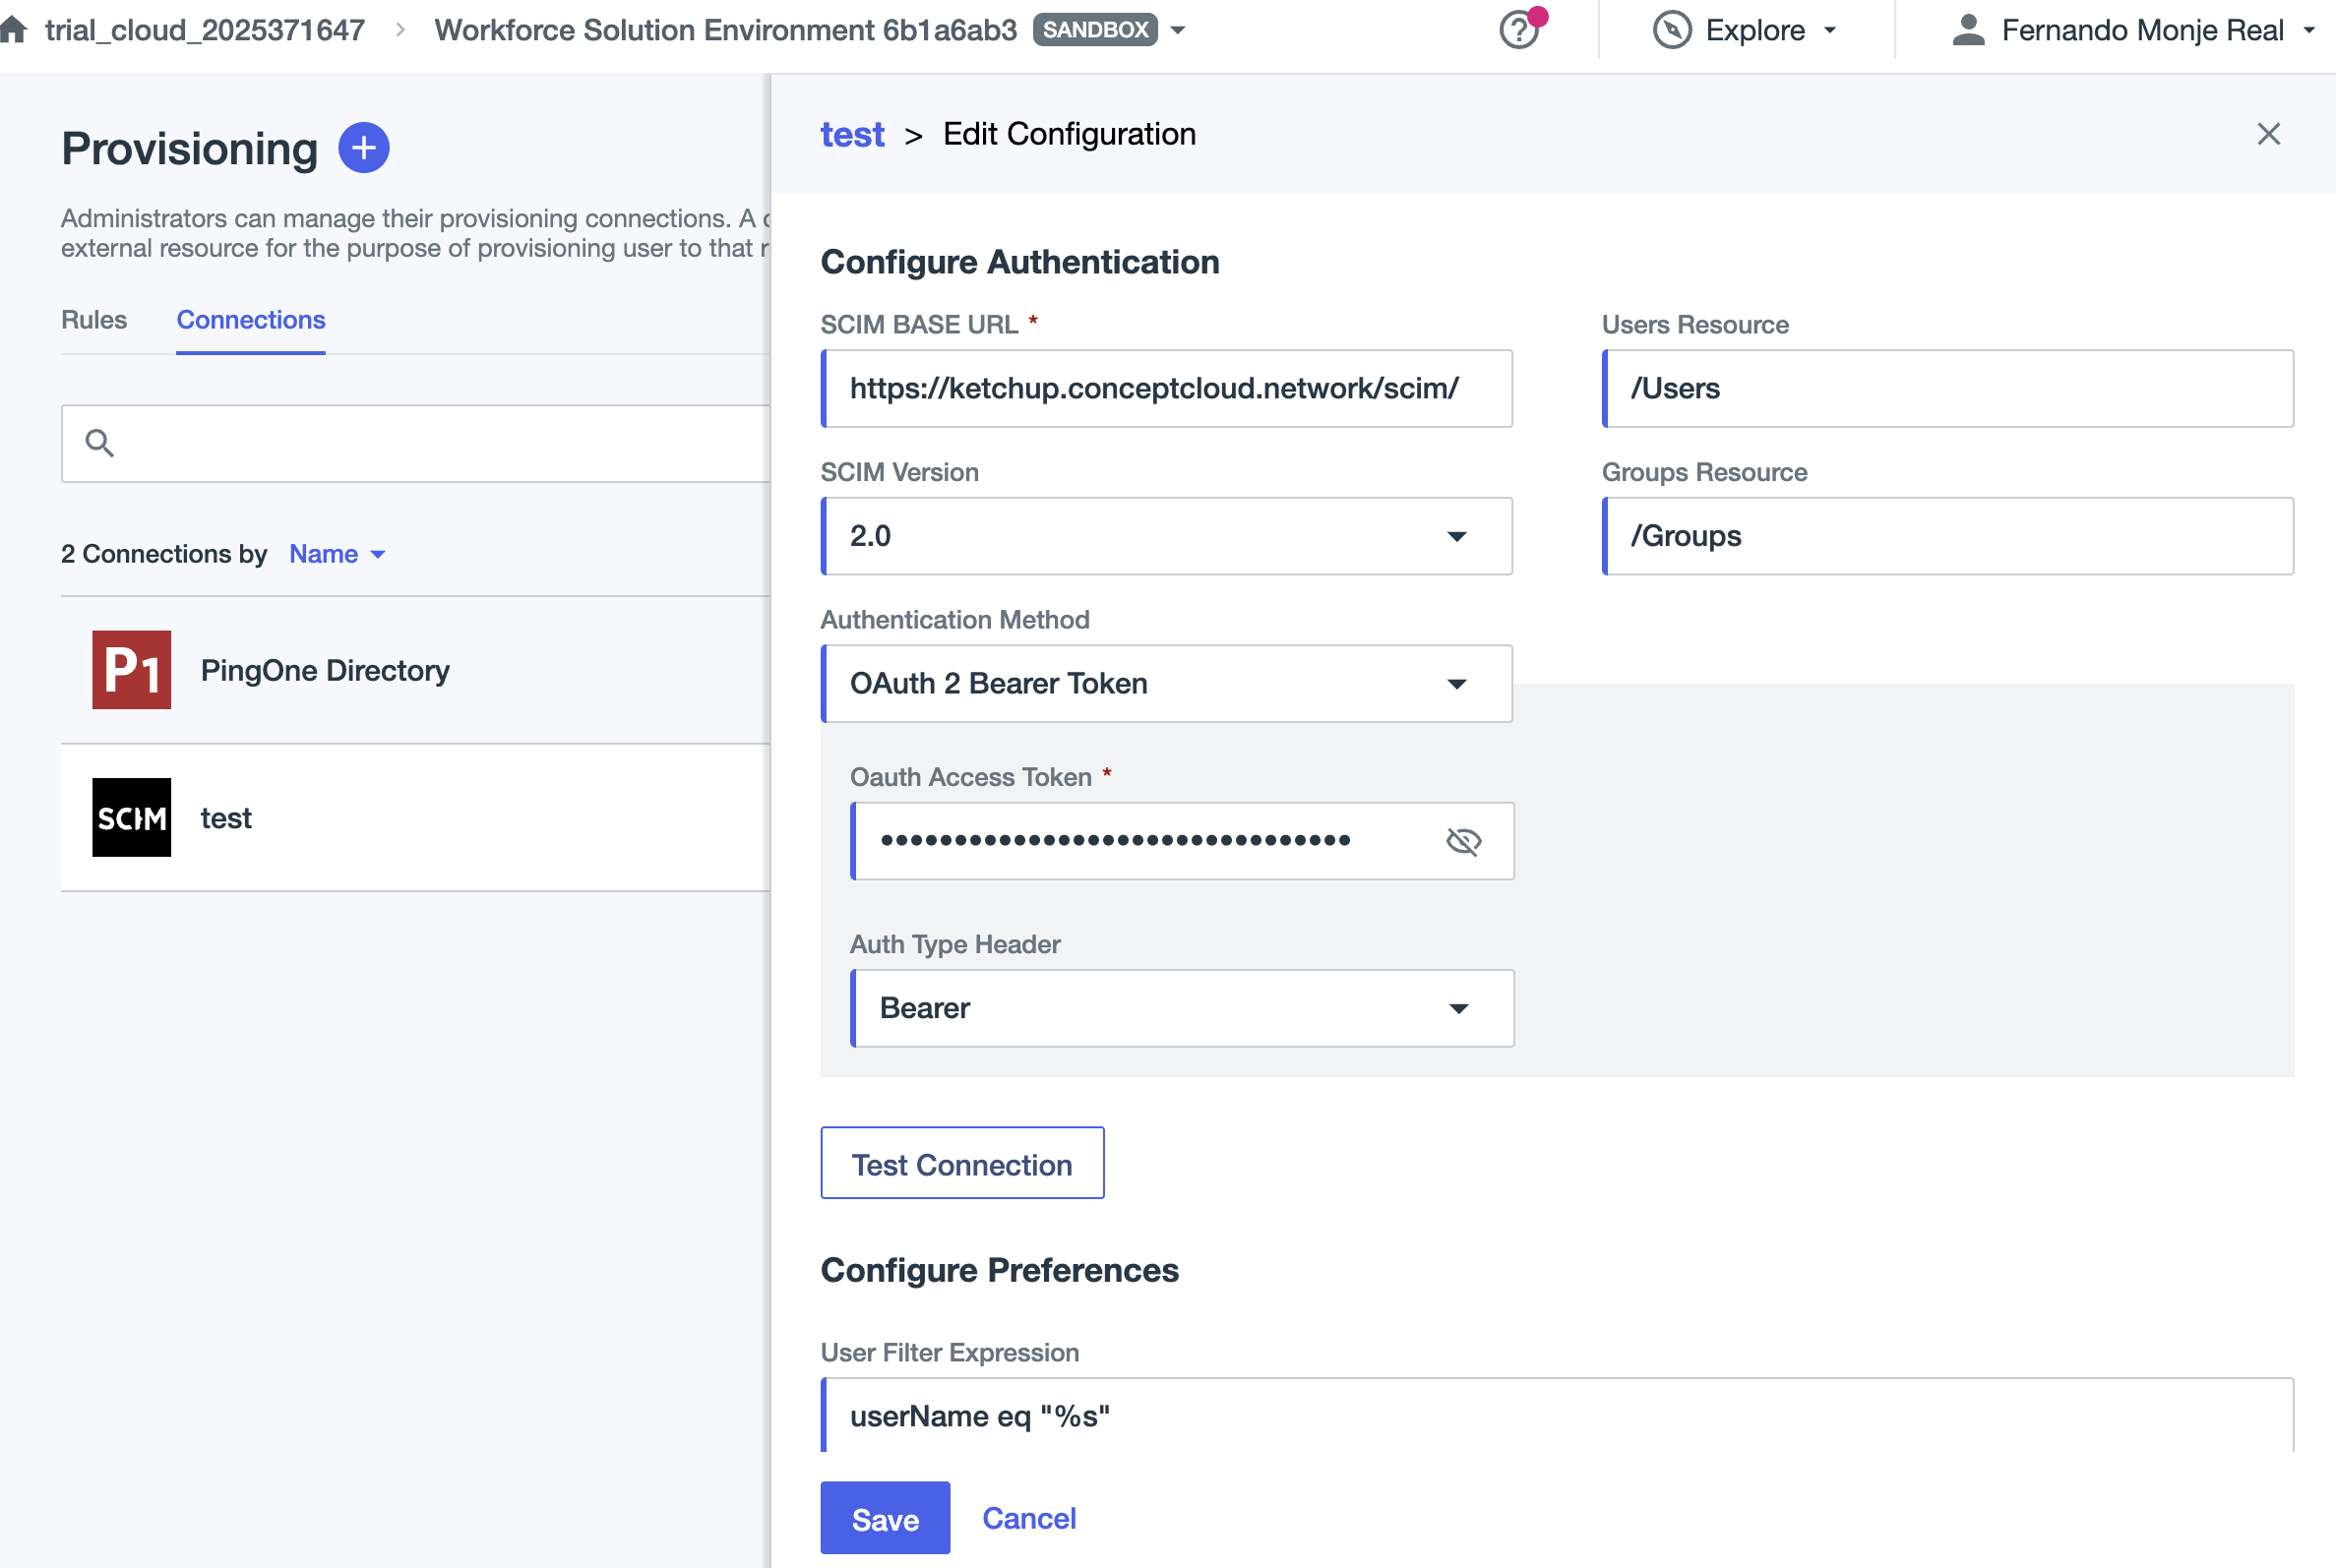
PingOne
To use PingOne, you will need to set the following fields:
-
SCIM base URL:
https://example.strong.network/scim - User Filter Expression: Modify “username” by “userName” as well as “Eq” to “eq”
When configuring it should look like:
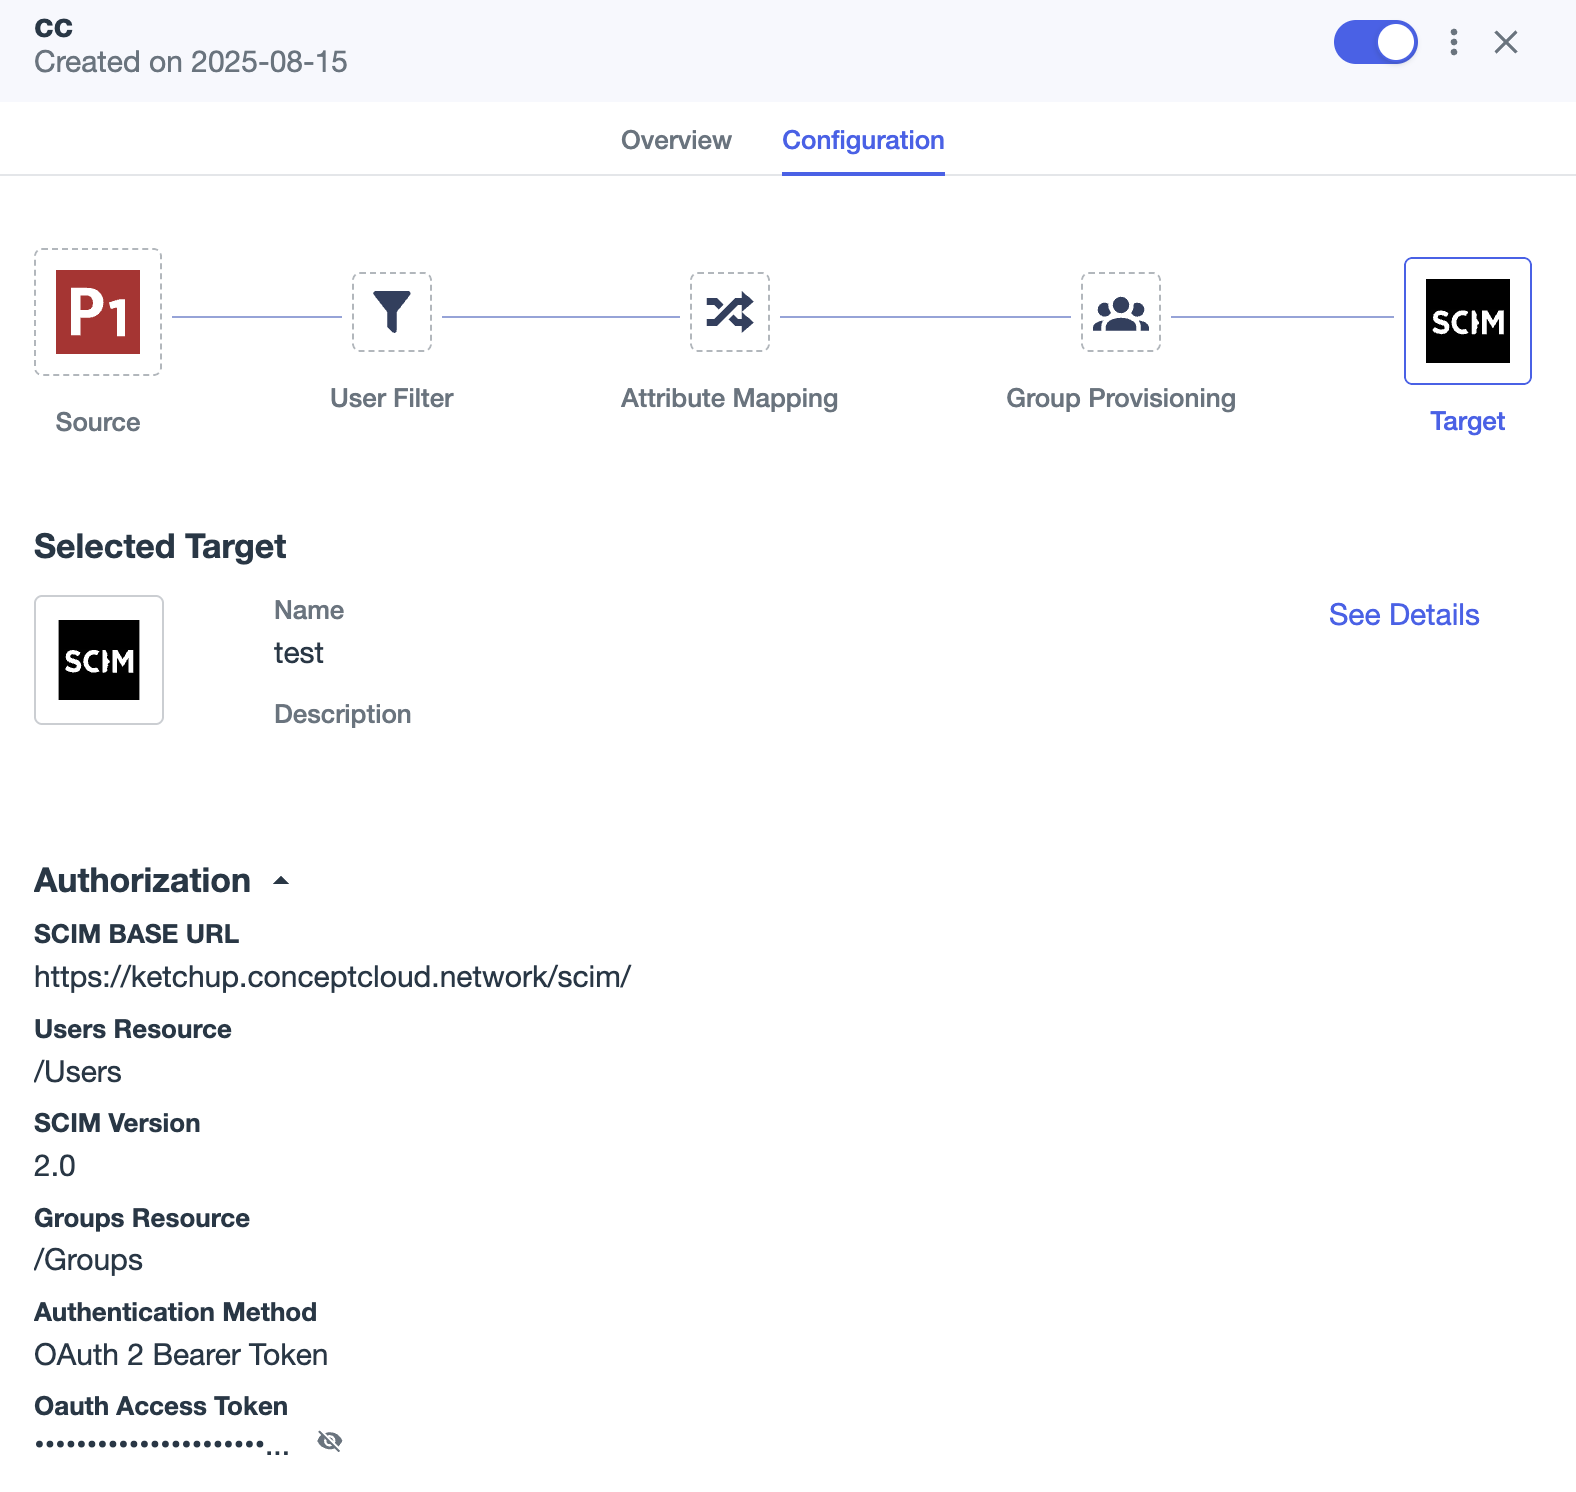
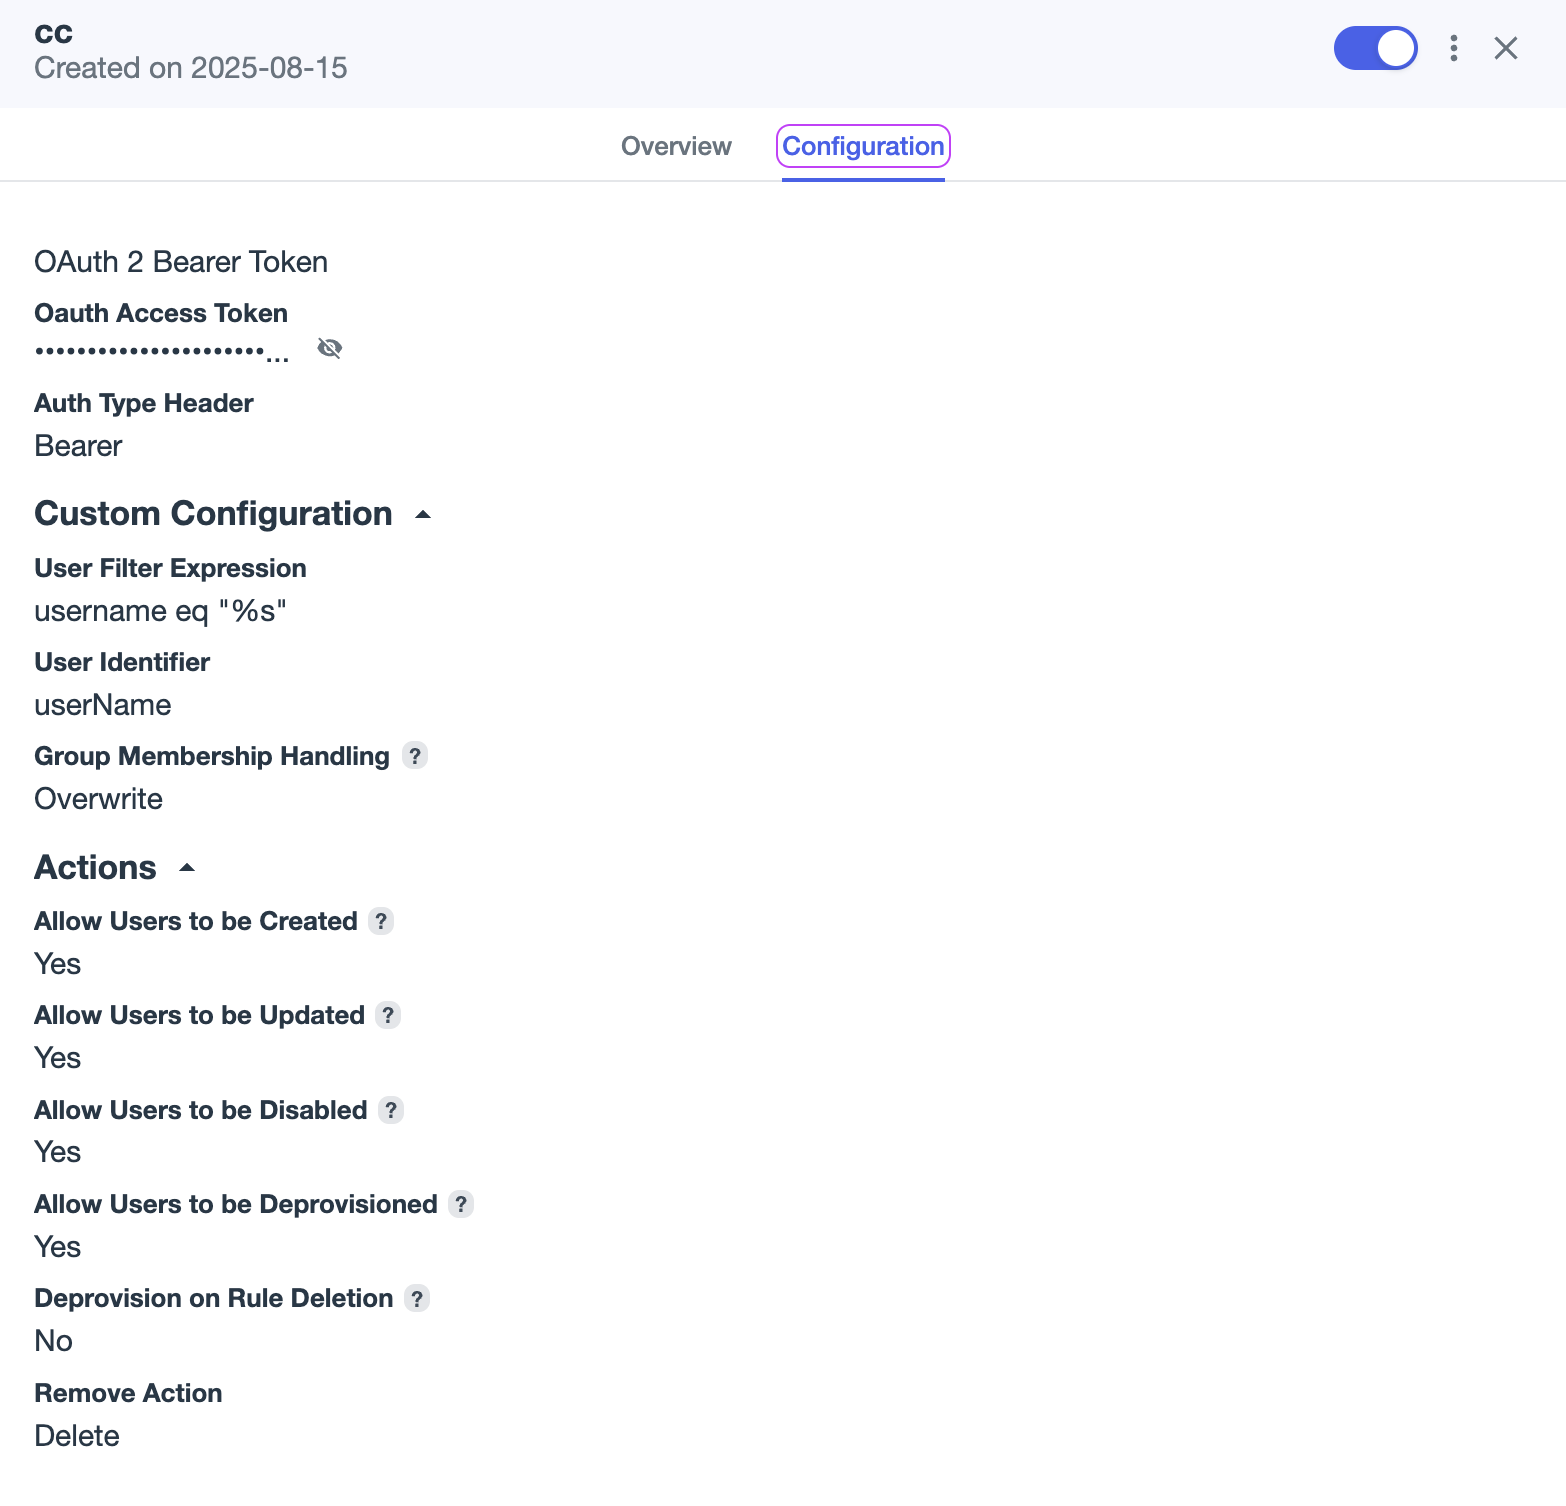
When configured the result should be like:
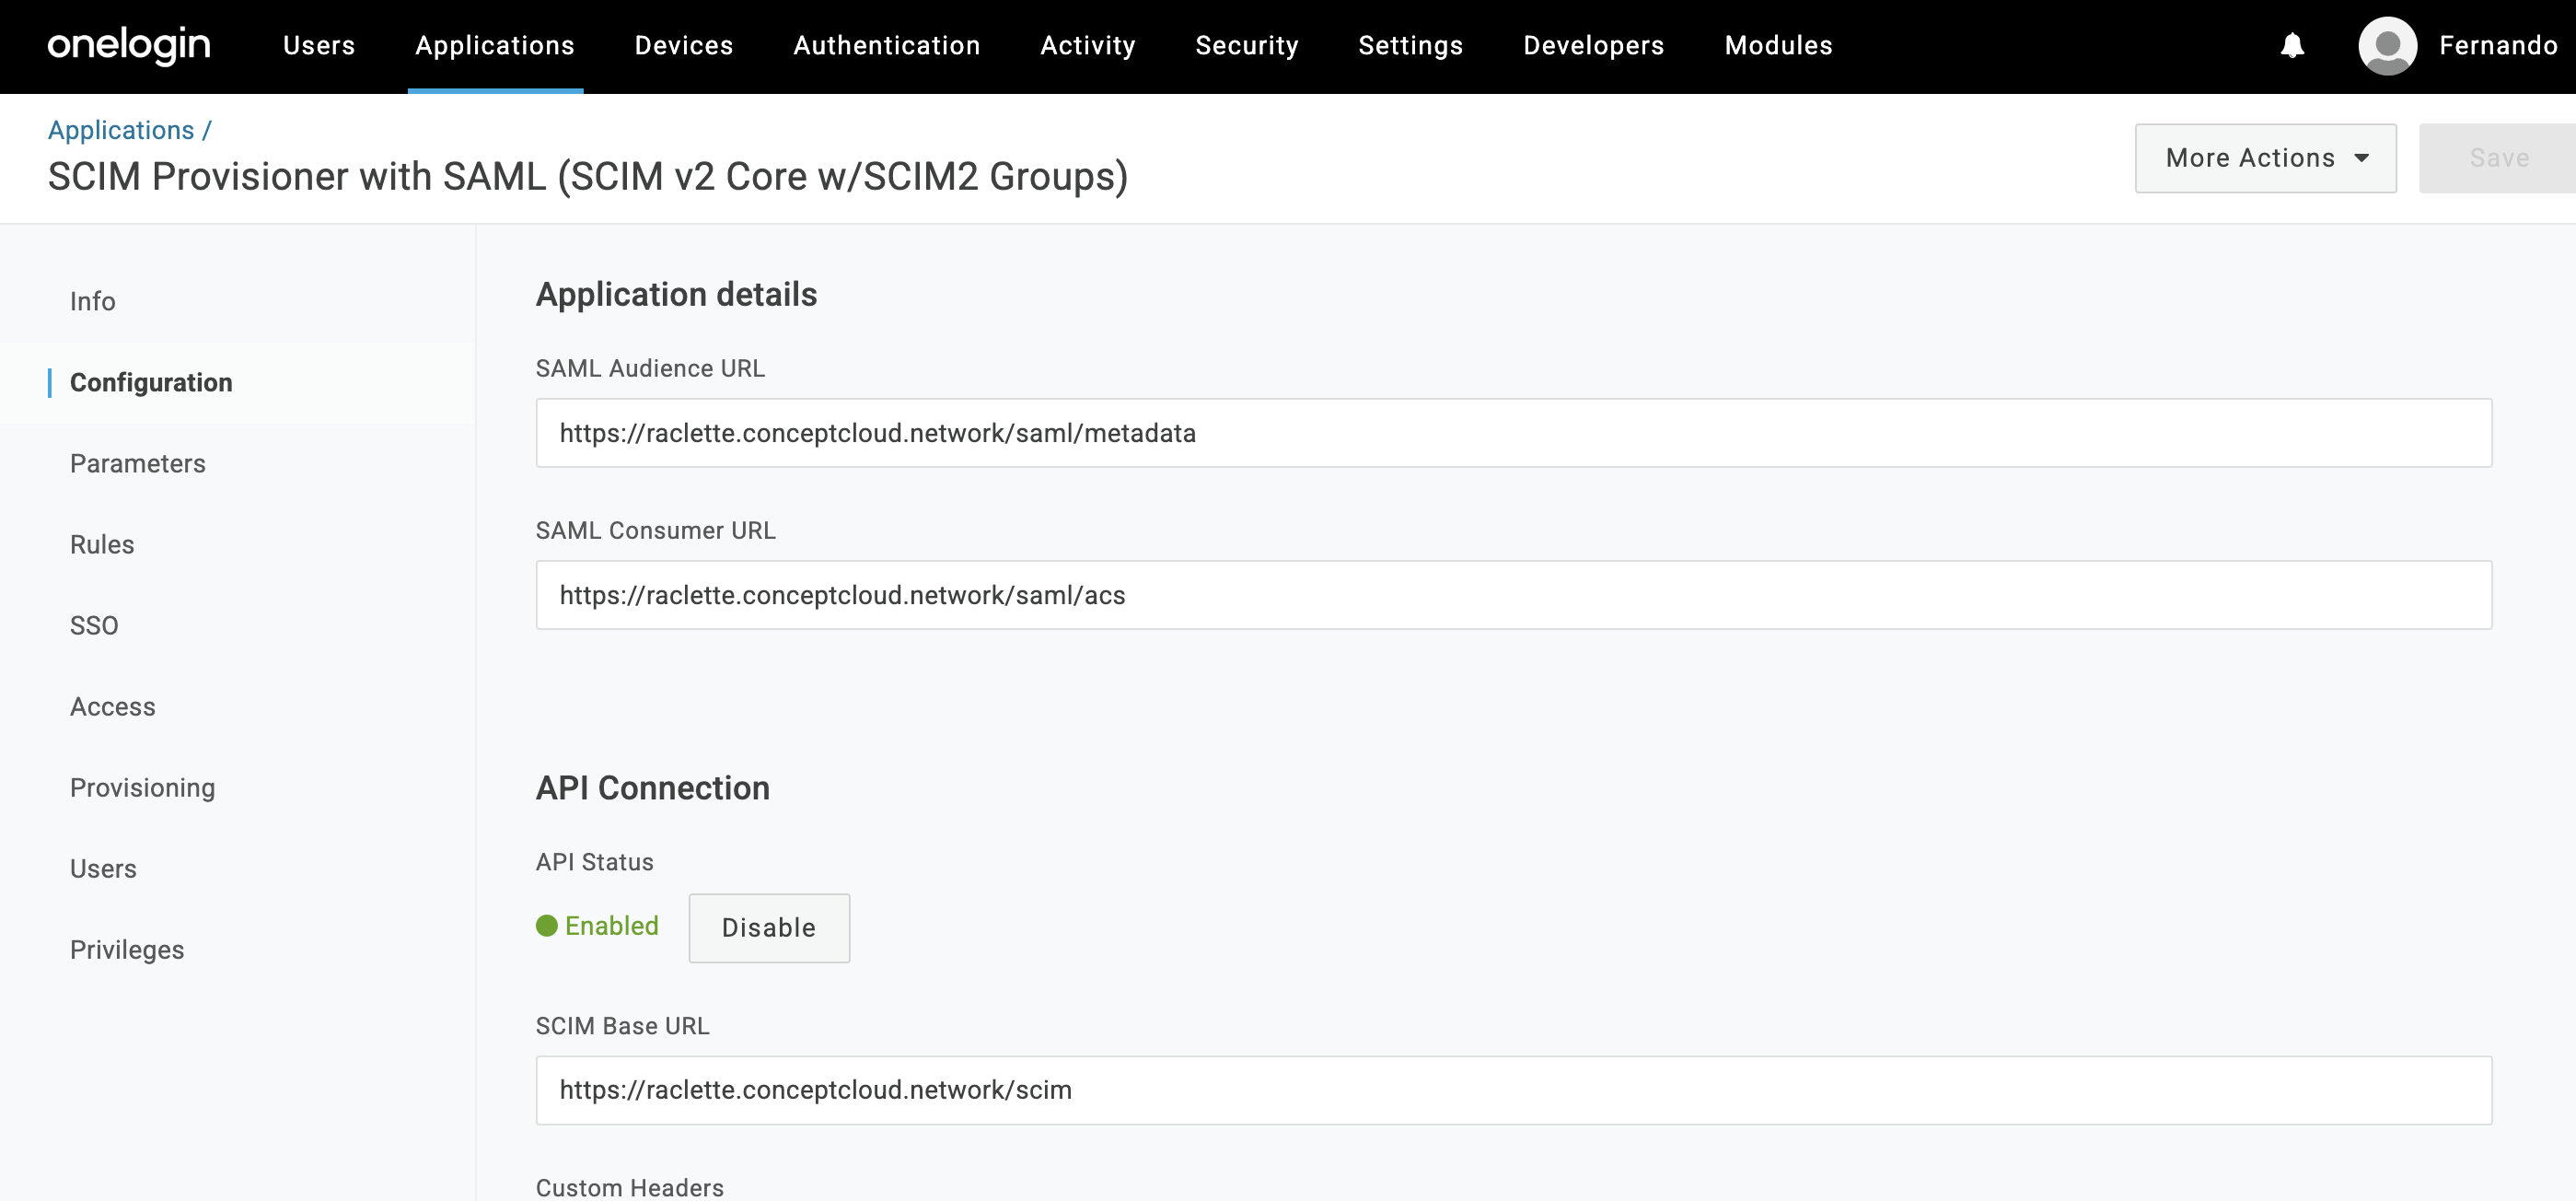
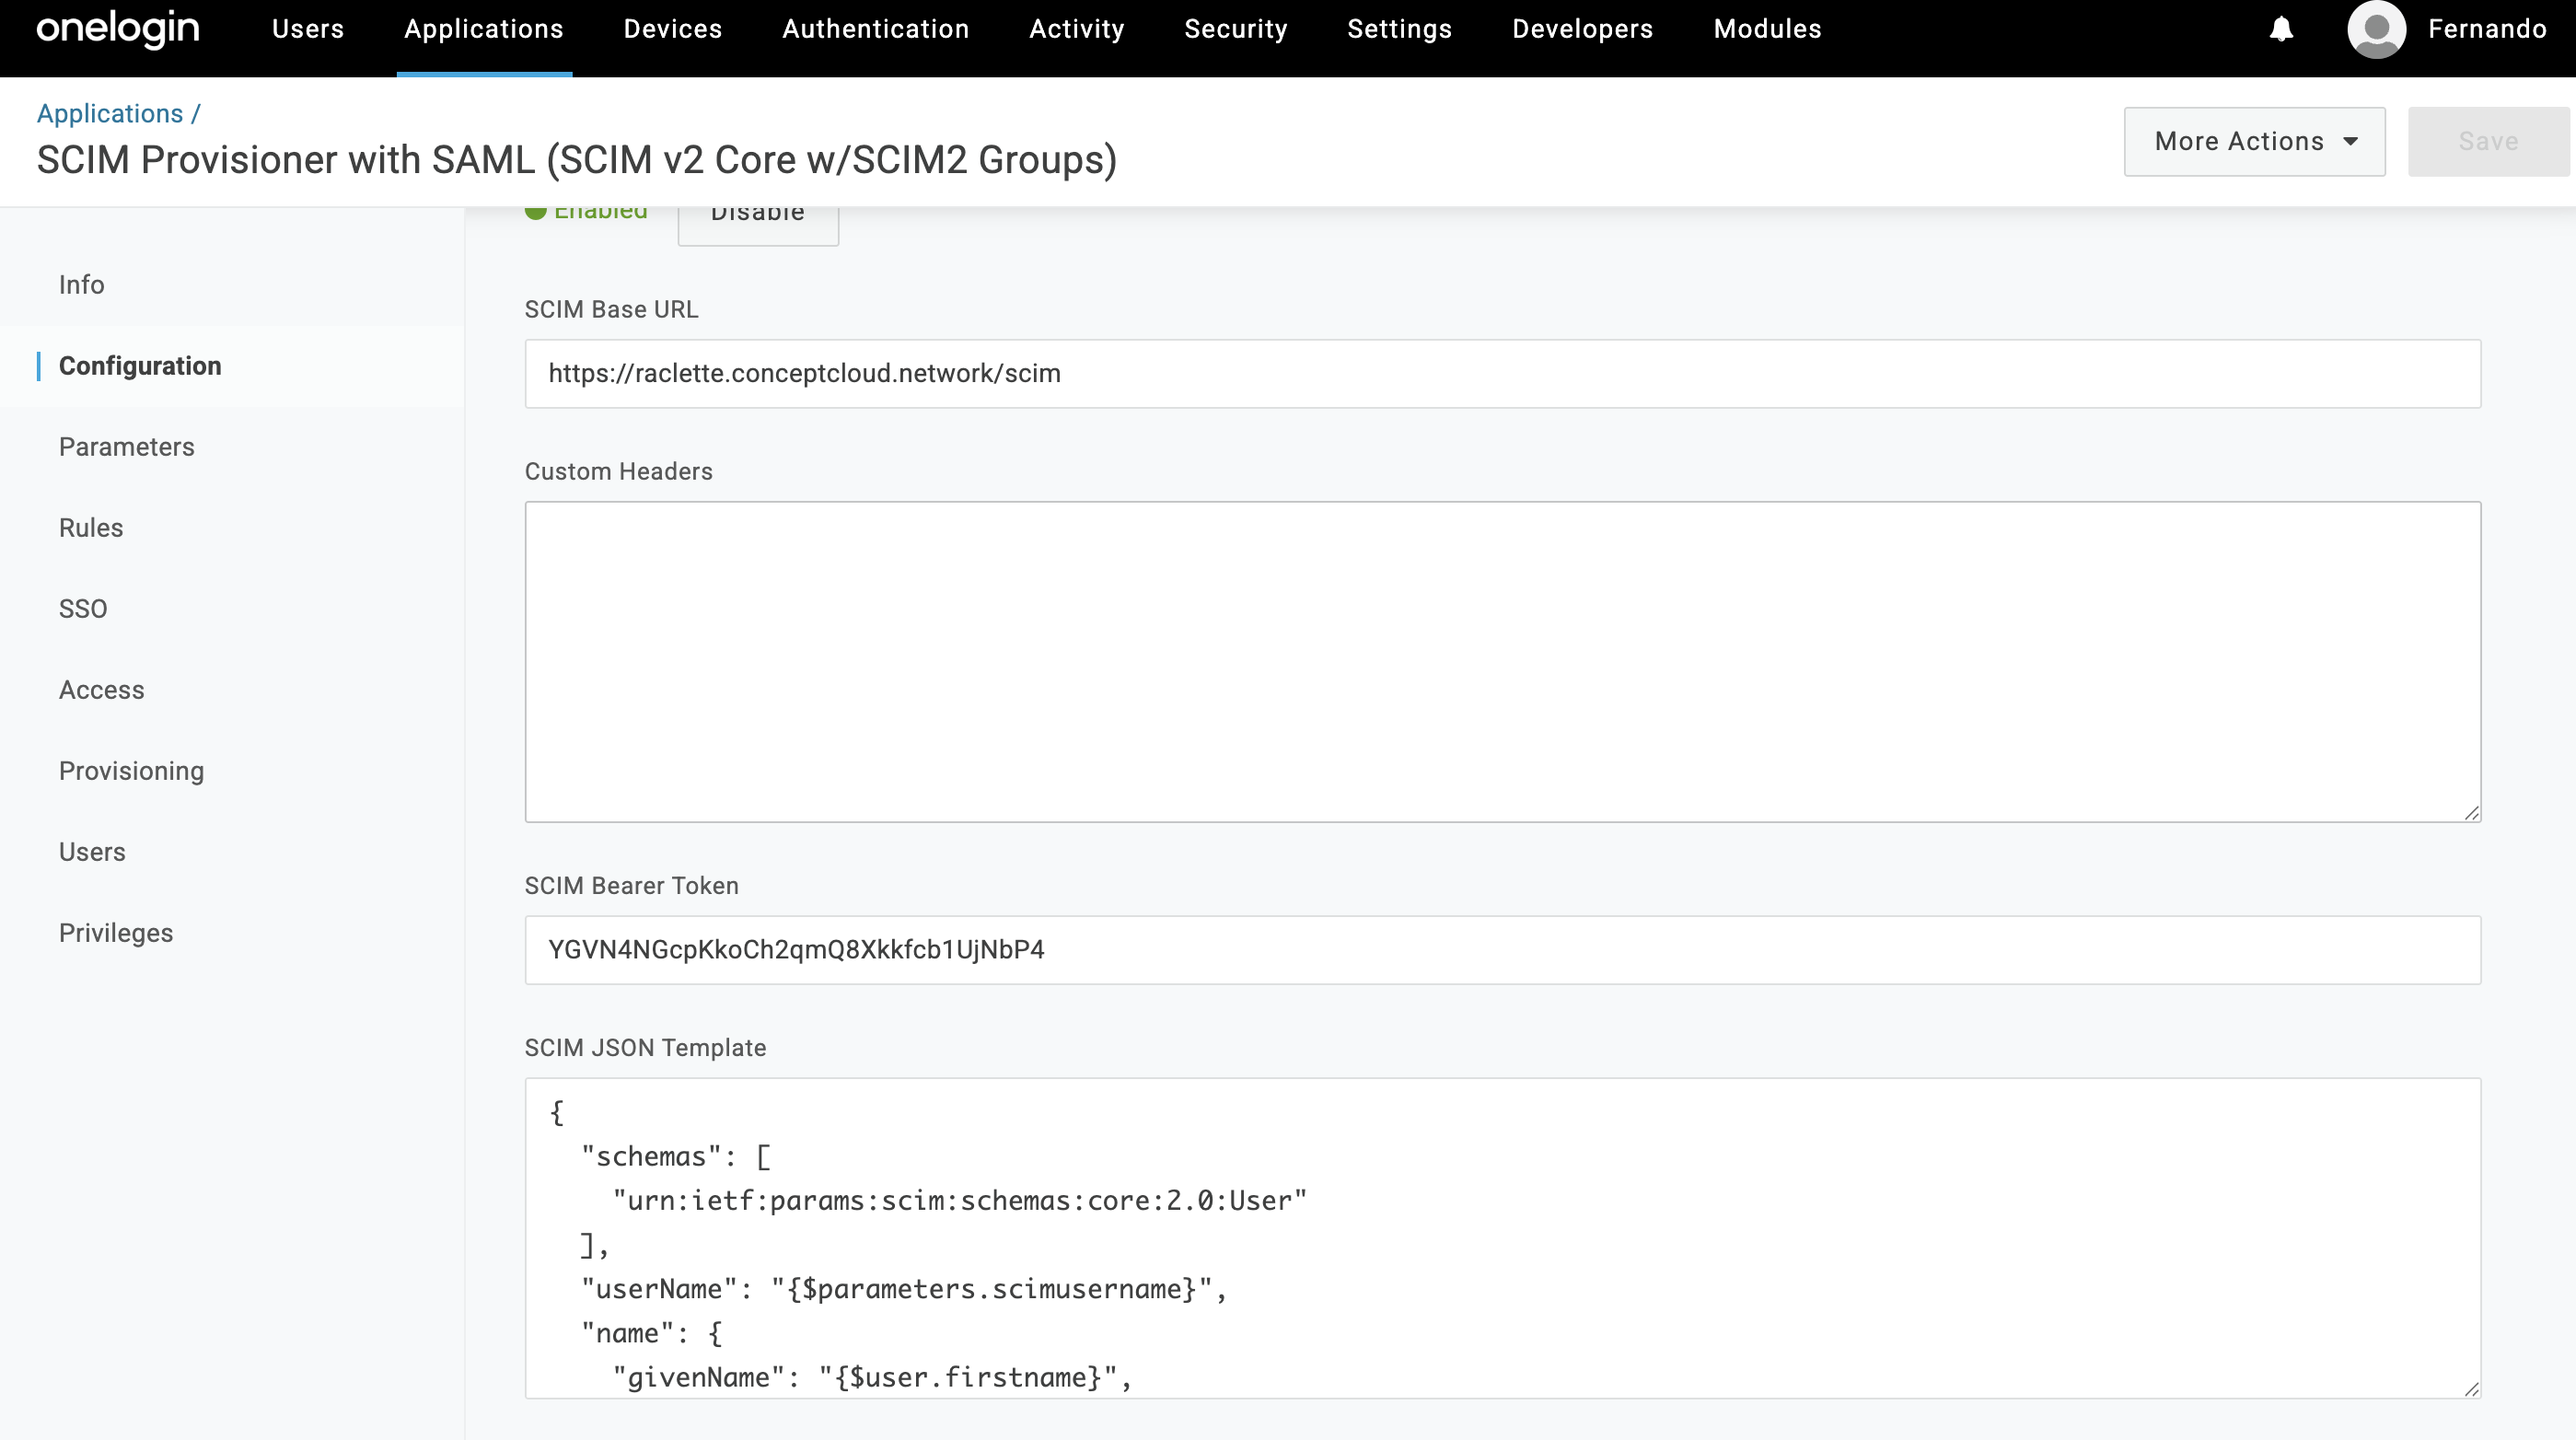
Using OneLogin
To use OneLogin, you will need to set the following fields:
-
SCIM base URL:
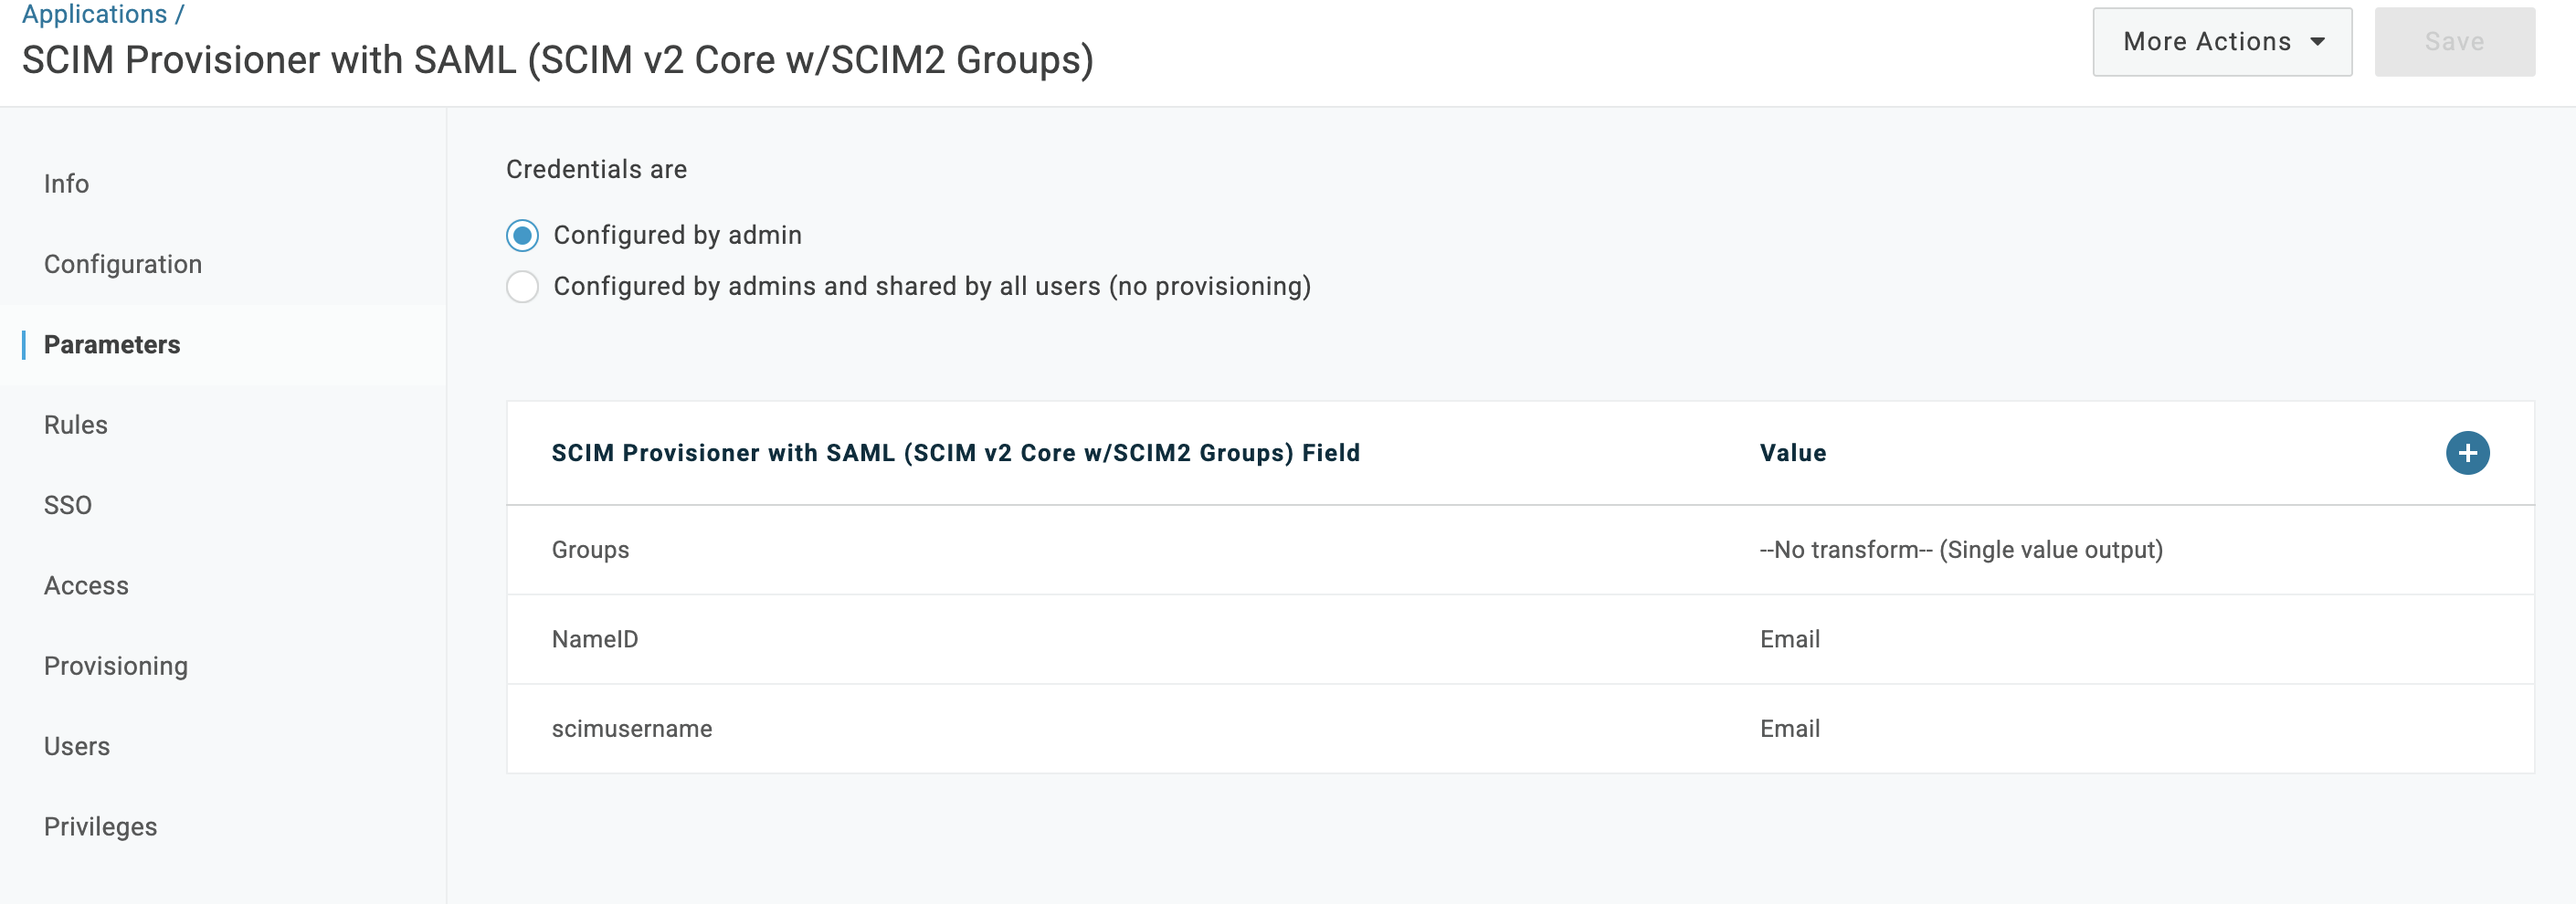
https://example.strong.network/scim - scimusername: Set its value to Email
The configuration should look like:
The parameters section should look like:
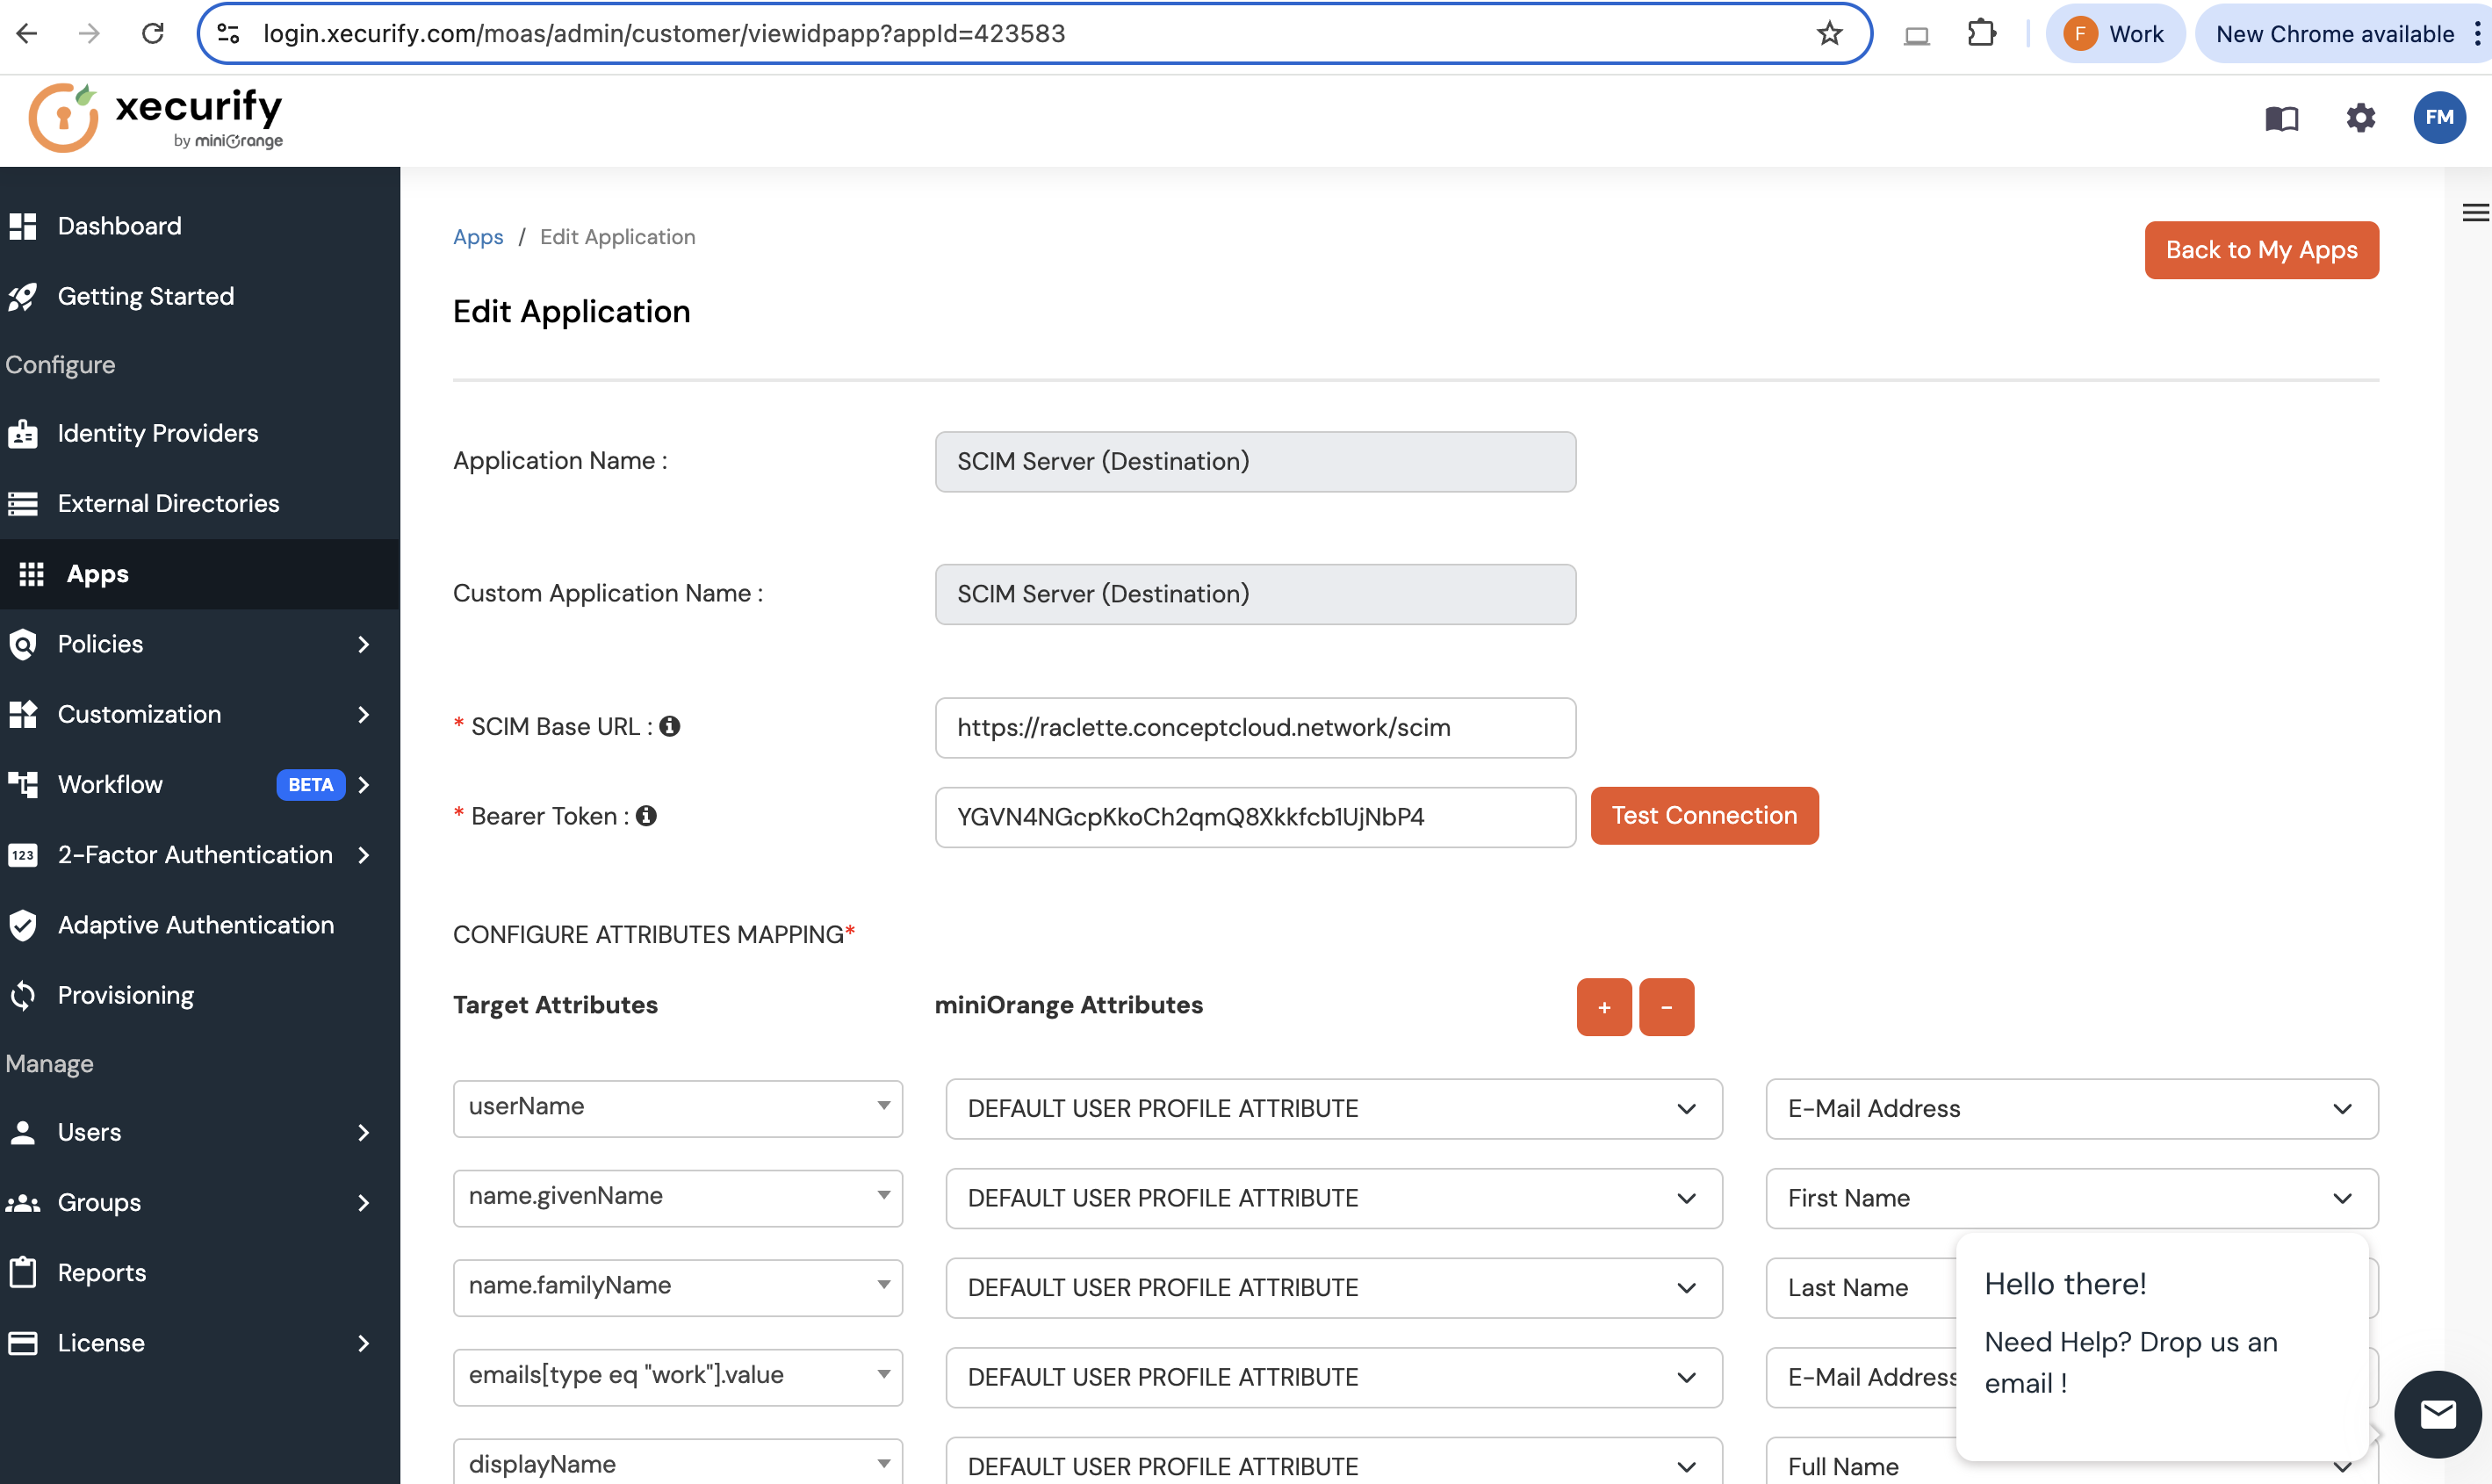
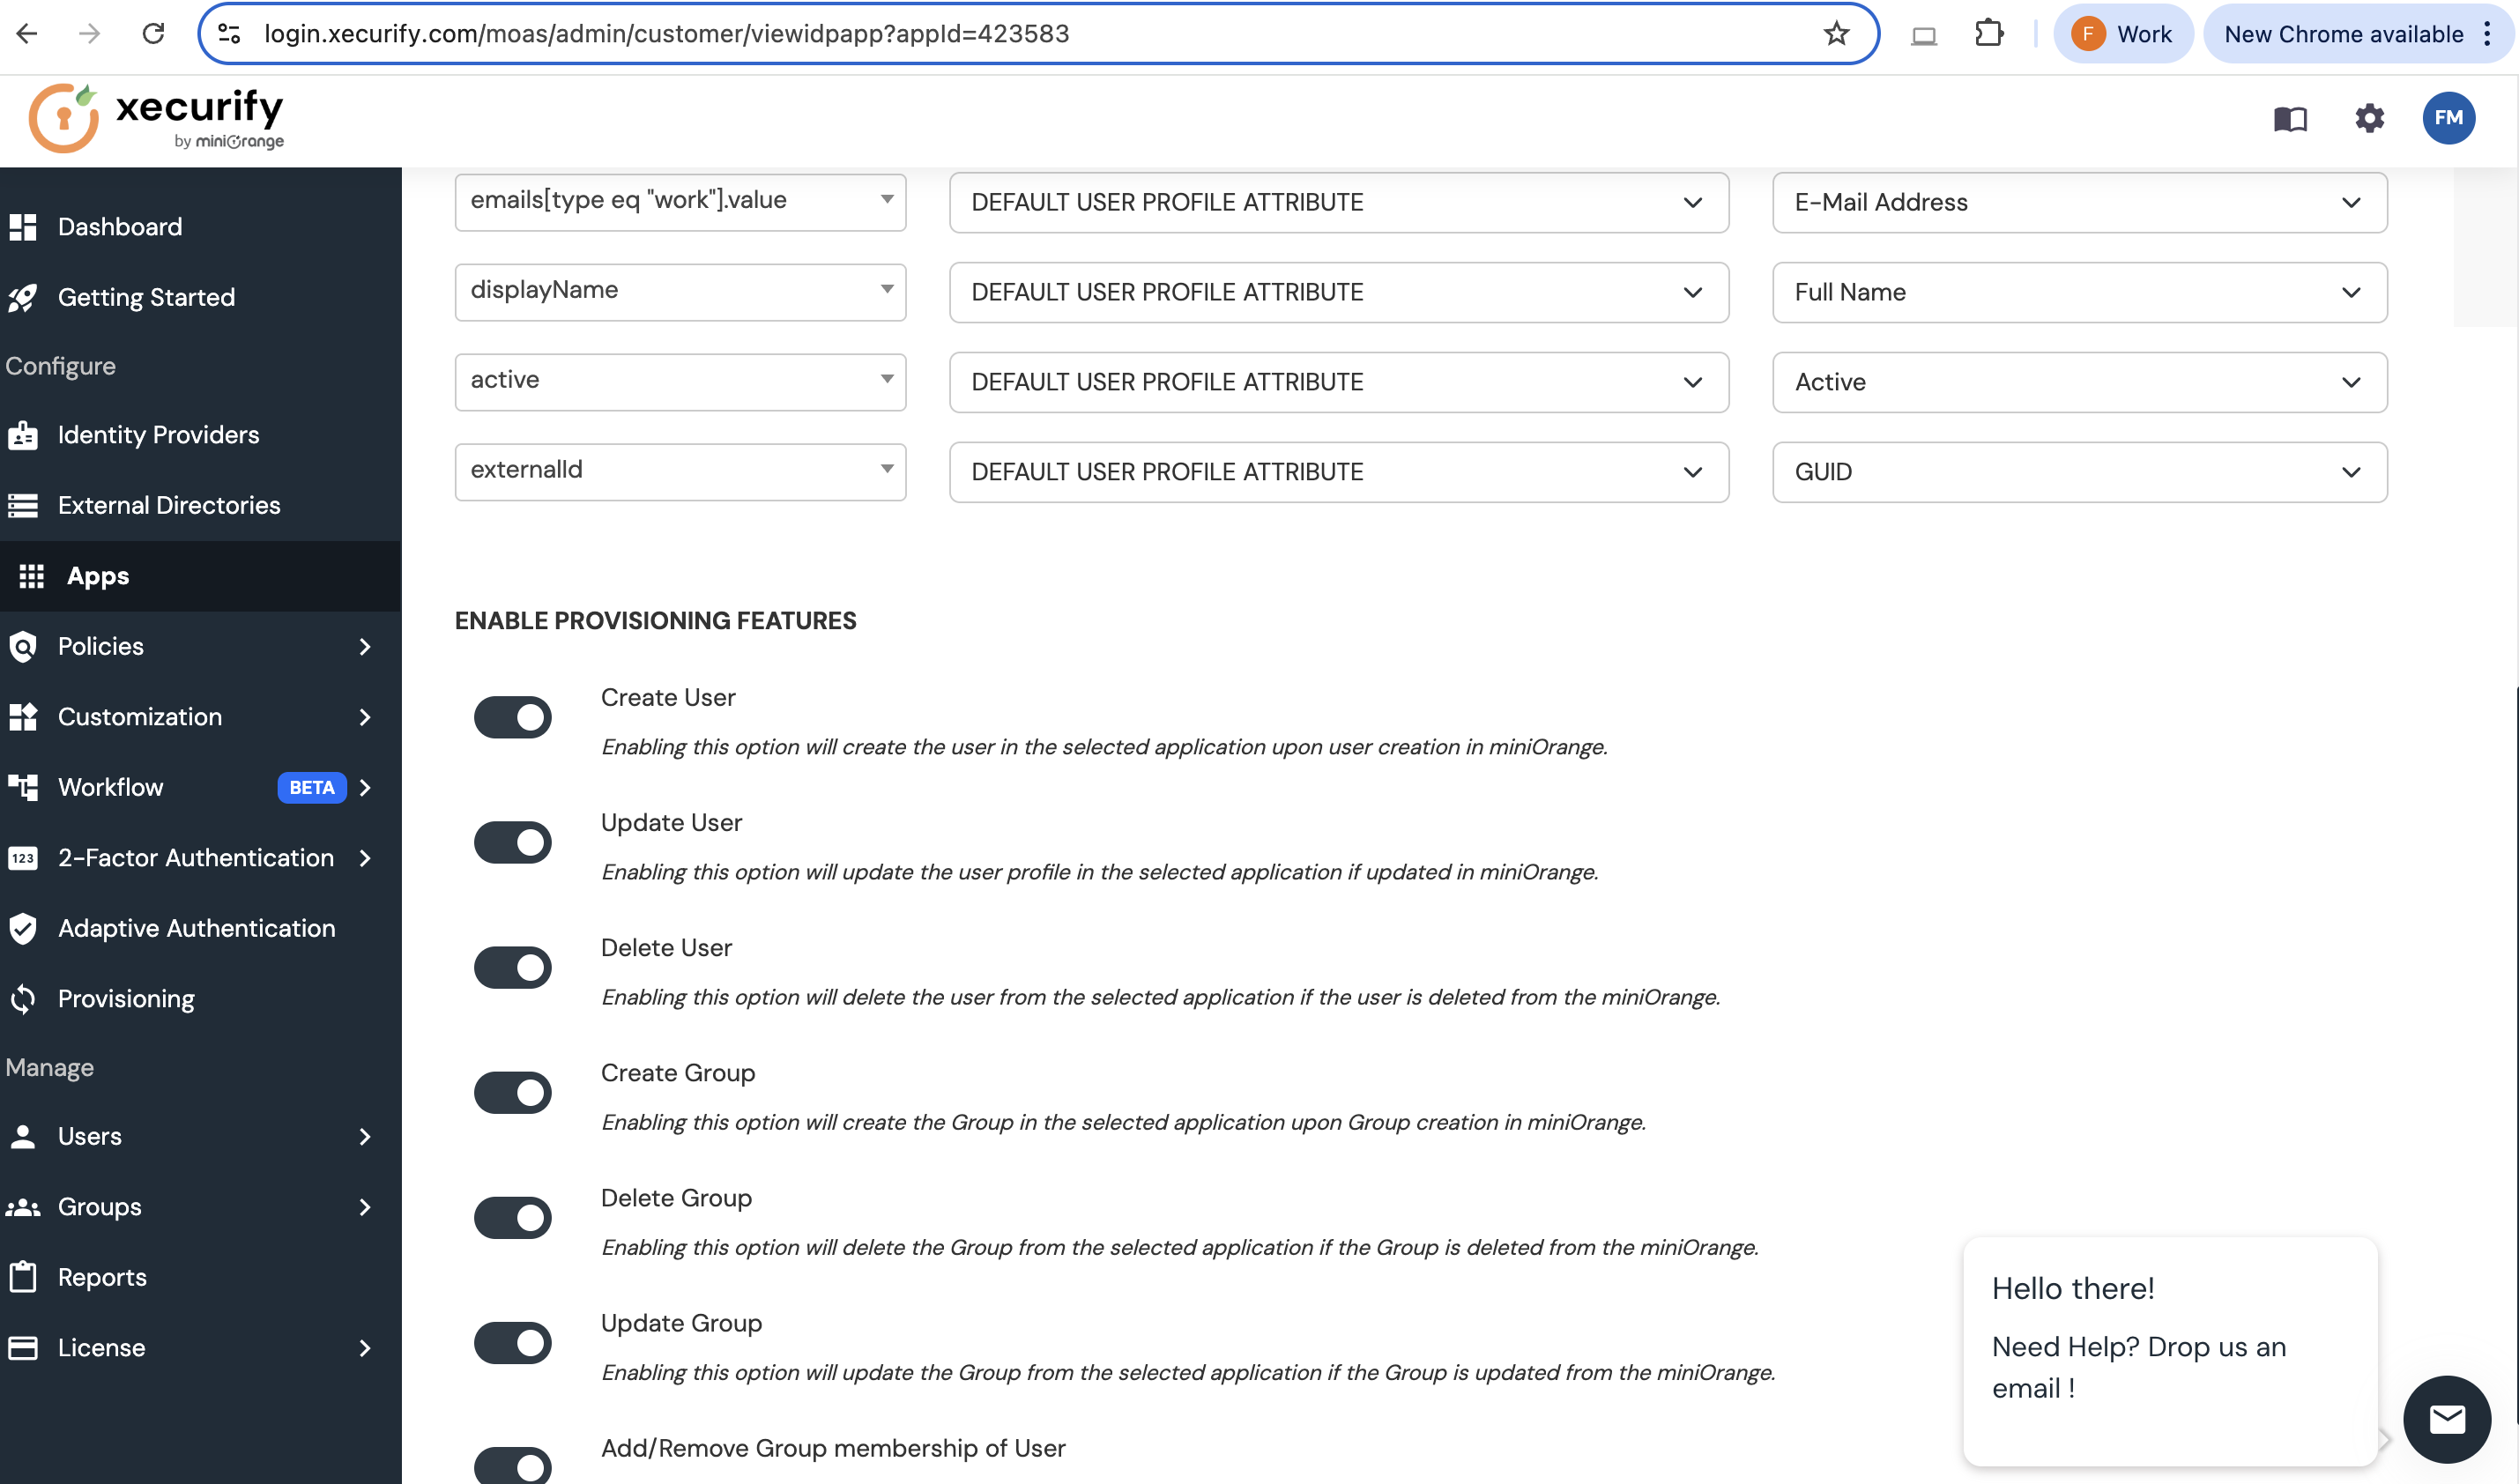
Using Xecurify (miniOrange)
To use Xecurify, you will need to set the following fields:
-
SCIM Base URL:
https://example.strong.network/scim - userName: Set its value to E-Mail Address
The configuration should look like:
Configure the SDS Platform
No additional configuration is needed on the SDS platform. SCIM is enabled by default.
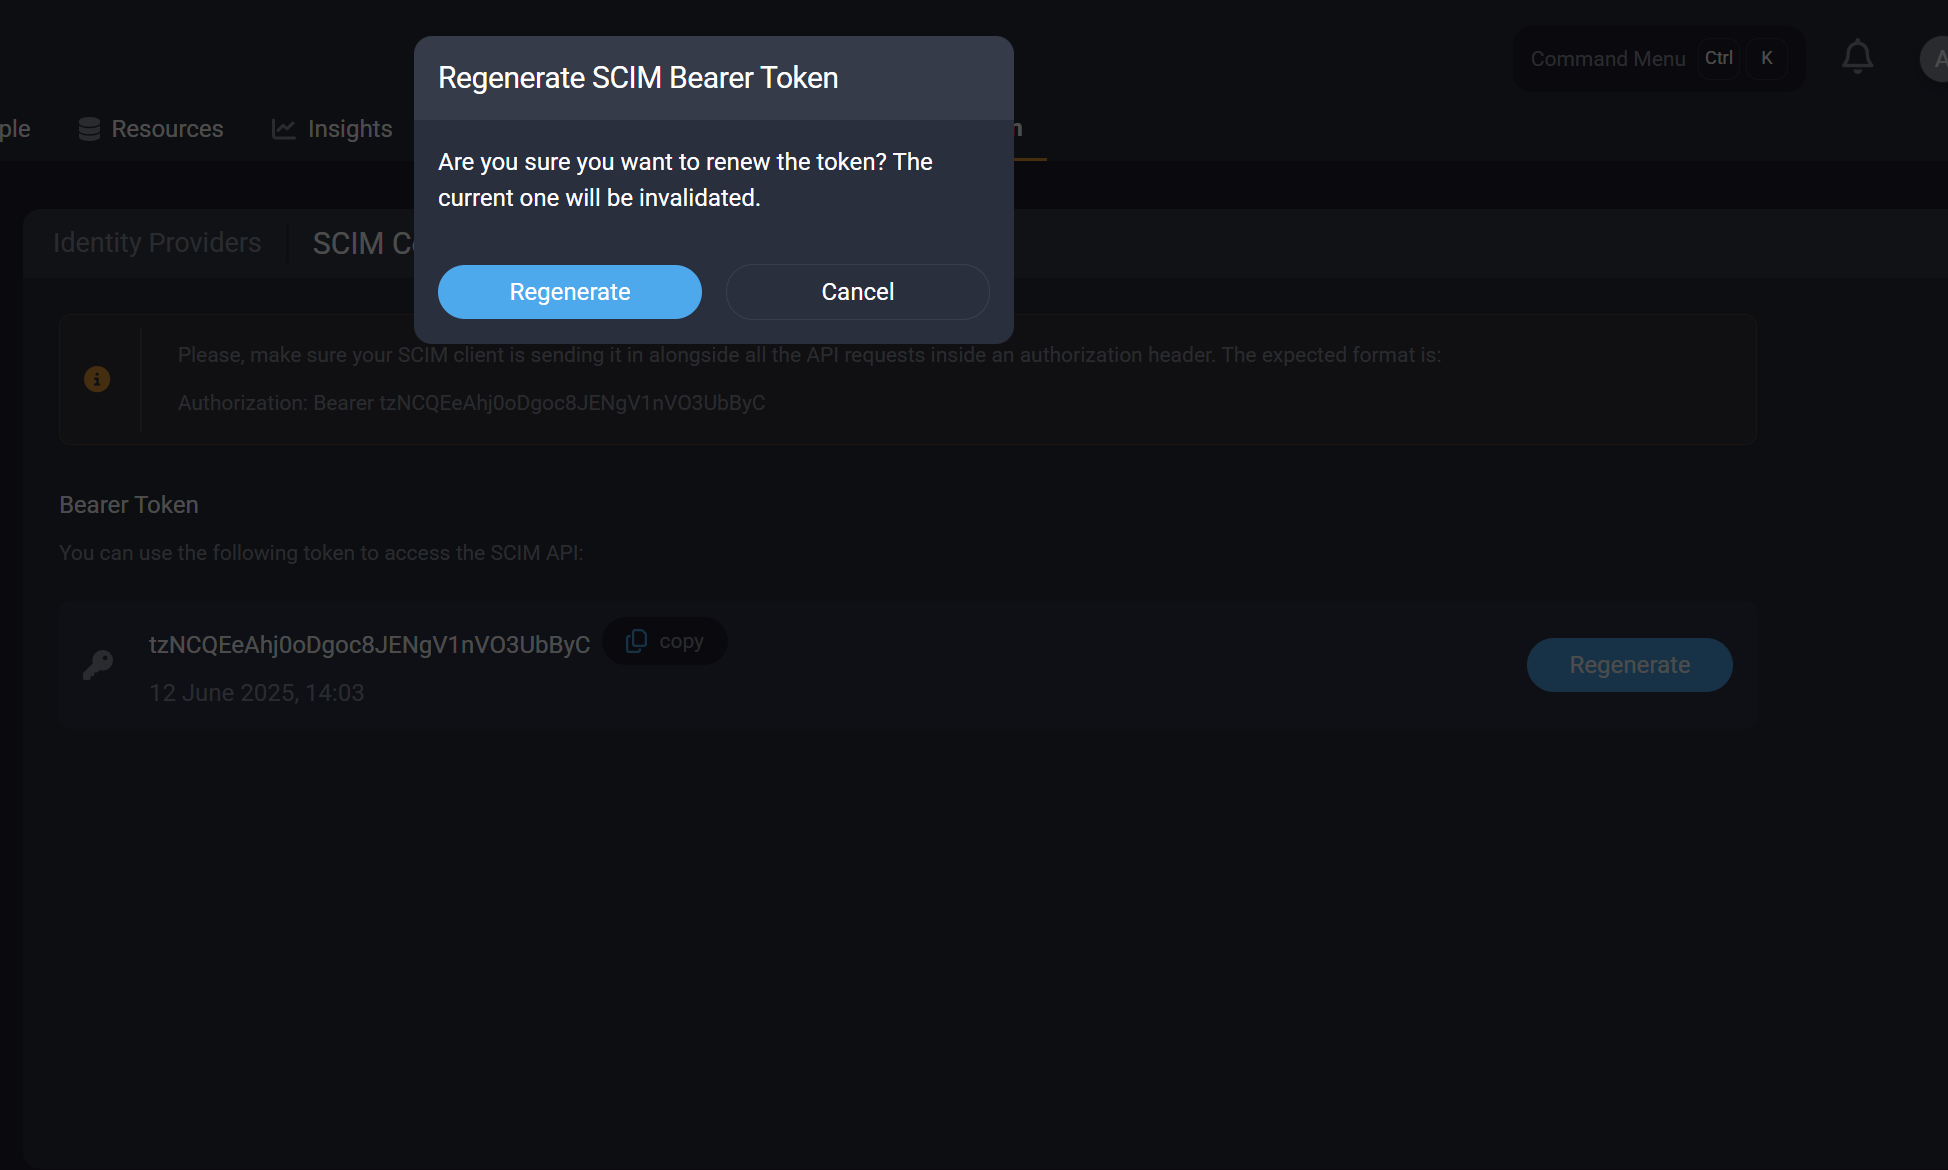
You can renew the token at any time. Please note that renewing the token will invalidate any previously issued tokens.