Access policy with multiple rules
Important:
Configuring multiple rules in a single policy feature is under Preview. If you do not see this feature in your instance that is because it is being rolled out in phases across geos for the Citrix® customers.
You can now create multiple access rules and configure different access conditions for different users or user groups within a single policy. These rules can be applied separately for both HTTP/HTTPS and TCP/UDP applications, all within a single policy.
Configure an access policy with multiple rules
Ensure that you have completed the following tasks before configuring an access policy.
- On the Secure Private Access service tile, click Manage.
-
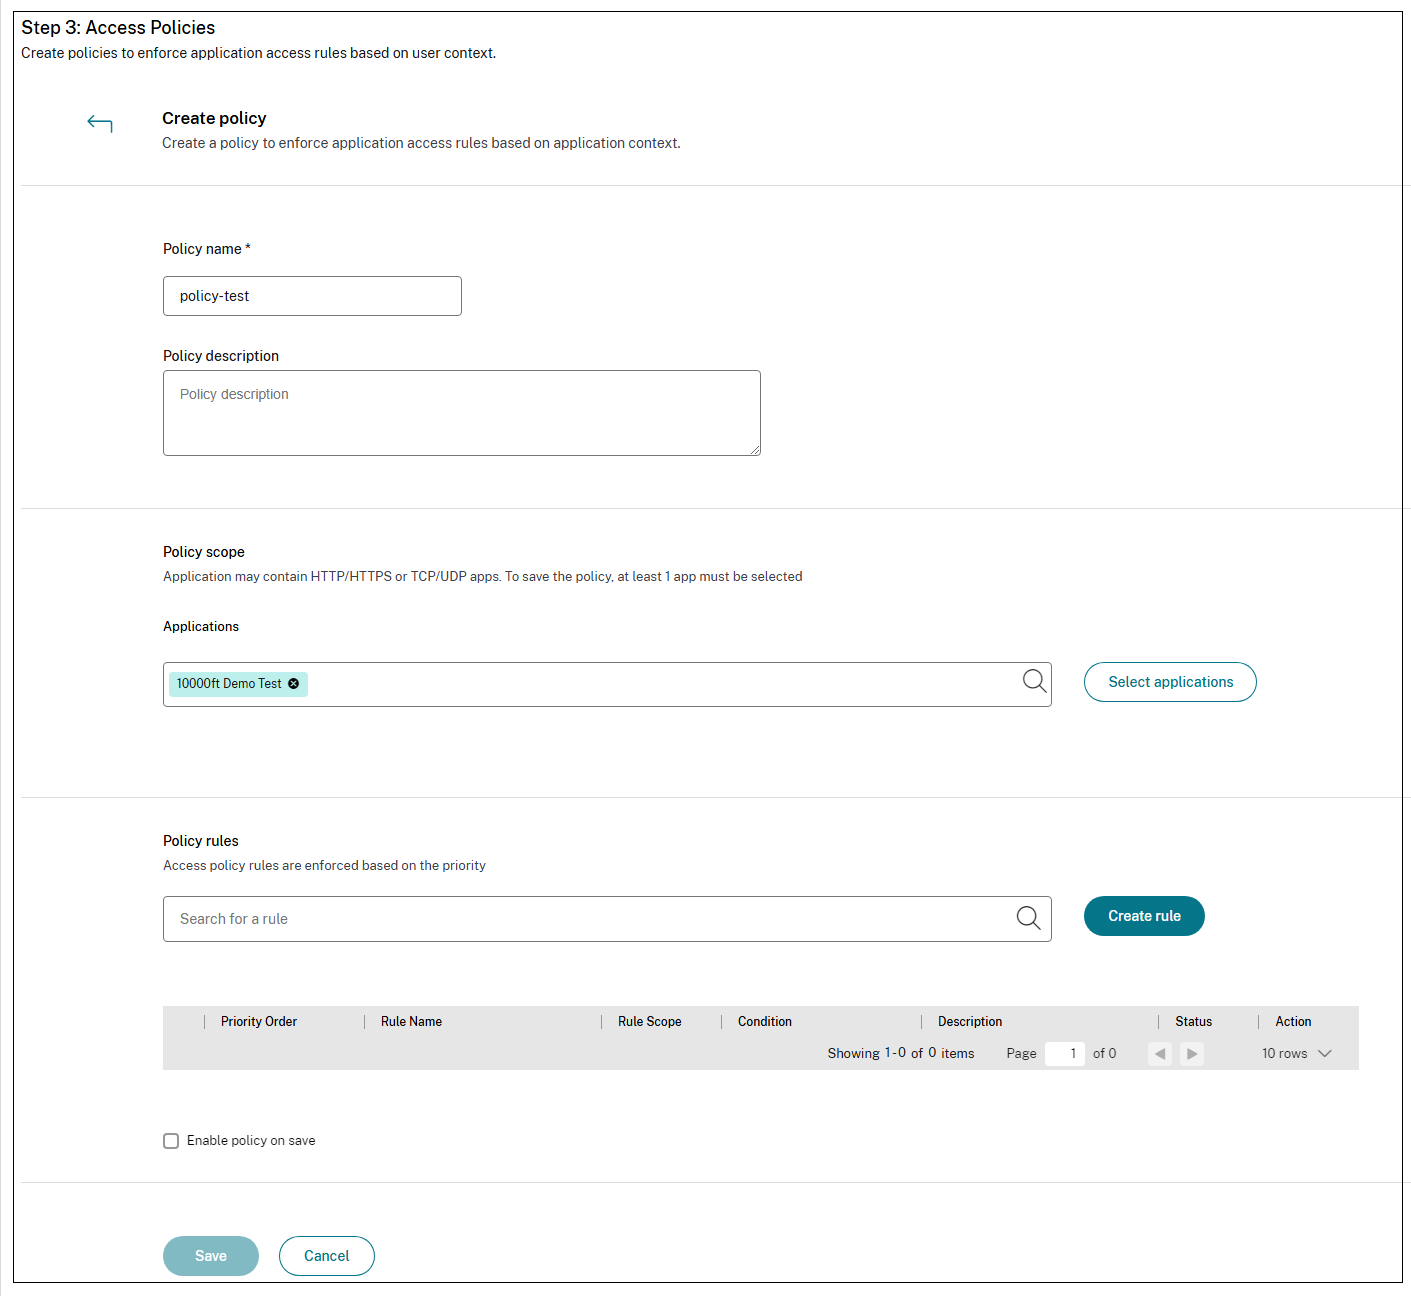
On the navigation pane, click Access Policies and then click Create policy.
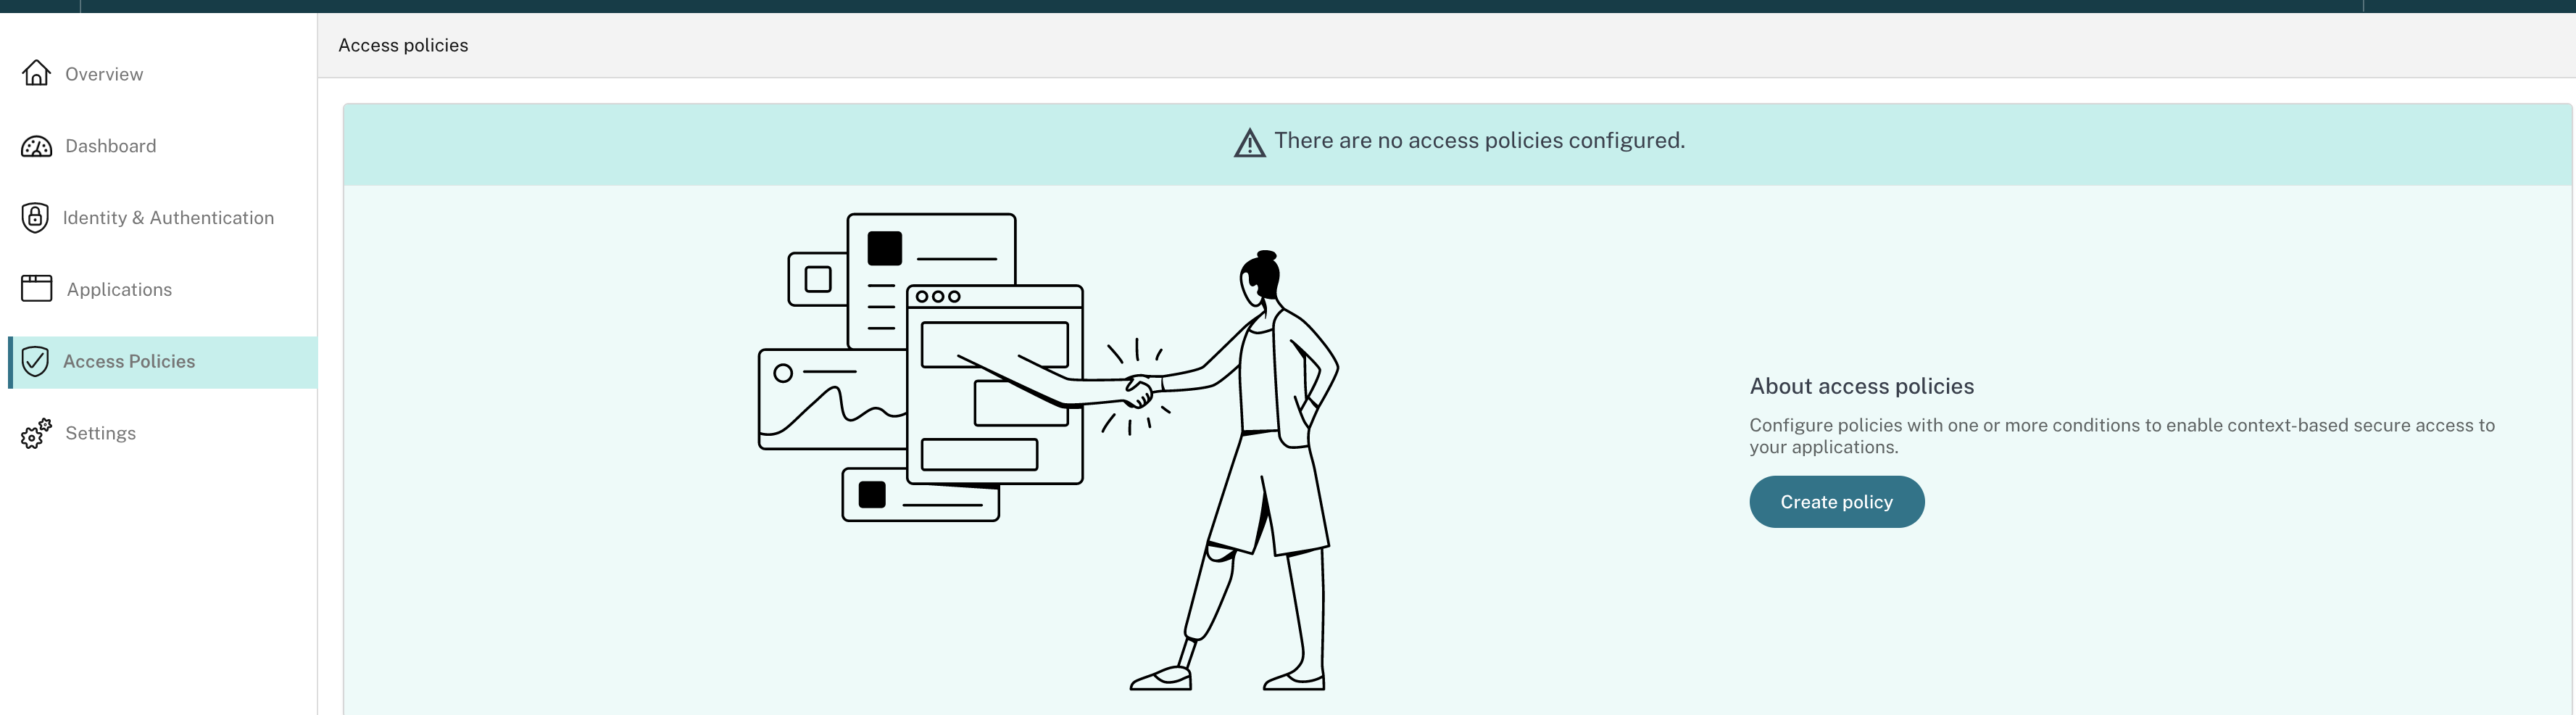
For the first-time users, the Access Policies landing page does not display any policies. Once you create a policy, you can see it listed here.
- Enter the policy name and description of the policy.
- In Applications, select the app or set of apps on which this policy must be enforced.
-
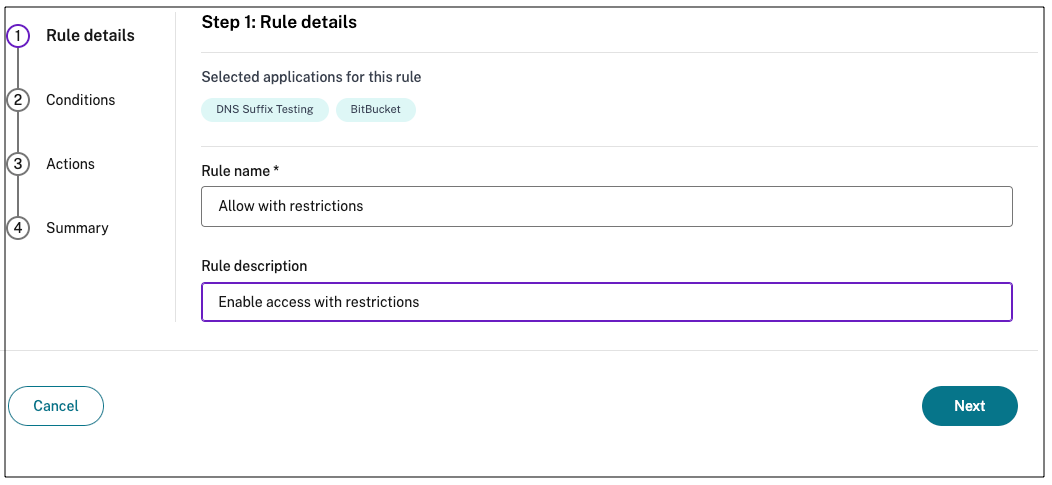
Click Create Rule to create rules for the policy.
-
Enter the rule name and a brief description of the rule, and then click Next.
-
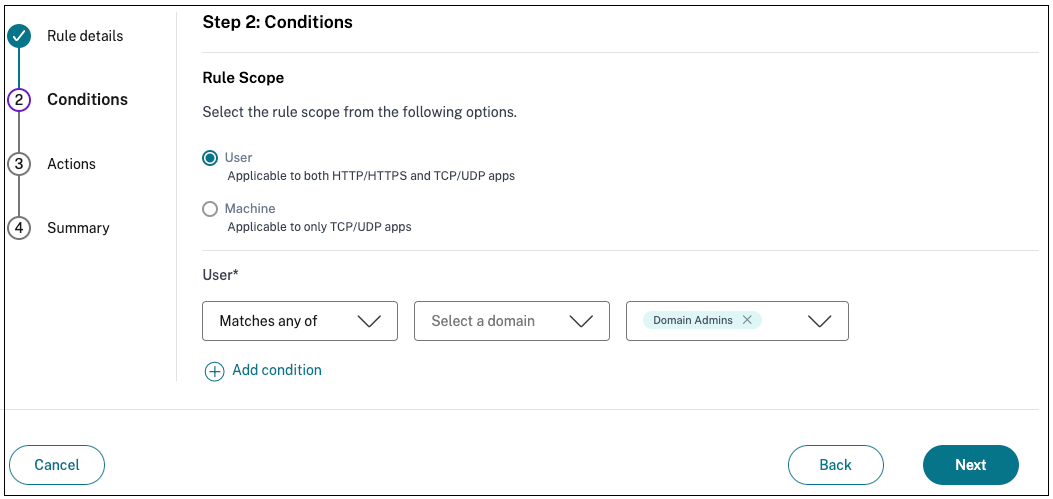
Select the users’ conditions. The** Users*** condition is a mandatory condition to be met to grant access to the applications for the users. Select one of the following:
- Matches any of – Only the users or groups that match any of the names listed in the field and belonging to the selected domain are allowed access.
- Does not match any - All users or groups except those listed in the field and belonging to the selected domain are allowed access.
-
(Optional) Click + to add multiple conditions based on the context.
When you add conditions based on a context, an AND operation is applied on the conditions wherein the policy is evaluated only if the Users* and the optional contextual based conditions are met. You can apply the following conditions based on context.
- Desktop or Mobile device – Select the device for which you want to enable access to the apps.
-
Geo location – Select the condition and the geographic location from where the users are accessing the apps.
- Matches any of: Only users or user groups accessing the apps from any of the geographic locations listed are enabled access to the apps.
- Does not match any: All users or user groups other than those from the listed geographic locations are enabled access.
-
Network location – Select the condition and the network using which the users are accessing the apps.
- Matches any of: Only users or user groups accessing the apps from any of the network locations listed are enabled access to the apps.
- Does not match any: All users or user groups other than those from the listed network locations are enabled access.
- Device posture check – Select the conditions that the user device must pass to access the application.
- User risk score – Select the risk score categories based on which the users must be provided access to the application.
- Click Next.
-
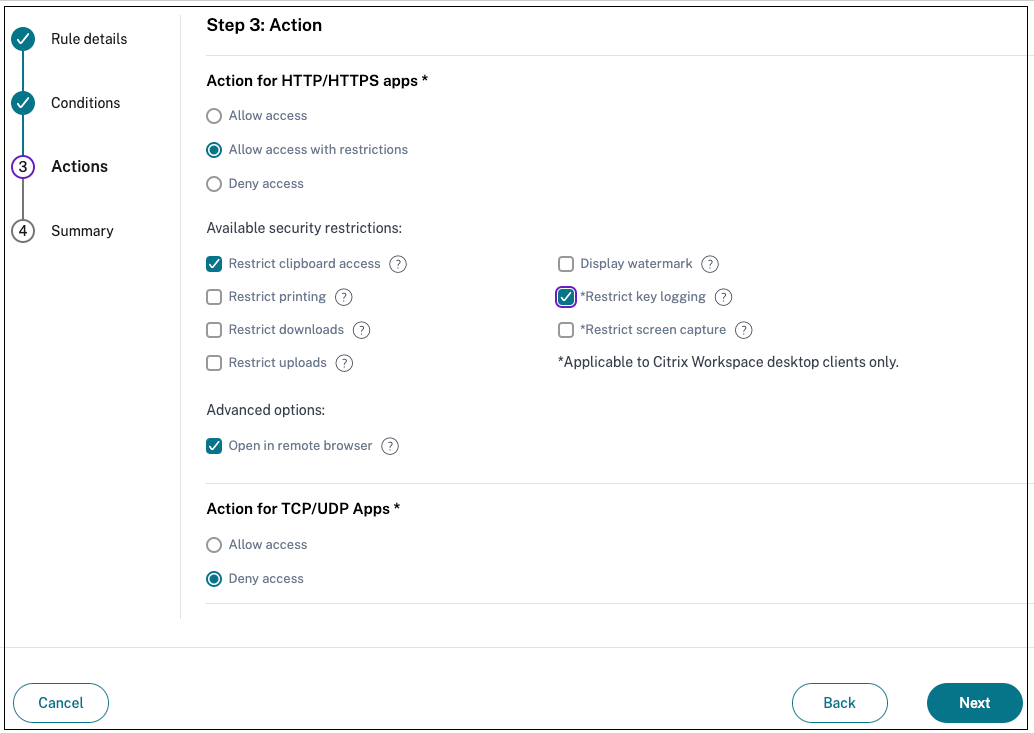
Select the actions that must be applied based on the condition evaluation.
- For HTTP/HTTPS apps, you can select the following:
- Allow access
- Allow access with restrictions
- Deny access
Note:
If you select Allow access with restrictions, then you must select the restrictions that you want to enforce on the apps. For details on the restrictions, see Available access restrictions options. You can also specify if you want the app to open in a remote browser or in Citrix Secure Browser.
- For TCP/UDP access, you can select the following:
- Allow access
- Deny access
- For HTTP/HTTPS apps, you can select the following:
- Click Next. The Summary page displays the policy details.
-
You can verify the details and click Finish.

Points to remember after a policy is created
-
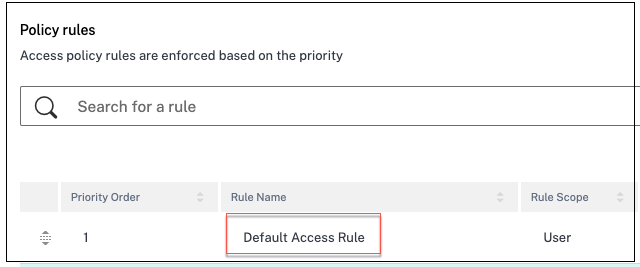
The policy that you created appears under the Policy rules section and is enabled by default. You can disable the rules, if required. However, ensure that at least one rule is enabled for the policy to be active.
-
A priority order is assigned to the policy by default. The priority with a lower value has the highest preference. The rule with a lowest priority number is evaluated first. If the rule (n) does not match the conditions defined, the next rule (n+1) is evaluated and so on.
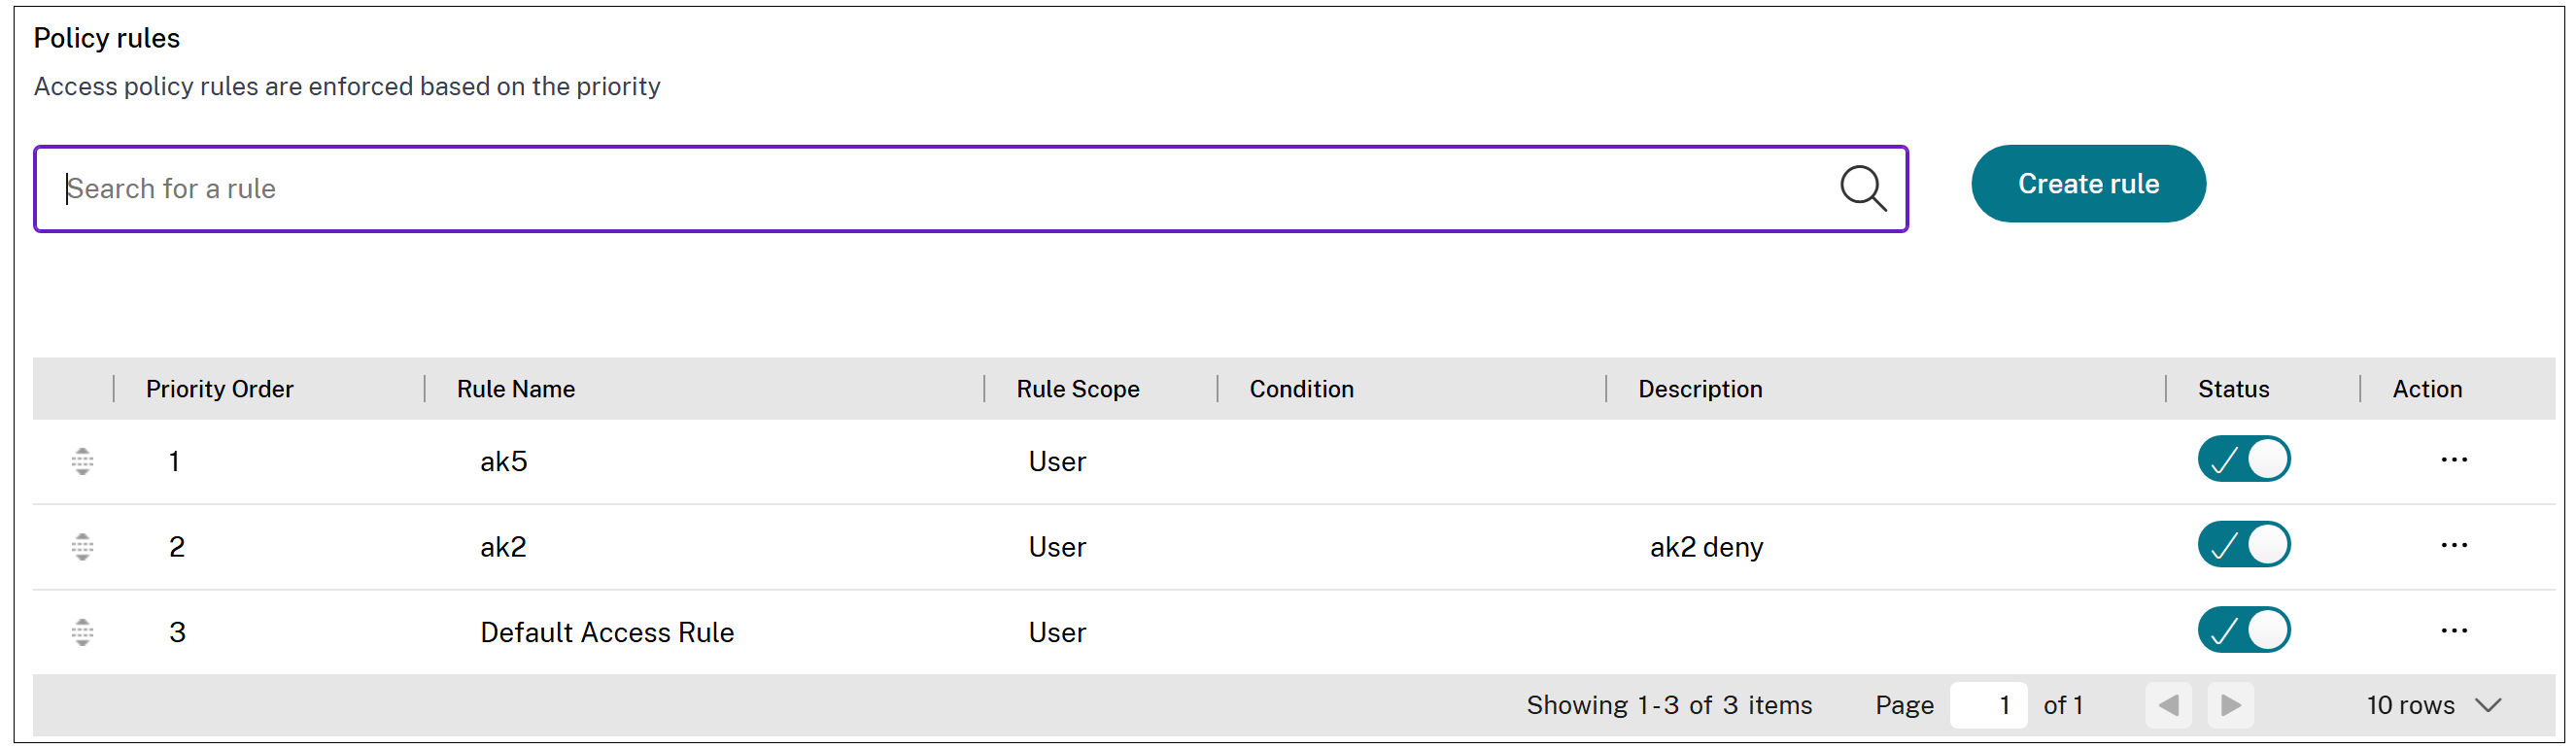
Evaluation of rules with priority order example:
Assume that you have created two rules, Rule1 and Rule 2. Rule1 is assigned to user A and Rule2 is assigned to user B, then both rules are evaluated. Assume that both rules Rule1 and Rule2 are assigned to user A. In this case, Rule 1 has the higher priority. If the condition in Rule1 is met, then Rule1 is applied and Rule2 is skipped. Otherwise, if the condition in Rule1 is not met, then Rule 2 is applied to user A.
Note:
If none of the rules are evaluated, then the app is not enumerated to the users.
Regarding existing policies that are already available in the system:
For existing policies that were created prior to the multi-rule policy configuration changes, the following changes are applied:
- A single access rule with the default name “default access rule” is created for each policy. You can modify the rule name.
- The conditions that were applied are migrated as is to the default access rule.
-
If you had selected only HTTP/HTTPS and not TCP/UDP apps, the conditions selected for the HTTP/HTTPS apps are also applied to the TCP/UDP apps in the Conditions page even if you have no TCP/UDP apps. This is to simplify the configuration in case you add the TCP/UDP apps later to the policy. You do not have to edit the policy again.
This is also applicable if you had created a policy for only TCP/UDP apps and not HTTP/HTTPS apps.