-
-
WebSocket communication between VDA and Delivery Controller™
-
-
-
-
-
-
Home page
-
This content has been machine translated dynamically.
Dieser Inhalt ist eine maschinelle Übersetzung, die dynamisch erstellt wurde. (Haftungsausschluss)
Cet article a été traduit automatiquement de manière dynamique. (Clause de non responsabilité)
Este artículo lo ha traducido una máquina de forma dinámica. (Aviso legal)
此内容已经过机器动态翻译。 放弃
このコンテンツは動的に機械翻訳されています。免責事項
이 콘텐츠는 동적으로 기계 번역되었습니다. 책임 부인
Este texto foi traduzido automaticamente. (Aviso legal)
Questo contenuto è stato tradotto dinamicamente con traduzione automatica.(Esclusione di responsabilità))
This article has been machine translated.
Dieser Artikel wurde maschinell übersetzt. (Haftungsausschluss)
Ce article a été traduit automatiquement. (Clause de non responsabilité)
Este artículo ha sido traducido automáticamente. (Aviso legal)
この記事は機械翻訳されています.免責事項
이 기사는 기계 번역되었습니다.책임 부인
Este artigo foi traduzido automaticamente.(Aviso legal)
这篇文章已经过机器翻译.放弃
Questo articolo è stato tradotto automaticamente.(Esclusione di responsabilità))
Translation failed!
Home page for Studio
The Studio Home page provides an overview of your Citrix DaaS™ deployment and workloads along with information that helps you get the most from your subscription. This article introduces the available widgets on this page.
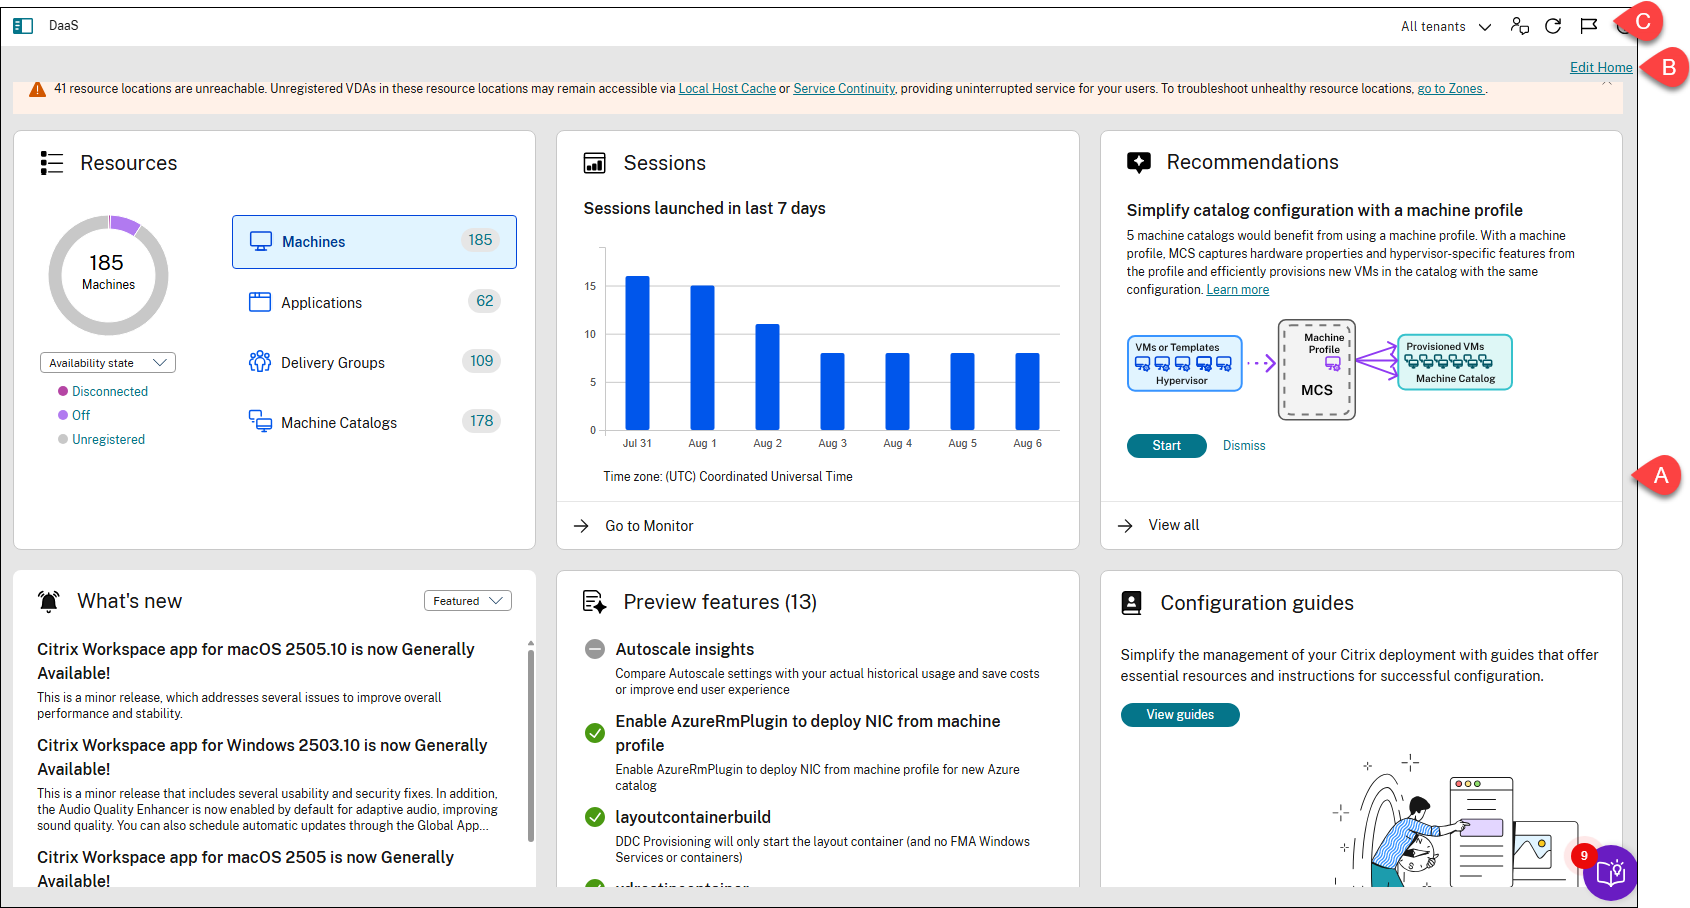
| Callout | Area | Description |
|---|---|---|
| A | Widgets | Provides an overview of your Citrix DaaS deployment and workloads, along with information that helps you get the most from your subscription. Widgets include Resources, Sessions, Recommendations, What’s new, Preview features, Configuration guides, and Errors and warnings. |
| B | Edit Home action | Lets you customize the Home page by adding, removing, or repositioning widgets. |
| C | Service health alerts (flag icon) | Displays alerts related to your site’s health. |
Resources
This widget provides an overview of your Citrix DaaS deployment:
-
Resources. Shows the numbers of deployed resources and their counts by category.
Resource To view counts by category Machines Click Machines, select a state, and then hover over the donut chart for details. Available options: Availability state (Available, In use, Off, and Unavailable), Registration state (Registered and Unregistered), and Maintenance state (In maintenance and Not in maintenance). When viewing machine counts by availability state, you can click a state to view the corresponding machine details. Applications Click Applications and hover over the donut chart for details. Delivery Groups Click Delivery Groups and hover over the donut chart for details. Machine Catalogs Click Machine Catalogs and hover over the donut chart for details. -
Sessions launched in last 7 days. Shows the number of desktop and app sessions launched each day for the last seven days. To drill down for more details, click Go to Monitor.
Sessions
This widget provides an overview of your Citrix DaaS workloads in the last 7 days. Shows the number of desktop and app sessions launched daily over the previous seven days. To drill down for more details, click Go to Monitor.
Recommendations
This widget recommends features that are available with your subscription, such as Workspace Environment Management and Autoscale. To engage with us, like or dislike a recommendation and leave your feedback.
Note:
If you dislike a recommendation, the recommendation disappears. If you dislike all recommendations or the recommendation widget, the recommendation widget disappears.
What’s new
This widget shows a select list of the latest Citrix DaaS features that are most valuable to your business. Using those features helps you get the most from your subscription. For a complete list of new features, see What’s new.
Preview features
This widget shows features that are currently in preview. As a Citrix Cloud™ administrator with full access, you can turn preview features on or off without contacting Citrix. It takes up to 15 minutes for the changes to take effect.
Preview features are recommended for use in non-production environments. Issues found with preview features aren’t supported by Citrix Technical Support.
Configuration guides
This widget provides step-by-step guidance for configuring and managing various aspects of your Citrix deployment:
- Get started with DaaS. Guides you through a series of questions to help you set up your DaaS deployments. By answering these questions, you can quickly configure your deployments. For more information, see Use DaaS get-started guide.
-
Check resiliency configurations. Guides you through verifying that your Citrix DaaS deployment is properly set up to handle potential disruptions. This guide provides checklists to verify that key components, such as Local Host Cache and Service Continuity, are correctly configured. This verification helps ensure uninterrupted access to apps and desktops during service interruptions. It includes checklists for verifying resiliency settings across various StoreFront™ deployment types:
- Checklist for on-premises Citrix® StoreFront deployments
- Checklist for Citrix® StoreFront Cloud deployments
- Checklist for mixed StoreFront deployments
Note:
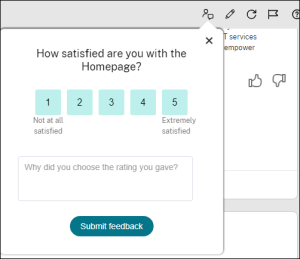
The resilience checklist isn’t a one-time task. We encourage you to regularly review your resiliency readiness by testing Service Continuity and Local Host Cache. If you have feedback on the checklist, use the feedback icon in the top-right corner of the Home page to share it with us.
Errors and warnings
Centrally displays errors and warnings from your DaaS deployments:
- Lists the number of errors and the number of warnings present in the following configuration nodes: Zones, Machines, Machine Catalogs, Delivery Groups, Hosting, and Images. Clicking a number links you to the UI of the corresponding node.
- Lists the high-priority errors in your site, along with recommended actions.
Customize the Home page
To customize the Home page, follow these steps:
-
Sign in to Citrix Cloud.
-
In the DaaS tile, click Manage. The home page appears.
-
Click the Edit icon in the top right corner of the Home page.
-
To reposition a widget, drag it to a wanted position.
-
To remove a widget from the Home page, click the Delete icon in the top right of the widget.
-
To add a widget back to the Home page, click the Add widget icon in the top right corner of the Home page.
-
Click Done to save changes.
Share
Share
This Preview product documentation is Citrix Confidential.
You agree to hold this documentation confidential pursuant to the terms of your Citrix Beta/Tech Preview Agreement.
The development, release and timing of any features or functionality described in the Preview documentation remains at our sole discretion and are subject to change without notice or consultation.
The documentation is for informational purposes only and is not a commitment, promise or legal obligation to deliver any material, code or functionality and should not be relied upon in making Citrix product purchase decisions.
If you do not agree, select I DO NOT AGREE to exit.