Network locations
Within Citrix Cloud™, you can configure network locations according to their public IP addresses. These network locations can be used for the following:
- Citrix® StoreFront Cloud uses the network location to determine whether to instruct clients to connect directly to VDAs or via a Citrix Gateway. For more information, see Connectivity to DaaS resources.
- When users connect from a network location, the Citrix® StoreFront Cloud can add smart access tags that you can use as an input to access policies within Studio. For more information, see Adaptive access based on the user’s network location. This functionality is only available when Adaptive Access is enabled.
- You can choose how users authenticate based on the user’s network location. For more information, see Conditional Authentication.
- You can configure different timeouts depending on the network location connectivity type. For more information, see Configure sessions per network connectivity type.
Typically you create a Network Location for each of your office locations.
Note:
It is not possible to distinguish between different networks with the same public IP address. For example if your corporate network and guest Wi-Fi network share a public IP address they are considered the same network location.
View network locations
To view the configured network locations:
- Log in to Citrix Cloud.
- Open the main menu.
-
From the main menu choose Network locations.

-
The Network location screen loads.
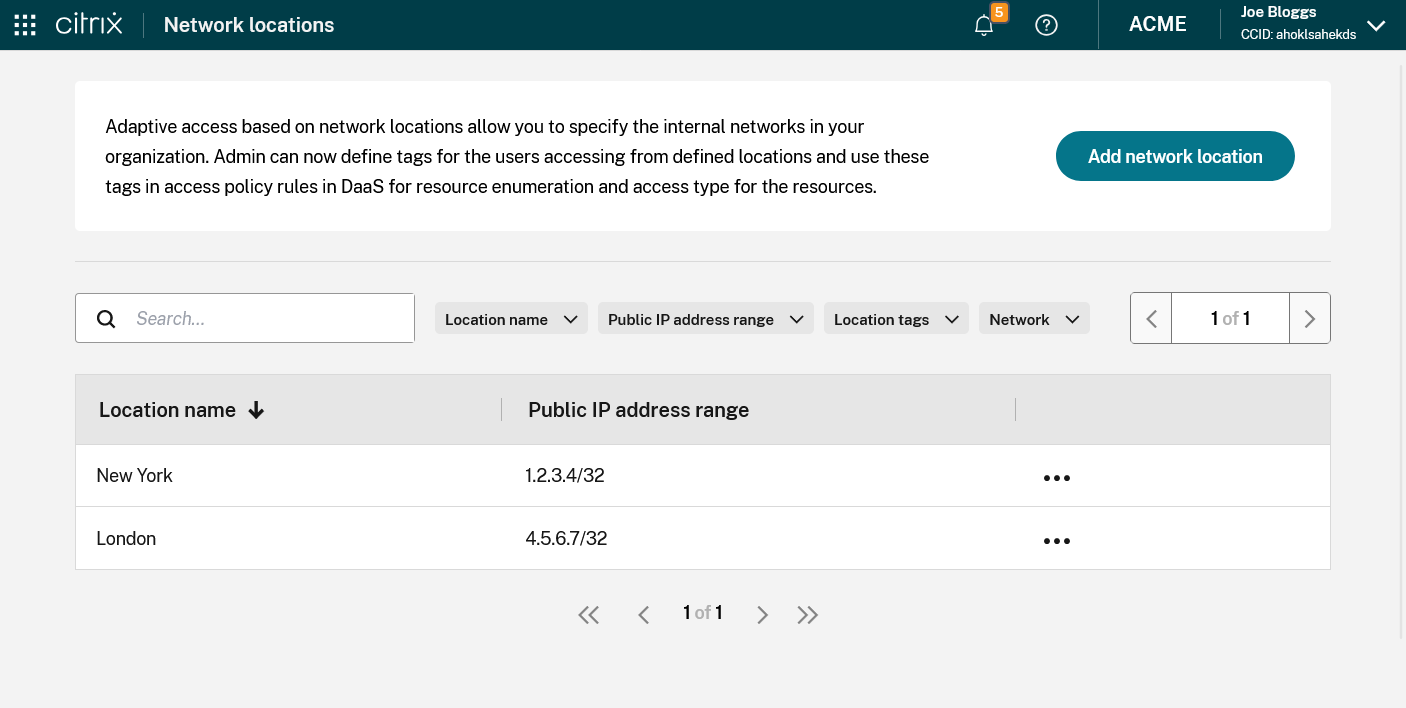
Add network location
-
On the Network locations screen, press Add network location
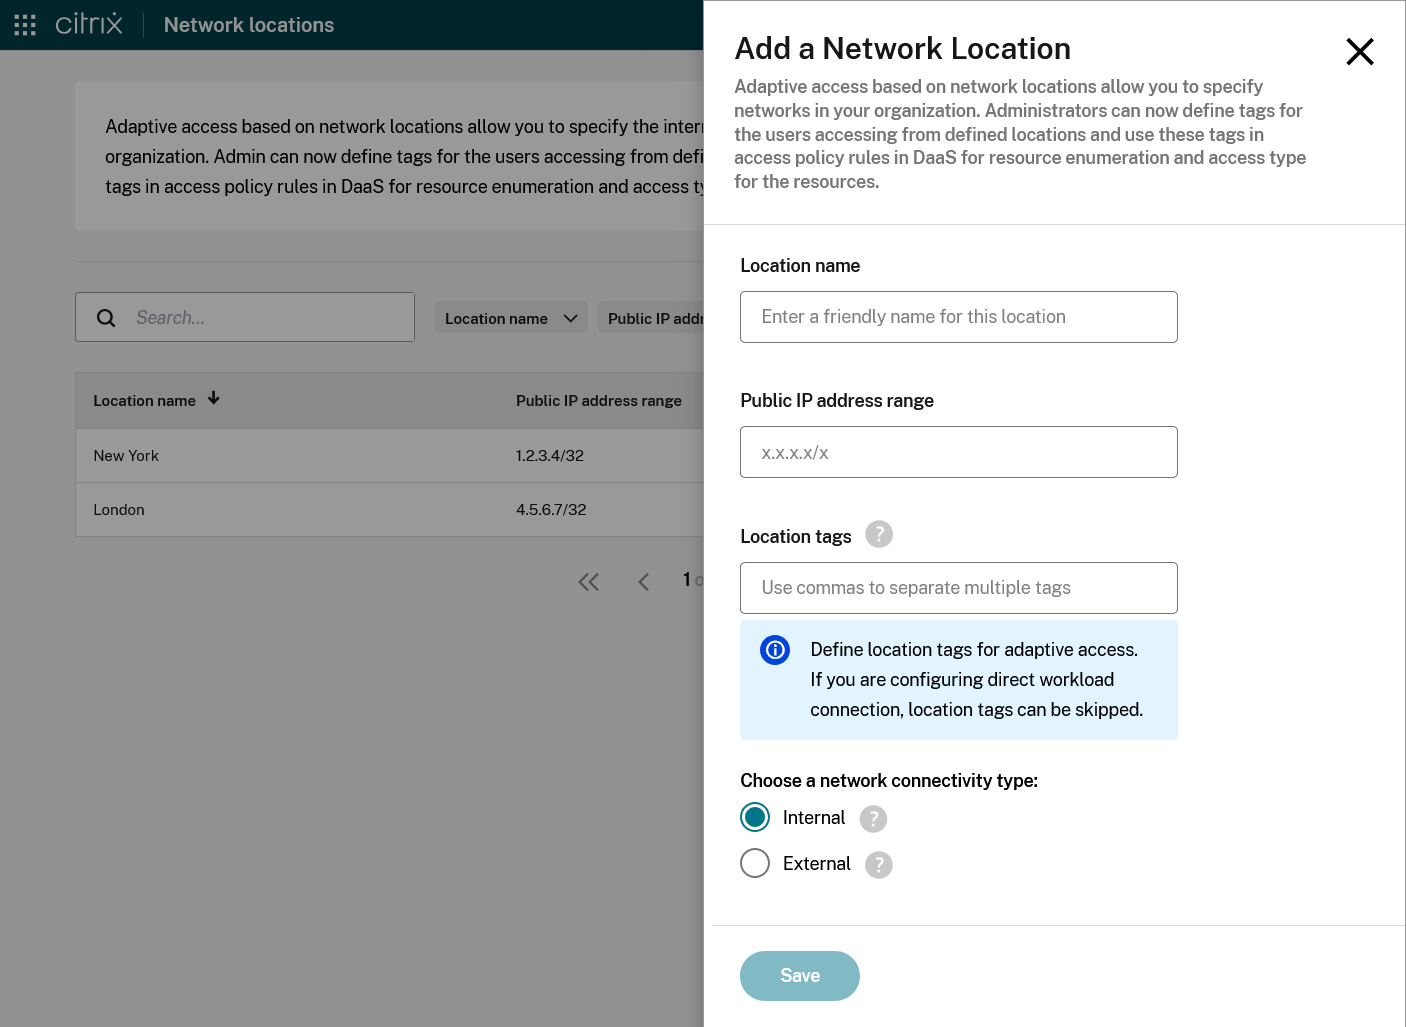
The Location tags and connectivity type options are only available if Adaptive Access is enabled.
-
Enter a Location name.
-
Enter the Public IP address range in CIDR format.
-
If Adaptive Access is enabled, you can optionally enter the name of one or more Location tags. Use commas to separate multiple tags. The smart access tag is generated by adding the suffix
LOCATION_TAG_. For instance if you enter a location tagBranchOfficethen a smart access tag is generated calledLOCATION_TAG_BranchOfficethat you can use in Studio. -
If Adaptive Access is enabled, you can choose whether the location is Internal or External. For all internal locations, a smart access tag is generated called
LOCATION_internal. For all external locations, a smart access tag is generated calledLOCATION_external. If the client’s IP address does not match a network location then the network location is considered to be Undefined.If Adaptive Access is disabled then this option is hidden. All configured network locations are considered internal and it does not create any smart access tags.
-
Press Save.
Edit network location
- Navigate to the open the Network locations screen
- On the row you wish to edit, press … to open the menu, then select Edit.
- Make the required changes.
- Press Save.
Delete network location
- Navigate to the open the Network locations screen
- On the row you wish to edit, press … to open the menu, then select Delete.
- On the confirmation screen, press Yes, delete.
Manage network locations with PowerShell
Instead of using the Citrix Cloud management console interface, you can use a PowerShell script to configure Direct Workload Connection. Direct Workload Connection configuration with PowerShell involves the following:
- Download the PowerShell module.
- Create a secure API client in Citrix Cloud and make a note of the Client ID and secret.
- Import the PowerShell module and connect to the Network Location Service (NLS) with your API client details.
- Use the PowerShell cmdlets to create network locations for each of your locations.
Download the PowerShell module
Before you set up your network locations, download the Citrix-provided PowerShell module (nls.psm1) from the Citrix GitHub repository. Using this module, you can set up as many network locations as needed for your VDAs.
- In a web browser, go to https://github.com/citrix/sample-scripts/blob/master/workspace/NLS2.psm1.
- Press Raw.
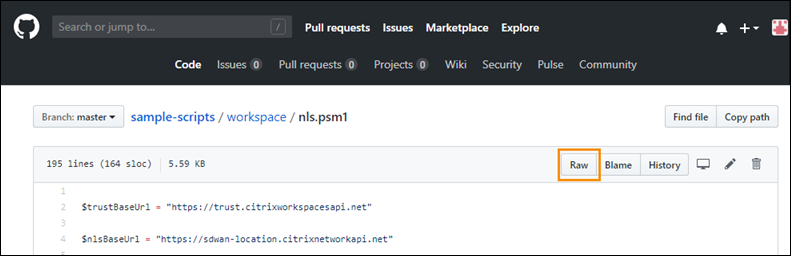
- Press Ctrl+S and select a location to save the file.
Create a secure client
- Sign in to Citrix Cloud at
https://citrix.cloud.com. - From the Citrix Cloud menu, select Identity and Access Management and then select API Access.
-
On the Secure Clients tab, note your customer ID.
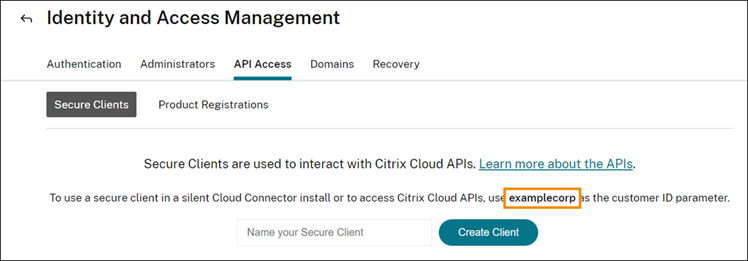
- Enter a name for the client and then select Create Client.
-
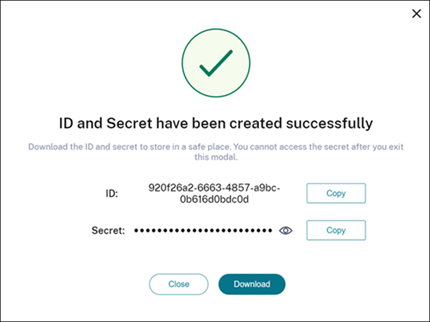
Copy the client ID and client secret.
Configure network locations
- Open a PowerShell command window and navigate to the same directory where you saved the PowerShell module.
- Import the module:
Import-Module .\nls.psm1 -Force - Set the required variables with your secure client information from Create a secure client:
$clientId = "YourSecureClientID"$customer = "YourCustomerID"$clientSecret = "YourSecureClientSecret"
-
Connect to the Network Location Service with your secure client credentials:
Connect-NLS -clientId $clientId -clientSecret $clientSecret -customer $customer <!--NeedCopy--> -
Create a network location, replacing the parameter values with the values that correspond to the internal network where your internal users are directly connecting from:
New-NLSSite -name "YourSiteName" -tags @("YourTags") -ipv4Ranges @("PublicIpsOfYourNetworkSites") -longitude 12.3456 -latitude 12.3456 -internal $True
<!--NeedCopy-->
To specify a single IP address instead of a range, add /32 to the end of the IP address. For example:
New-NLSSite -name "YourSiteName" -tags @("YourTags") -ipv4Ranges @("PublicIpOfYourNetworkSite/32") -longitude 12.3456 -latitude 12.3456 -internal $True
<!--NeedCopy-->
Important:
When using the
New-NLSSitecommand, include at least one value for each parameter. If you run this command without any command-line arguments, PowerShell prompts you to enter the appropriate values for each parameter, one at a time. Theinternalproperty is a mandatory Boolean property with possible values:$Trueor$Falsethat maps to the UI via PowerShell. For example,(UI) Network Internal -> (PowerShell) –internal=$True.When the network location is created successfully, the command window displays the details of the network location.
- Repeat Step 5 for all your network locations where users are connecting from.
- Run the command
Get-NLSSiteto return a list of all the sites you’ve configured with NLS and verify that their details are correct.
Modify network locations
To change an existing network location:
- From a PowerShell command window, list all existing network locations:
Get-NLSSite -
To modify the IP range for a specific network location, type
(Get-NLSSite)[N] | Set-NLSSite -ipv4Ranges @("1.2.3.4/32","4.3.2.1/32")
<!--NeedCopy-->
where
[N]is the number corresponding to the location in the list (starting with zero) and"1.2.3.4/32","4.3.2.1/32"are the comma-separated IP ranges you want to use. For example, to modify the first listed location, you type the following command:(Get-NLSSite)[0] | Set-NLSSite -ipv4Ranges @("98.0.0.1/32","141.43.0.0/24") <!--NeedCopy-->
Remove network locations
To remove network locations that you no longer want to use:
- From a PowerShell command window, list all existing network locations:
Get-NLSSite - To remove all network locations, type
Get-NLSSite | Remove-NLSSite - To remove specific network locations, type
(Get-NLSSite)[N] | Remove-NLSSite, where[N]is the number corresponding to the location in the list. For example, to remove the first listed location, you type(Get-NLSSite)[0] | Remove-NLSSite.
Example script
The example script includes all commands that you might need to add, modify, and remove the public IP address ranges for your branch locations. However, you don’t need to run all commands to perform any single function. For the script to run, always include the first 10 lines, from Import-Module through Connect-NLS. Afterward, you can include only the commands for the functions you want to perform.
Import-Module .\nls.psm1 -Force

$clientId = "XXXX" #Replace with your clientId
$clientSecret = "YYY"    #Replace with your clientSecret
$customer = "CCCCCC"  #Replace with your customerid

# Connect to Network Location Service
Connect-NLS -clientId $clientId -clientSecret $clientSecret -customer $customer

# Create a new Network Location Service Site (Replace with details corresponding to your branch locations)
New-NLSSite -name "New York" -tags @("EastCoast") -ipv4Ranges @("1.2.3.0/24") -longitude 40.7128 -latitude -74.0060 -internal $True

# Get the existing Network Location Service Sites (optional)
Get-NLSSite

# Update the IP Address ranges of your first Network Location Service Site (optional)
$s = (Get-NLSSite)[0]
$s.ipv4Ranges = @("1.2.3.4/32","4.3.2.1/32")
$s | Set-NLSSite

# Remove all Network Location Service Sites (optional)
Get-NLSSite | Remove-NLSSite

# Remove your third site (optional)
(Get-NLSSite)[2] | Remove-NLSSite
<!--NeedCopy-->