Add and remove users and groups
This page describes how to add and remove users and groups in a project. These actions are available on the project-level People page and require the Members::Manage permission.
Add users or groups to a project
- Navigate to your project and select People in the navigation bar.
- Select + Add.
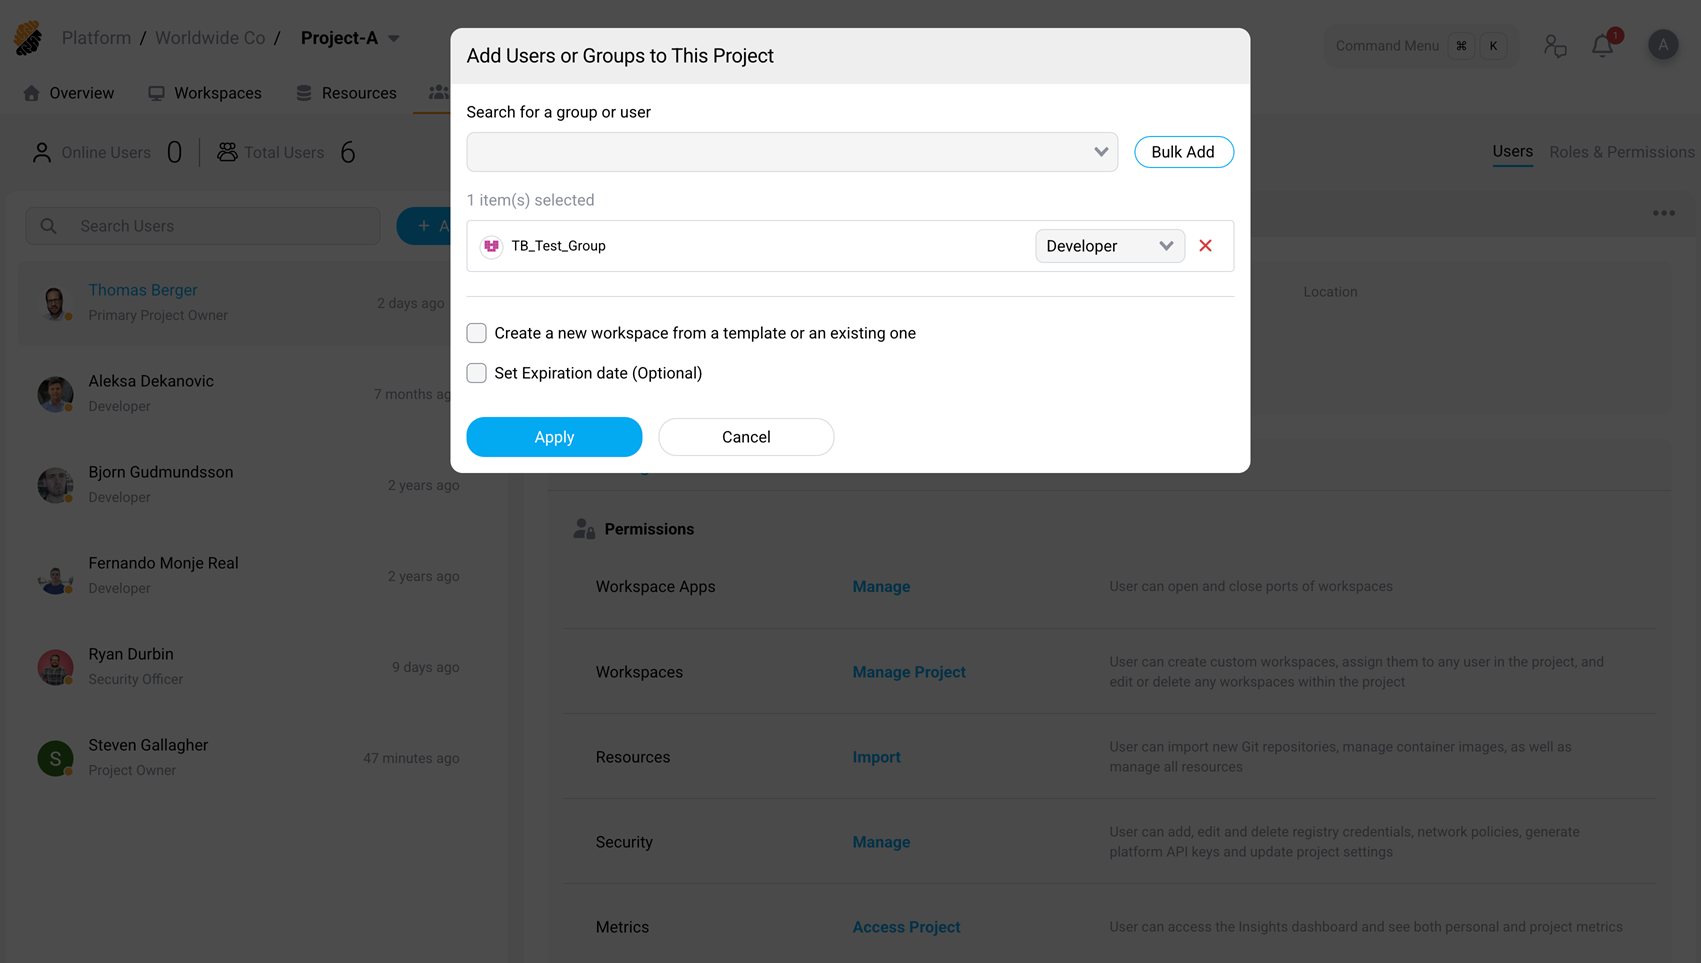
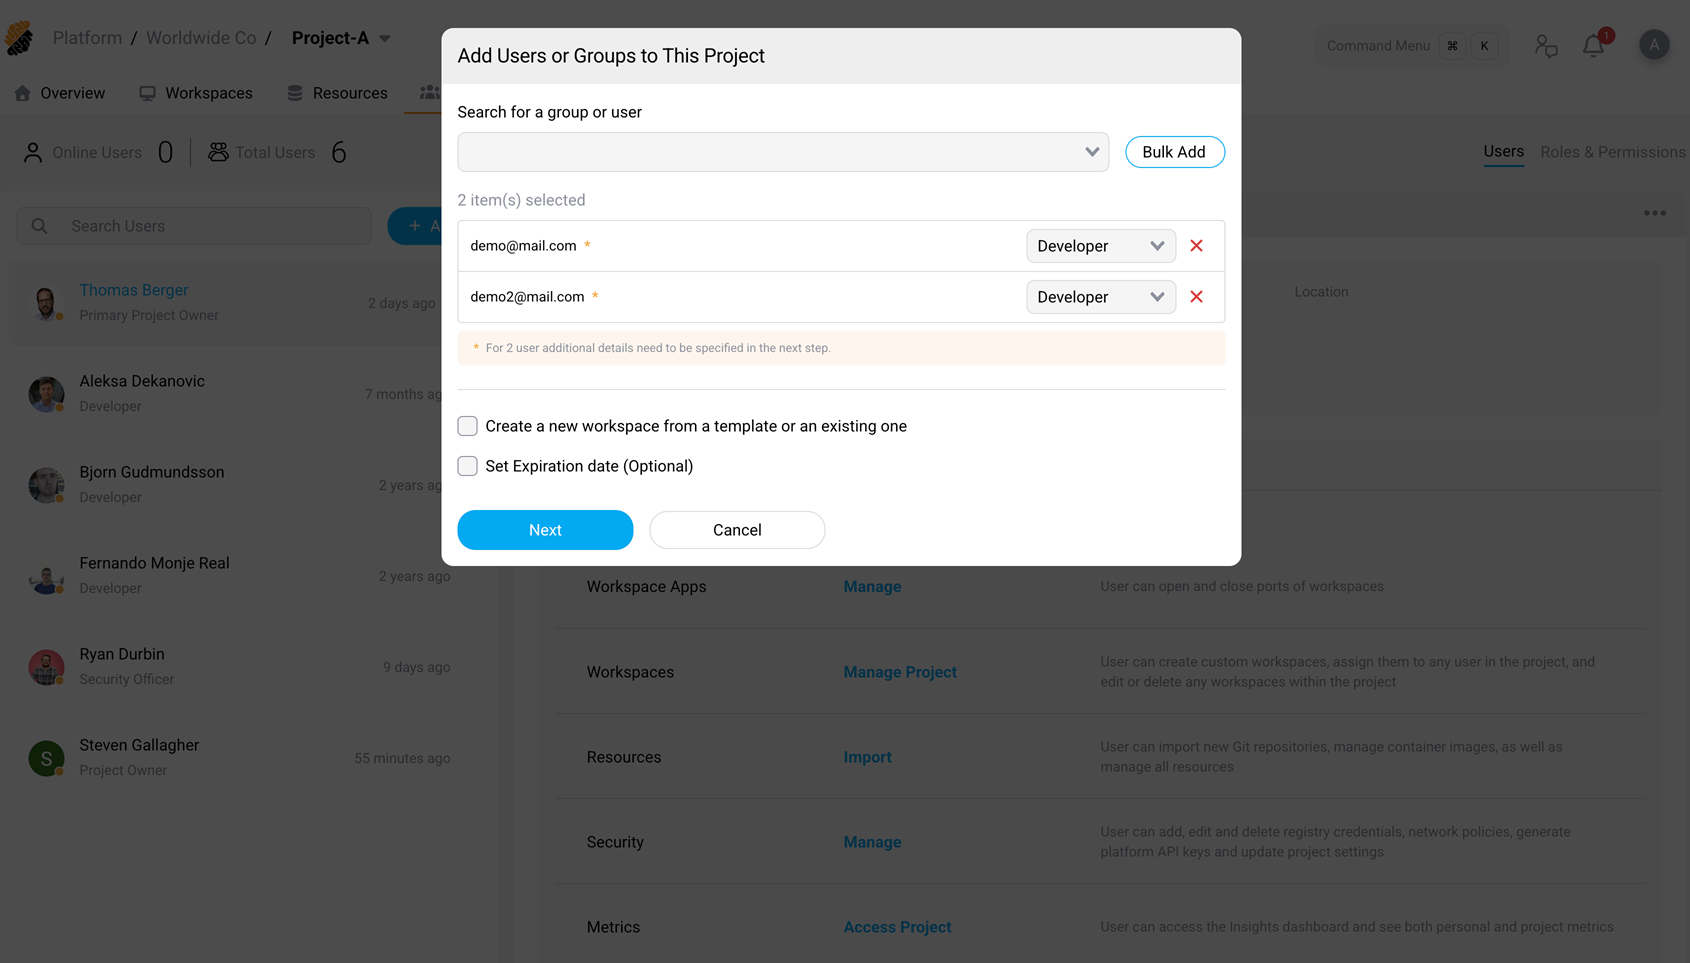
The Add Users or Groups to This Project modal opens.
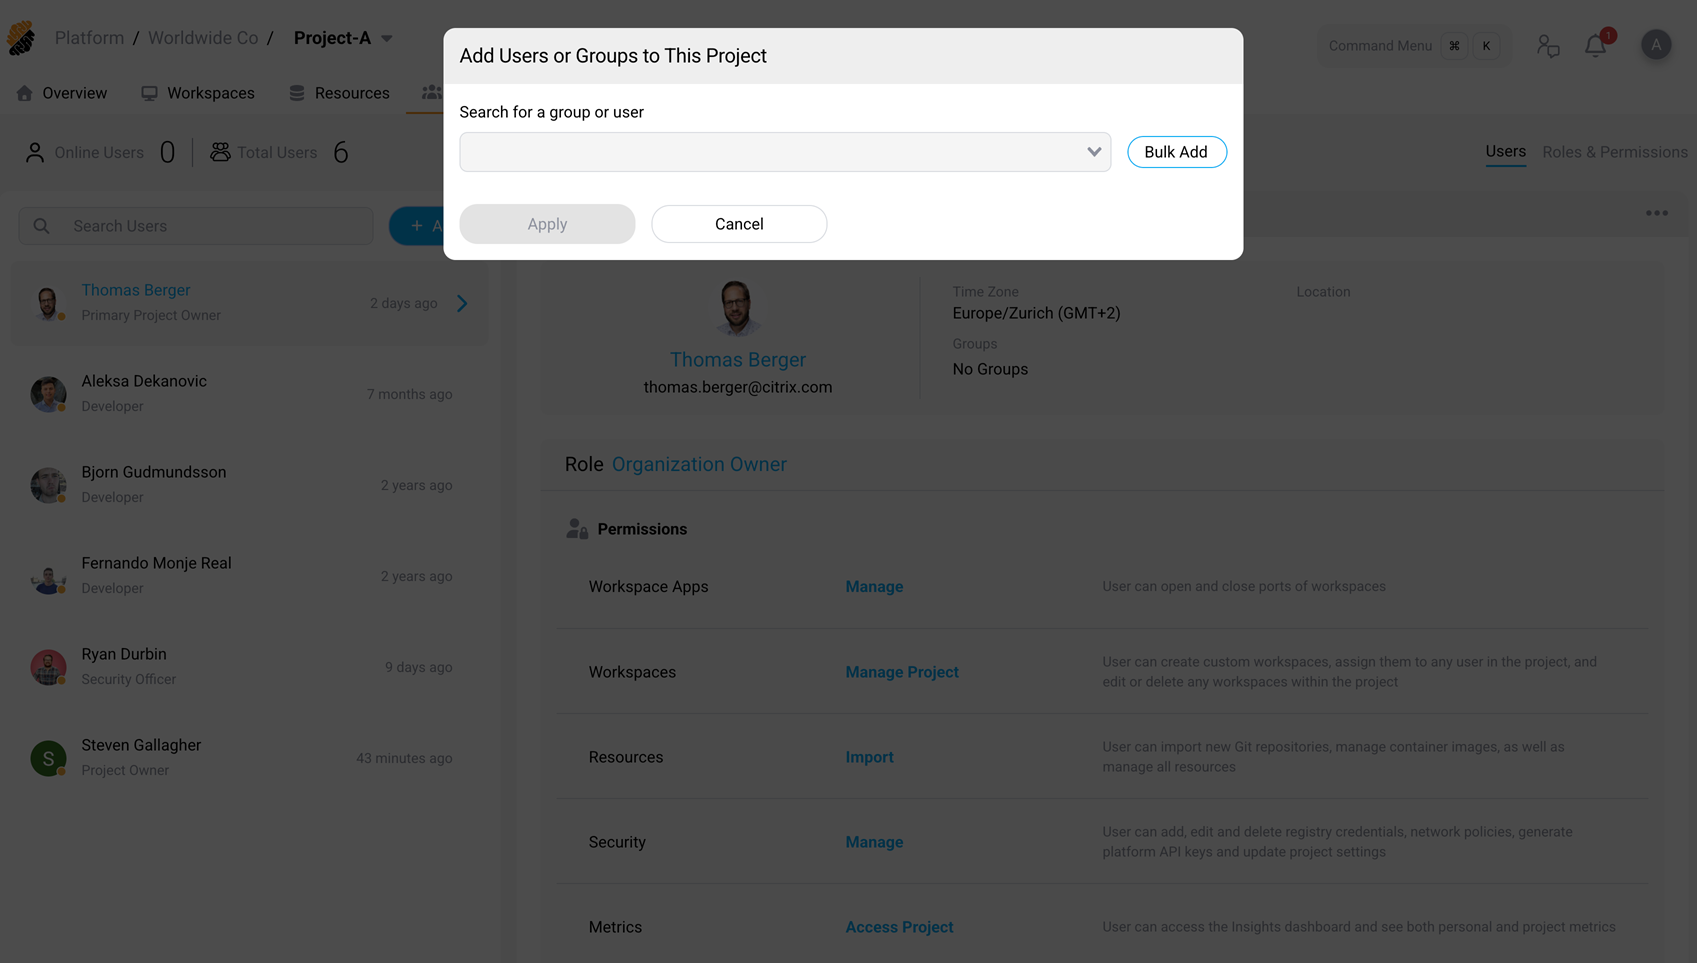
Add a user by search
The search dropdown lists platform users who are not yet members of the current project. This is a single-select field — select one user at a time to avoid confusion.
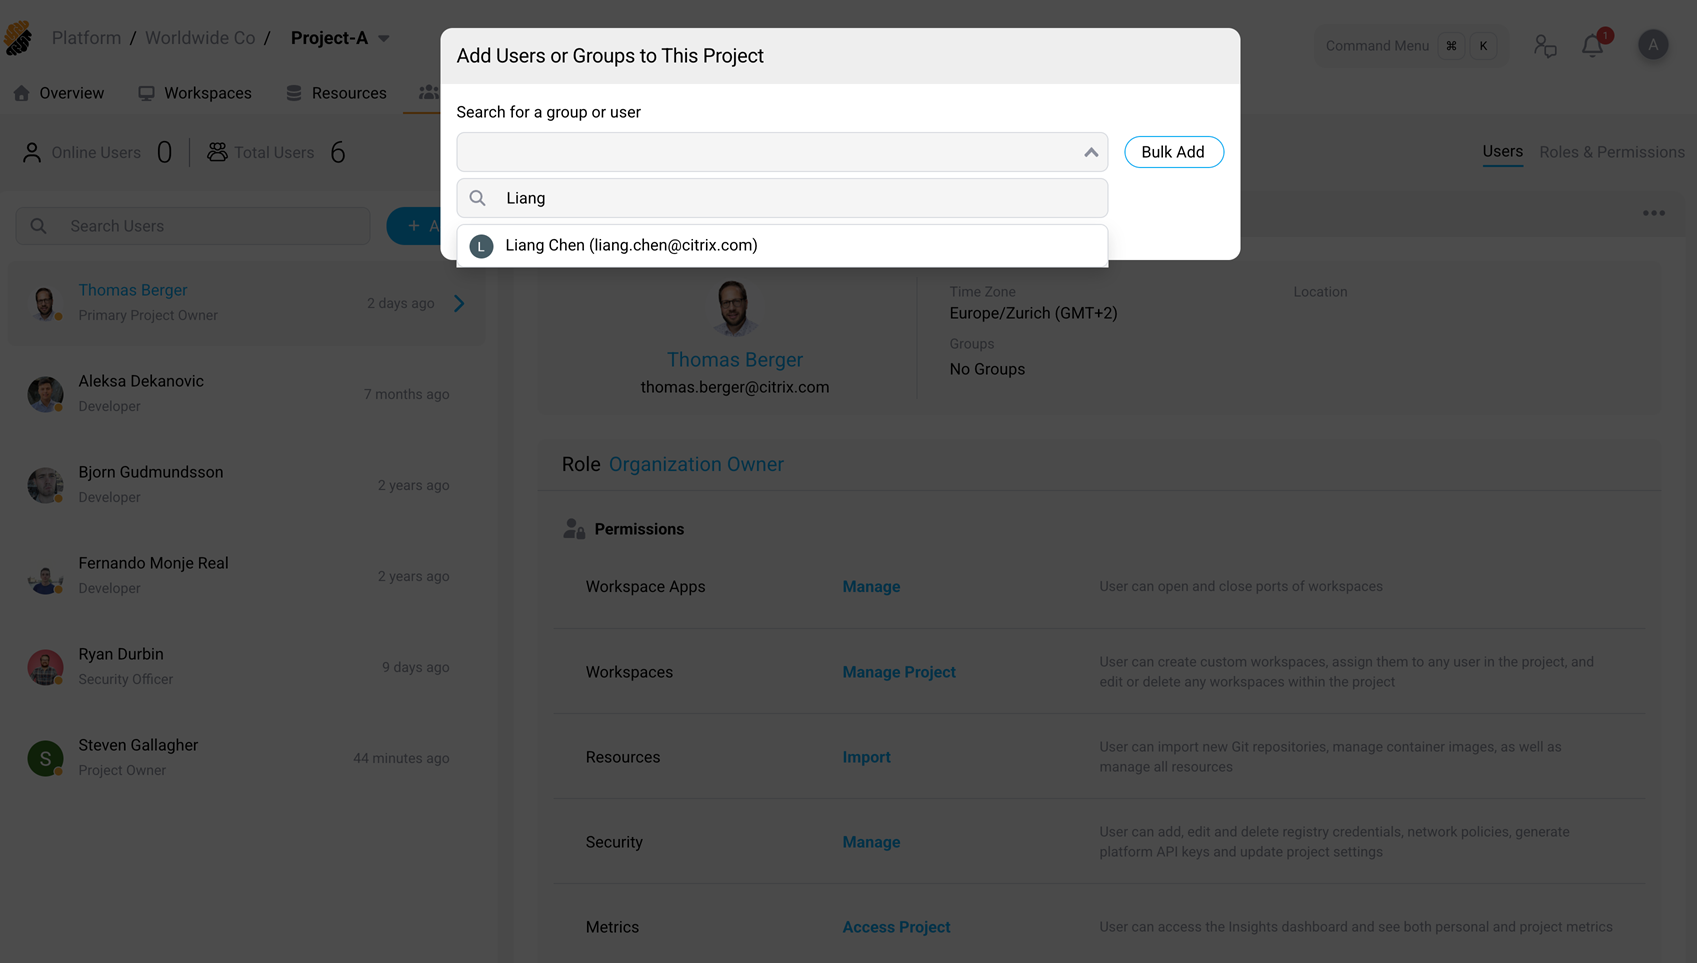
- In the Search for a group or user field, start typing the user’s name or email address.
- Select the user from the filtered results.
The user appears in the selection list. You can:
- Change their role using the dropdown next to the user’s name (defaults to Developer).
- Check Create a new workspace from a template or an existing one to provision a workspace during onboarding.
- Check Set Expiration date (Optional) to set a time limit for the user’s access to the project.
- Remove the user from the list by selecting the X button.
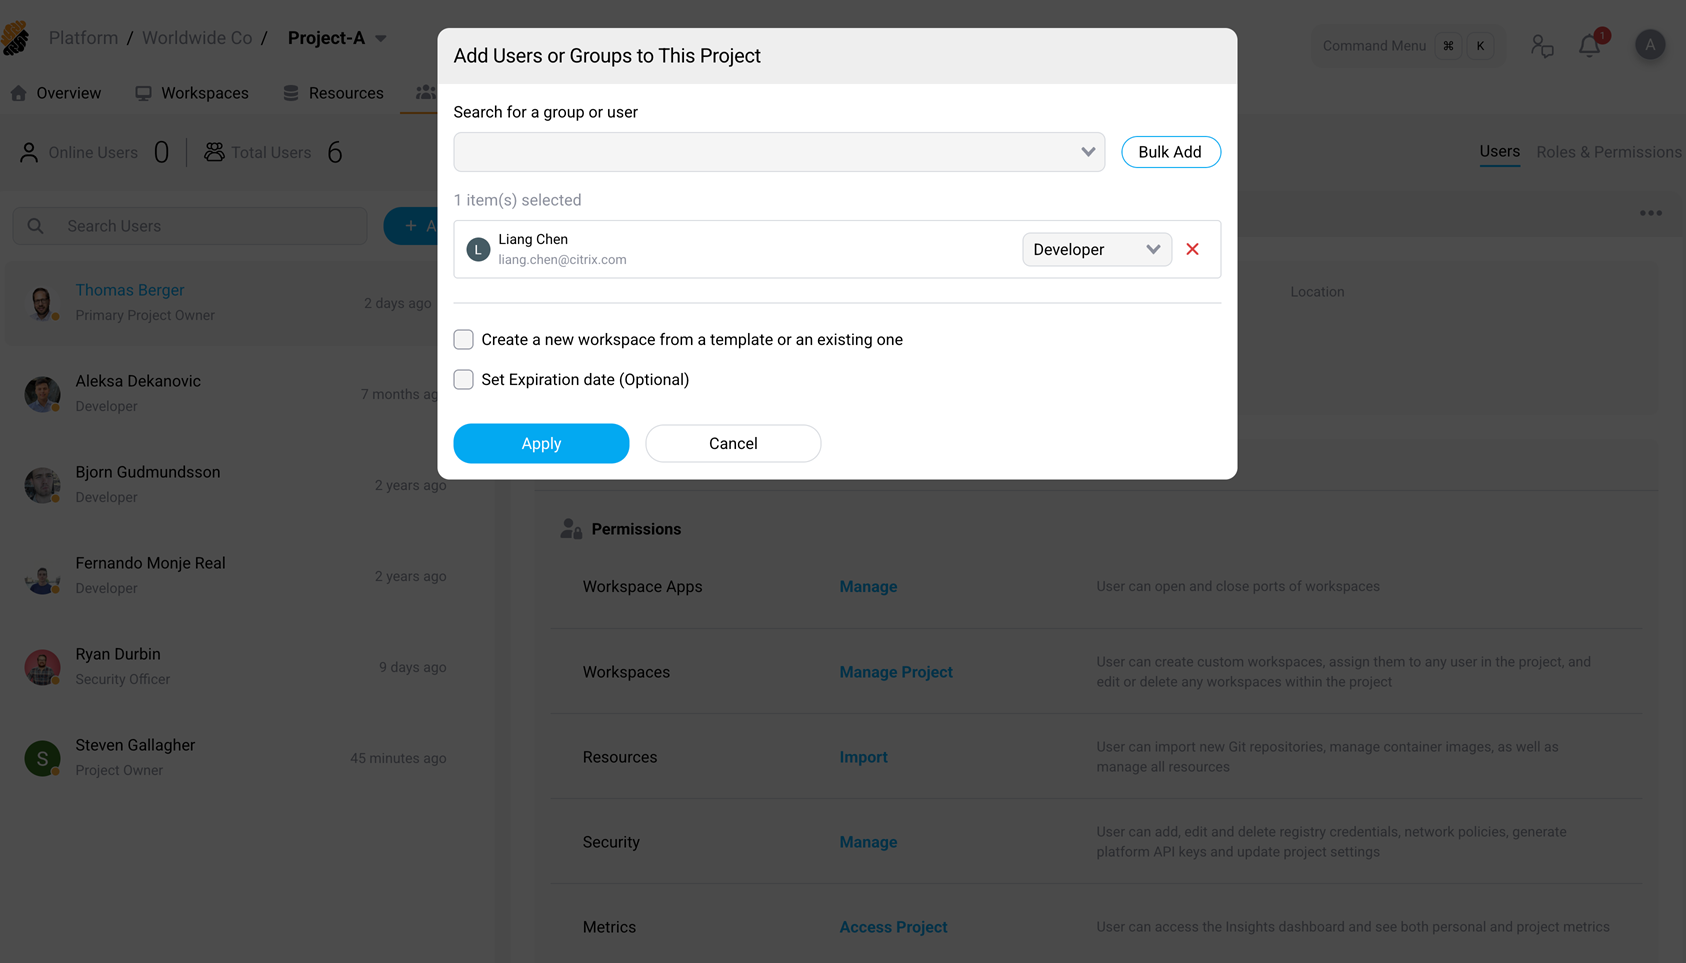
- Select Apply to add the user.
Add a group
Groups that exist on the platform can be added to a project in the same modal.
- In the Search for a group or user field, type the group name.
- Select the group from the filtered results. Groups are shown with a group icon.
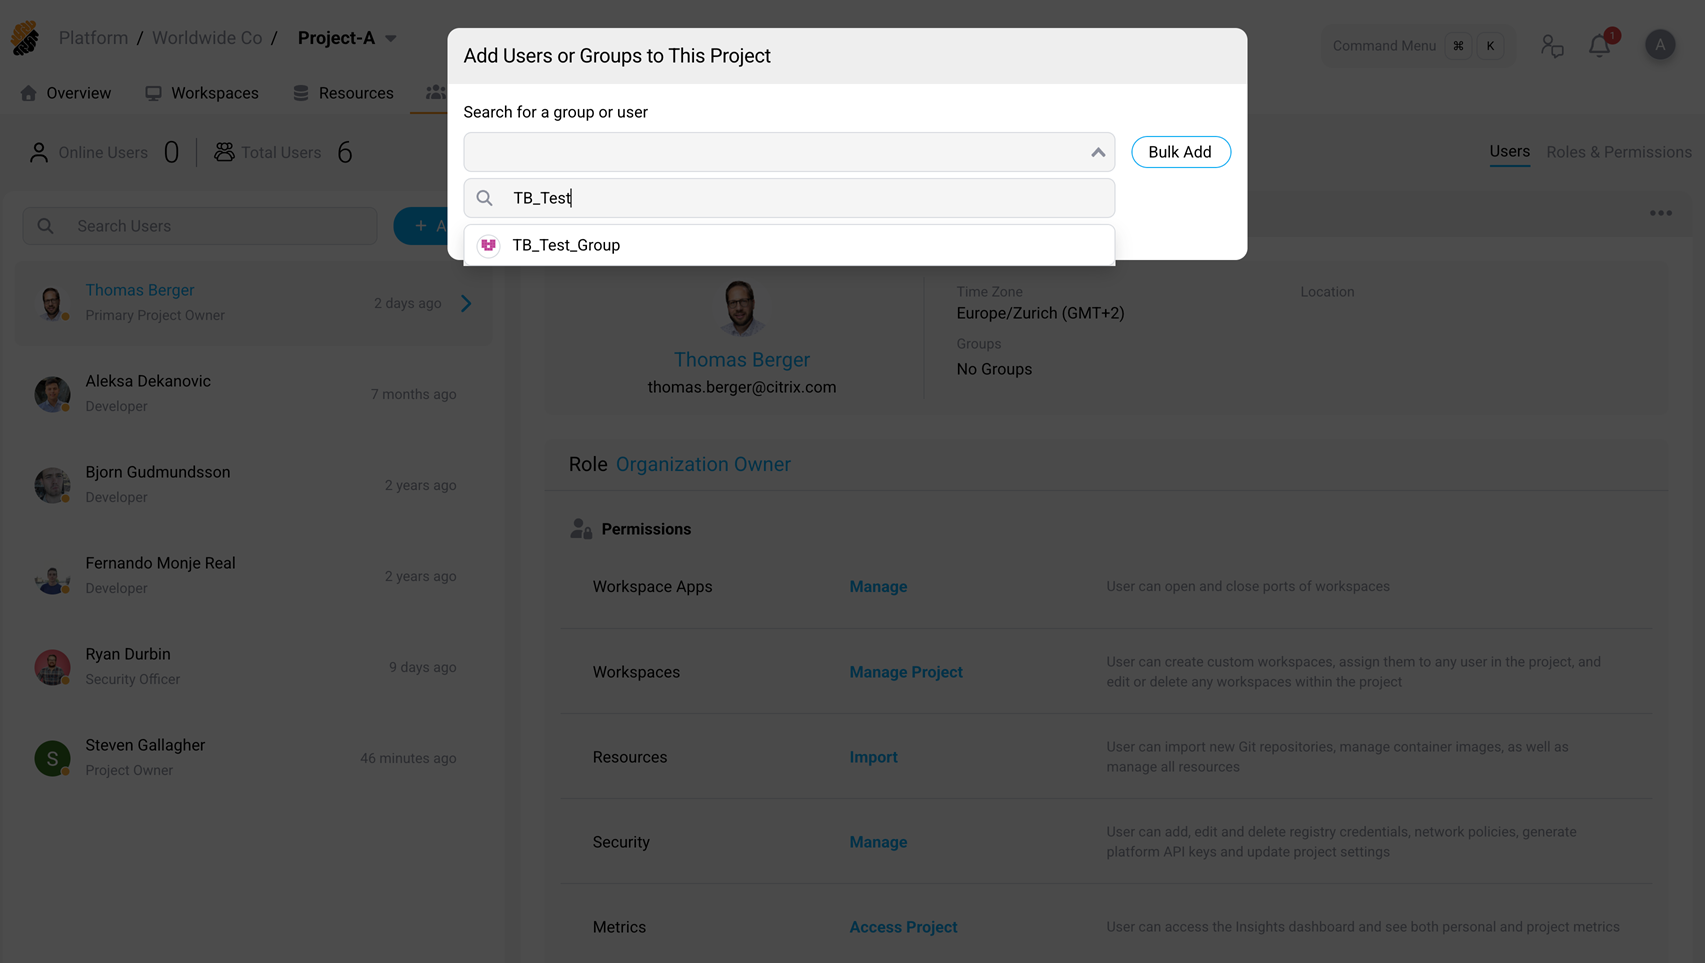
The group appears in the selection list with the same role assignment and options as individual users.
- Select Apply to add the group.
Bulk add users
Use bulk add to onboard multiple users at once by email address.
- In the Add Users or Groups to This Project modal, select Bulk Add.
- Paste a list of email addresses into the text area. Commas, spaces, or new lines can separate addresses.
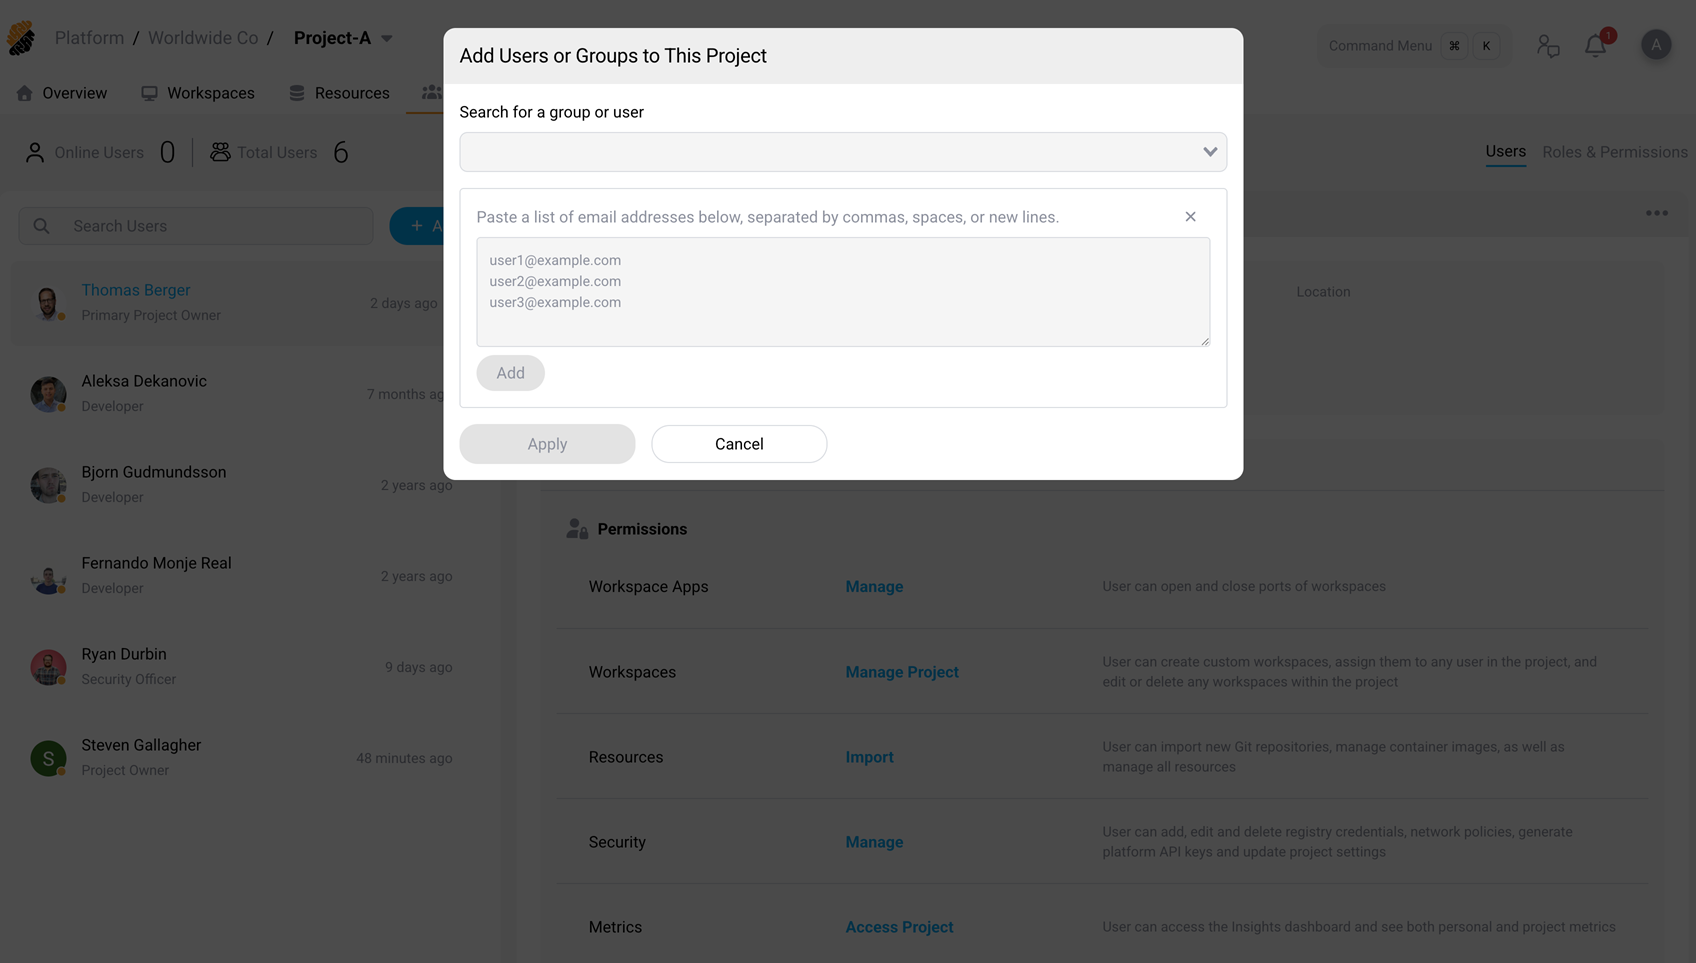
The system validates addresses as you type and shows the number of valid emails.
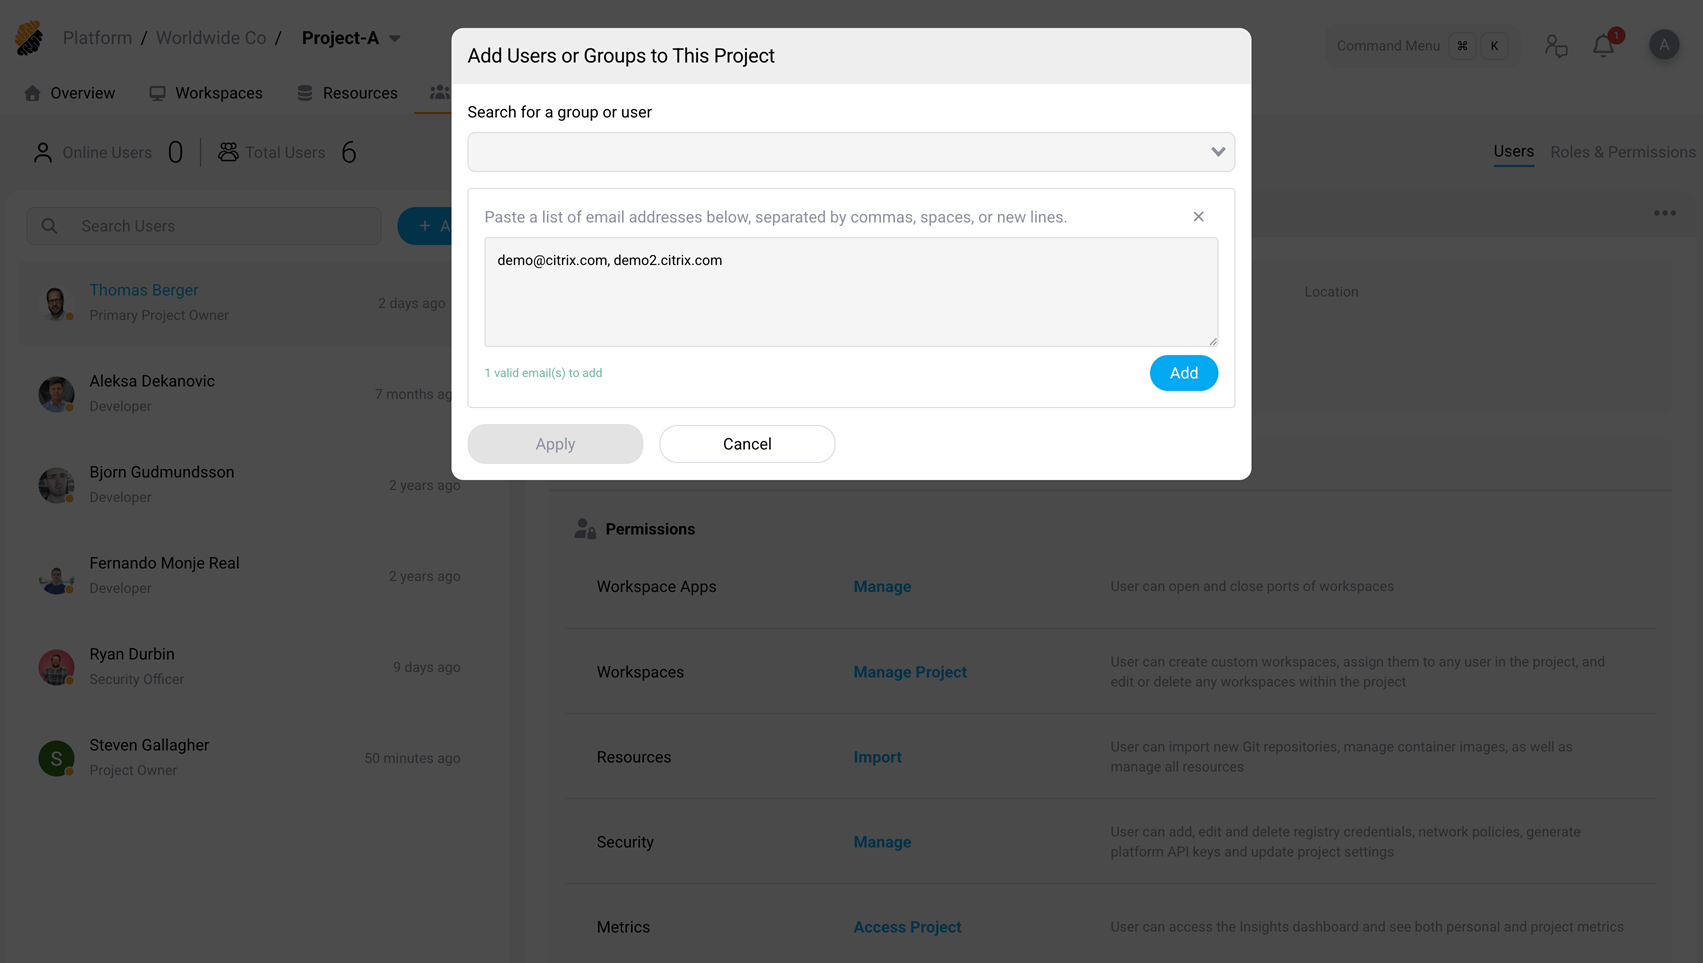
- Select Add. The system validates the addresses and adds valid users to the selection list. If any addresses are invalid, an error message appears below the input.
- Assign roles and configure options for the added users.
- Select Apply to complete the operation.
Add external users
External users are users whose email domain is not associated with a configured identity provider (IdP). Adding external users requires a platform-level setting and follows a different flow from adding existing platform users.
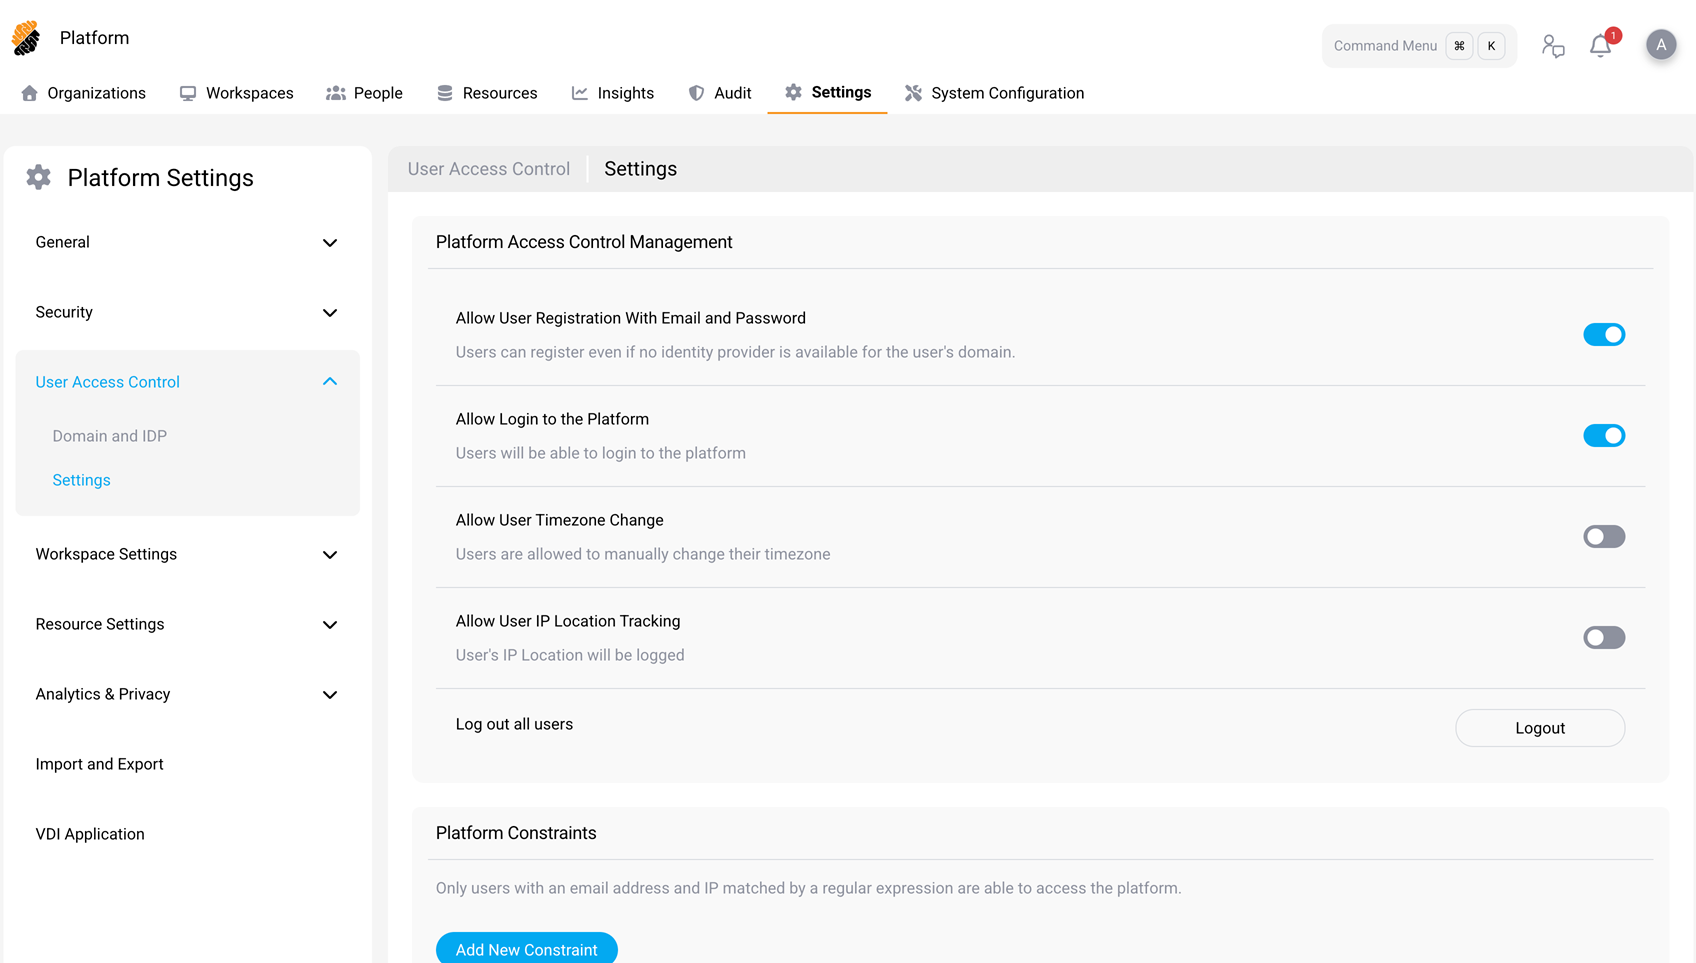
Enable local account registration
Before external users can be added, a Platform Admin or Security Officer must enable Allow User Registration With Email and Password under Platform > Settings > User Access Control > Settings.
When this setting is enabled, SDS creates a local account for external users. The user can then sign in with email and password instead of the organization’s IdP.
Add external users to a project
- Open the Add Users or Groups to This Project modal (see Add users or groups to a project).
- Select Bulk Add and paste the external email addresses.
- Select Add. External users appear in the selection list marked with an asterisk (*) next to their email address. A notice reads: “For N users, additional details need to be specified in the next step.”
- Assign roles and configure options as needed.
The Apply button changes to Next when external users are present.
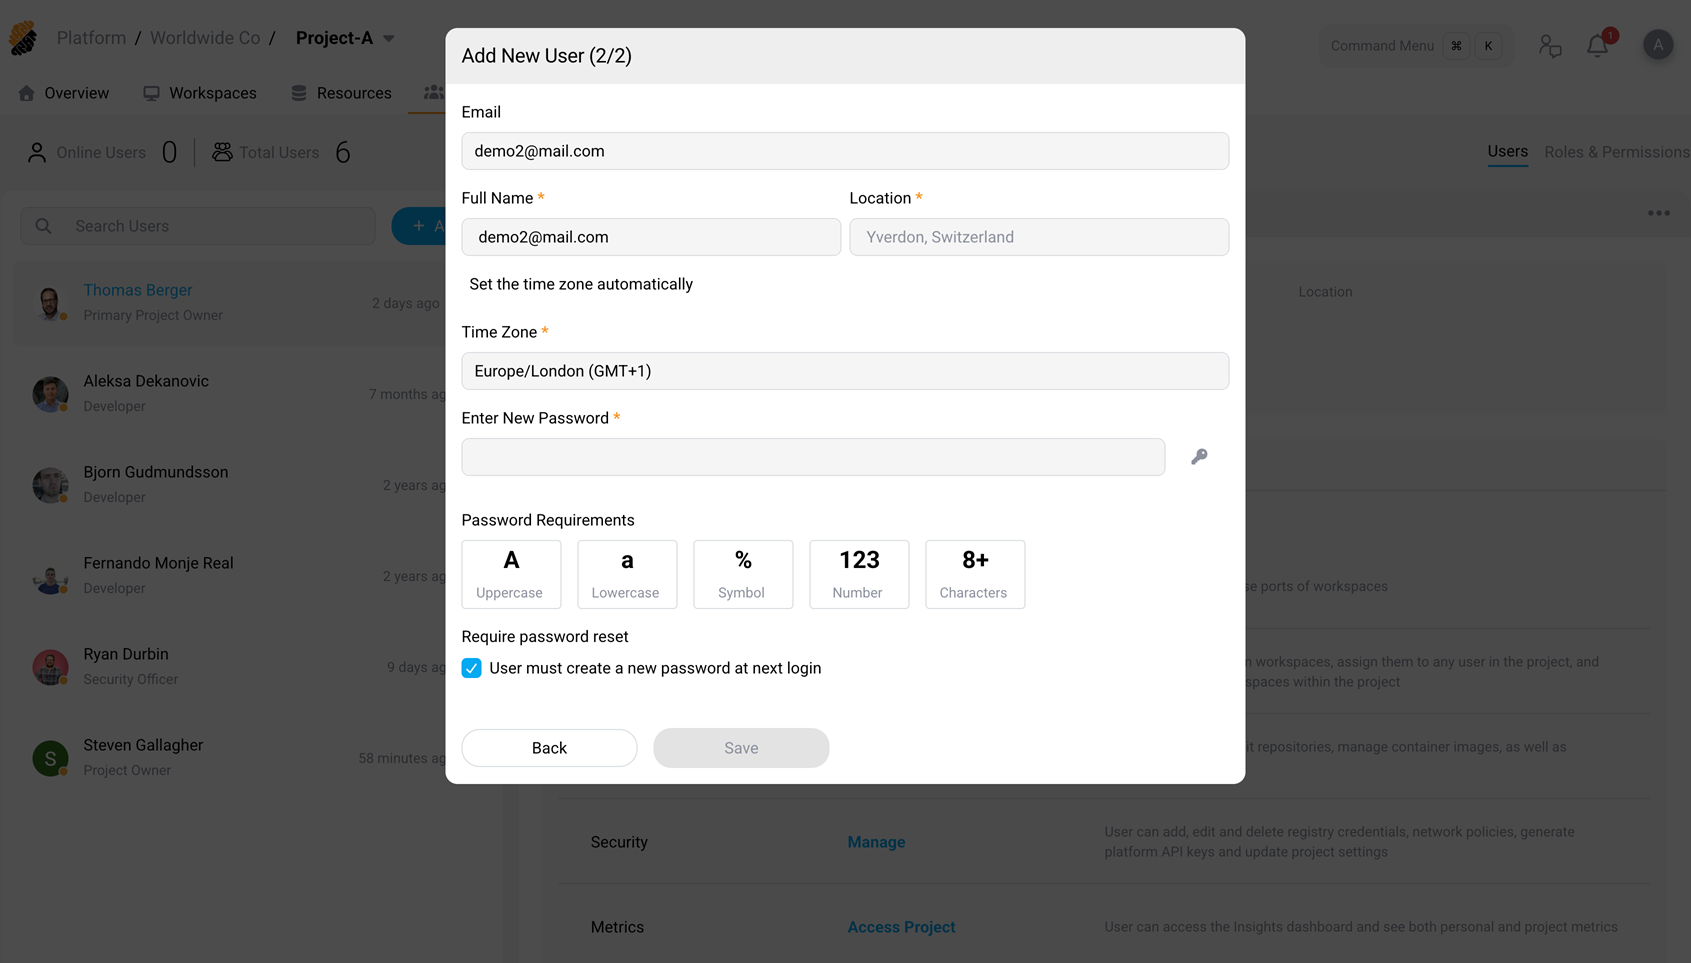
- Select Next. SDS displays an Add New User form for each external user. The form shows a step counter (for example, “1/2”) and requires:
- Full Name — pre-filled with the email address; editable.
- Location — required.
- Time Zone — auto-populated based on the location.
- Password — must meet the displayed requirements (uppercase, lowercase, symbol, number, 8+ characters).
- Repeat New Password — must match the password.
- Require password reset — checked by default. When enabled, the user must create a new password at the next sign-in.
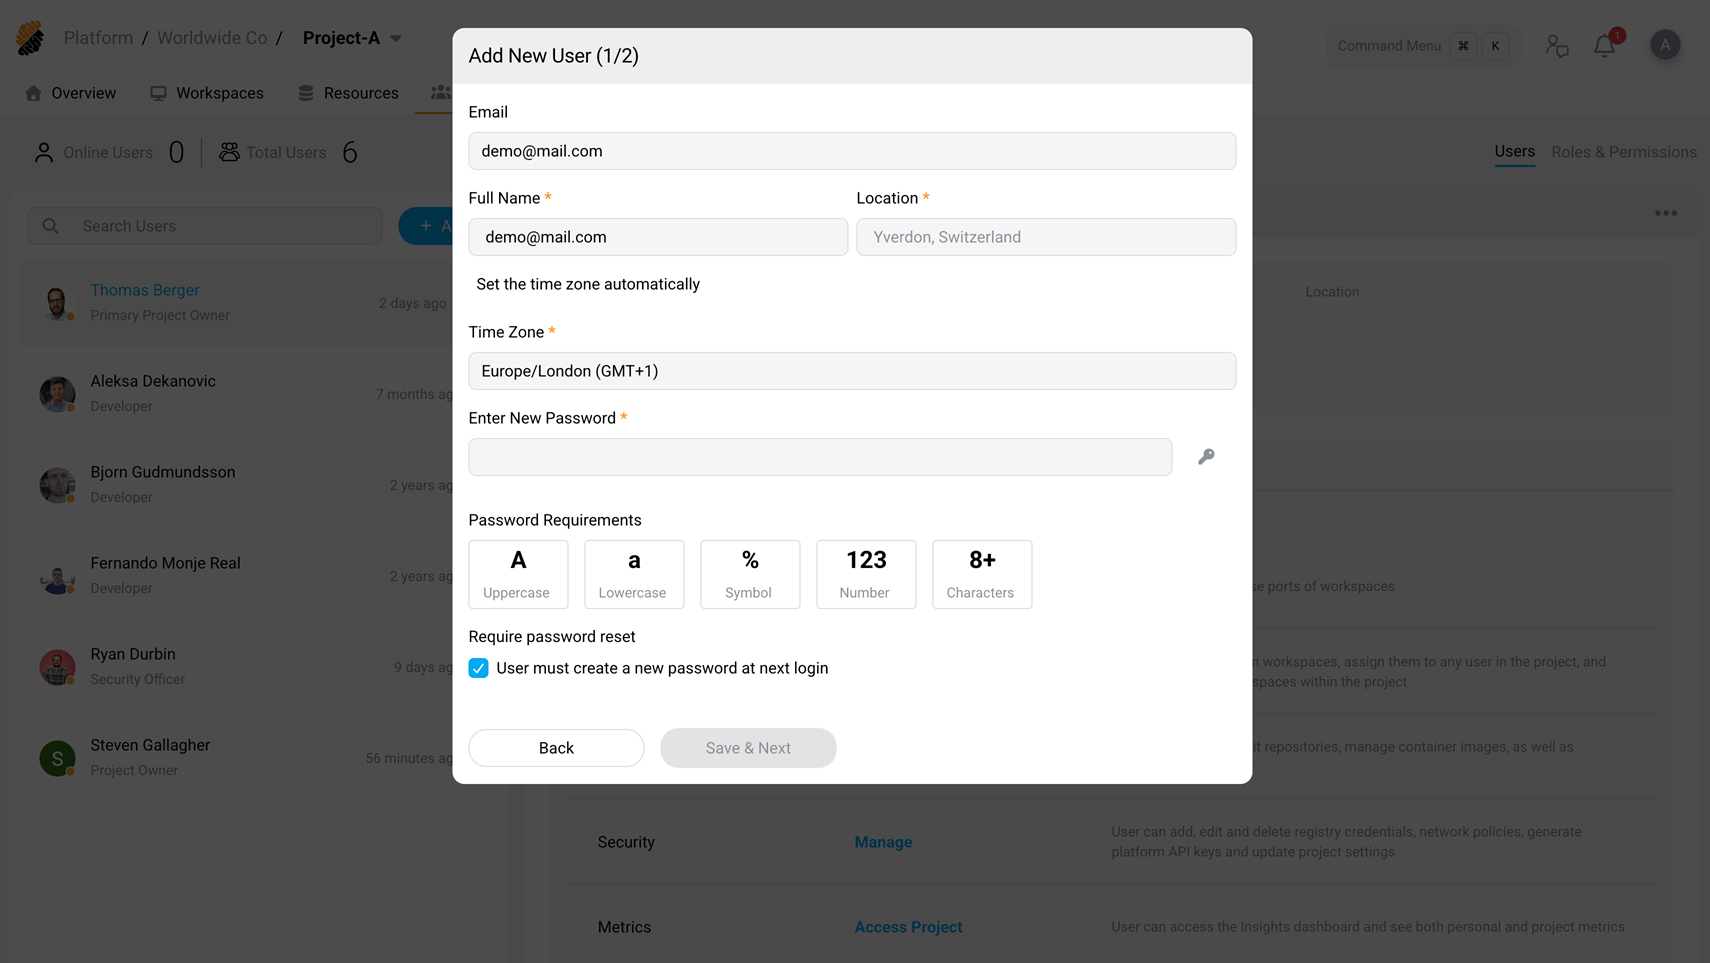
- Select Save & Next to proceed to the next external user. For the last user in the batch, the button changes to Save.
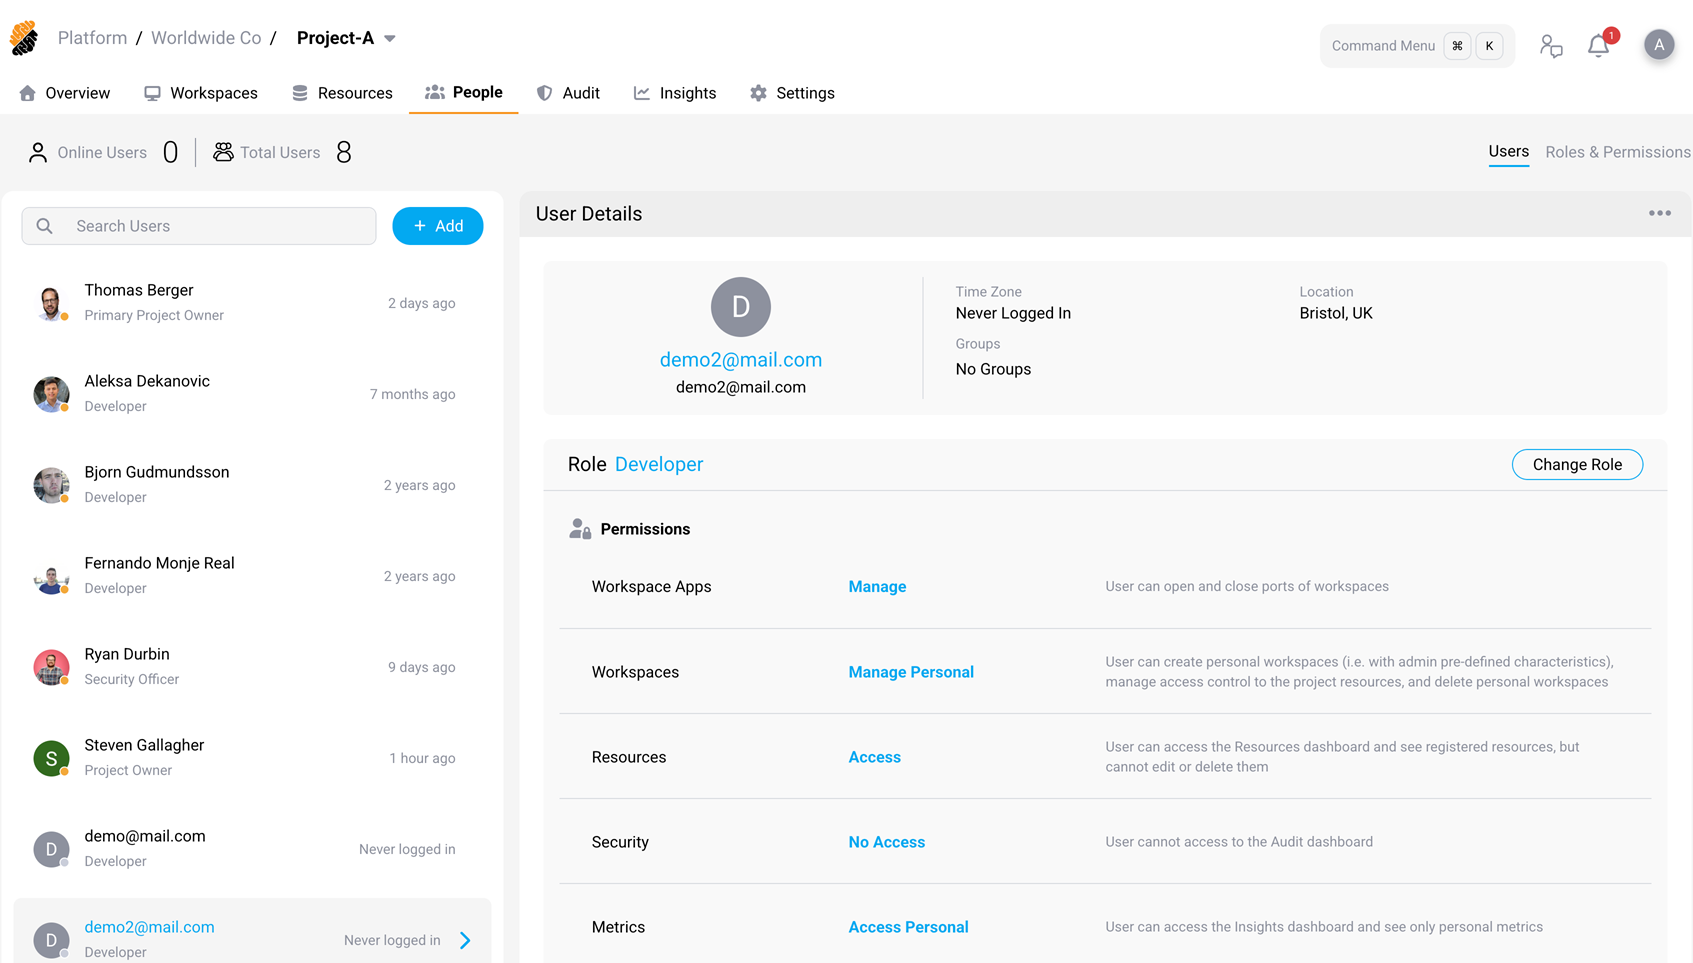
After saving all external users, SDS creates local accounts and adds the users to the project. Until an external user signs in for the first time, the user appears in the project member list with the status “Never logged in”.
Remove a user from a project
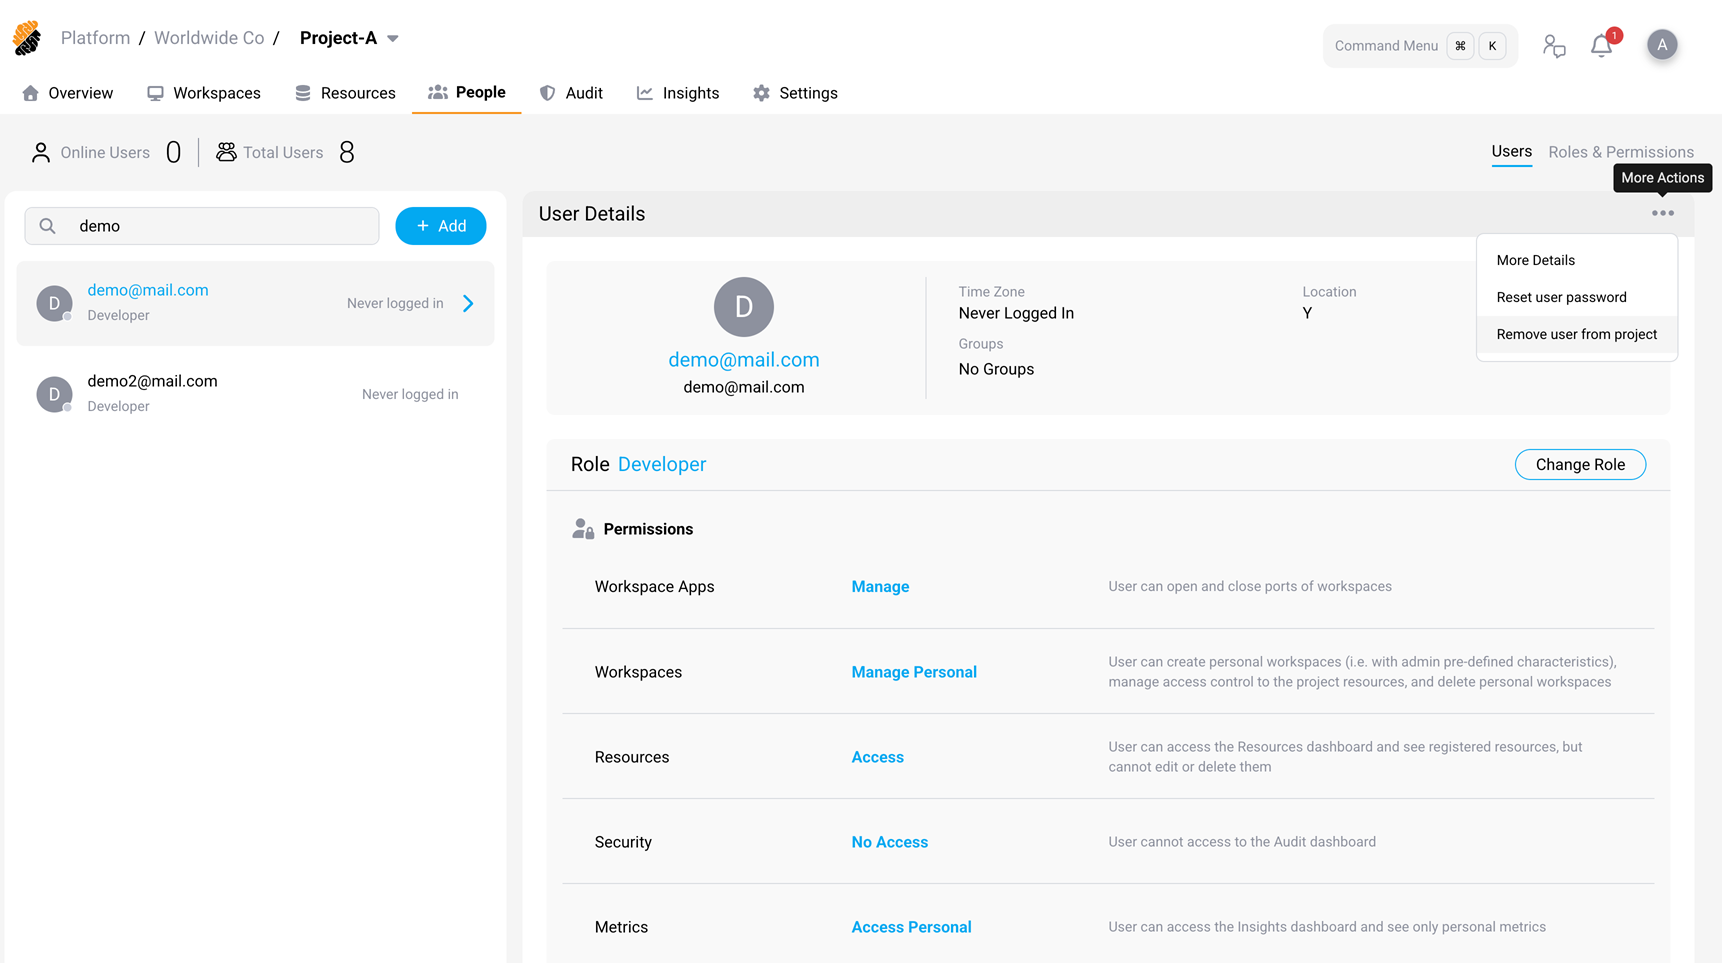
- On the People page, select a user in the user list.
- In the User Details panel, select the … (More Actions) menu at the top right.
- Select Remove user from project.
A confirmation dialog asks you to confirm the removal.
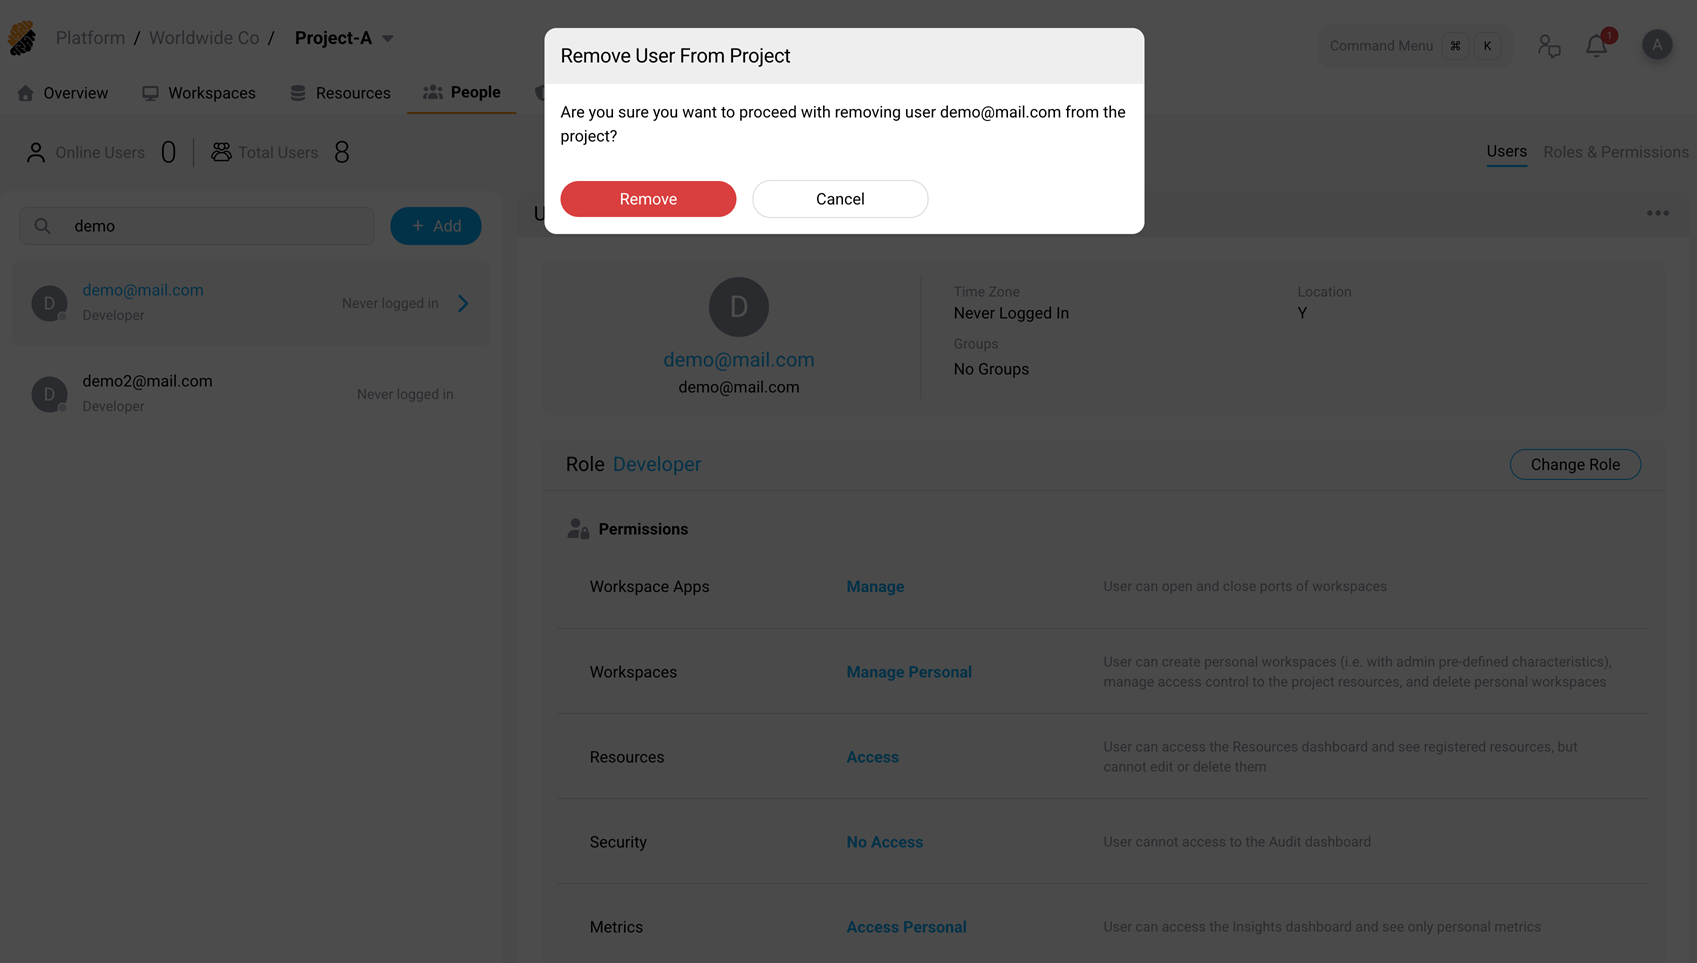
If the user owns workspaces in the project, the dialog warns that removing the user will delete those workspaces. You can deselect individual workspaces to keep them before confirming.
- Select Remove to confirm.
The user loses access to the project and all associated resources. The user remains in the platform database. To fully remove a user from the platform, a Platform Admin or Security Officer must remove the user from the People page at the platform level.
Permissions
| Action | Required permission |
|---|---|
| Add users or groups to a project | Members::Manage |
| Remove a user from a project | Members::Manage |
| Change a user’s role | Members::Manage |
| View project members | Members::Access |