Connect Okta as an identity provider to Citrix Cloud™
Citrix Cloud supports using Okta as an identity provider to authenticate end users signing in to their stores. By connecting your Okta organization to Citrix Cloud, you can provide a common sign-in experience for your end users to access resources in Citrix® StoreFront Cloud.
After enabling Okta authentication in Citrix® StoreFront Cloud, end users have a different sign-in experience. Selecting Okta authentication provides federated sign-in, not single sign-on. End users sign in to stores from an Okta sign-in page, but they may have to authenticate a second time when opening an app or desktop from Citrix DaaS (formerly Citrix Virtual Apps and Desktops service). To enable single sign-on and prevent a second logon prompt, you need to use the Citrix Federated Authentication Service with Citrix Cloud. For more information, see Connect Citrix Federated Authentication Service to Citrix Cloud.
Prerequisites
Cloud Connectors or Connector Appliances
Either Cloud Connectors or Connector Appliances are required for enabling communication between Citrix Cloud and your resource location. At least two Cloud Connectors or Connector Appliances are required to ensure a highly available connection with Citrix Cloud. You need at least two Connectors joined to your Active Directory domain. These can be either Cloud Connectors or Connector Appliances.
The connectors must meet the following requirements:
- Meet the requirements described in their respective documentation
- Joined to your Active Directory (AD) domain. If your store users reside in multiple domains, the Connector Appliance multi-domain feature can be used to join multiple domains.
- Connected to a network that can contact the resources that users access through cloud stores.
- Connected to the Internet. For more information, see System and Connectivity Requirements.
For more information about installing Cloud Connectors, see Cloud Connector Installation. For more information about installing Connector Appliances, see Connector Appliance Installation.
Okta domain
When connecting Okta to Citrix Cloud, you must supply the Okta domain for your organization. Citrix supports the following Okta domains:
- okta.com
- okta-eu.com
- oktapreview.com
You can also use Okta custom domains with Citrix Cloud. Review the important considerations for using custom domains in Customize the Okta URL domain on the Okta web site.
For more information about locating the custom domain for your organization, see Finding Your Okta Domain on the Okta web site.
Okta OIDC web application
To use Okta as an identity provider, you must first create an Okta OIDC web application with client credentials you can use with Citrix Cloud. After you create and configure the application, note the Client ID and Client Secret. You supply these values to Citrix Cloud when you connect your Okta organization.
To create and configure this application, see the following sections in this article:
Store URL
When creating the Okta application, you must supply your store URL from Citrix Cloud. To locate the store URL, select StoreFront Cloud from the Citrix Cloud menu. The store URL is shown on the Access tab.
Important:
If you modify the store URL later on, you must update the Okta application configuration with the new URL. Otherwise, your end users might experience issues with logging off from their store.
Okta API token
Using Okta as an identity provider with Citrix Cloud requires an API token for your Okta organization. Create this token using a Read-Only Administrator account in your Okta organization. This token must be able to read the users and groups in your Okta organization.
To create the API token, see Create an Okta API token in this article. For more information about API tokens, see Create an API Token on the Okta website.
Important:
When you create the API token, make a note of the token value (for example, copy the value temporarily to a plain text document). Okta displays this value only once, so you might create the token just before you perform the steps in Connect Citrix Cloud to your Okta organization.
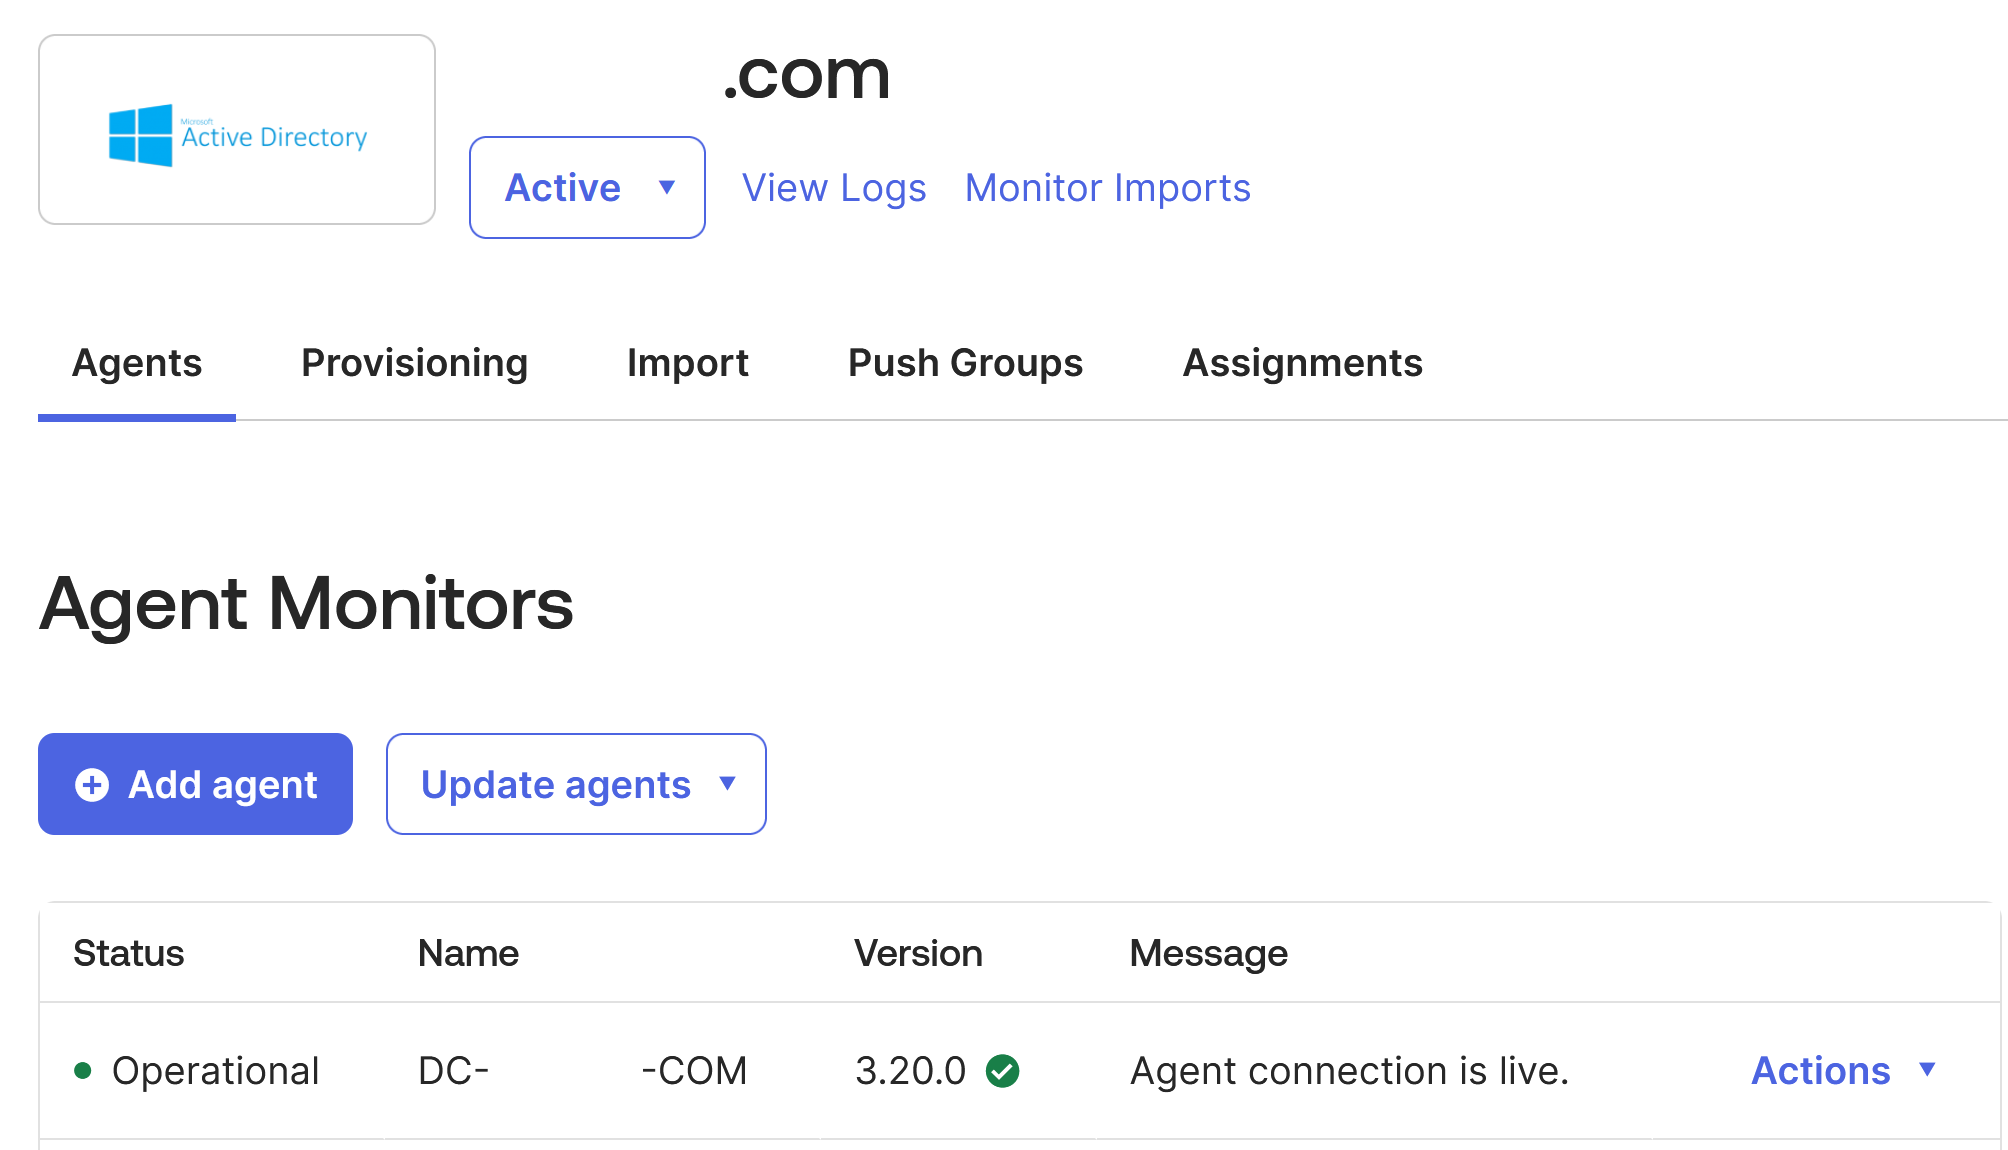
Sync Active Directory accounts to Okta using the Okta AD agent
To use Okta as an identity provider, you must first integrate your on-premises AD with Okta. To do this, you install the Okta AD agent in your domain and add your AD to your Okta organization. For guidance for deploying the Okta AD agent, see Get started with Active Directory integration on the Okta web site.
Afterward, you import your AD users and groups to Okta. When importing, include the following values associated with your AD accounts:
- SID
- UPN
- OID
Note:
If you are using Citrix Gateway service with store, you don’t need to synchronize your AD accounts with your Okta organization.
To synchronize your AD users and groups with your Okta organization:
- Install and configure the Okta AD agent. For complete instructions, refer to the following articles on the Okta website:
- Add your AD users and groups to Okta by performing a manual import or an automated import. For more information about Okta import methods and instructions, refer to Manage Active Directory users and groups on the Okta website.
Create an Okta OIDC web app integration
- From the Okta management console, under Applications, select Applications.
- Select Create App Integration.
- In Sign in method, select OIDC - OpenID Connect.
- In Application type, select Web Application. Select Next.
- In App Integration Name, enter a friendly name for the app integration.
- In Grant type, select Authorization Code (selected by default).
- In Sign-in redirect URIs, enter
https://accounts.cloud.com/core/login-okta.- If your Citrix Cloud customer is in the European Union, United States, or Asia Pacific-South regions, enter
https://accounts.cloud.com/core/login-okta. - If your Citrix Cloud customer is in the Japan region, enter
https://accounts.citrixcloud.jp/core/login-okta. - If your Citrix Cloud customer is in the Citrix Cloud Government region, enter
https://accounts.cloud.us/core/login-okta.
- If your Citrix Cloud customer is in the European Union, United States, or Asia Pacific-South regions, enter
- In Sign-out redirect URIs, enter your store URL from Citrix Cloud.
- If you are also using a store custom domain you will also need to enter this too. For example
https://workspaceurl1.cloud.comhttps://workspaceurl2.cloud.comhttps://workspaceurl1.mycustomdomain.com
- Under Assignments, in Controlled access, select whether to assign the app integration to everyone in your organization, only groups that you specify, or to assign access later.
- Select Save. After you save the app integration, the console displays the application configuration page.
- In the Client Credentials section, copy the Client ID and Client Secret values. You use these values when you connect Citrix Cloud to your Okta organization.
Configure the Okta OIDC web application
In this step, you configure your Okta OIDC web application with the settings required for Citrix Cloud. Citrix Cloud requires these settings to authenticate your end users through Okta when they sign in to their stores.
- (Optional) Update client permissions for the implicit grant type. You might choose to perform this step if you prefer to allow the least amount of privilege for this grant type.
- From the Okta application configuration page, on the General tab, scroll to the General Settings section and select Edit.
-
In the Application section, in Grant type, under Client acting on behalf of a user, clear the Allow Access Token with implicit grant type setting.
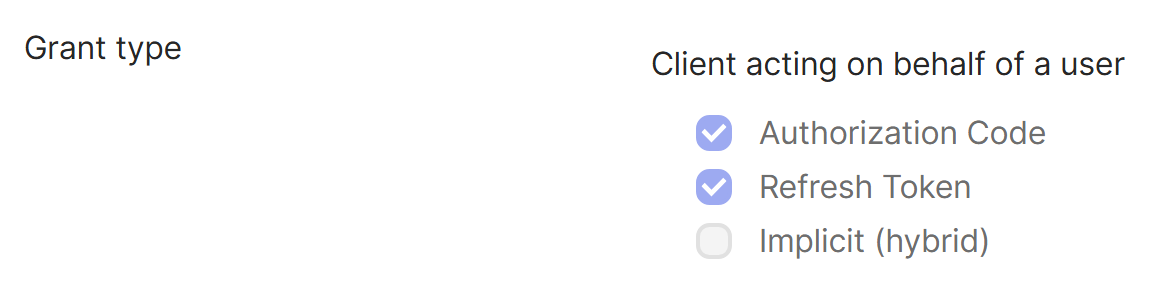
- Select Save.
- Add application attributes. These attributes are case-sensitive.
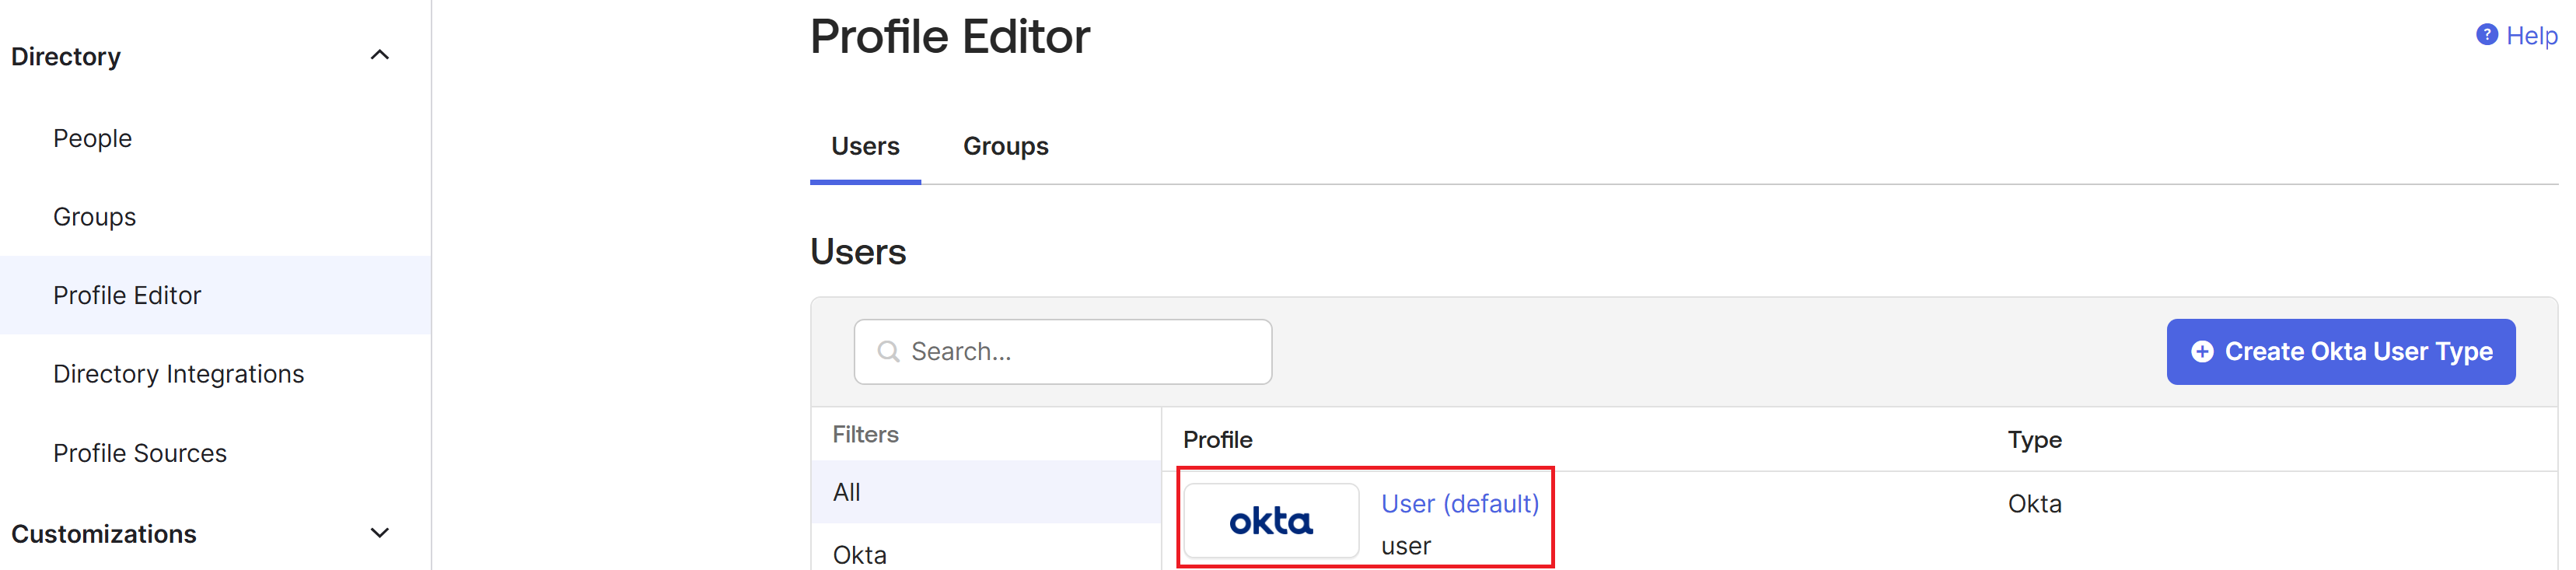
- From the Okta console menu, select Directory > Profile Editor.
-
Select the Okta User (default) profile. Okta displays the User profile page.
-
Under Attributes, select Add attribute.
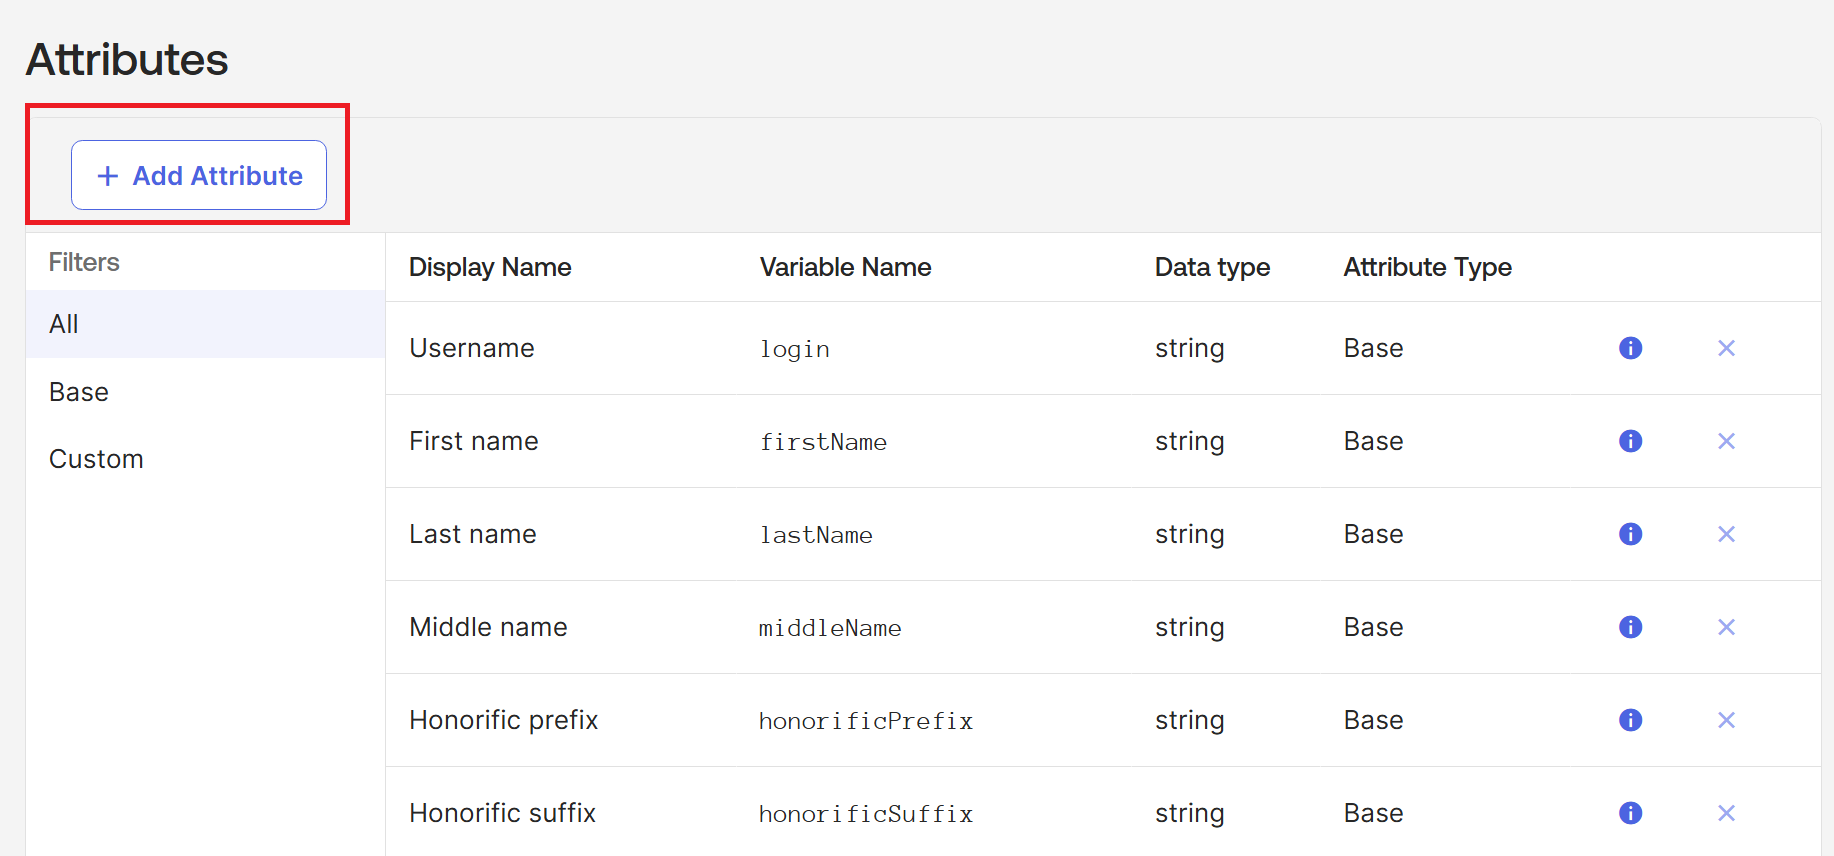
- Enter the following information:
- Display Name: cip_email
- Variable Name: cip_email
- Description: AD User Email
- Attribute Length: Select Greater than and then enter 1.
-
Attribute Required: Yes
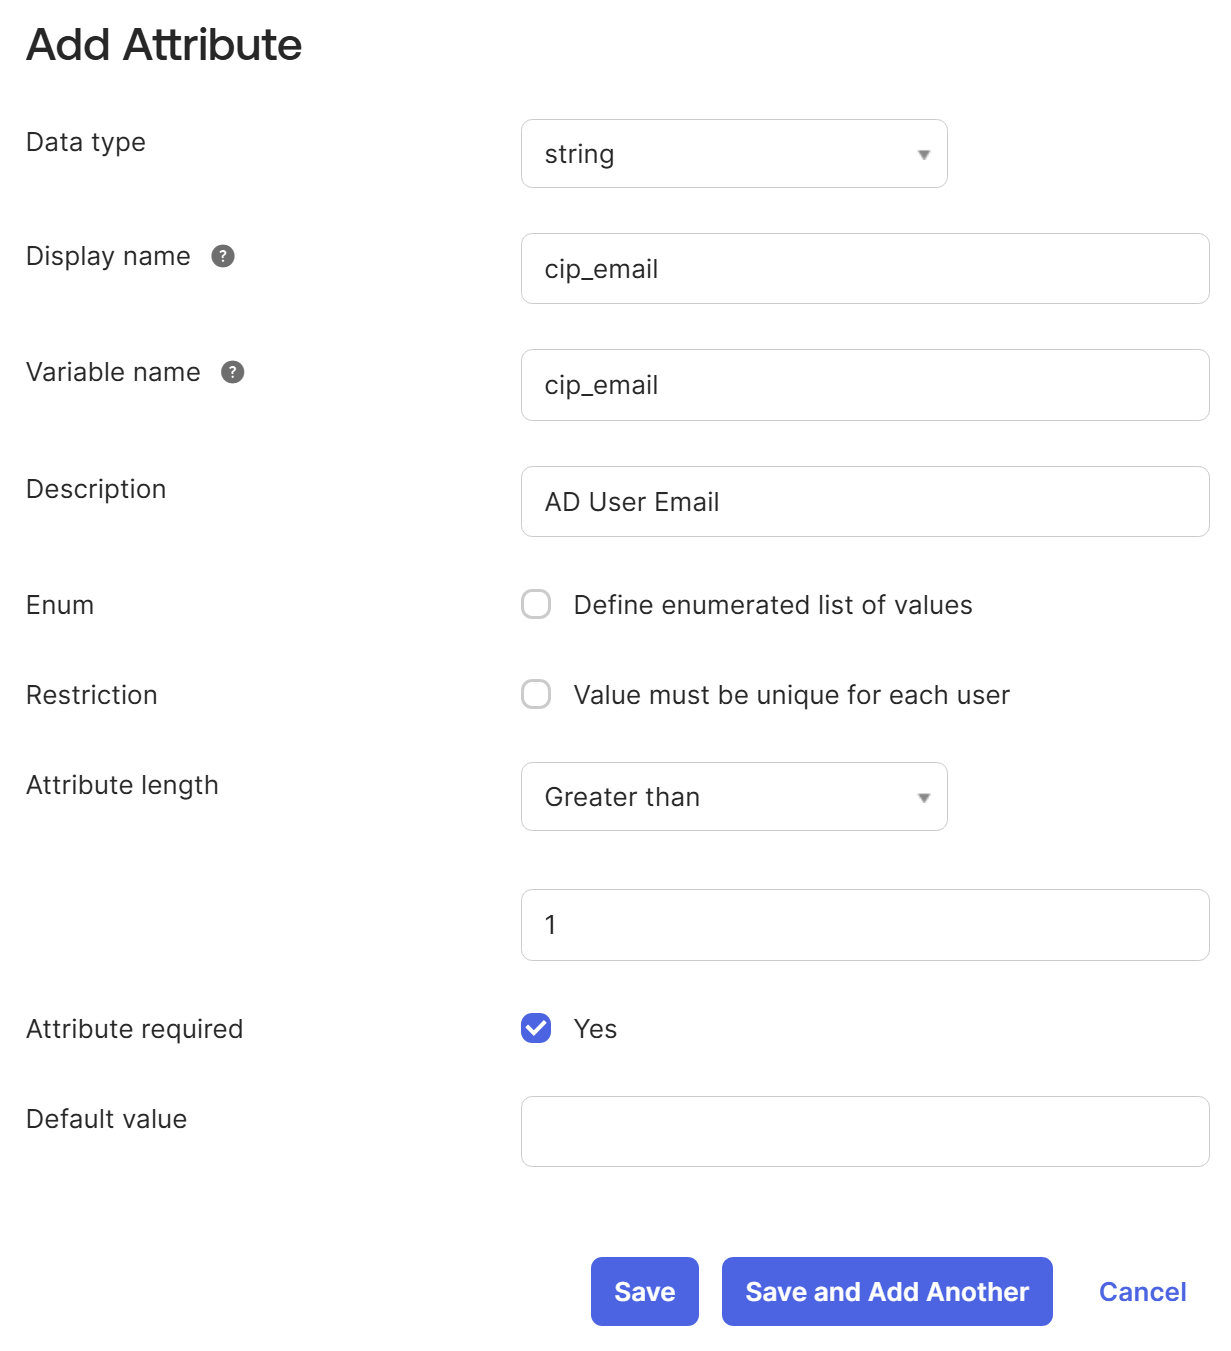
- Select Save and Add Another.
- Enter the following information:
- Display Name: cip_sid
- Variable Name: cip_sid
- Description: AD User Security Identifier
- Attribute Length: Select Greater than and then enter 1.
- Attribute Required: Yes
- Select Save and Add Another.
- Enter the following information:
- Display Name: cip_upn
- Variable Name: cip_upn
- Description: AD User Principal Name
- Attribute Length: Select Greater than and then enter 1.
- Attribute Required: Yes
- Select Save and Add Another.
- Enter the following information:
- Display Name: cip_oid
- Variable Name: cip_oid
- Description: AD User GUID
- Attribute Length: Select Greater than and then enter 1.
- Attribute Required: Yes
- Select Save.
- Edit attribute mappings for the application:
- From the Okta console, select Directory > Profile Editor > Directories.
-
Locate the active_directory profile for your AD. This profile might be labelled using the format
myDomain User, wheremyDomainis the name of your integrated AD domain.
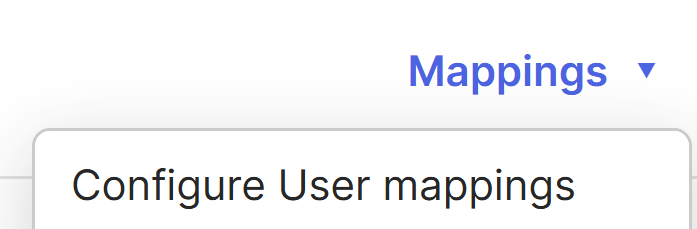
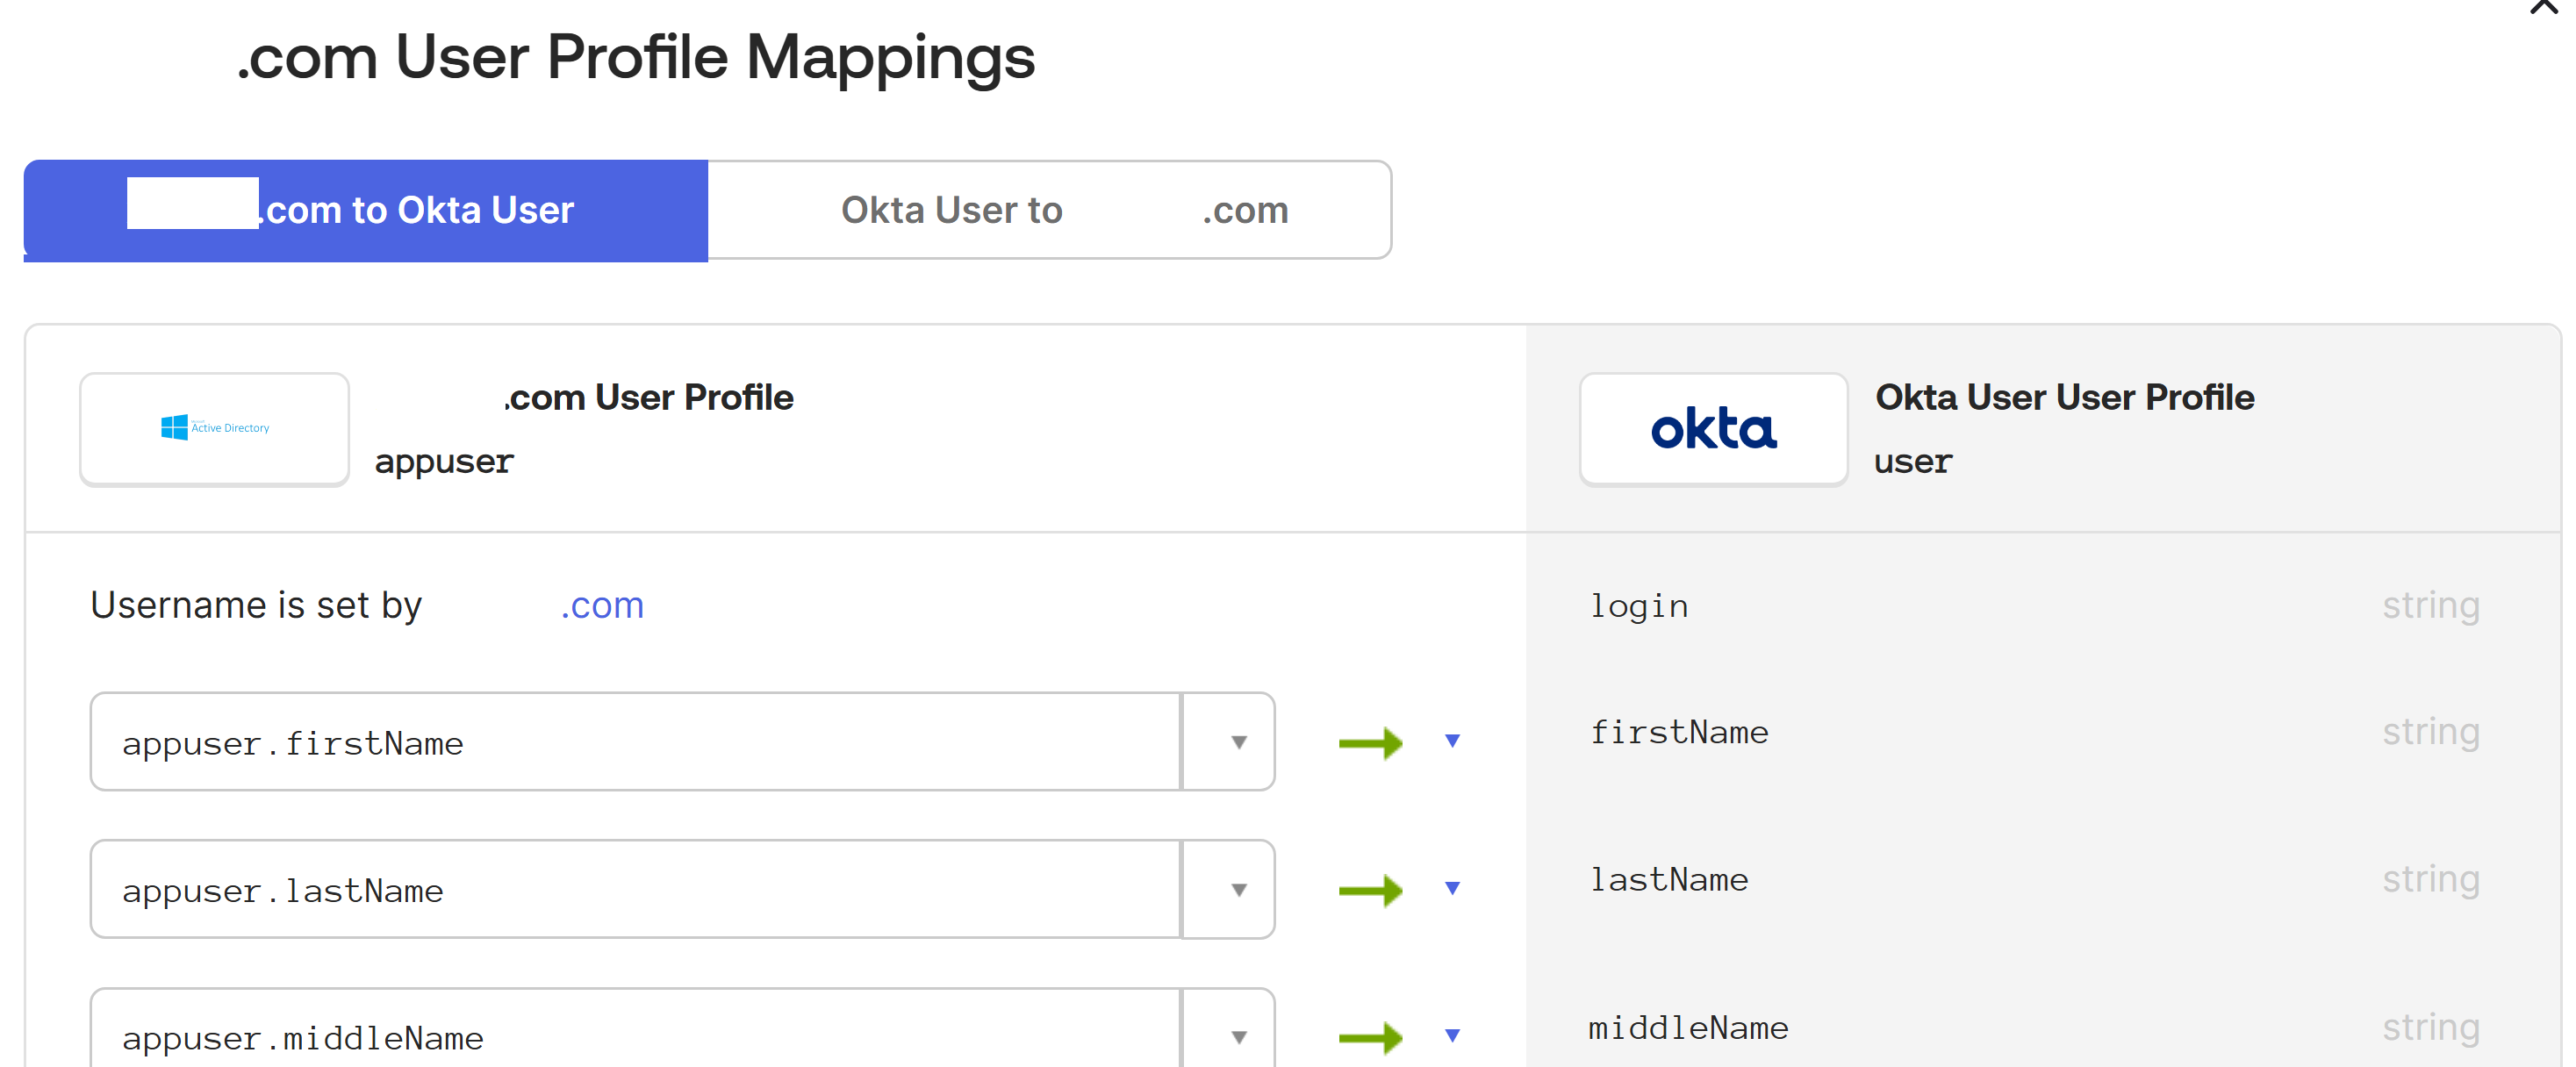
-
Select Mappings. The User Profile Mappings page for your AD domain appears and the tab for mapping your AD to Okta User is selected.
-
In the Okta User User Profile column, locate the attributes you created in Step 2 and map as follows:
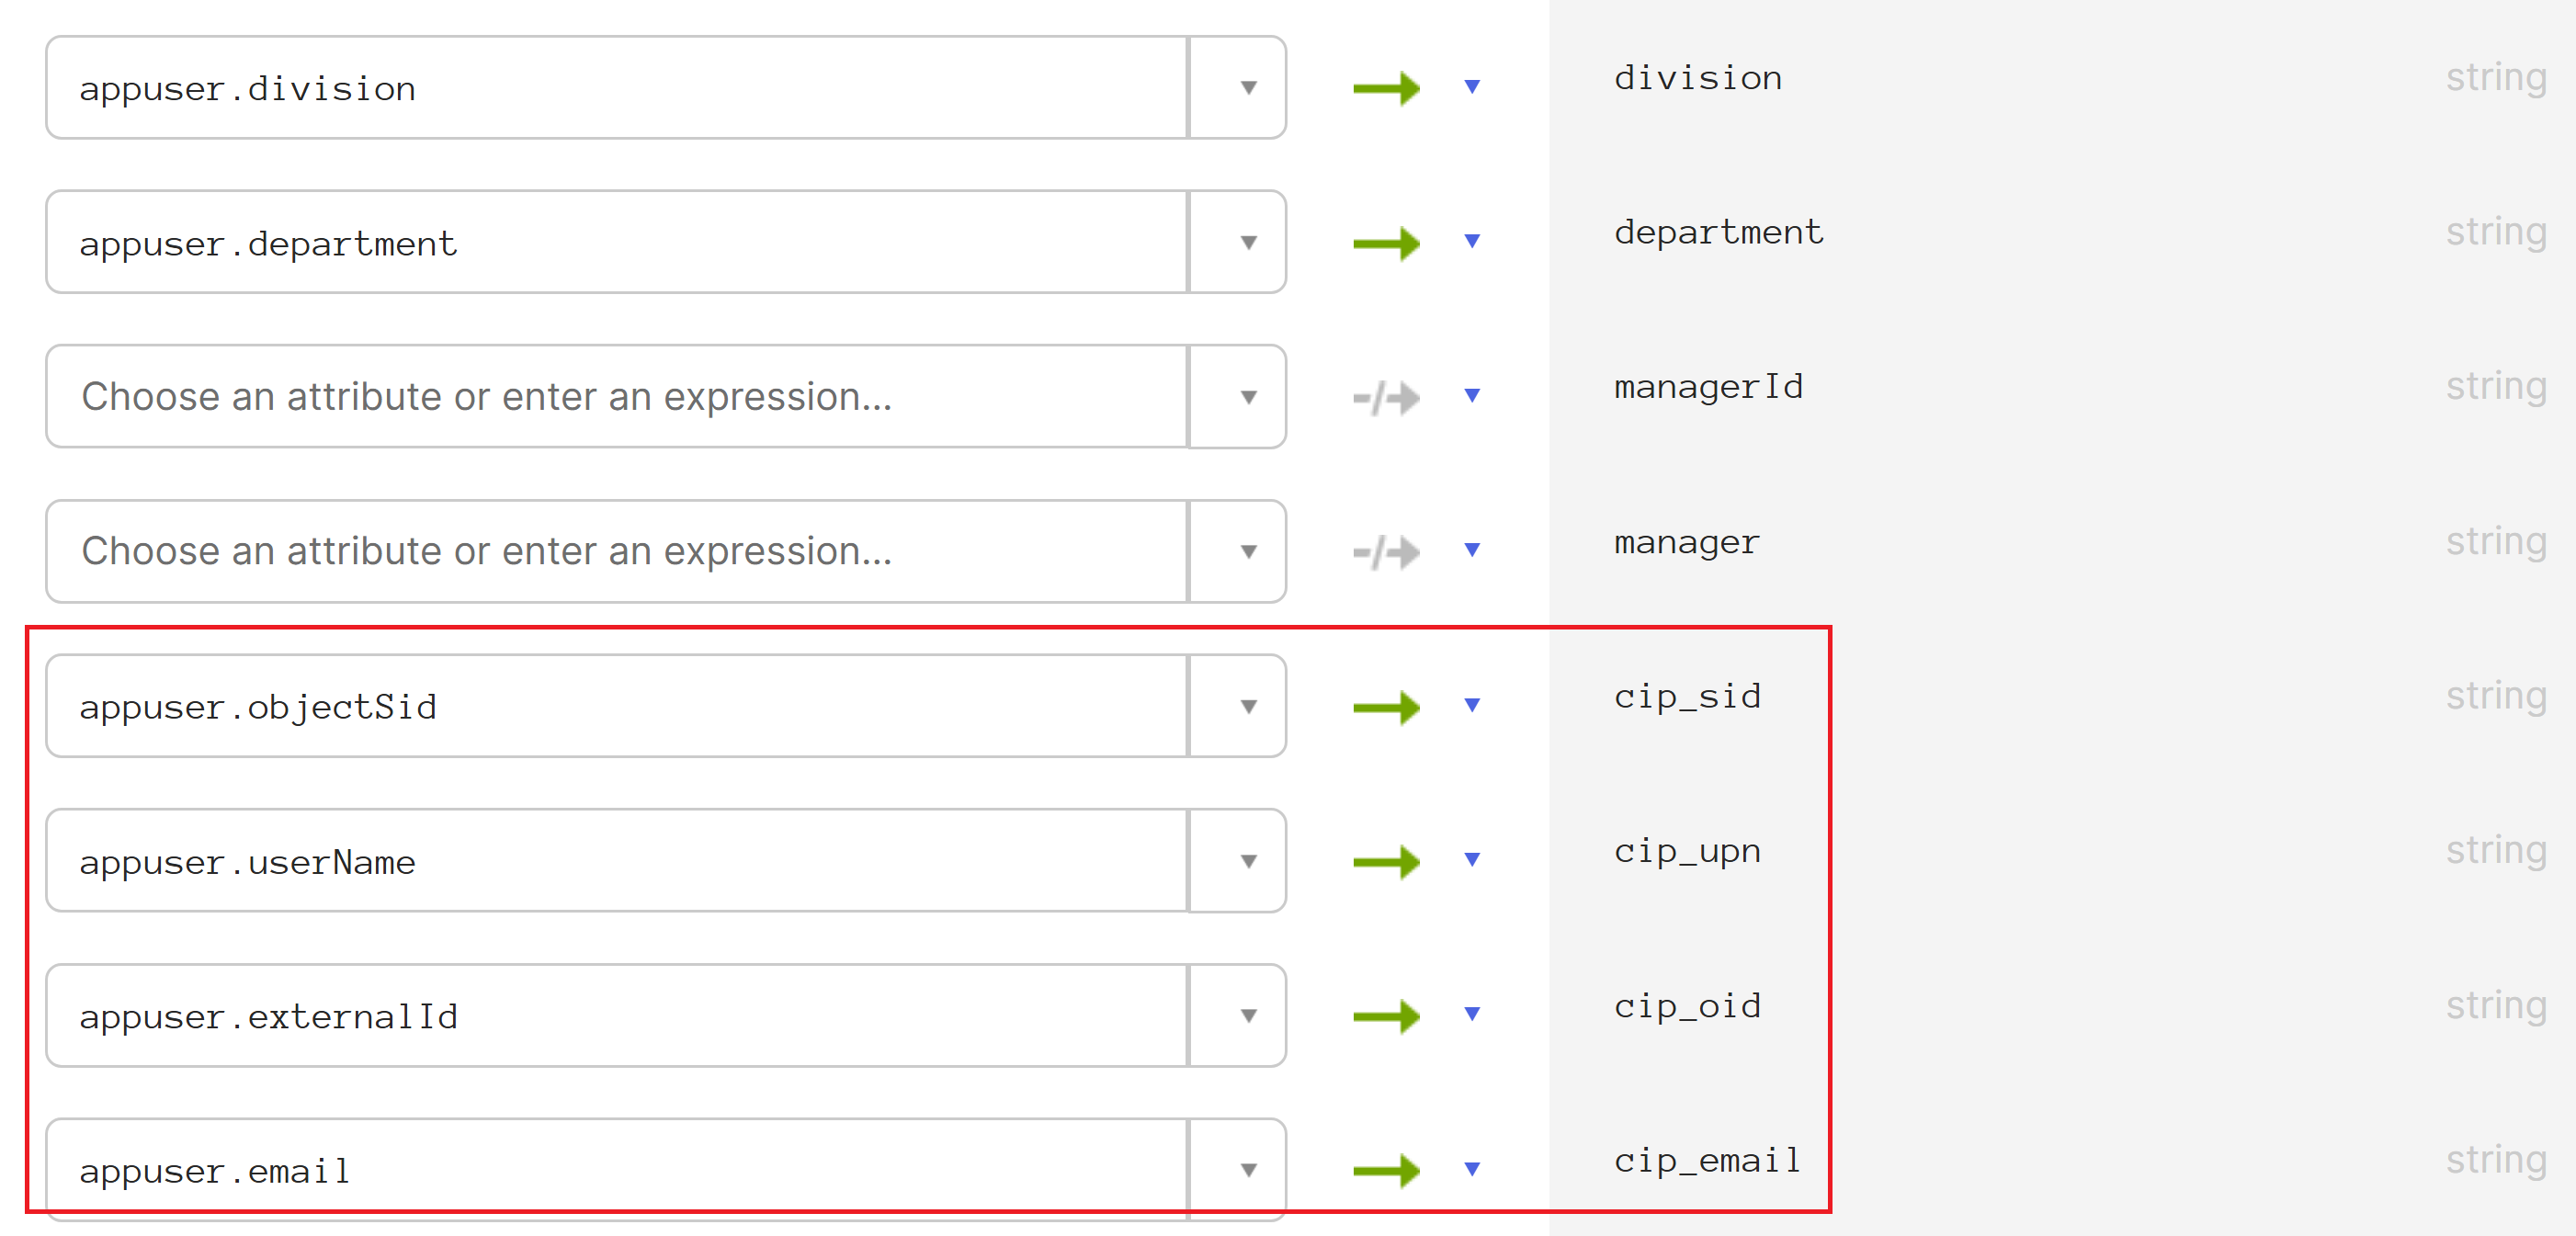
- For
cip_email, selectemailfrom the User Profile column for your domain. When selected, the mapping appears asappuser.email. - For
cip_sid, selectobjectSidfrom the User Profile column for your domain. When selected, the mapping appears asappuser.objectSid. - For
cip_upn, selectuserNamefrom the User Profile column for your domain. When selected, the mapping appears asappuser.userName. - For
cip_oid, selectexternalIdfrom the User Profile column for your domain. When selected, the mapping appears asappuser.externalId.
- For
- Select Save Mappings.
- Select Apply updates now. Okta starts a job to apply the mappings.
- Sync Okta with your AD.
- From the Okta console, select Directory > Directory Integrations.
- Select your integrated AD.
- Select the Provisioning tab.
- Under Settings, select To Okta.
- Scroll to the Okta Attribute Mappings section and then select Force Sync.
Create an Okta API token
- Sign in to the Okta console using a Read-Only Administrator account.
- From the Okta console menu, select Security > API.
- Select the Tokens tab and then select Create Token.
- Enter a name for the token.
- Select Create Token.
- Copy the token value. You supply this value when you connect your Okta organization to Citrix Cloud.
Connect Citrix Cloud to your Okta organization
- Sign in to Citrix Cloud at https://citrix.cloud.com.
- From the Citrix Cloud menu, select Identity and Access Management.
- Locate Okta and select Connect from the ellipsis menu.
- In Okta URL, enter your Okta domain.
- In Okta API Token, enter the API token for your Okta organization.
- In Client ID and Client Secret, enter the client ID and secret from the OIDC web app integration you created earlier. To copy these values from the Okta console, select Applications and locate your Okta application. Under Client Credentials, use the Copy to Clipboard button for each value.
- Click Test and Finish. Citrix Cloud verifies your Okta details and tests the connection.
After the connection is verified successfully, you can enable Okta authentication for end users.
Enable Okta authentication for stores
- From the Citrix Cloud menu, select StoreFront Cloud > Authentication.
- Select Okta.
- When prompted, select I understand the impact on the end user experience.
- Select Save.
After switching to Okta authentication, Citrix Cloud temporarily disables stores for a few minutes. When stores are re-enabled, your end users can sign in using Okta.
More information
- Citrix Tech Zone:
Troubleshooting
Problem 1
Okta OIDC authentication to store succeeds but DaaS resources cannot be seen for the end user inside store. This can be caused by missing claims like “ctx_user.sid” not being sent to DaaS.
Debugging Steps 1
- Capture a HAR file using your browser and perform a log into store using Okta OIDC authentication and then logout of store.
-
Locate the following call within your browser developer tools when the user performs an explicit logout action from store
GET
https://accounts.cloud.com/core/connect/endsession?id_token_hint=<base64string> -
Copy the base64 string after
?id_token_hint=, which contains a JWT. Example taken from FireFox dev tools.
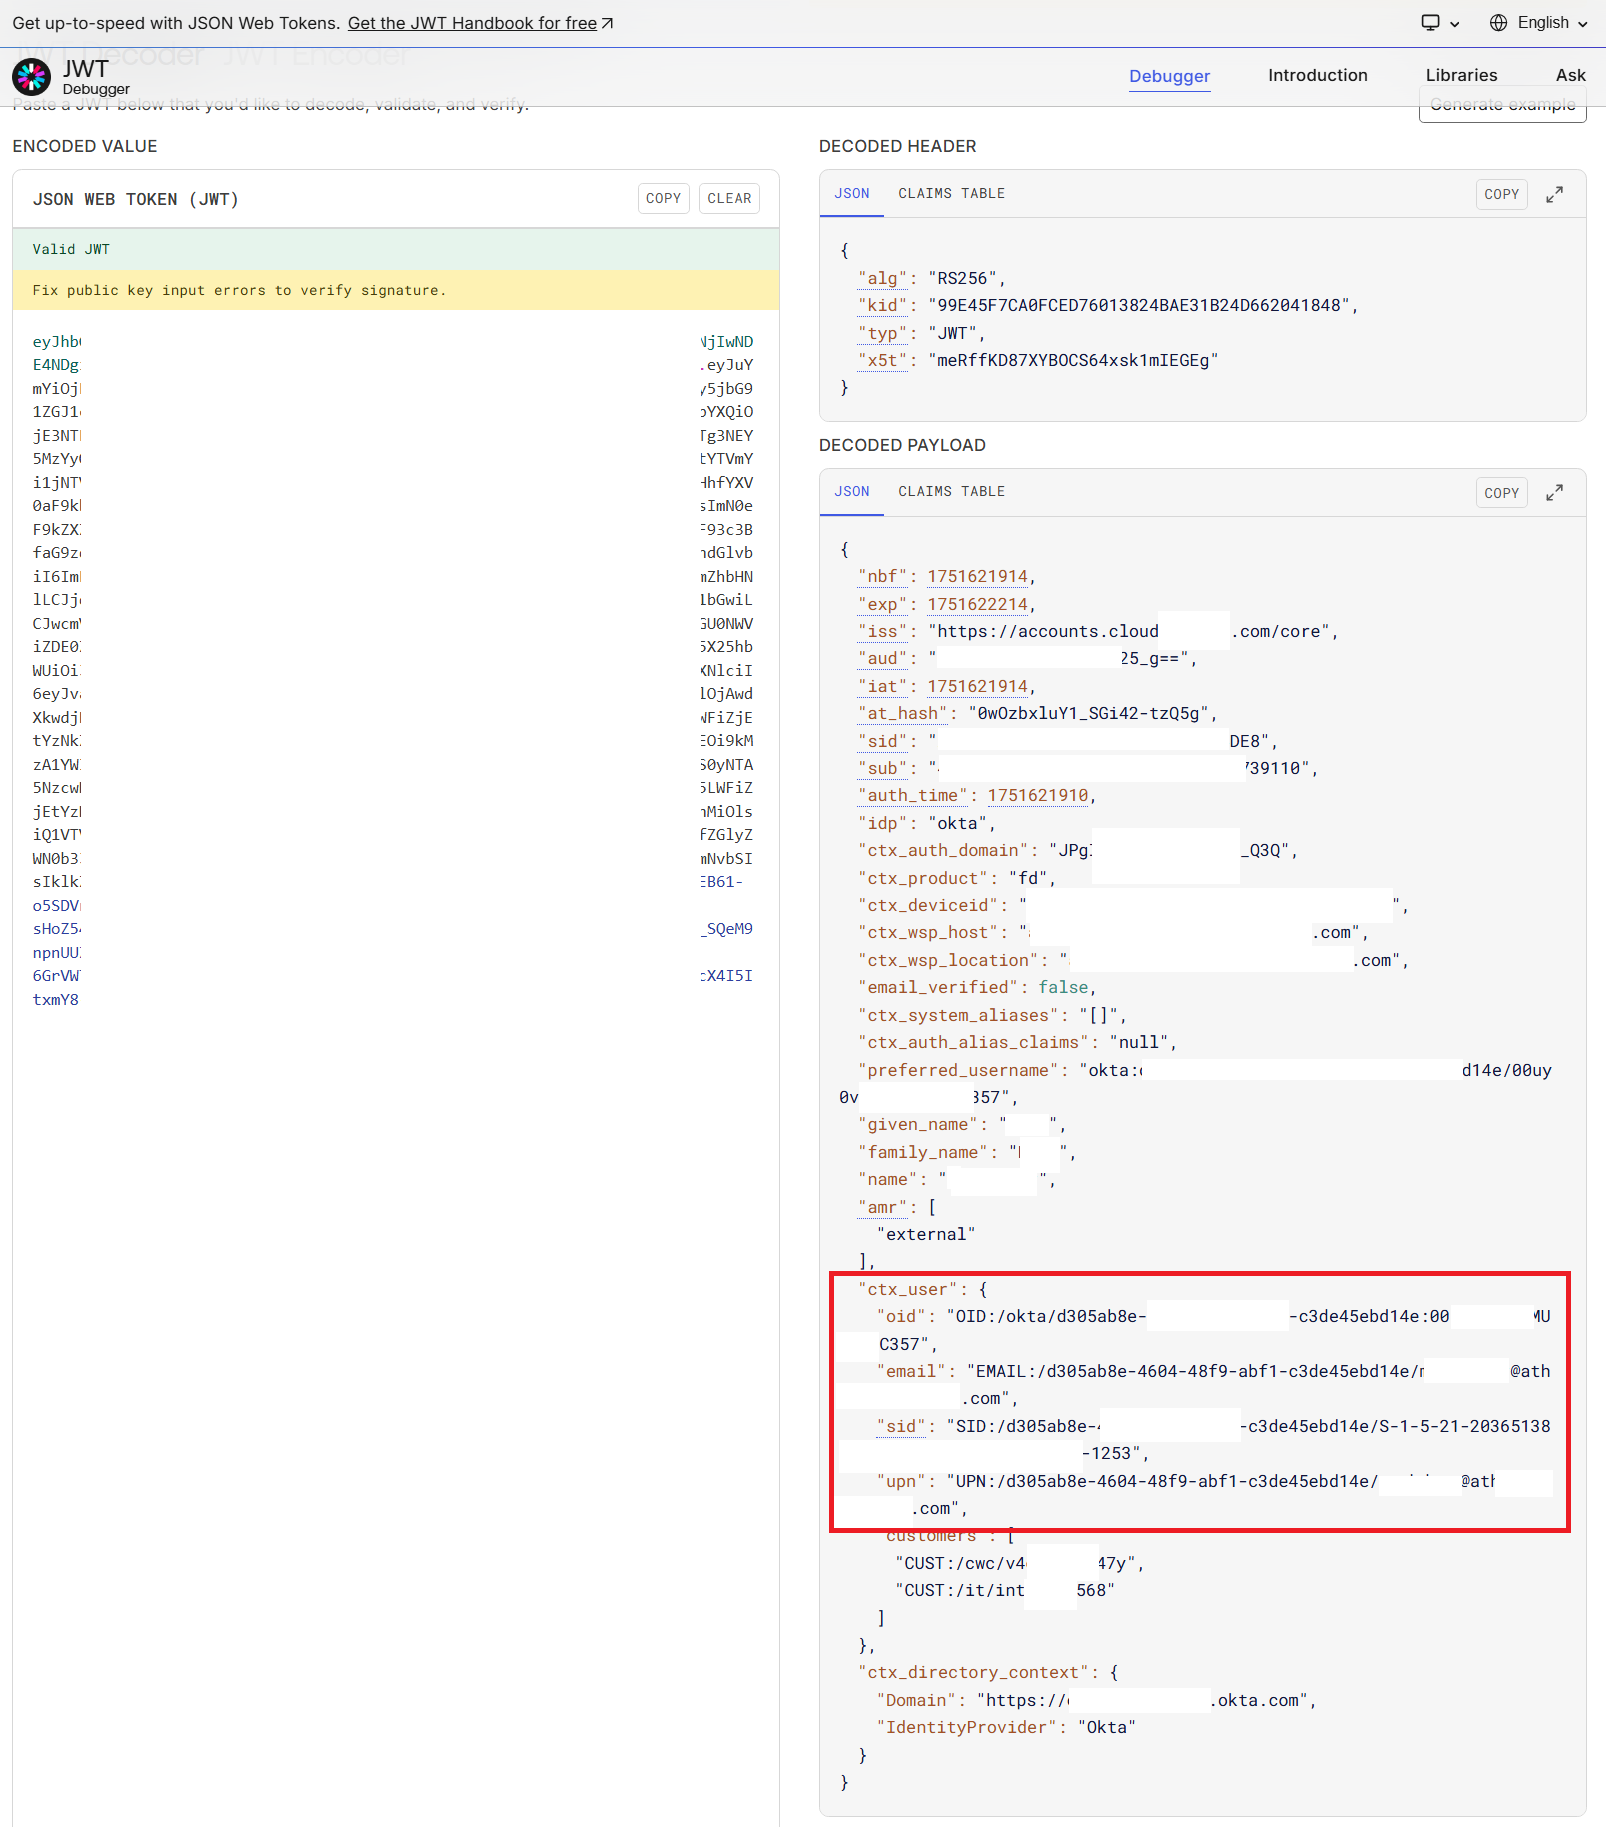
Paste this base64 string into the Encoded Value JSON WEB TOKEN (JWT) field within https://jwt.io to examine the claims Citrix Cloud received from your Okta OIDC application.
Verify that all required claims are present inside "ctx_user": {} and that each claim contains the correct user data for the user who logged into store. Ensure that there are four claims inside "ctx_user": {} called "oid", "email", "sid", and "upn". Example of decoded JWT.
Cause 1
Your Okta OIDC application is not sending all four of the required cip_* claims or your Okta user profile does not include the required attributes.
Solution 1
Review your Okta OIDC application configuration and Okta user profile attribute mapping. Make sure your Okta OIDC app is sending the correct claims. Use the claim names cip_upn, cip_email, cip_sid, and cip_oid. All claim names must be lowercase.
Cause 2
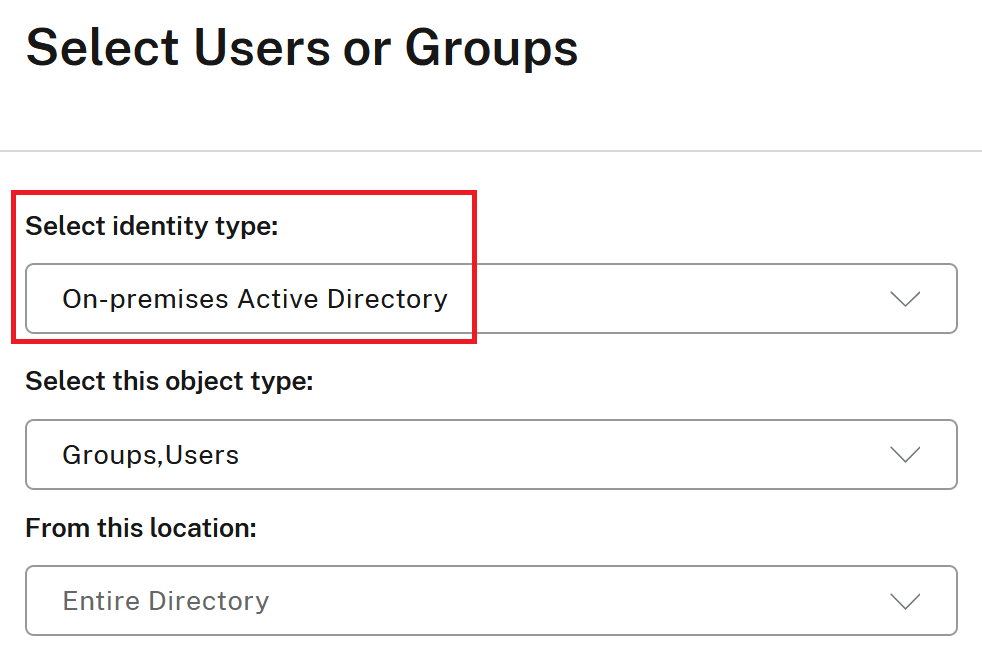
You have configured your DaaS delivery group incorrectly and mapped your resources to Okta identities instead of Active Directory identities.
Solution 2
Map AD domain joined delivery groups and VDAs to Active Directory identities, not Okta identities. Use Okta identities only for launching non domain joined resources.
Configure your delivery groups to Restrict use of resources based on AD users and groups.

Cause 3
You have not used AD Universal Groups as per Citrix Cloud’s requirements or your Citrix Cloud Connectors are not joined at the correct AD domain level. See this article for details Citrix Cloud Connector Technical Details
Solution 3
Use Universal Groups when assigning your users to DaaS resources
Or,
Assign the store user directly to the delivery group.