Set up your account
Developer
This guide walks you through configuring your profile, connecting your code repositories, and preparing your credentials in Citrix SecurSpaces™. Complete these steps once — they apply across all your workspaces and projects.
These steps match the onboarding checklist you’ll see when you first log in. If you’ve already completed a step in the product, feel free to skip ahead.
Before you begin
Make sure you have the following:
- A SecurSpaces account. Your project owner or platform administrator has added you to a project. You should have received a welcome email with your login URL.
- Git provider credentials. Your user name and password (or a personal access token) for GitHub, GitLab, Bitbucket, or Azure DevOps — whichever your team uses.
Returning to a new project? If you’ve already completed onboarding on another SecurSpaces project, your profile and credentials carry over. You only need to verify your integrations work with the new project’s repositories, then proceed to Quick start: Create and connect to your workspace.
Step 1: Review your profile
Your profile contains your personal information and work schedule. Most fields are imported from your organization’s identity provider and should already be correct. Your time zone determines when scheduled actions (like automatic workspace start) run — if you work across time zones, set the one where you spend the majority of your working hours.
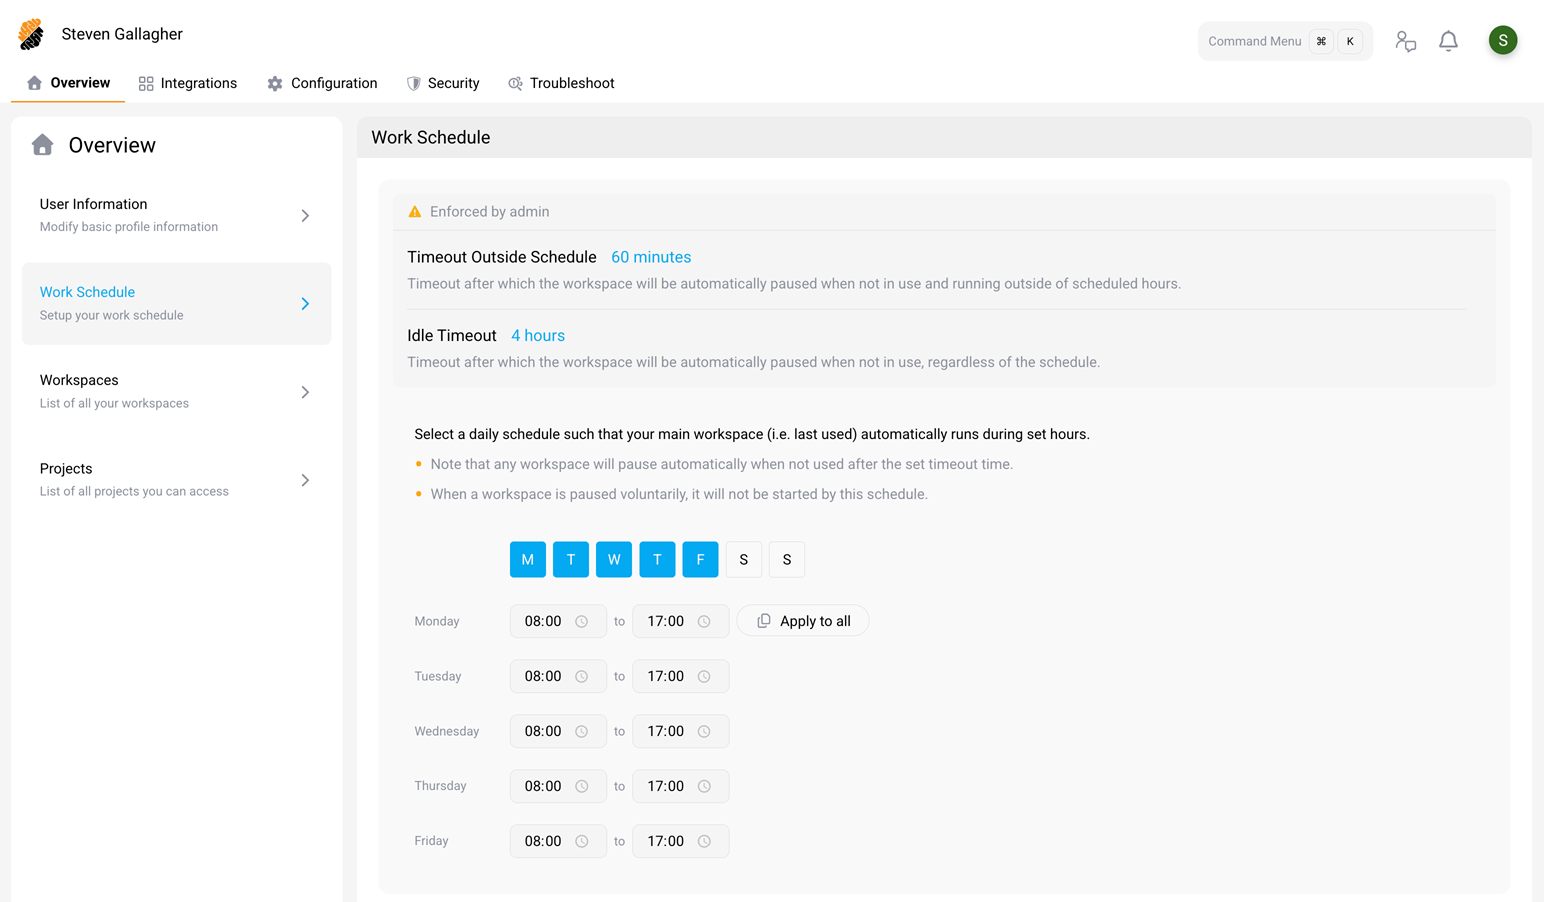
How to complete this step
- Log in to SecurSpaces and select your avatar in the top-right corner, then select Profile.
- Under User information, review your name and time zone. Update them if needed.
- Under Work schedule, adjust the days and hours to match your typical working pattern.
- If everything looks correct, no changes are needed.
Step 2: Configure integrations
Integrations connect your workspaces to code repositories and external services. You need at least one code repository token configured to push and pull code from inside a workspace. After you configure them, your integrations apply to all your workspaces, including existing ones — you don’t need to reconfigure credentials per workspace.
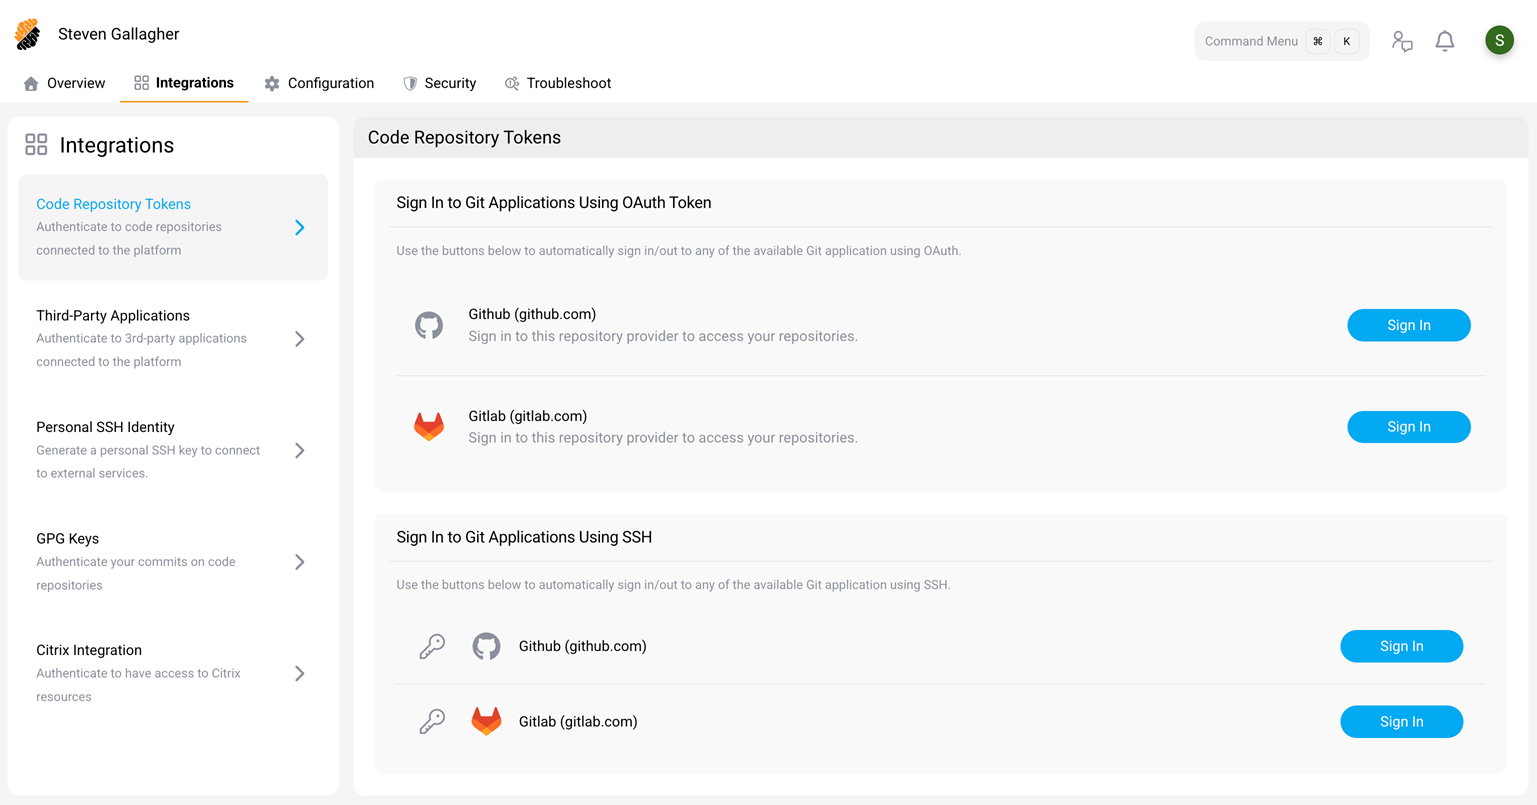
How to complete this step
- In your profile, navigate to the Integrations section.
- Under Code repository tokens, authenticate with your repository provider:
- OAuth (recommended): Select your provider (GitHub, GitLab, Bitbucket, or Azure DevOps) and complete the OAuth flow. This gives all your workspaces seamless access to your repositories without repeated log-ins — you authenticate once here, and every workspace you create connects automatically.
- Personal SSH key: If your organization requires SSH-based authentication, upload your SSH public key or generate a new key pair.
- Under Personal SSH identity (optional), generate an SSH key pair if you need to connect to external services over SSH — for example, a Bazel cache or artifact repository. Add the public key to the external service. SecurSpaces automatically applies the private key to your workspace sessions without exposing it to workspace code.
- Under GPG keys (optional), generate or import a GPG key to sign your Git commits.
Step 3: Personalize your workspace configuration (optional)
Your workspaces work out of the box, but you can customize them with personal shell configurations, IDE settings, and startup scripts. These settings apply automatically to every new workspace you create. Configuration files are injected into /home/developer at workspace start, and your shell configuration runs in every new terminal session.
You can skip this step and come back later. Configuration changes can be applied to existing workspaces using the Personalize environment action.
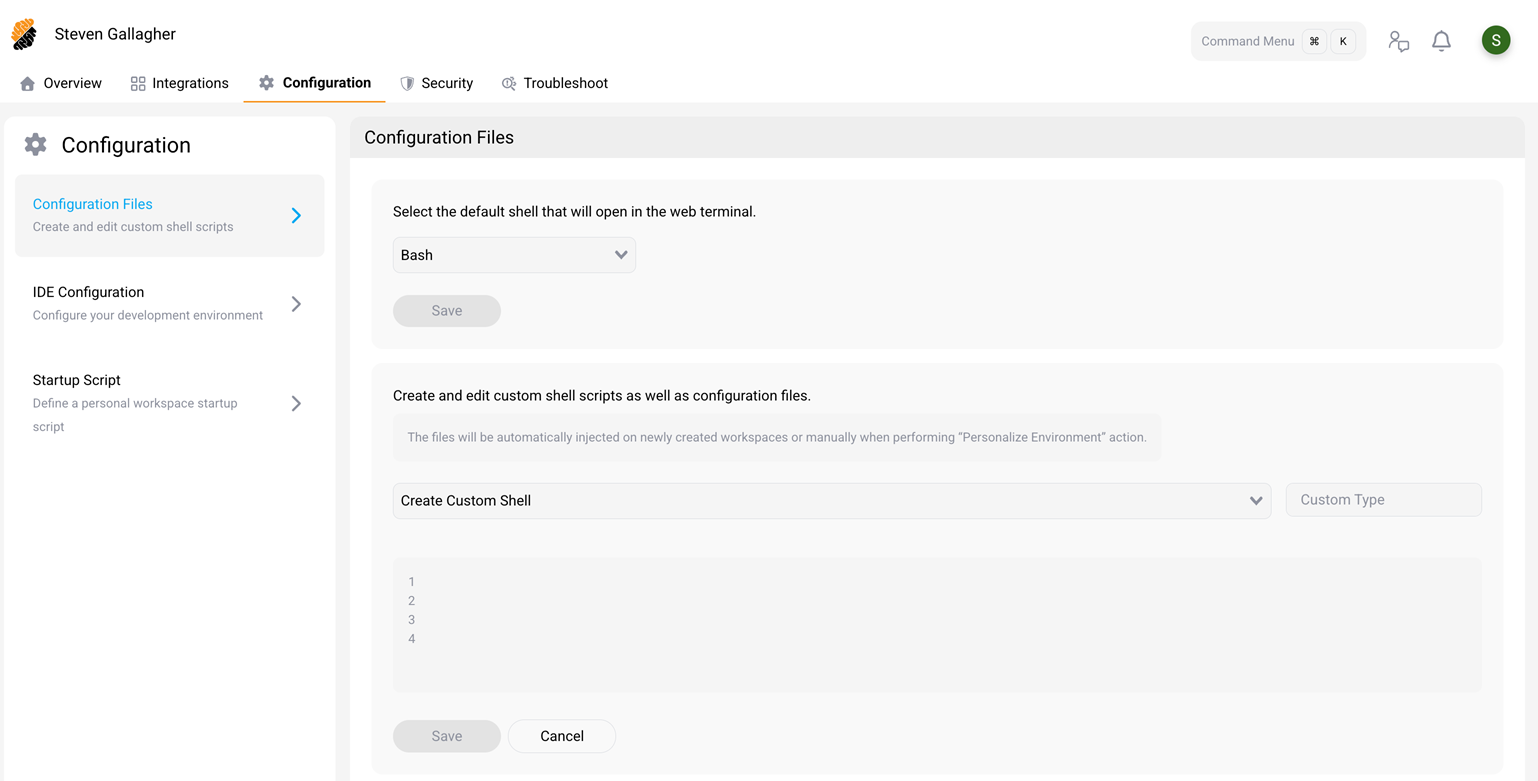
How to complete this step
- In your profile, navigate to the Configuration section.
- Under Configuration files:
- Set your default shell (bash or zsh).
- Create custom shell scripts (for example,
.bashrcor.zshrc) with your preferred aliases, environment variables, and tool settings.
- Under IDE configuration:
- If you already have a running workspace with your preferred VS Code or JetBrains settings, you can import those settings to use as your default across all workspaces.
- Under Startup script:
- Define a personal script that runs every time one of your workspaces starts. Use this to install personal CLI tools, set up directory structures, or run initialization commands. A script set on an individual workspace overrides this one. See Startup Scripts.
Tips
-
Start simple. You can always add more customization later. A basic
.bashrcwith your favorite aliases is a good starting point. - Don’t install project dependencies here. Use workspace templates or startup scripts for project-specific tooling. Personal configuration is for your preferences (shell prompt, aliases, editor settings).
- Test changes on one workspace first. Use the Personalize environment action on an existing workspace before applying globally.
Learn more about workspace configuration
Step 4: Set up security credentials
Personal secrets, API keys, and SSH keys let your workspaces authenticate with services and APIs during development. Secrets are injected into your workspaces as environment variables or files, so you don’t need to manage credentials manually inside each workspace. Your project owner or platform administrator may have also configured project-level or platform-level secrets that are automatically available — check with your team if you’re unsure which credentials you need to add personally.
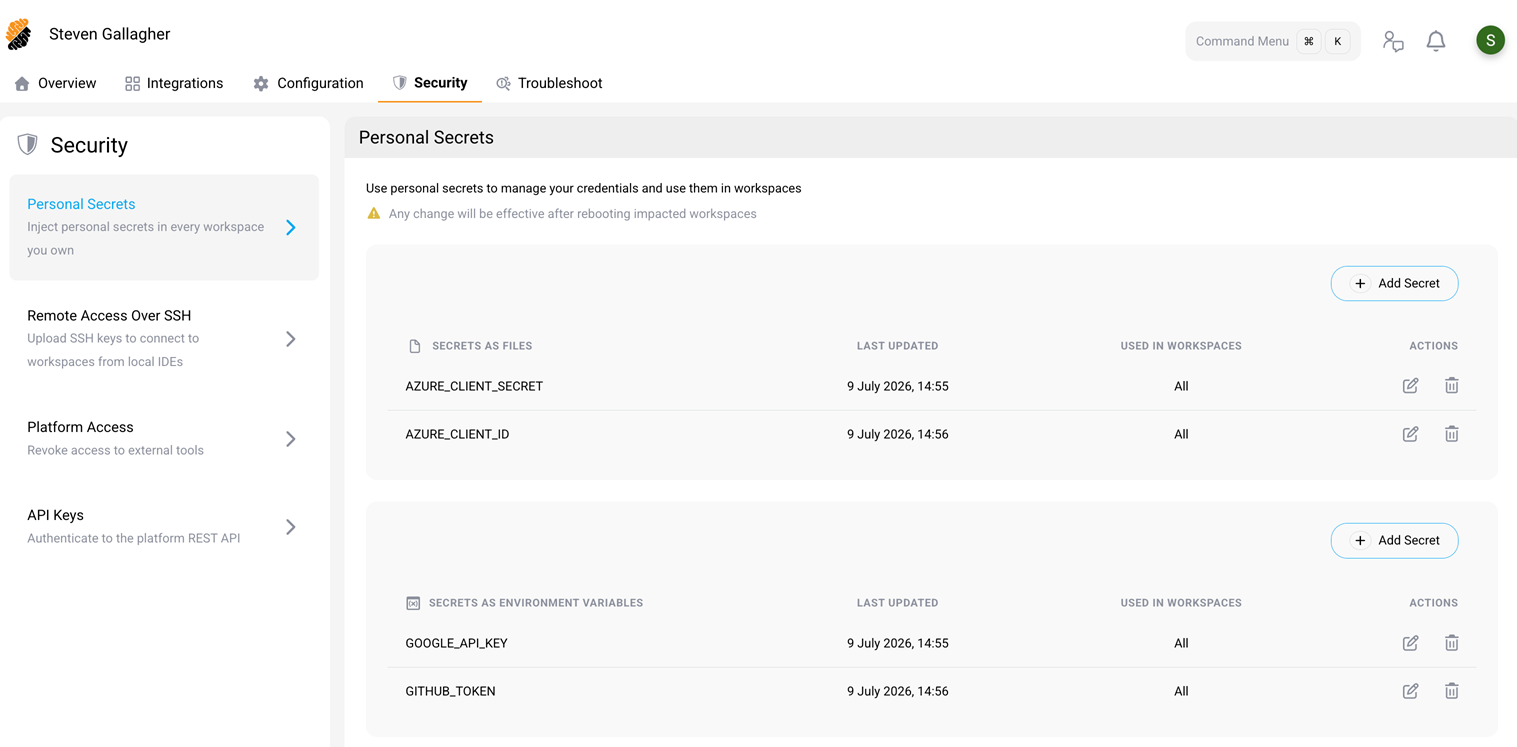
How to complete this step
- In your profile, navigate to the Security section.
- Under Personal secrets, add any credentials your workspaces need — for example, access tokens for internal APIs or package registries. For each secret, choose whether to inject it as a file or an environment variable.
- Under Remote access over SSH, configure SSH keys if you plan to connect to your workspace from a locally installed IDE using SSH (for example, VS Code Desktop, JetBrains, Cursor, Windsurf, or Kiro).
- Under API keys, add any API keys your development workflow requires (for example, keys for cloud services or third-party APIs).
Important security notes
- Secrets are stored encrypted and injected at workspace start. They are not visible in workspace code or logs.
- If you rotate a credential (for example, regenerate an API token), update it here — the new value applies to all workspaces on next start.
- Never hardcode secrets in your repository. Use the secrets mechanism instead.
Learn more about security credentials
Next steps
Your account is fully configured. You’re ready to create your first workspace and start coding.